Hi Guyz
I was out wheeling last weekend in the Watto's, B+ grade trails in low range 1st, scrambling up a fairly steep hill and heard a very soft metallic sounding tick / crack,
so I immediately switched off the engine and did some investigating, pulled & pushed just about everything - nothing found, so I decided to drive on carefully and get off the trails and go home!
Returned to 2wd and the faint clicking went away, OK that tells me the problem is in the front end, so I upon investigation i discovered some damage to the drivers front UNI joint, so before I fixed it I gaffed my iphone4 to my bull bar and made the video below, Hopefully if you watch the vid and commit the sound to memory when you hear it on your Jeep (and you will eventually - its not if - its when) you will be able to quickly recognise it and switch to 2wd before you damage the uni ears, my repair cost me a uni joint and my time. I have seen several other JK'ers ignore the warning signs and then have to replace hubs & axels - a lot more expensive than a Uni Joint.
Heres how I replaced my front uni
Take 1
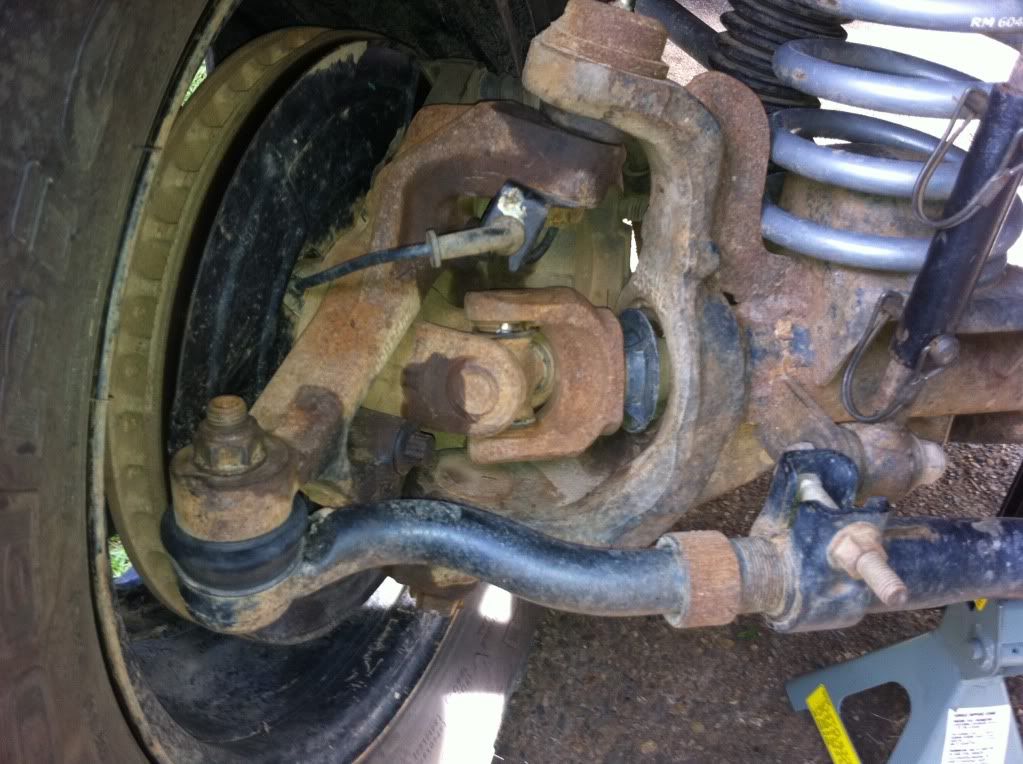
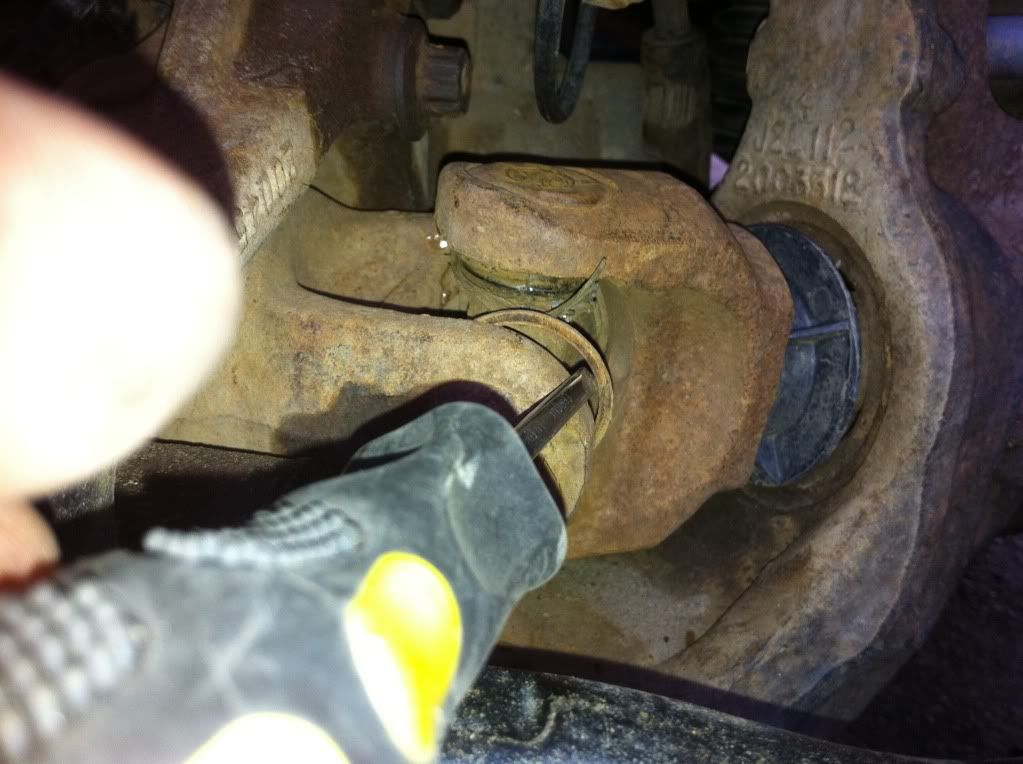
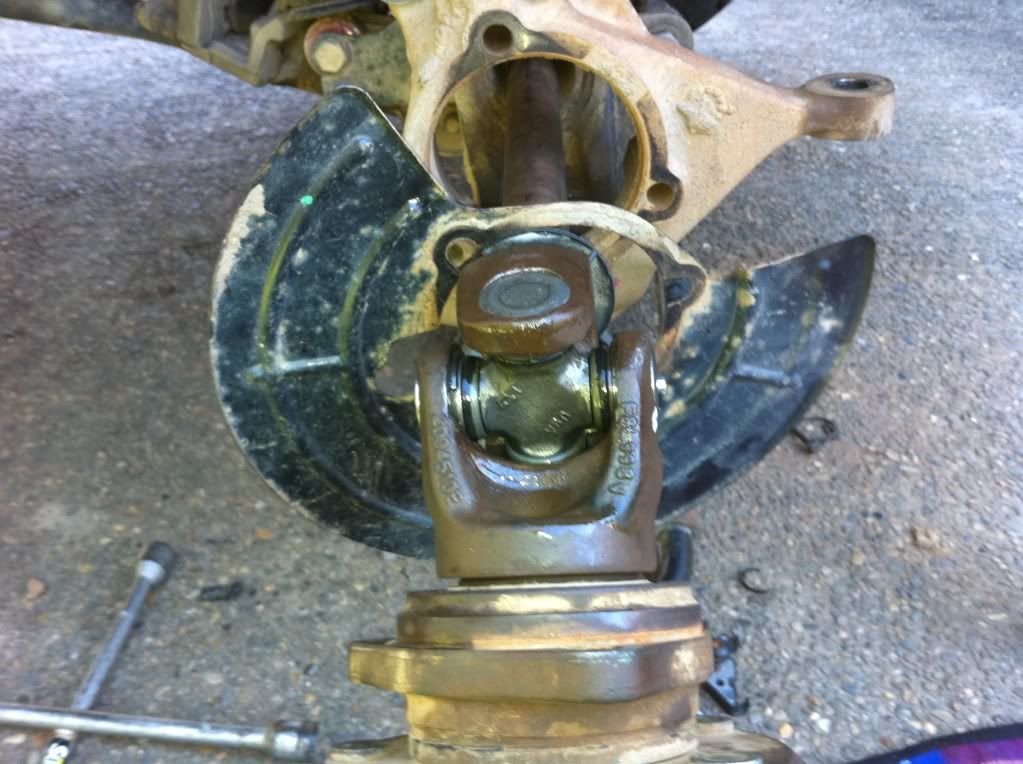
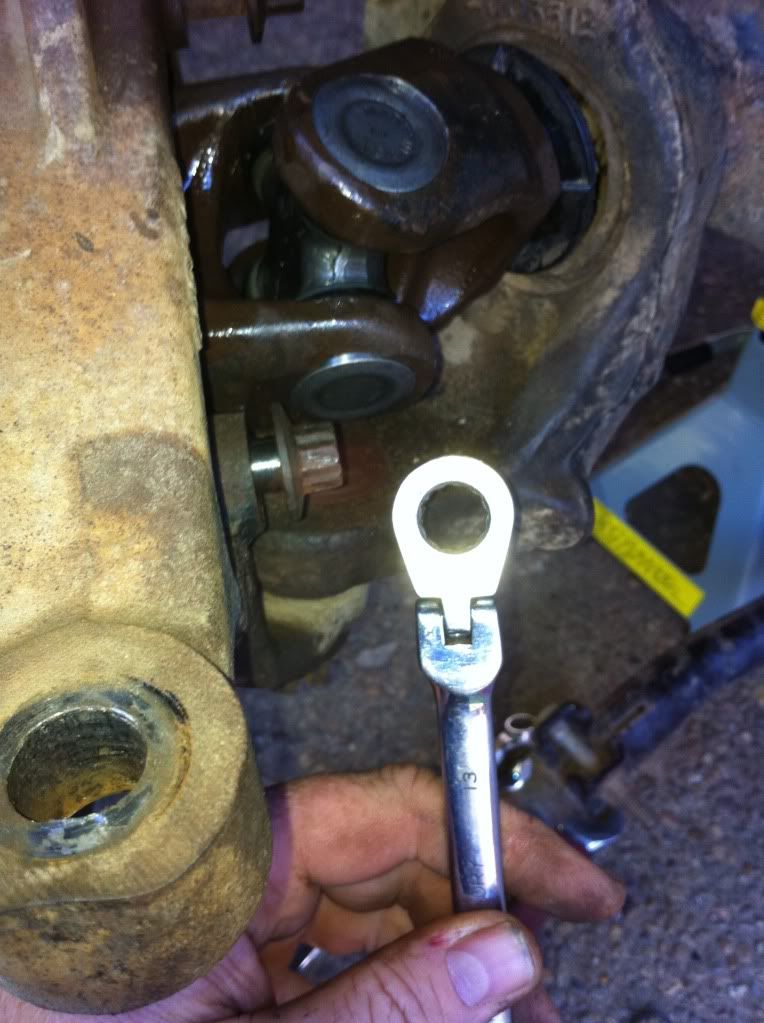
Started with a handful of smart@ss pills and decided that I could change it without removing the front wheel, disc brakes or hub, see pix below. Those of you with an ounce of mechanical expertise or have replaced a JK uni before - feel free to start laughing Now. Anyway 3 hours later 2 broken screwdrivers and a broken jimmy bar all I had managed to do was to remove the circlips!
Take 2 LoL
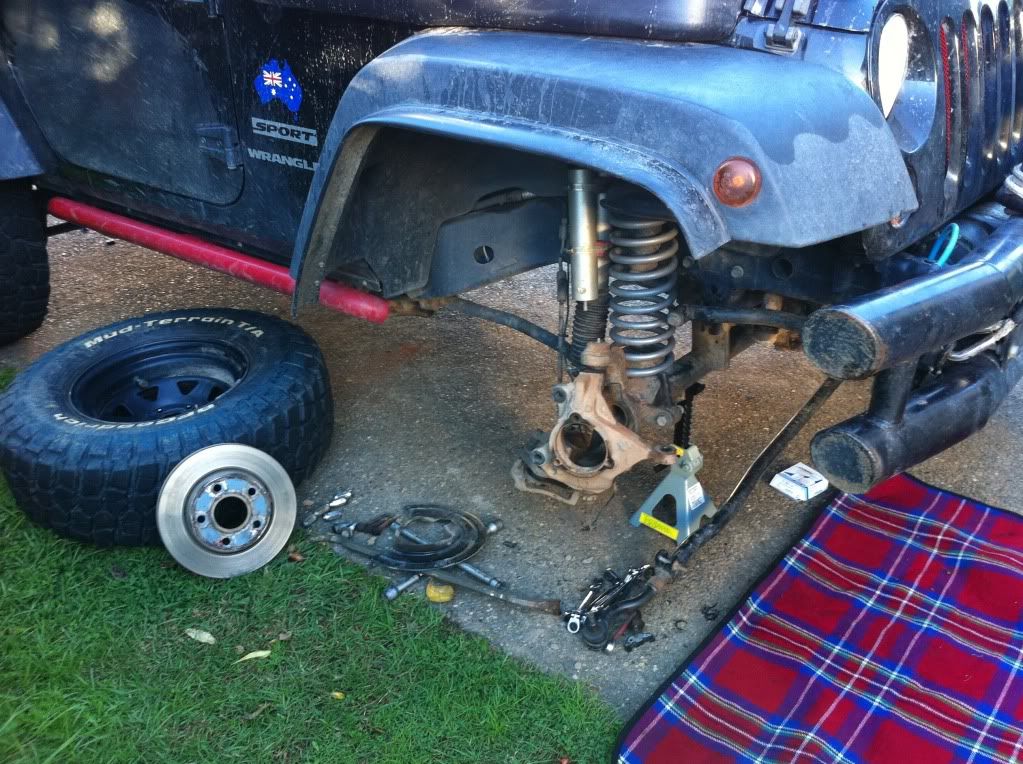
1. Jack up Jeep, chock wheels, insert jackstand, take off front wheel and slide it under the jeep as extra safety should the jack stand fail
2. Remove the 2 bolts that secure the brake callipers, remove callipers and secure them out of the way.
3. Remove the 3 unusually shaped bolts that secure the hub to the Knuckle
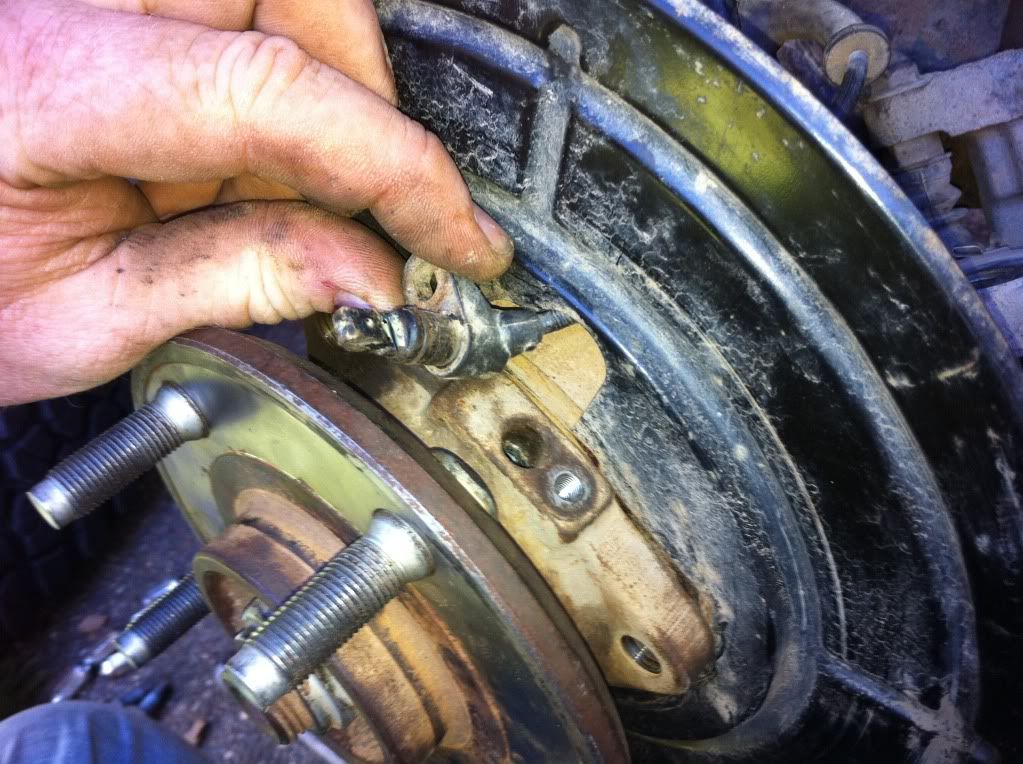
4. Very carefully remove the hex head bolt that secures the ABS / TC/ ESP sensor - its plastic so be very careful and unclip it from the 2 guides and secure it in a safe place.
5. Carefully pry off the hub from the knuckle and slide out the hub, uni and axel.
6. Optional - I removed the drag link to give me better access - probably wasted my time - D'oh - still feeling dumb from my first attempt LoL
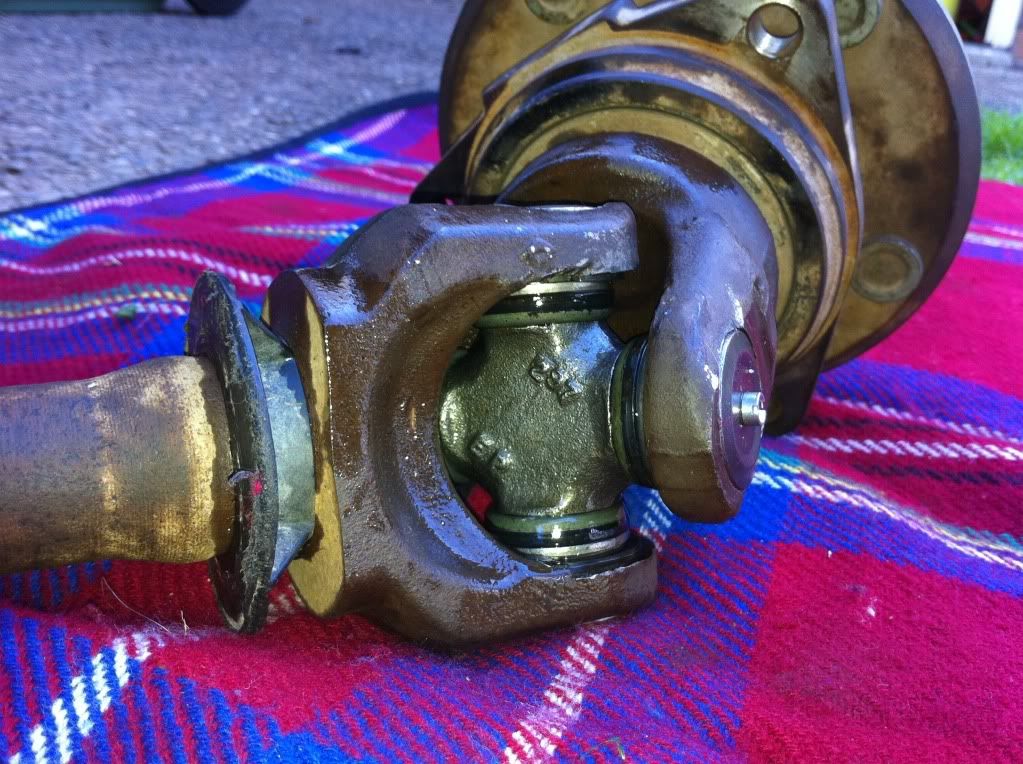
7 Place in a vice or similar and remove all 4 circlips then wearing suitable eye protection get an old useless socket and place it on the end cap of any of the unijoint end caps and beat on it neanderthal style hard until you pop the opposite end cap out. repeat 3 more times until all 4 end caps have been whacked out!
8. inspect all 4 ears for wear / damage and in my case burs - lightly sand with fine paper to clean out any surface blemishes and lubricate with a few drops of oil
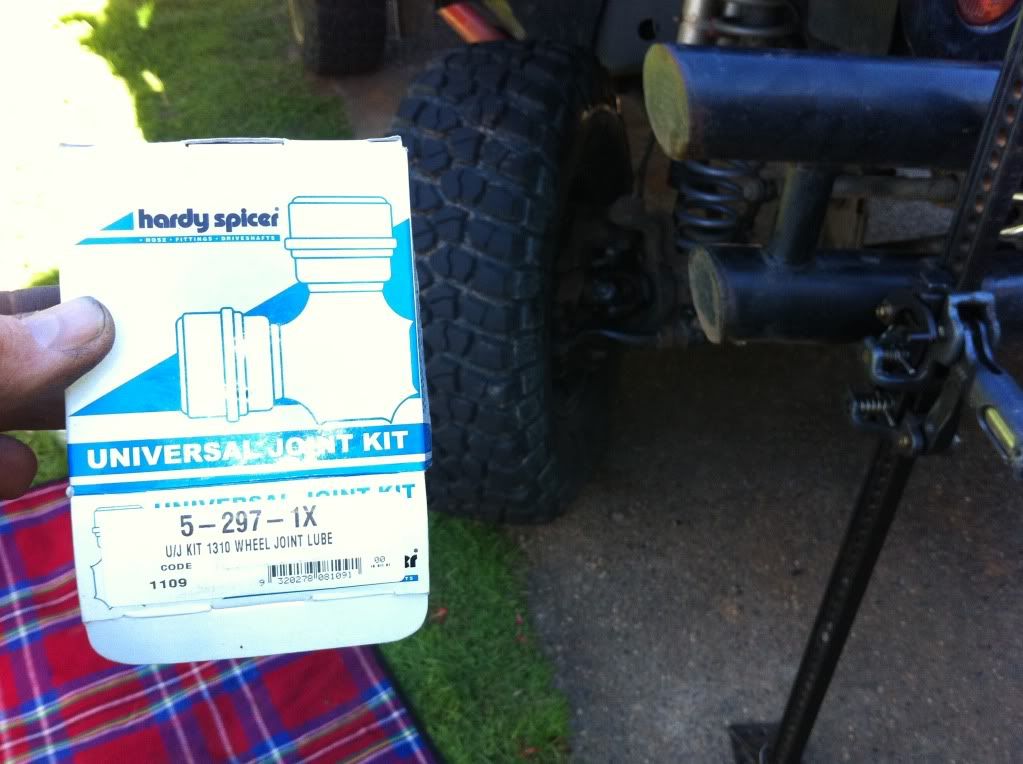
9 unpack new uni joint and extremely carefully remove all 4 end caps DO NOT DISTURB the needle bearings! . place the uni joint into the axel end first and insert 1st endocarp - gently tap it in place with a hammer - install the next end cap bearing - invert and gently tap in opposite end end cap bearing. I tried to use a G clamp - dumb idea - my mechanic told me just to tap them in gently and in the end that worked out to be the best solution.
10. install circlips - word of caution my circlips were to fat to insert so I put them on a diet (thicknesser) and reduced them to half their original thickness before inserting.
11. repeat process above for hub
12. reassemble - basically steps 1 to 5 in reverse LoL
