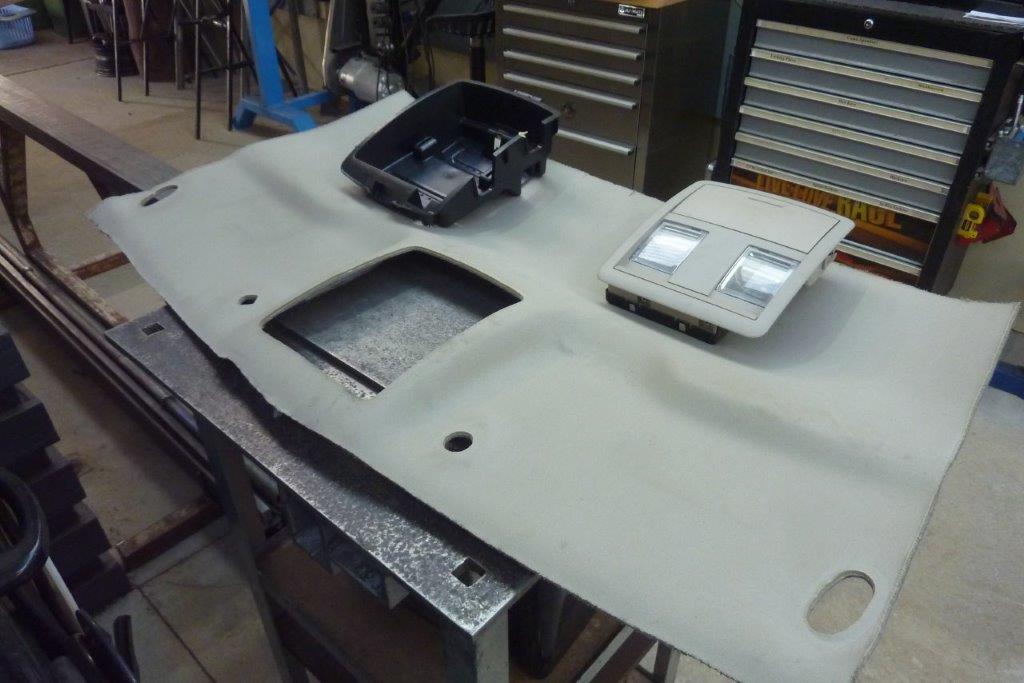
Going to make a one piece headliner like that of the Grand Cherokee donor as it is a modern theme inside the cab. I will incorporate the overhead console which has yet another CANBUS module inside of it.
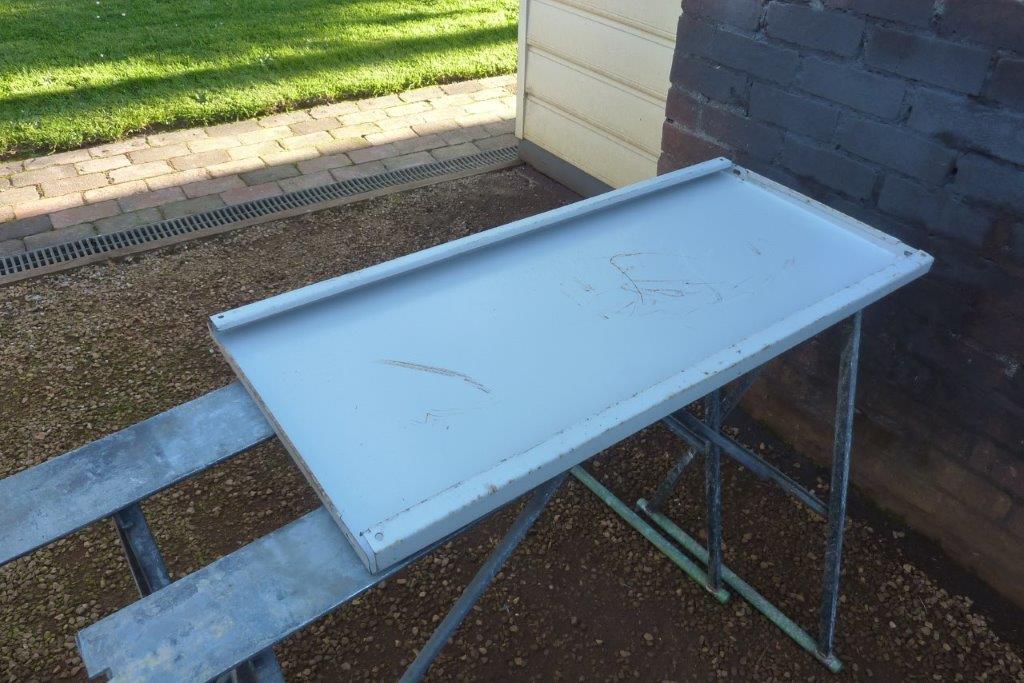
Being still in lockdown, using up what I have collected for the steel off the roadside. Starting with some office furniture shelves!

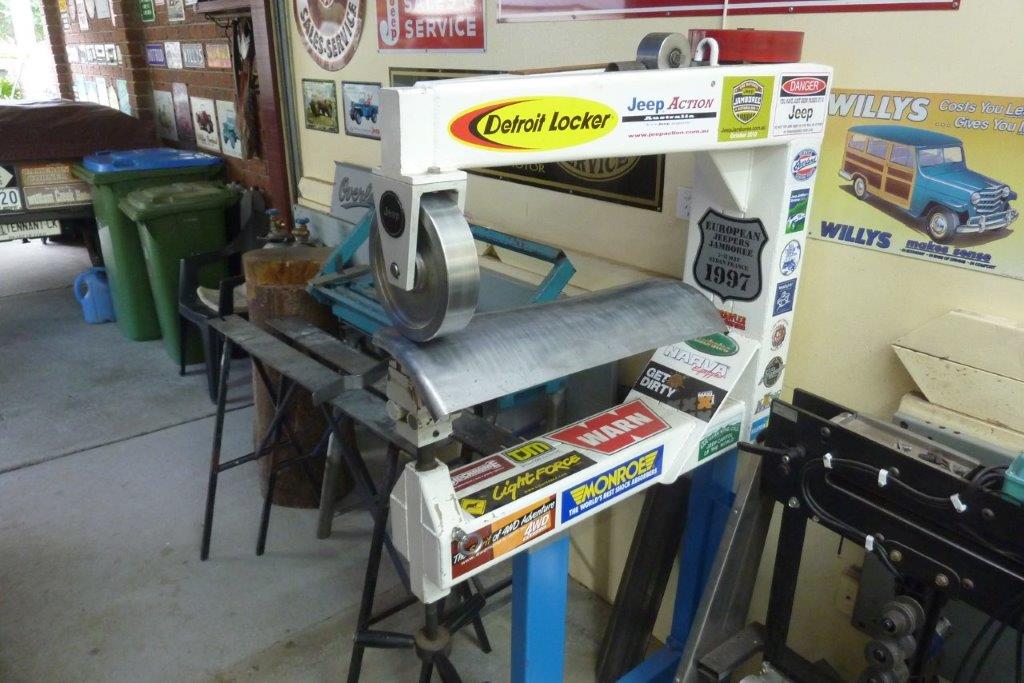
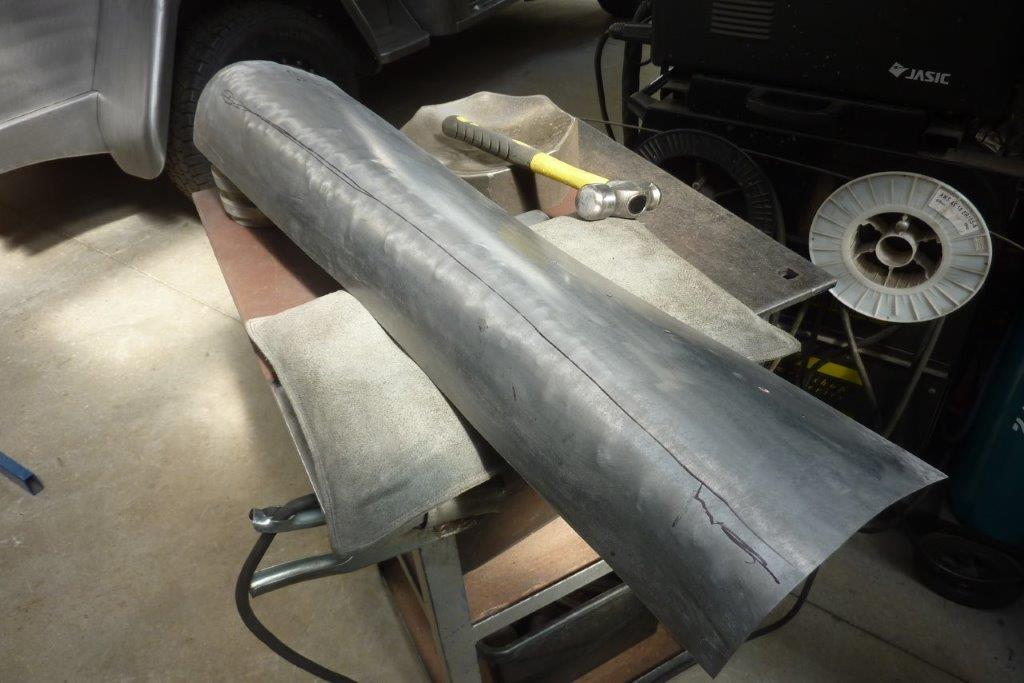
Rolling a edge first over the stake dolly using a flipper.
Bent some wire in the shape I want the centre section to be and used the shrinker stretcher to follow it. Part of it must match exactly the factory overhead console insert.
The office shelf wasn't long enough so added to each end. Notice I narrowed the rolled over flange so the shrinker stretcher could do the tighter curve.
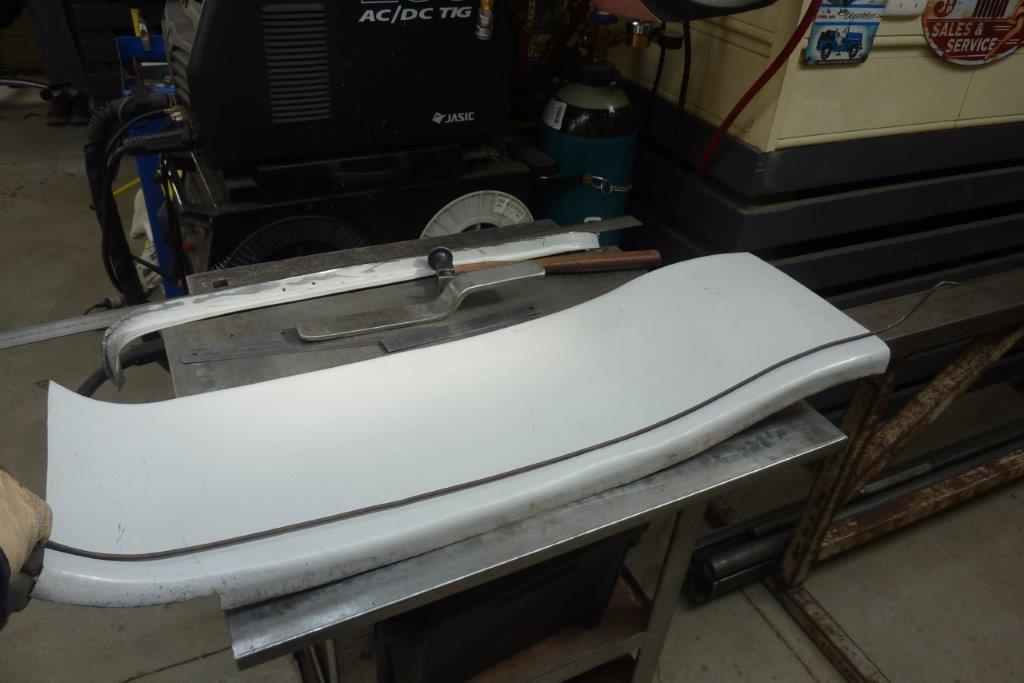
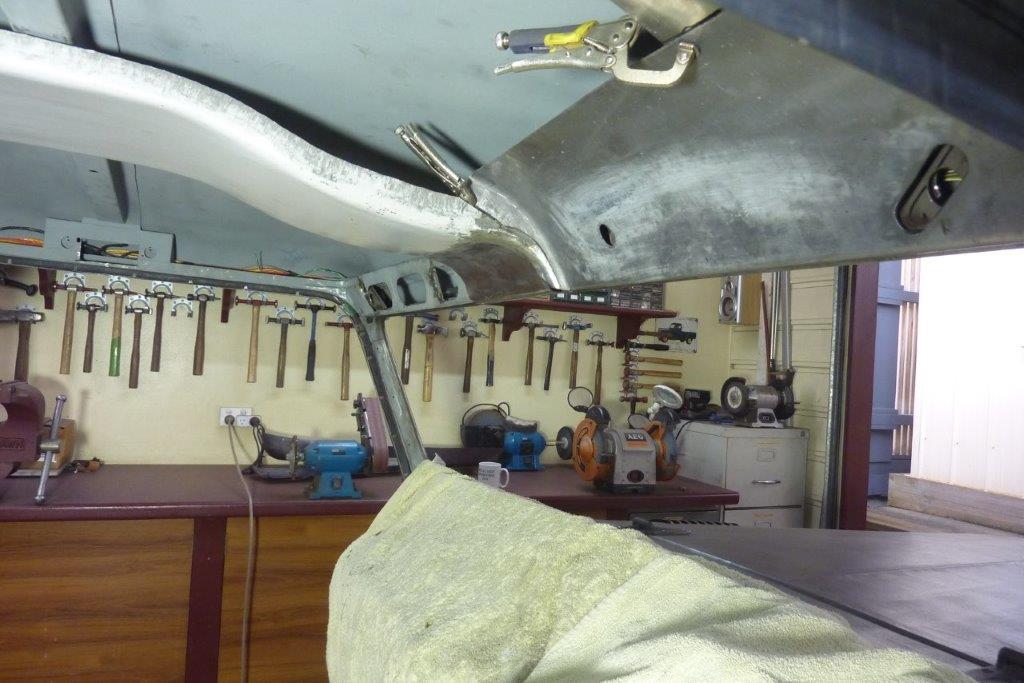
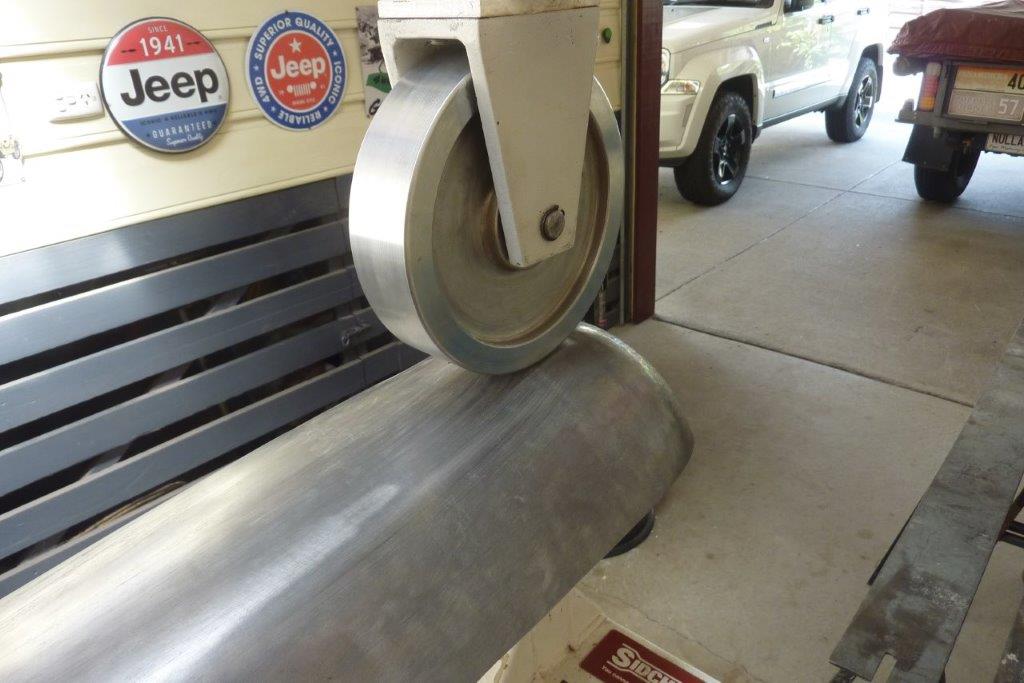
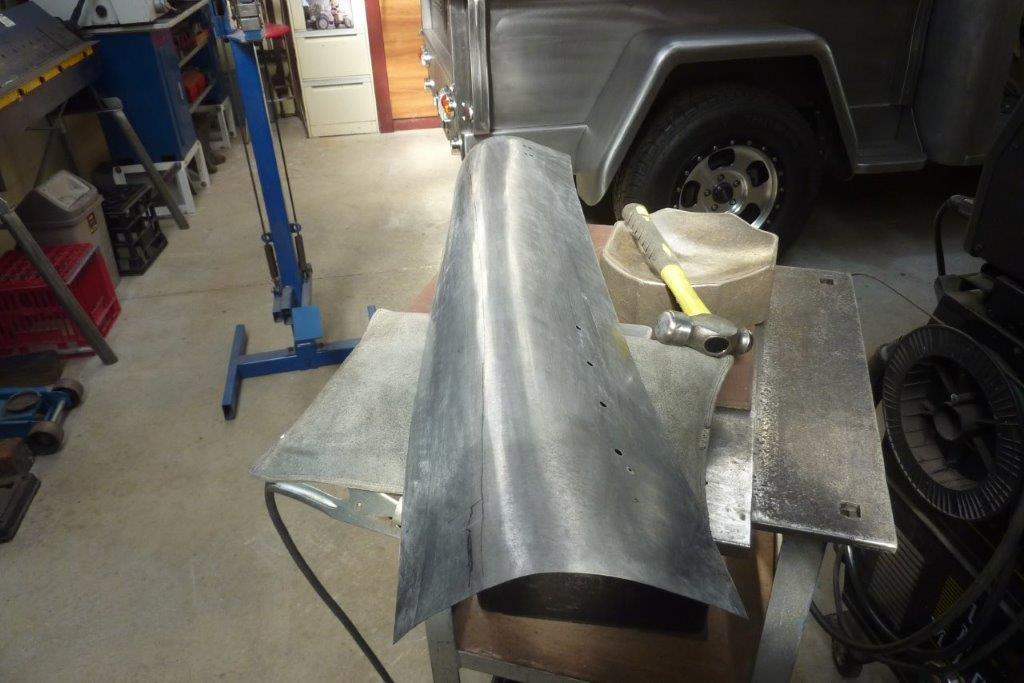
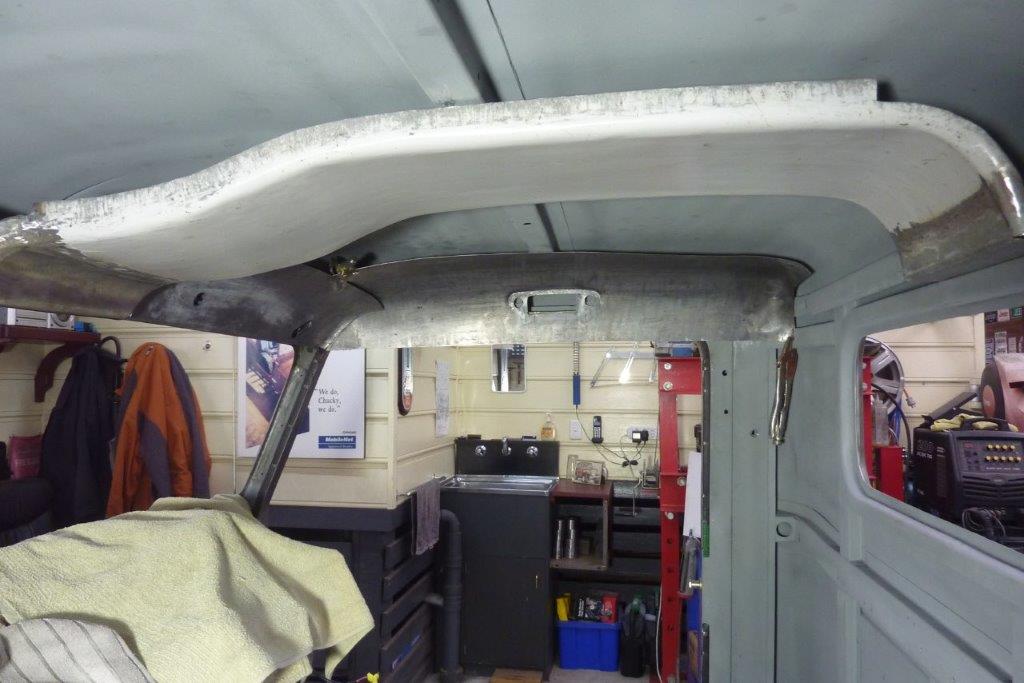
Next doing the section each side above the windscreen. Using the English wheel with a flat anvil to pull over to get a non-compound curve that I am after.

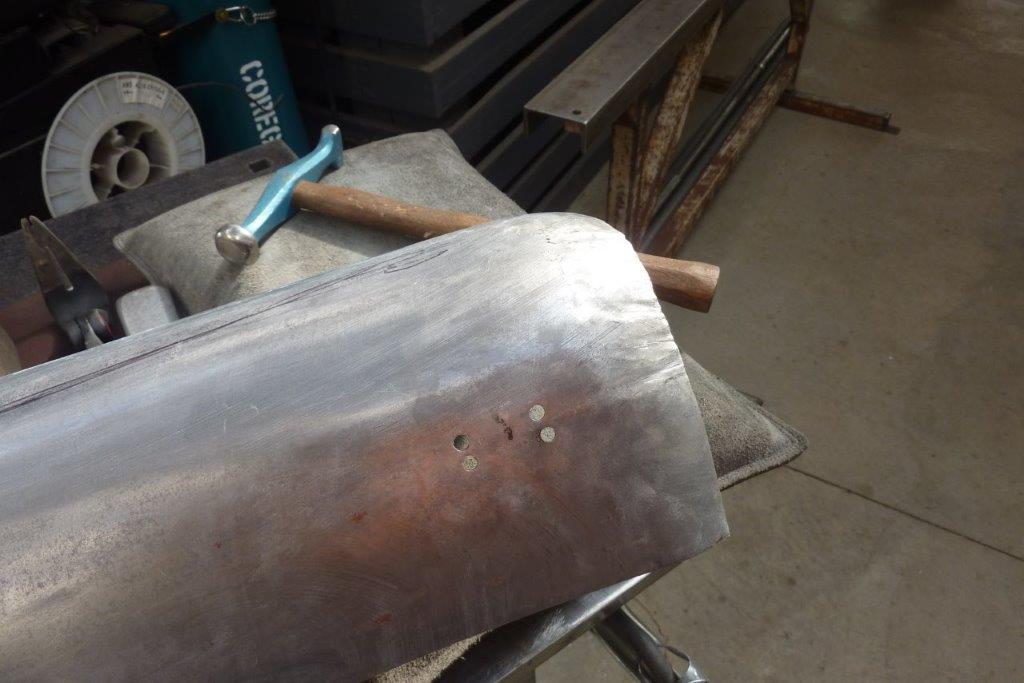
The door end is being rounded over to flow into the section that will go over the door. Shrunk the edge and then hammered it over this form I picked up years ago at the scrap merchant.
I made mounts welded to the cab frame to screw the donor sunvisors into. They also have the vanity mirrors that light up that the cab is already wired for.
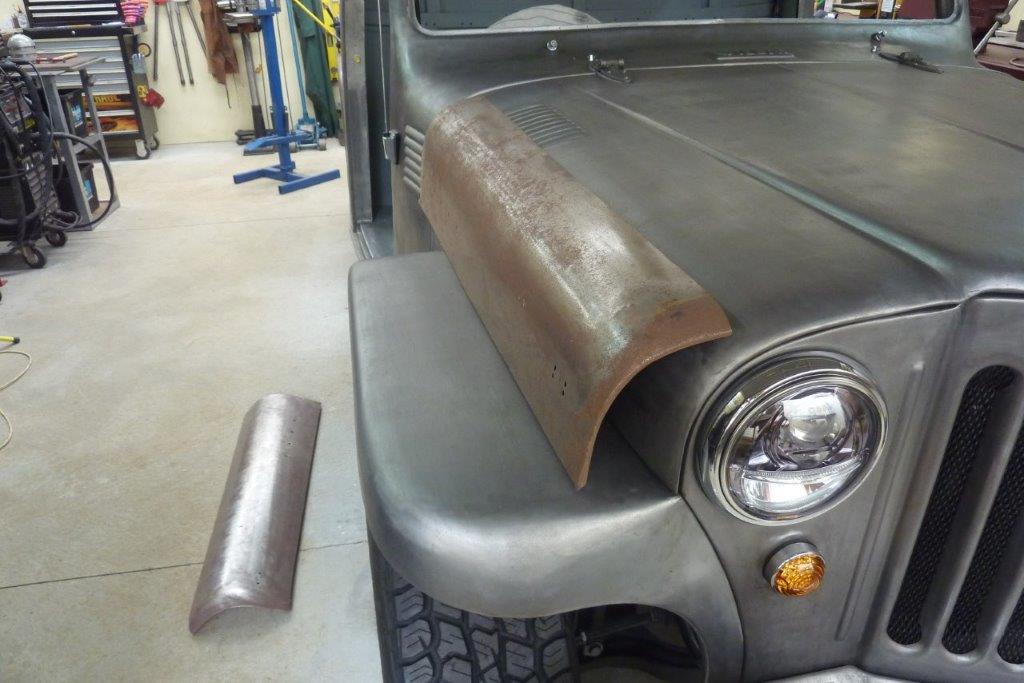
Dug out the offcuts from the Willys bonnets I cut up to make my bigger version. They have some surface rust now as I never coated them with anything.
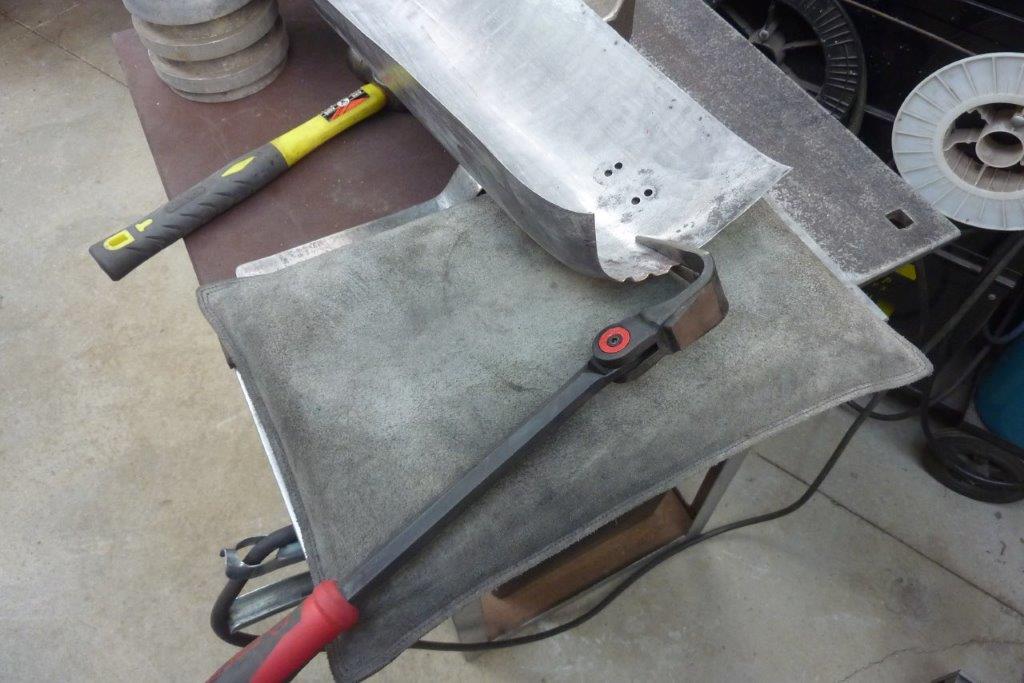
Cleaned them up using stainless steel wool from the supermarket, soaked in phosphoric acid. I will use these sections to go over the door openings.
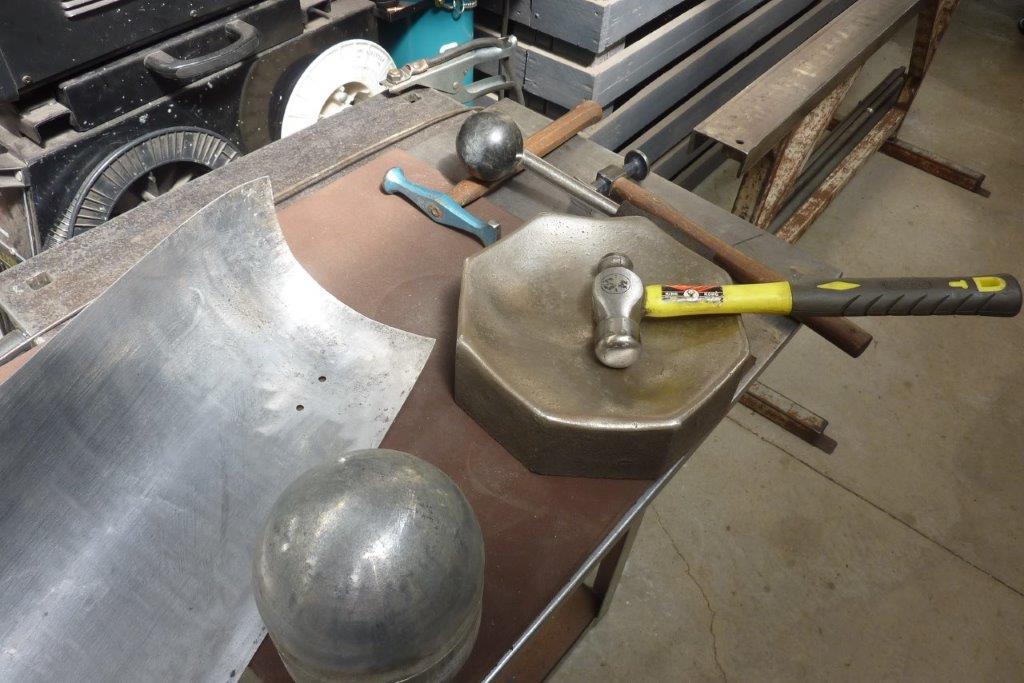
I need to increase the compound curve to suit the rear corners. Hammering into a very old base from a steam powered gold stamper! Using just a cheap hardware store ballpeen hammer that I rounded the face on to make a blocking hammer.
I needed more shrink than the shrinker could give so going old school using a tucking fork that I made from a wreaking bar. Its great as has an adjustable angle to the shaft.
Hammered down the tucks being careful not to stretch the metal in the process. It is a real art and I need much more practise at it.
Smoothed out the tucks with a high crown anvil that matched the curve I was after. Making sure not to use much pressure as can stretch it all back out again otherwise.
The bonnet curve was too straight to suit the roof profile. So hammered more shape in an arc with the blocking hammer over the sand bag.
Wheeled out the walnuts and got the shape I was after.
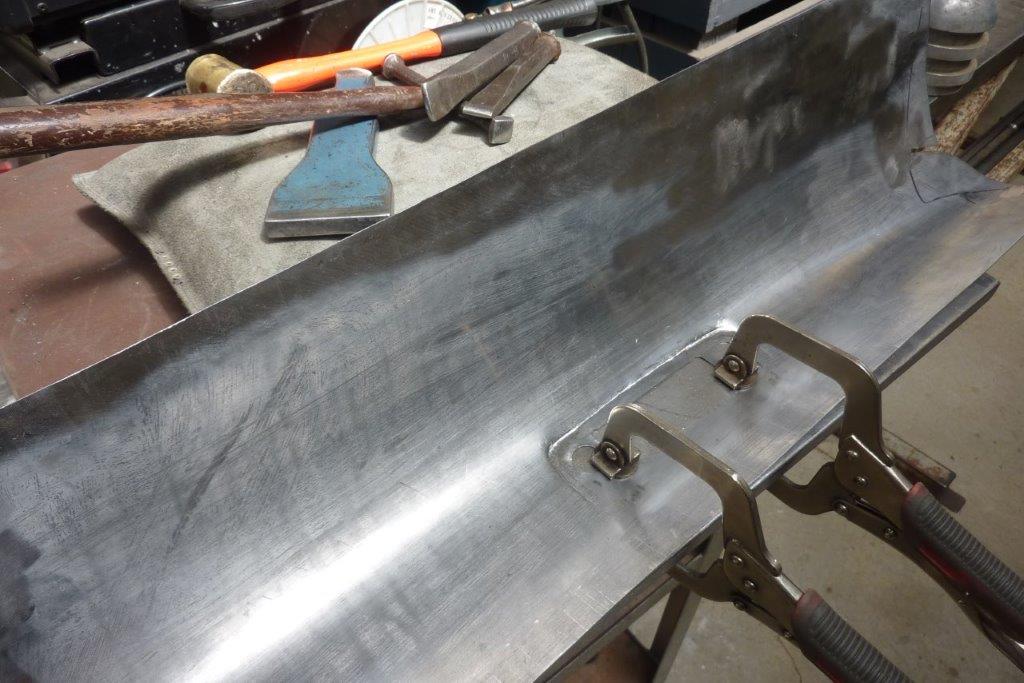
Over the middle of the door opening I am fitting a grab handle so needed a flat area for that to sit in. Just clamped it down to the bench and chased in the profile using mainly rounded cold chisels.
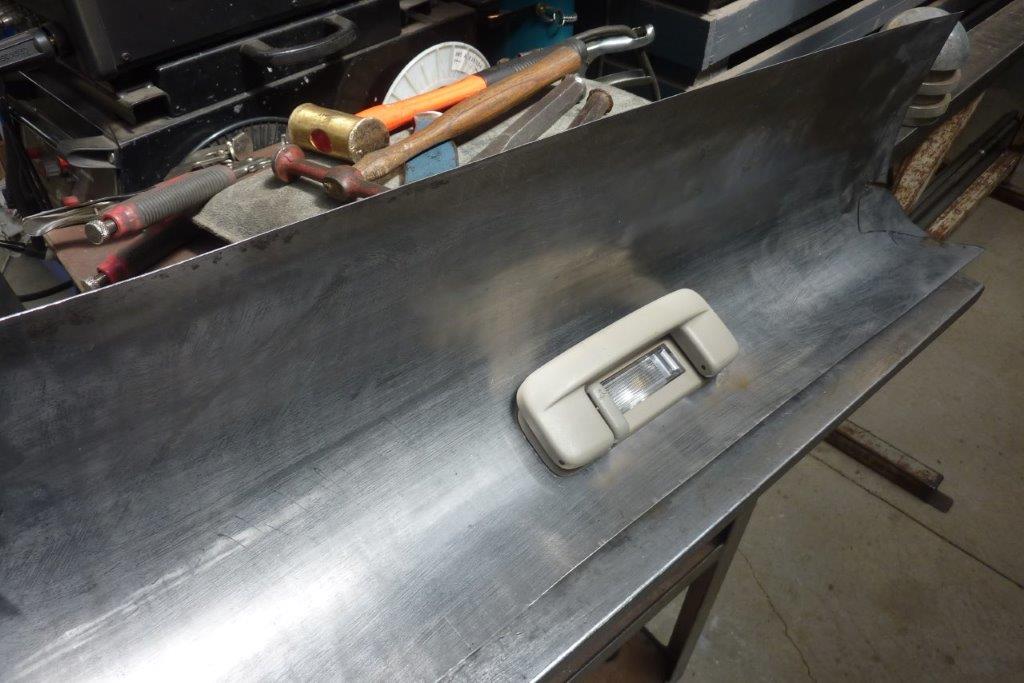
The handle was over the back door originally and has a interior light and a coat hook. I already have the wire harness in place for that too.
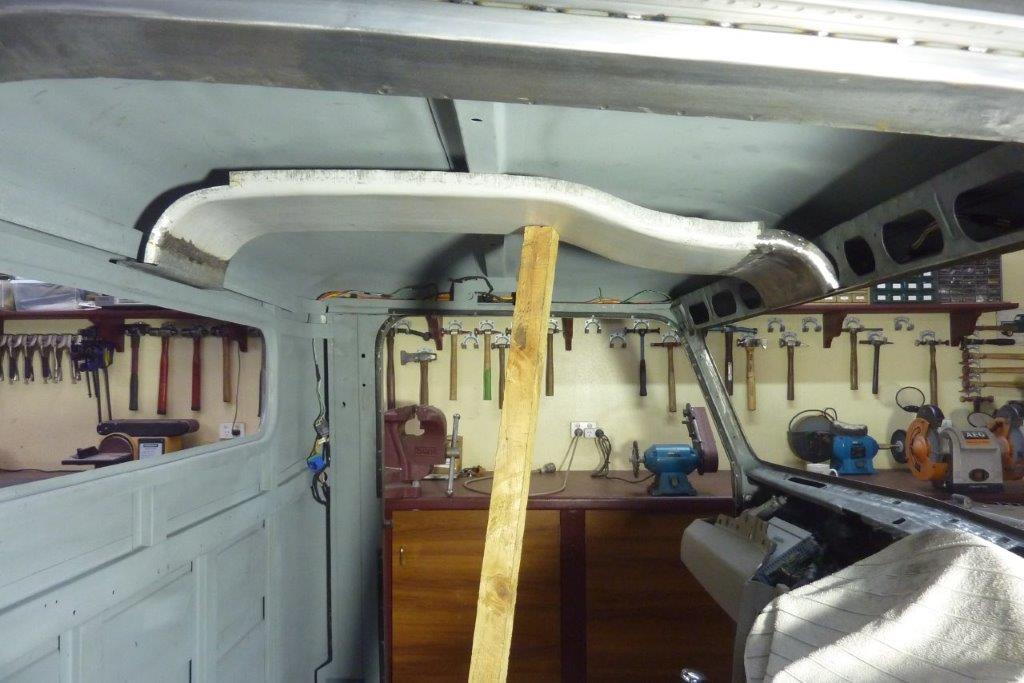
When making the cab frame I already integrated the mount for the grab handle, so didn't have to make anything now for it. The next section will be along the back wall.