Before I start pulling down the rolling chassis and loosing all the room in the workshop, I'm thinking of anything at all that I wouldn't mind changing the appearance of before it goes to paint.
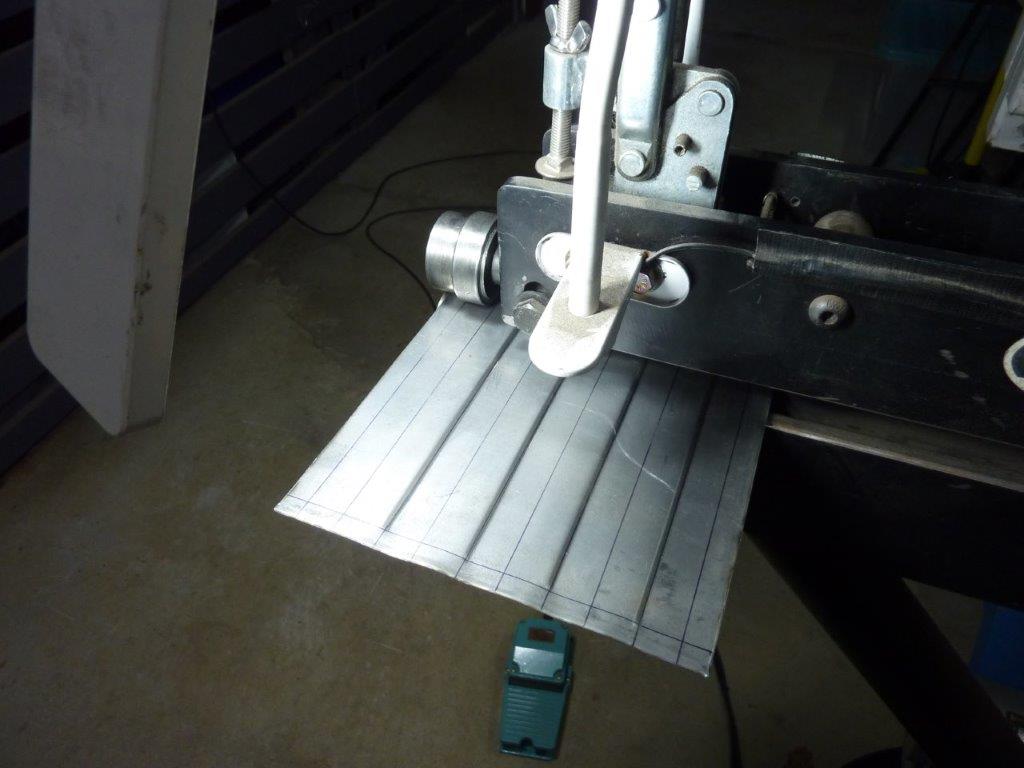
I decided to replace the 3 rounded beads I had on my side steps to more useful flat top ribs that I could put some grip tape on. More ribs as well to make it stiffer and the paint better protected. I'm just using a step die to do all of one side of each rib first before turning the piece around to do the other side.
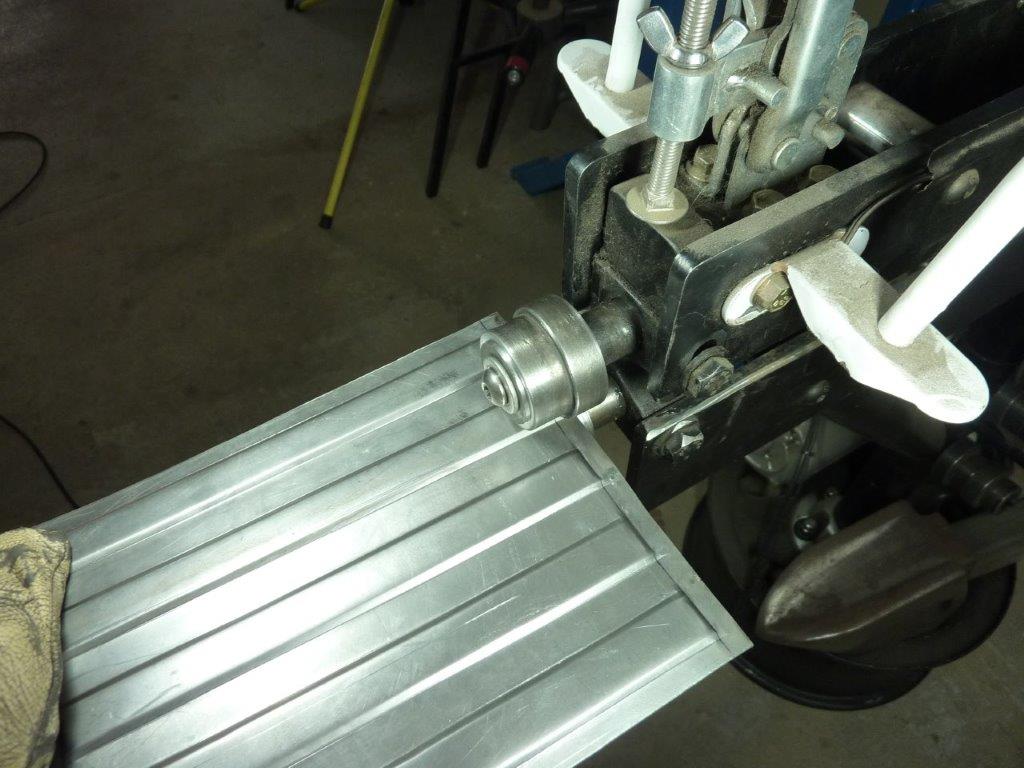
To finish off the ends of the ribs I'm using the step die to run across the very end of each one only. This leaves the end up more than crushing the ends to finish them off.
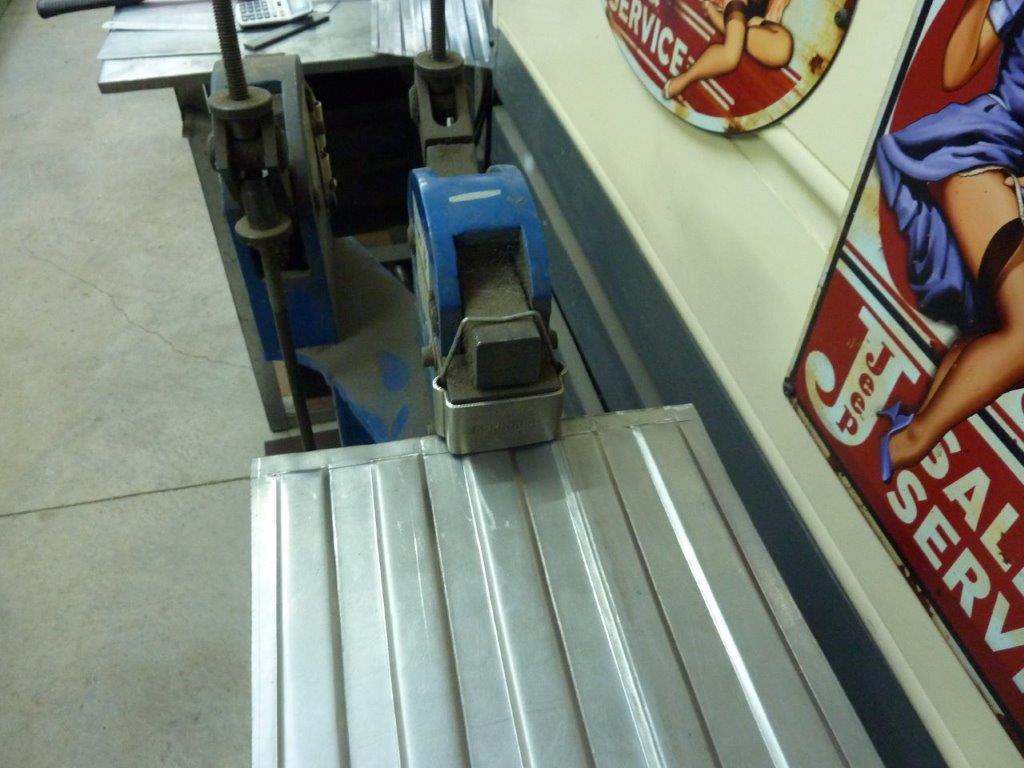
Measuring across the ribbed section showed that in a flat plain, it was slightly shorter than the ends. So a little shrink at the end of each rib sorted that out.
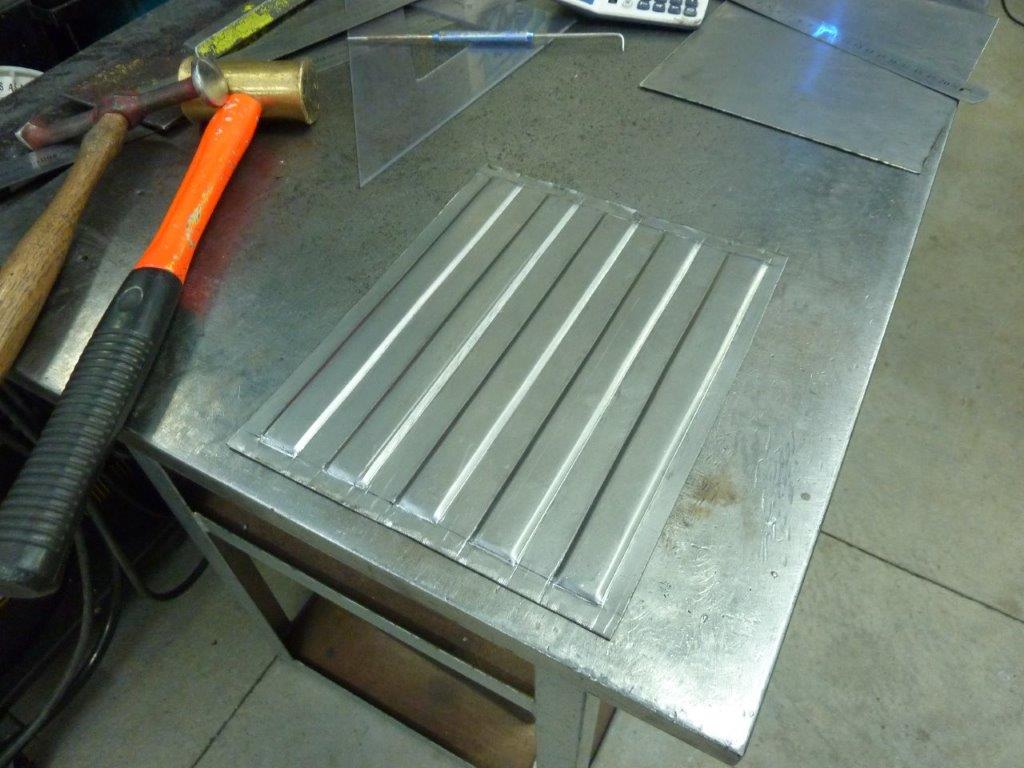
A bit of work stretching along the side of the ribs anywhere it was low got the rest of the piece completely flat.
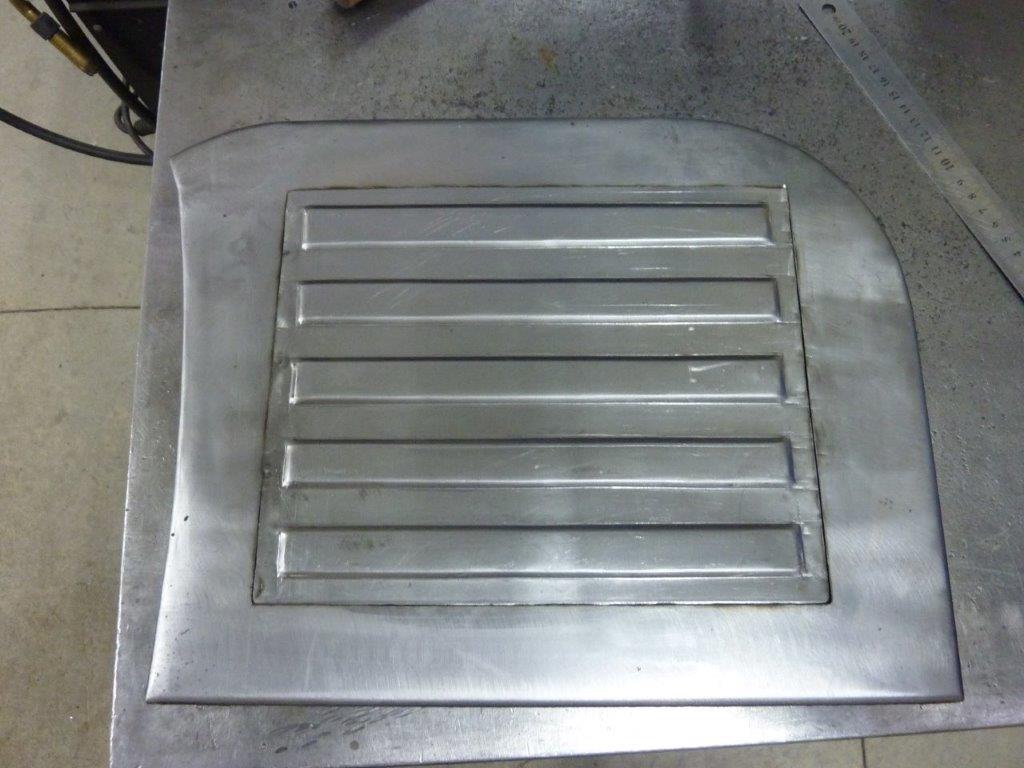
Cut the three rounded beads out to sit the new piece in ready for tacking into place. I thought this was easier than starting the step from scratch again as know this fits perfectly and I can't check the fit as the whole bed is already removed and in pieces.
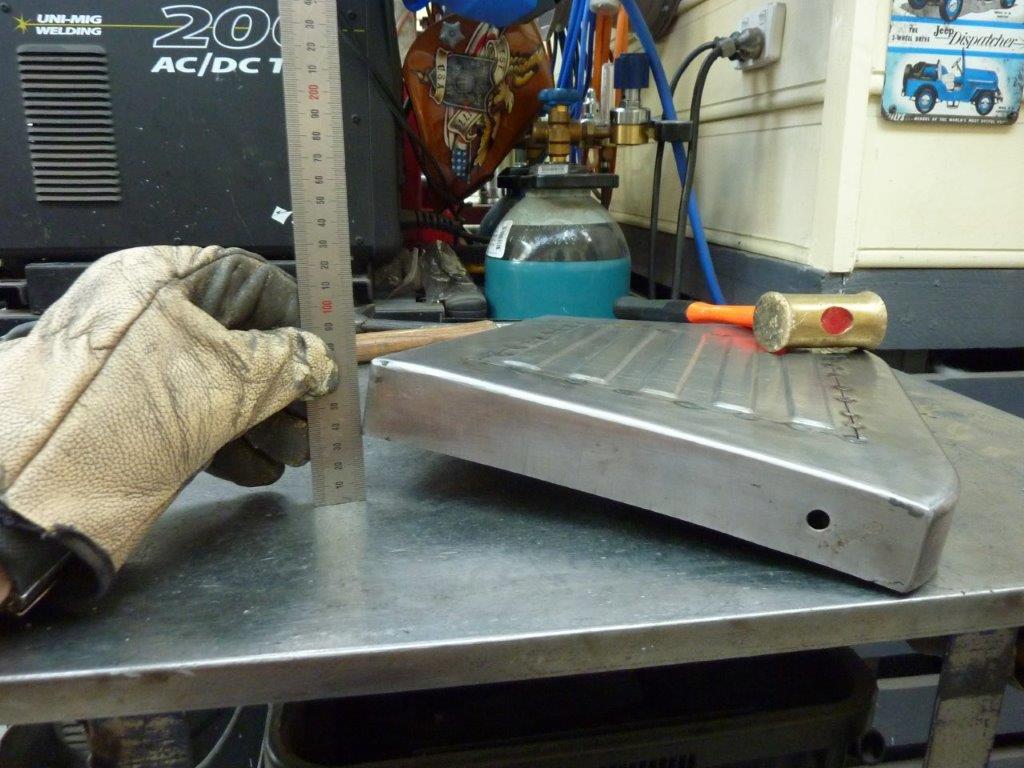
Just the shrinking of the tacks twisted the whole piece up 35mm or 1.25"!
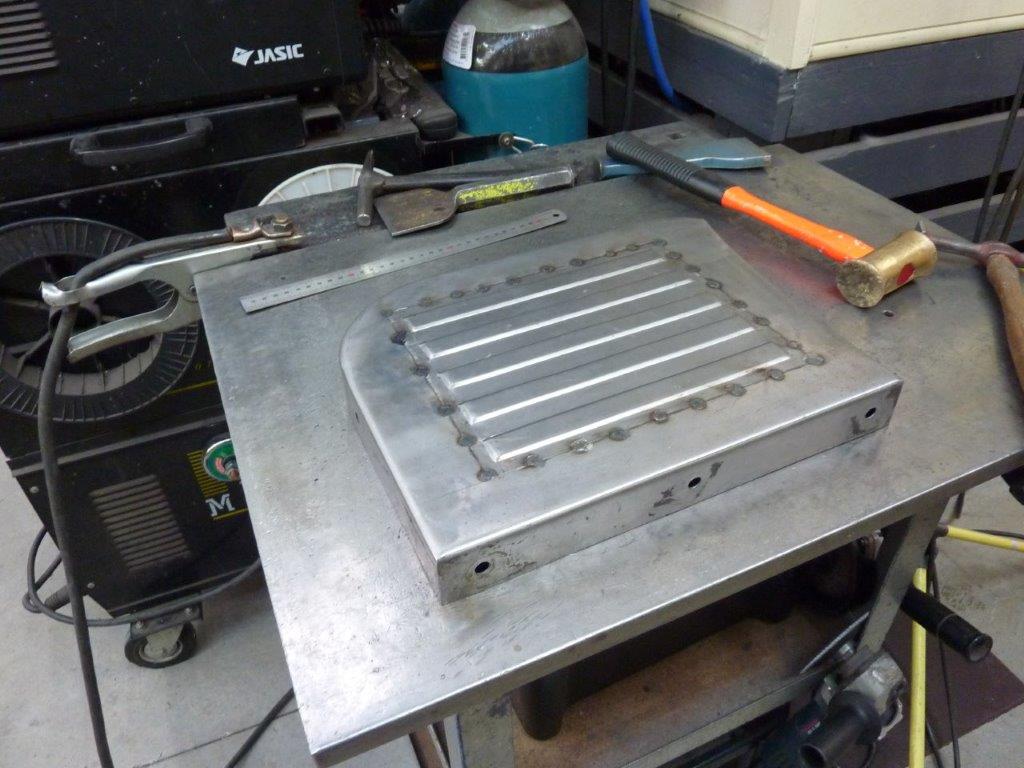
Knowing that it was flat before tacking, I knew that just stretching the tacks would bring it flat again. Just hit each tack a similar amount and continued around a number of times until it sat flat again.
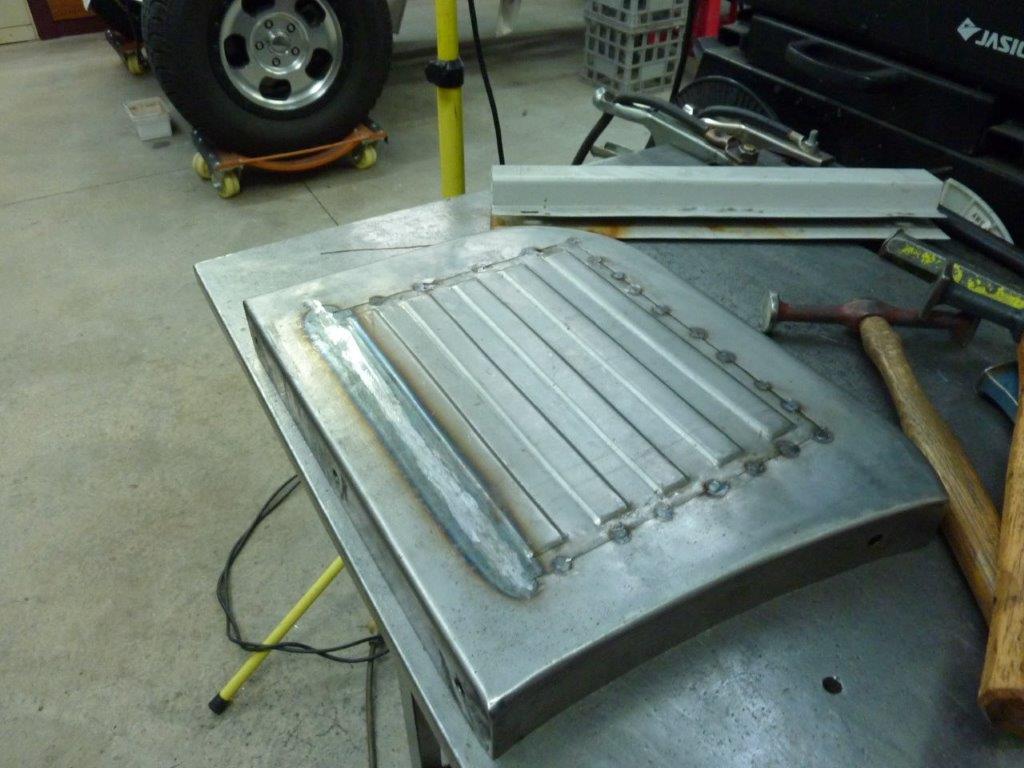
I did one continuous tig weld and knocked off any particular high spots in the bead before planishing the weld to stretch it. You don't want to go too hard and fast with it or otherwise you get a trough each side of the bead. I stretch it from both sides as well depending of what it needs always keeping within the heat effected zone. I grind the weld bead down in stages between hammering it to keep it all flat. Once the piece was perfectly flat again, I would go to the next side and repeat. That way you always know where the distortion is coming from.
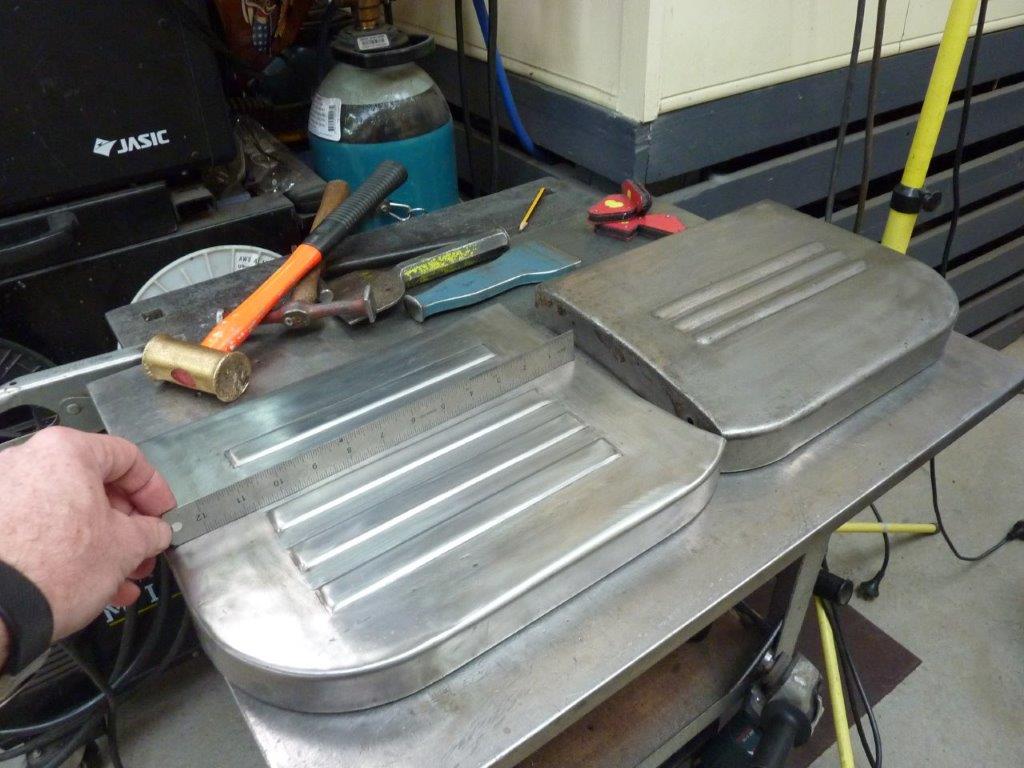
Checked in every direction to make sure it was flat. You can also see what the step looked like with just the three rounded beads.
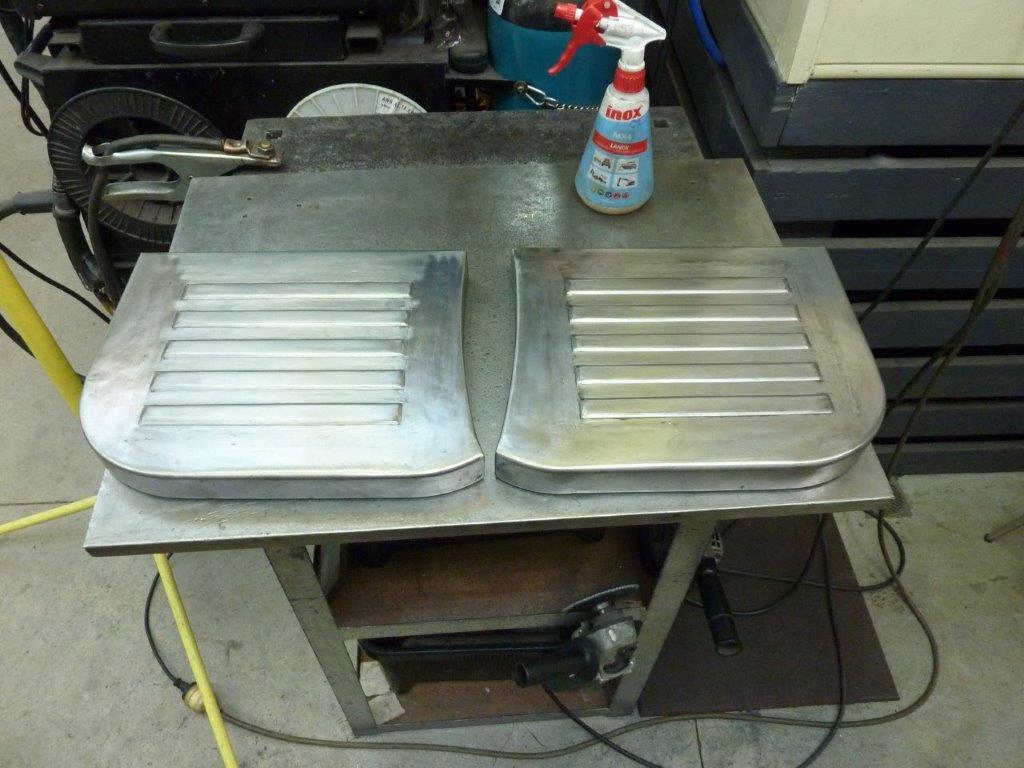
Both sides now done.