Thanks mate.

Many thanks for the support.
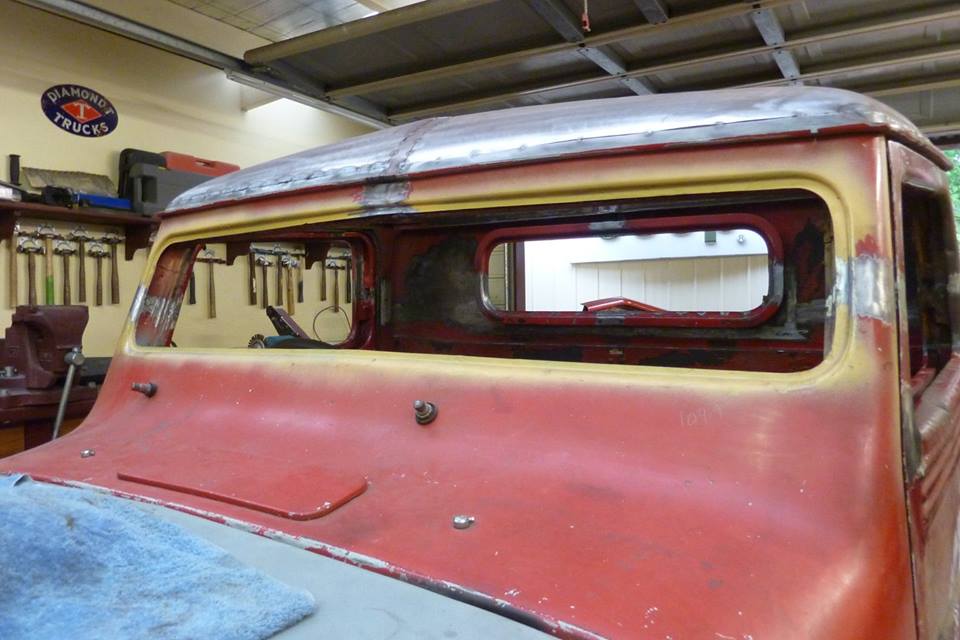
Another little update from yesterdays work.
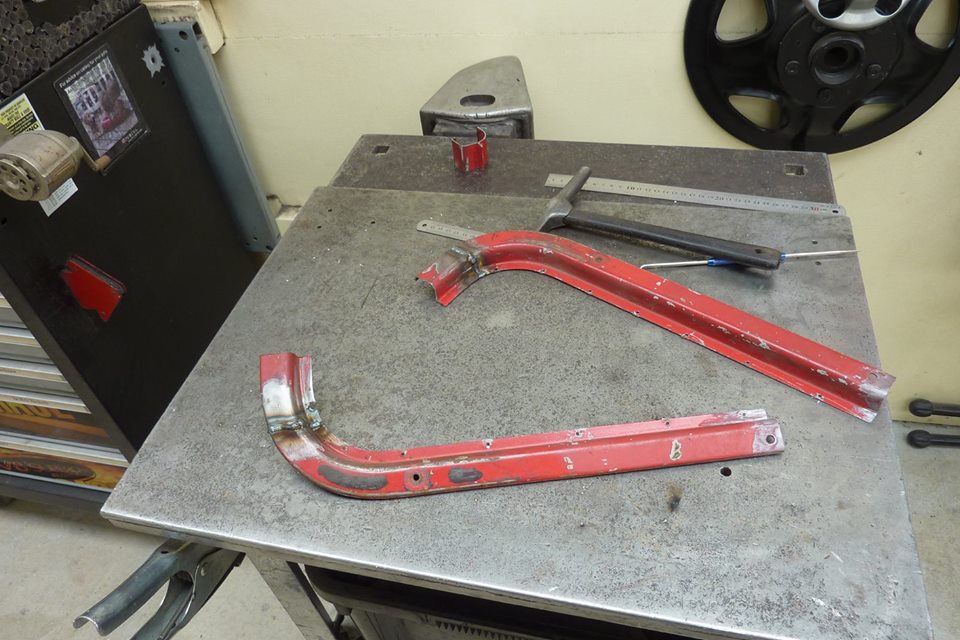
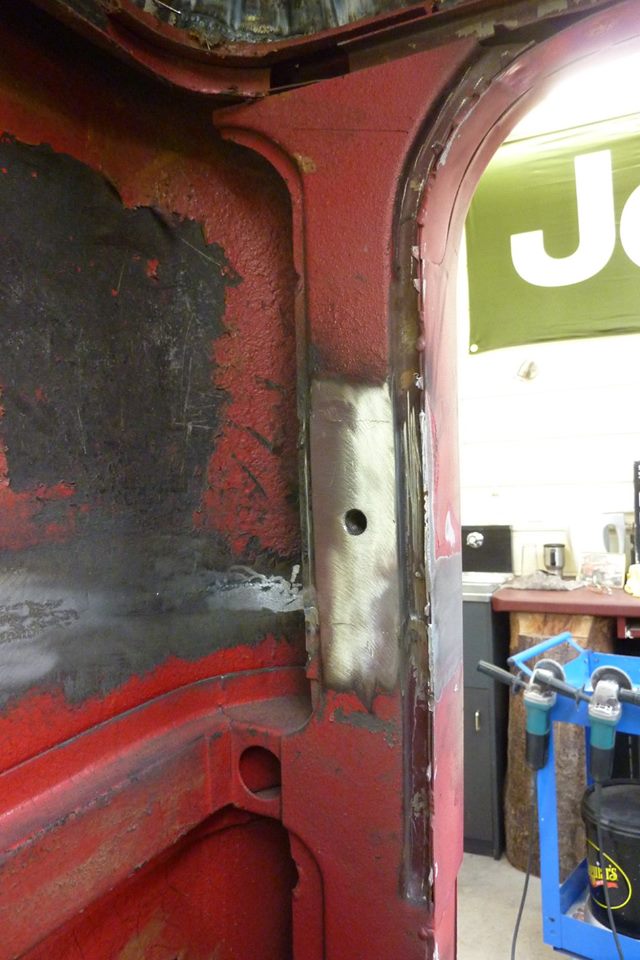
Hockey sticks! Like the rear wall, had to attach parts of the curved sections of the inner window frame left from not cutting the rear wall through the vertical section.

Joins in the middle of a curve are always harder to dress later than if done in the middle of the vertical part.
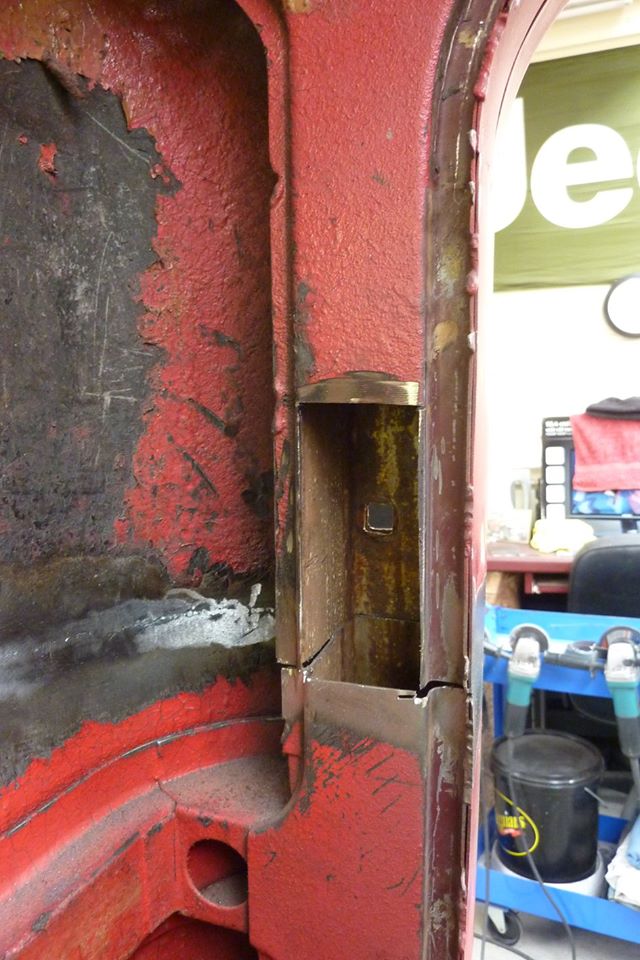
Cut our where the old seat belt mount was so I could get to the rest of the joins around the B pillar. The outer panel covers the rear face, and it is too hard to weld around the corner of the other seam. I also used a flat blade screw driver and hammered out the edge of the hole left that had caved in from the seat belt bolt passing through from the outside.
Once flat again I could tack in a patch to be fully welded in. Still able to hammer out any distortion through the B pillar from the other side.
Hole now gone.
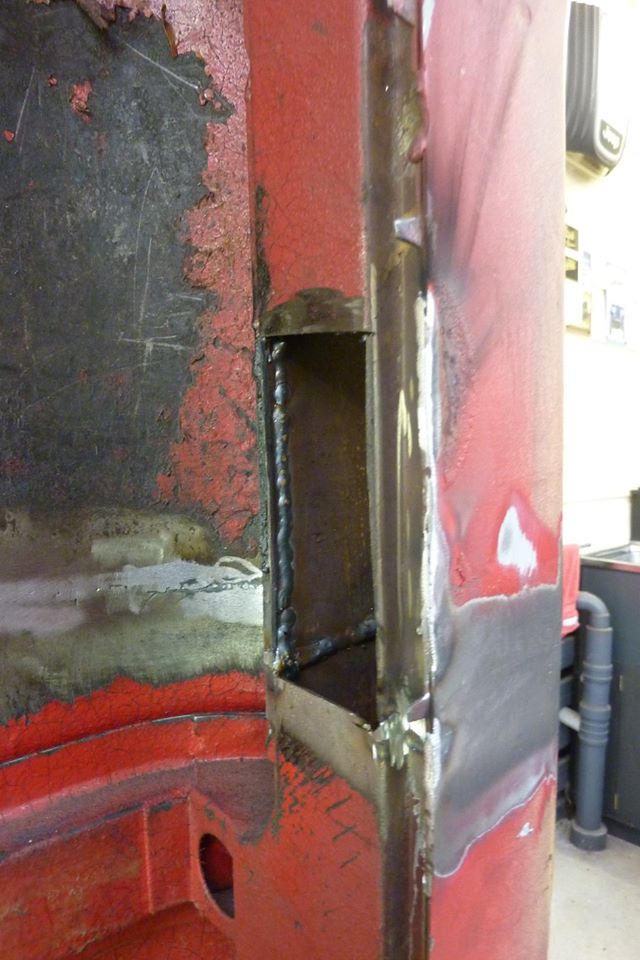
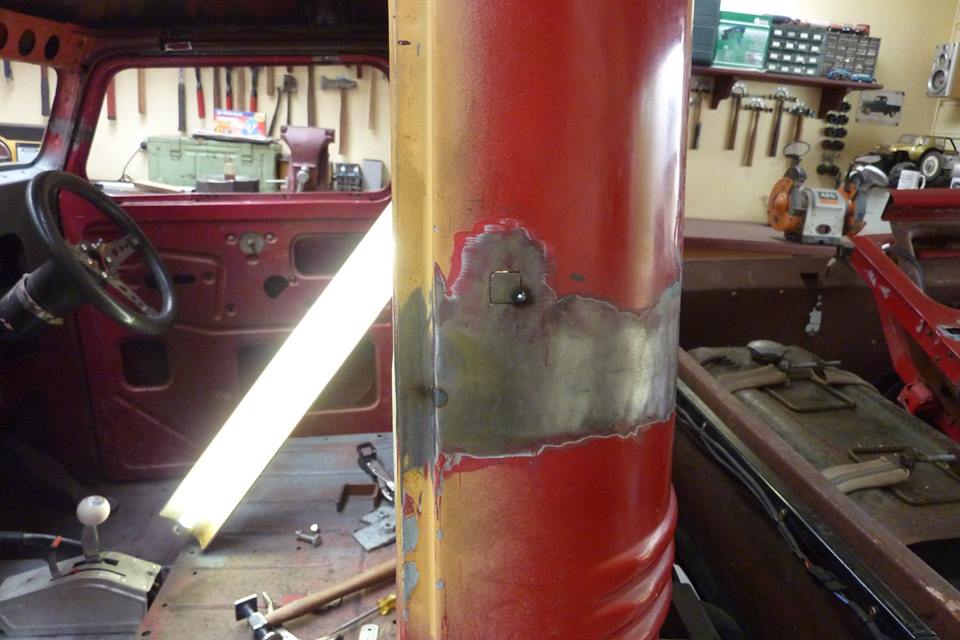
I was now able to align the pillar and weld across the back of it and side. Also added weld to both sides to better join the lip left from the face of the pillar as the seat belt mount plate will attach there.
Regulations call for a minimum of a 50x75x3mm, ( 2"x3"x1/8") plate for the seat belt mounting bolts. I have gone taller and slightly thicker in this case. A 7/16" UNF nut is mounted behind the plate, the same used on all belt mounting points.
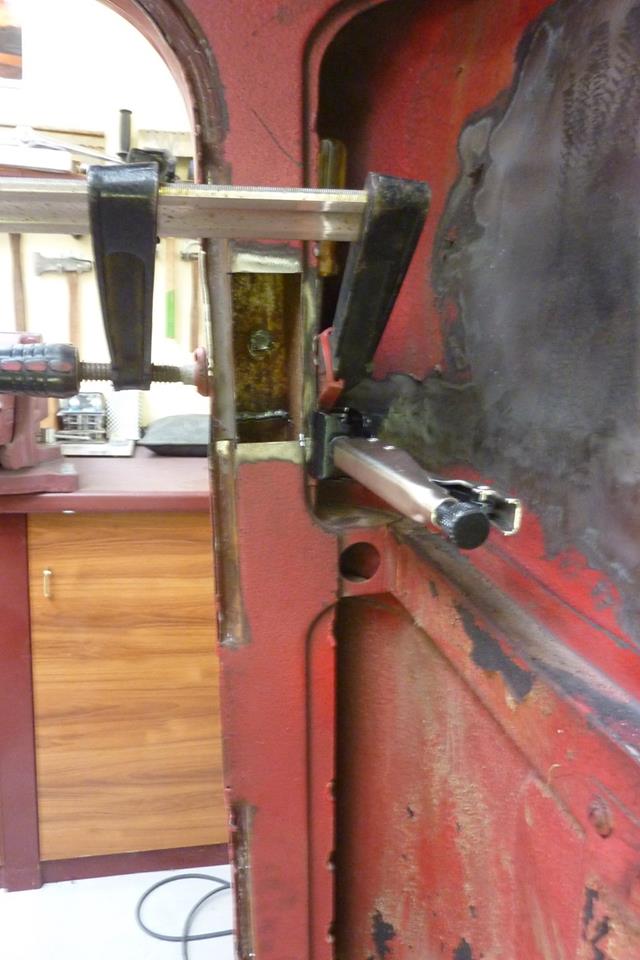
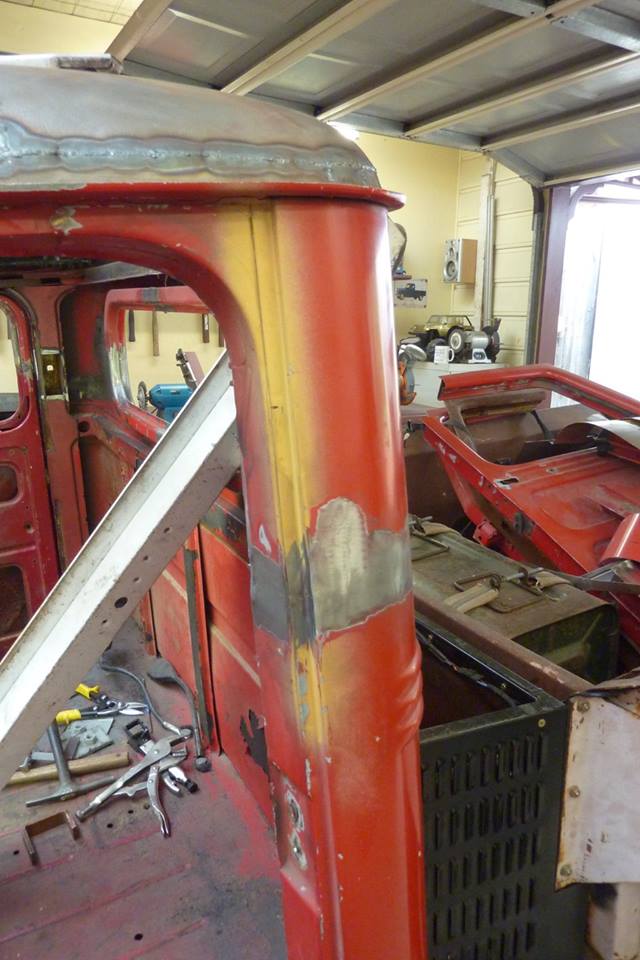
Sometimes you have to be a bit creative to align things before tacking!
So both upper seat belt mounts done and the inner window frame extended and welded into place.