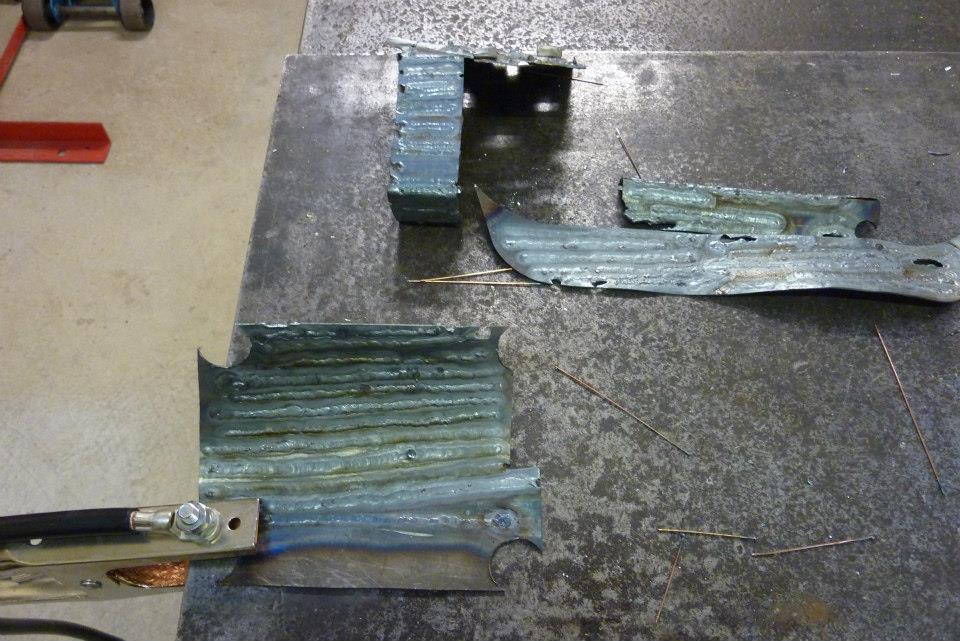
Haven't shown much from doing this side of the cowl as not much different to the other side. Some of the things I had to do differently was shorten this side by 5mm-3/16" to get it the same as the other side in overall height. I remembered the difference showing up when I checked it with a laser before cutting it apart. Measurement showed it was at the cowl seam so cut the extra out there before welding it up. You will also notice that the fold along the door edge has been straightened back out too. The cowl was narrower here by 2mm, affecting the door gap.

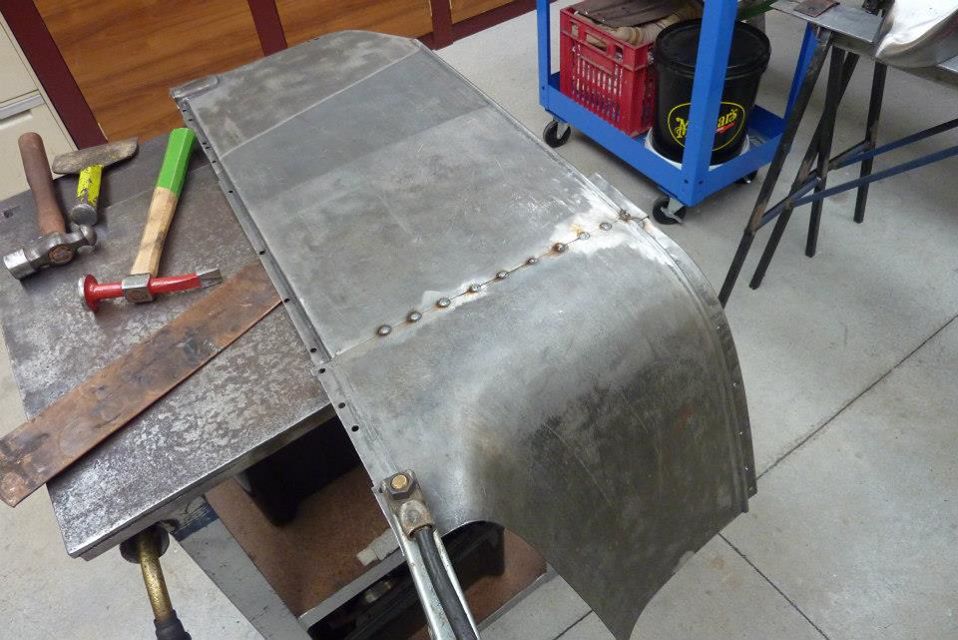
The very last part of the fold curved for the start of the A pillar angle. So it could not be folded along a straight edge. I just used vice grips to slowly bend it over with the slight curve at the top.
Can just make out the slight curve now. If I had not put it in, the A pillar would not have lined up correctly and would have increased the door gap too. It was only an extra 2mm different, but as the rest of the door gap is 4mm, it would have been 50% more.
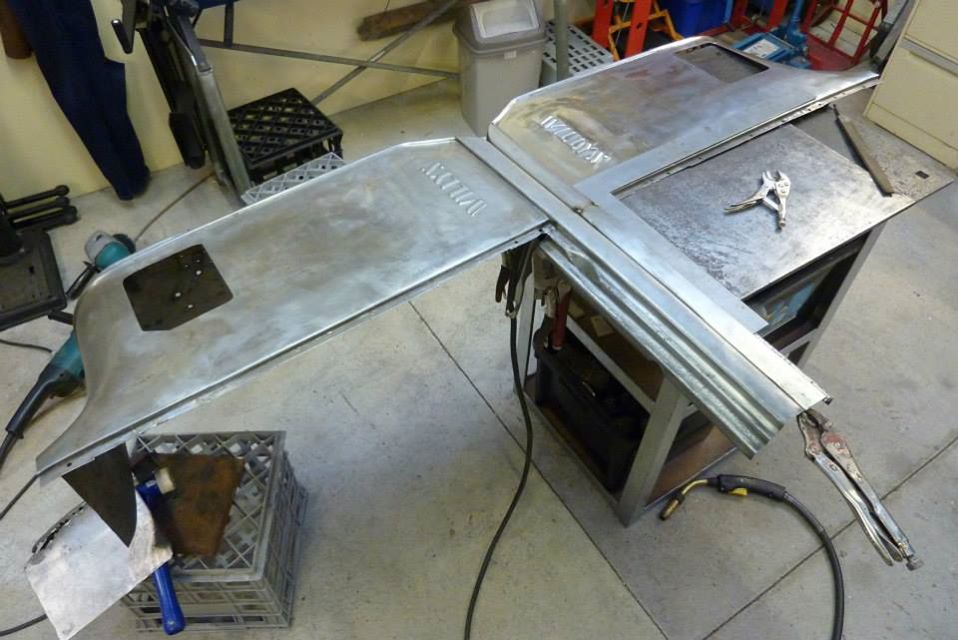
One thing that is quicker was that the angle of the door sill to cowl had already been all worked out on the other side. So I used that to get it the same for this side.

So to wrap up. The door sill profile has been extended right across the bottom of the cowl. The Willys pressing added and the bead running along the forward edge continues now to the bottom. Cowl seam has been welded up and cut away flush from the back. Rust repairs, including replacing nearly the whole bottom 12" as well as part of the door sill done. Holes filled and dents removed. The door sills have also been adjusted to follow the curvature of the doors exactly. The whole bottom half of the cab, back wall included, does not have a single original spot weld left!
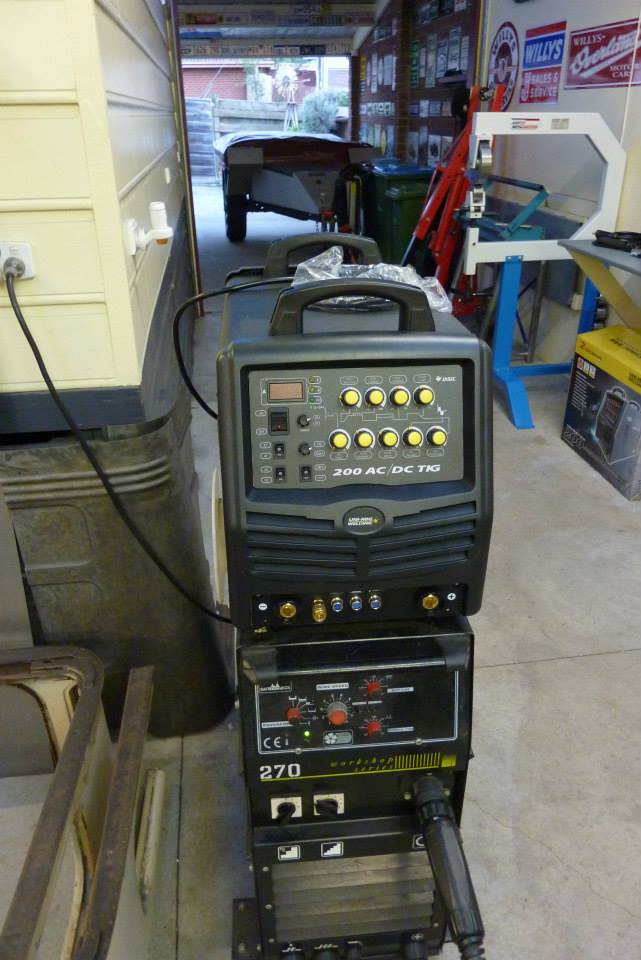
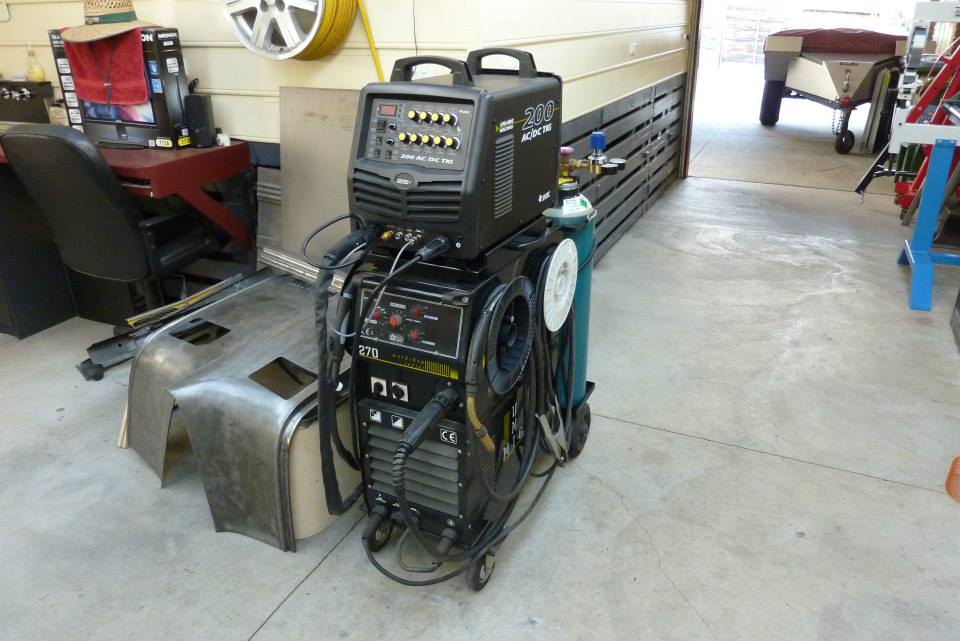
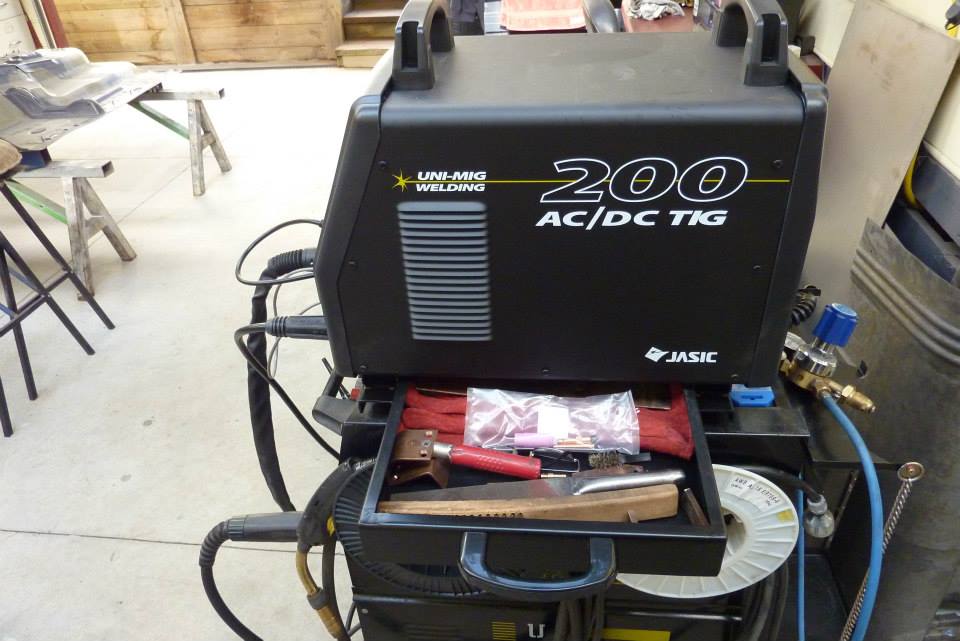
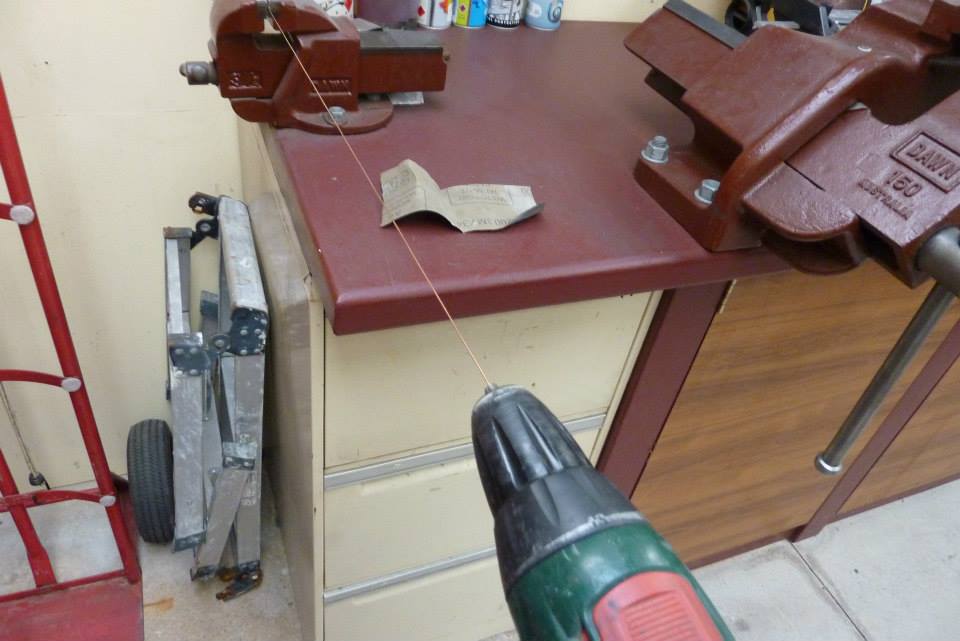
New TIG welder! Been hanging out for a year to get it and got it for a great price in the end of financial year sales. Stayed with the Uni-Mig brand as had double the warranty with local backup and service. My Mig under it is still going strong and would be around 7 years old now with lots of hard use. It is an inverter AC/DC 200 amp machine with analogue controls, as prefer them to digital. More reliable and can see at a glance what you settings are without going through menus.
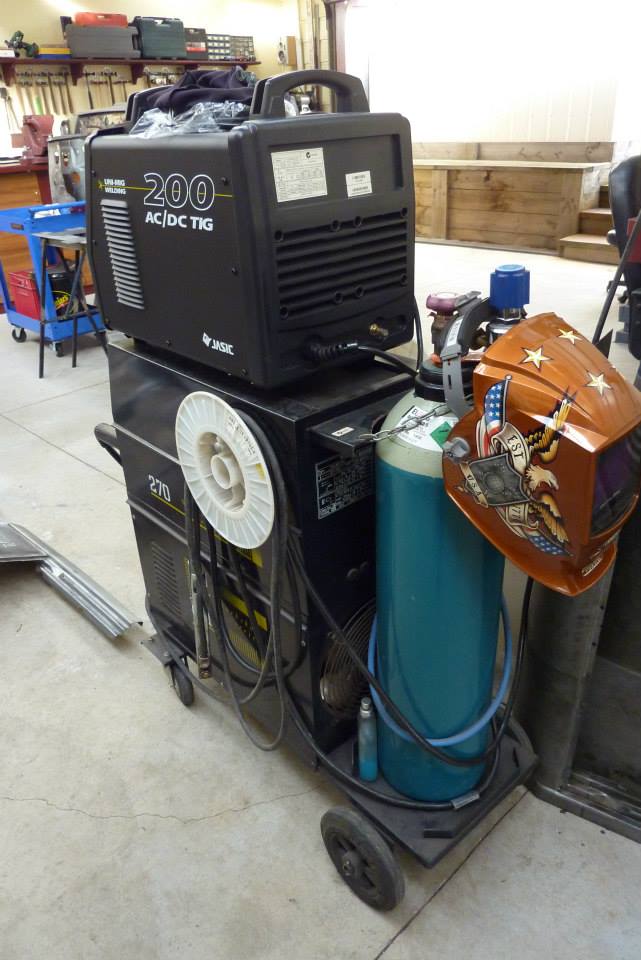
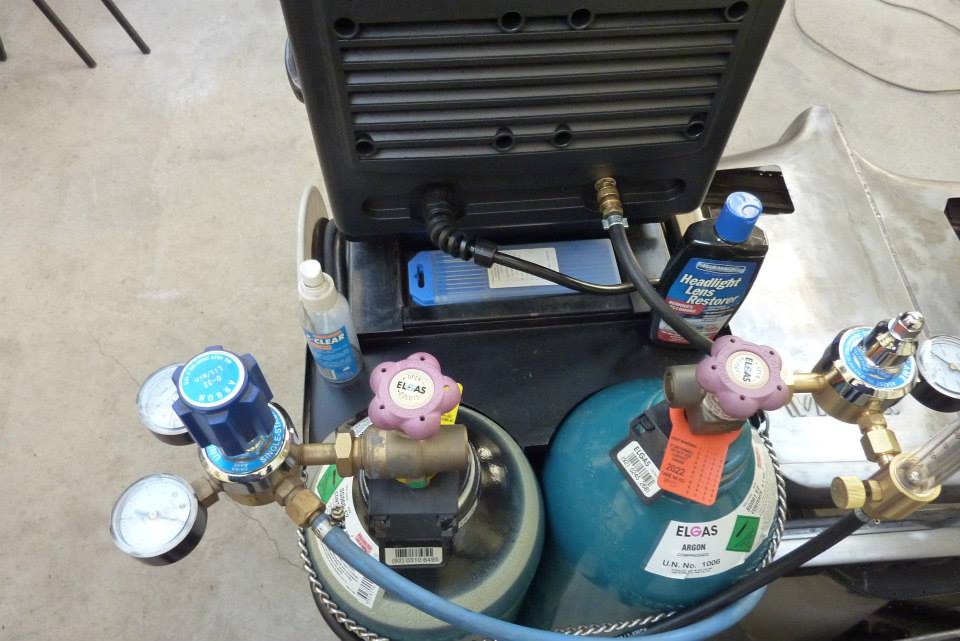
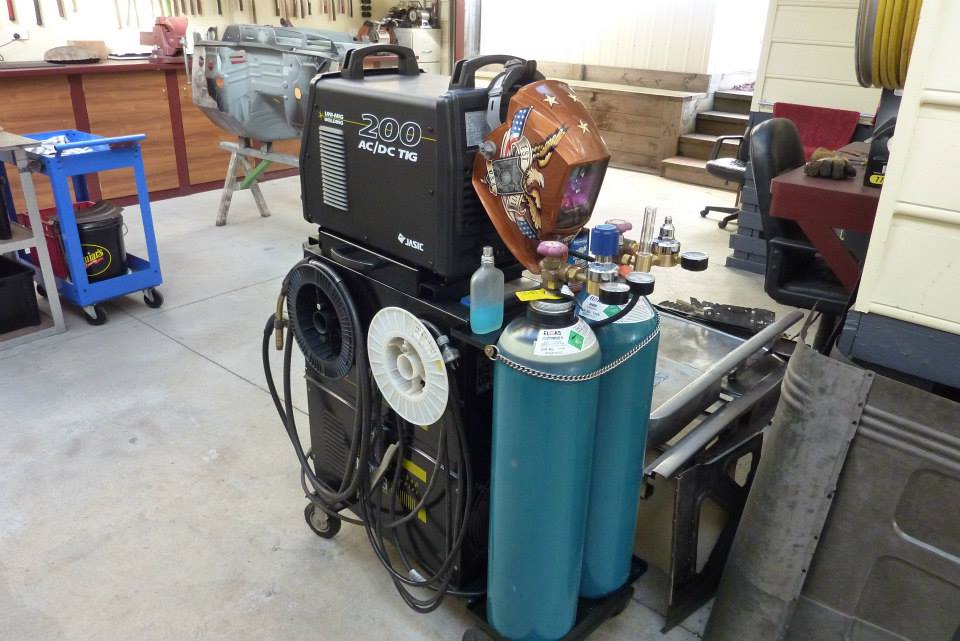
Going to make a wider rack at the back to hold two bottles so I can make this my welding station. Less floor space this way and either process always ready. Now just got to learn how to use the tig! Been doing much reading and already know what each of the knobs do and watched many a youtube video. Will see how it goes. Hopefully get some advice along the way to sort out any problems. Love learning new skills and that is why I took on this build.
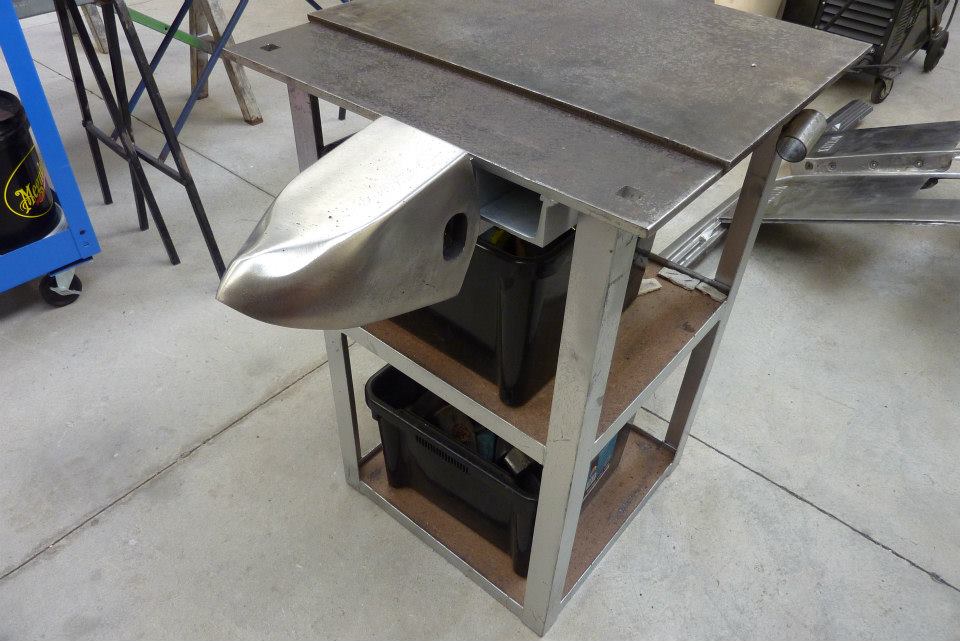
Also made a couple of mounts for stake dolly I made from a ripping tooth on my weld table. Can be mounted 90* to this as well.