Just finishing off the louvres. Like to add another tip on cutting them. At first I was hitting too hard and would blunt the chisel straight away. Found it did a better job, and saved the chisel more, by first going along the line rocking the chisel while tapping it lightly. Then go along again cutting all the way through but never letting the points of the chisel touch the metal. Only needed to lightly sand the chisel between louvres to keep it sharp.
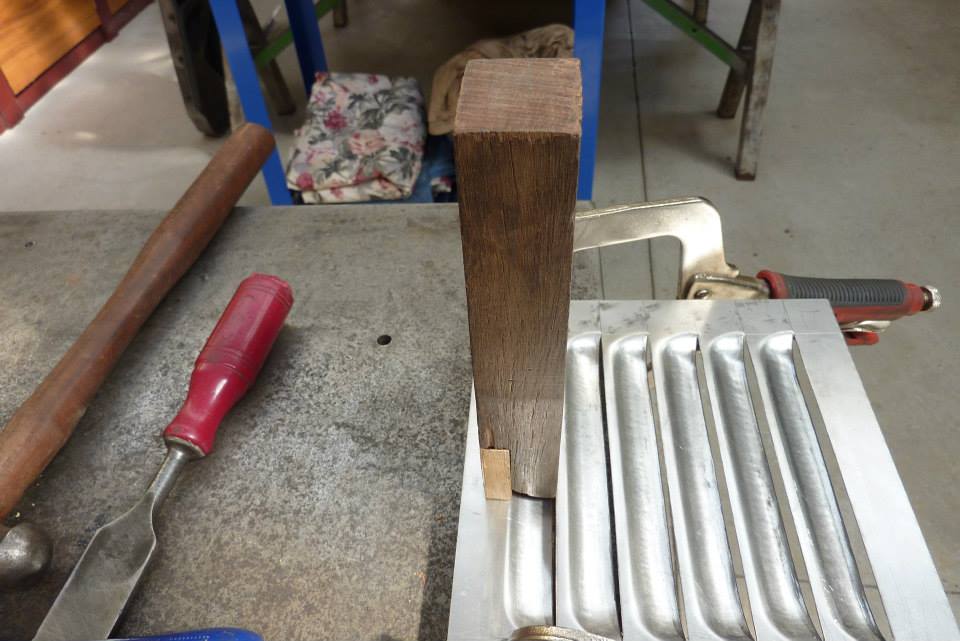
I modified the former a bit by adding the extra piece you can see in the lighter coloured timber. What this did was make the top edge of the louvre sit down flat without twisting up the louvre which is what would happen if you just hit it down with a mallet on its own after the louvre was formed. It also further controlled the depth of the louvre making them all very consistent.

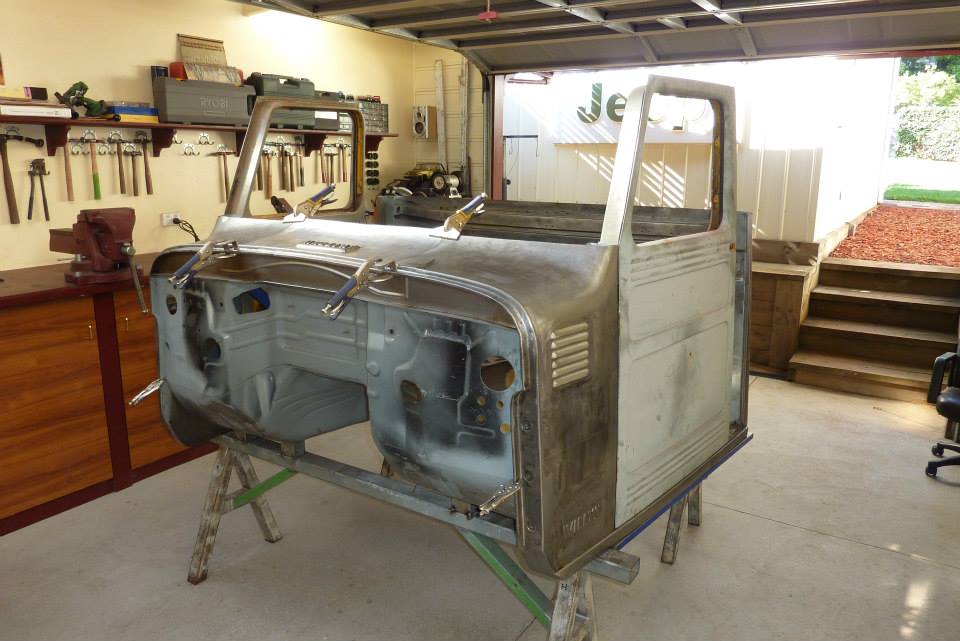
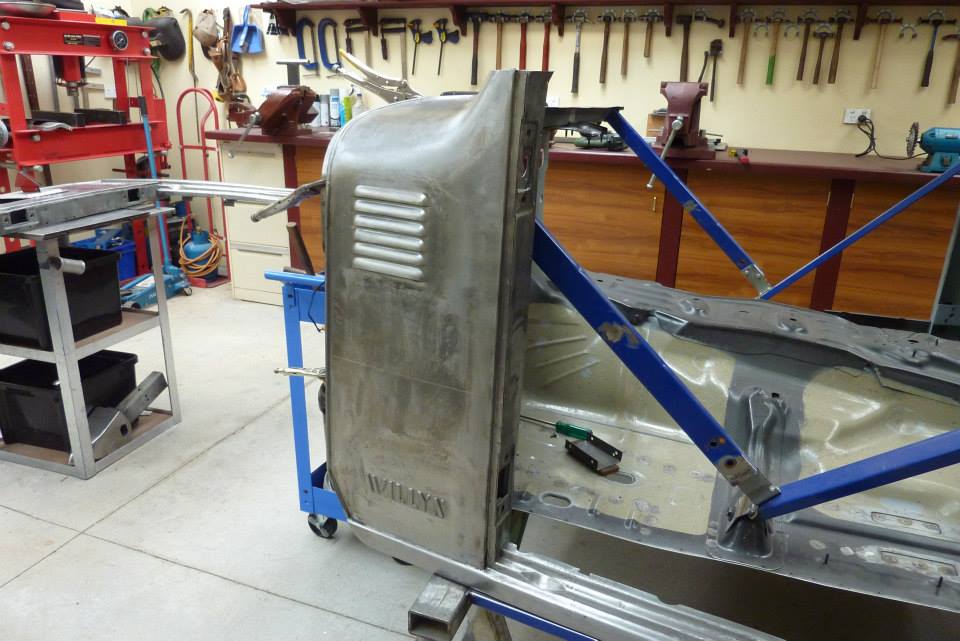
Now to set out where they will go. I held the front guard in place against the edge of the cowl so I could mark where the top of it was. I wanted the slot of the last louvre to line up with this.
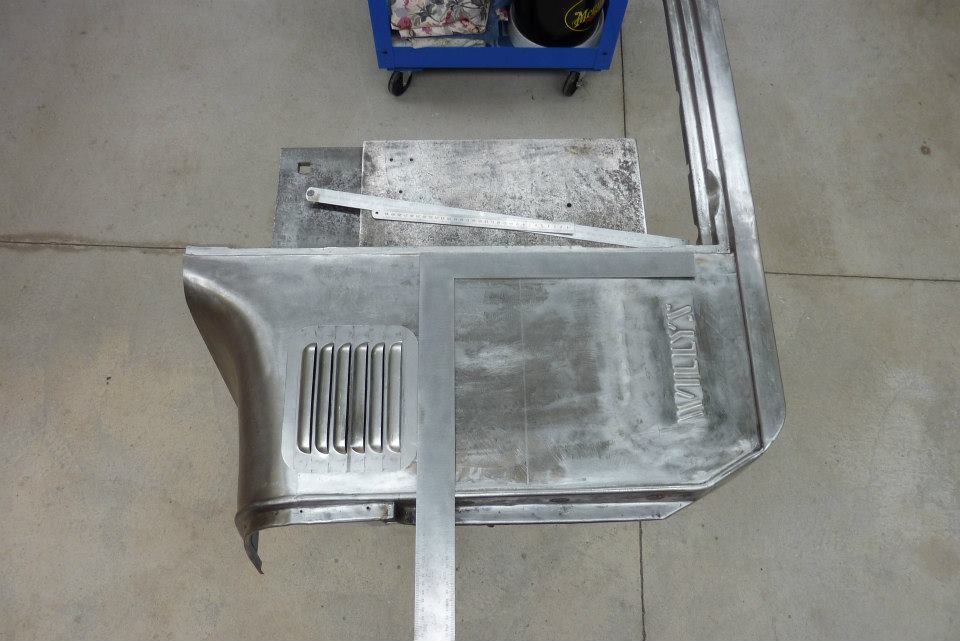
Then made sure it was square to the door A pillar which made it parallel to the bottom of the door sill too.

Showing the other side now but lets you see how much bigger the cut out will be than the original Landcruiser vents I was going to fit.
Good gaps around it ready for welding.

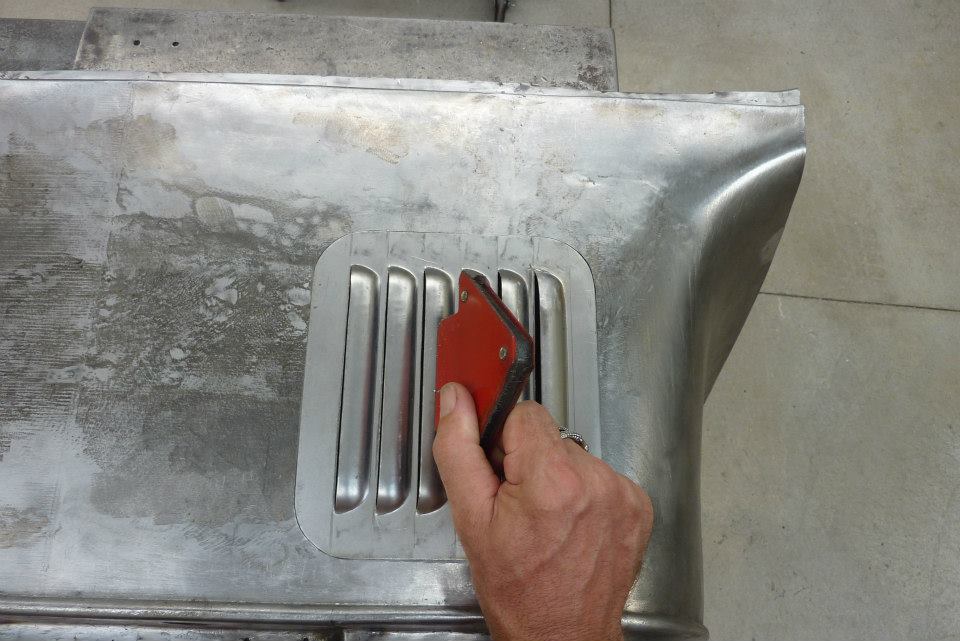
Can see the shrinking of the weld has affected the bottom louvre slot. More planishing is needed to flatten it out along the weld line.
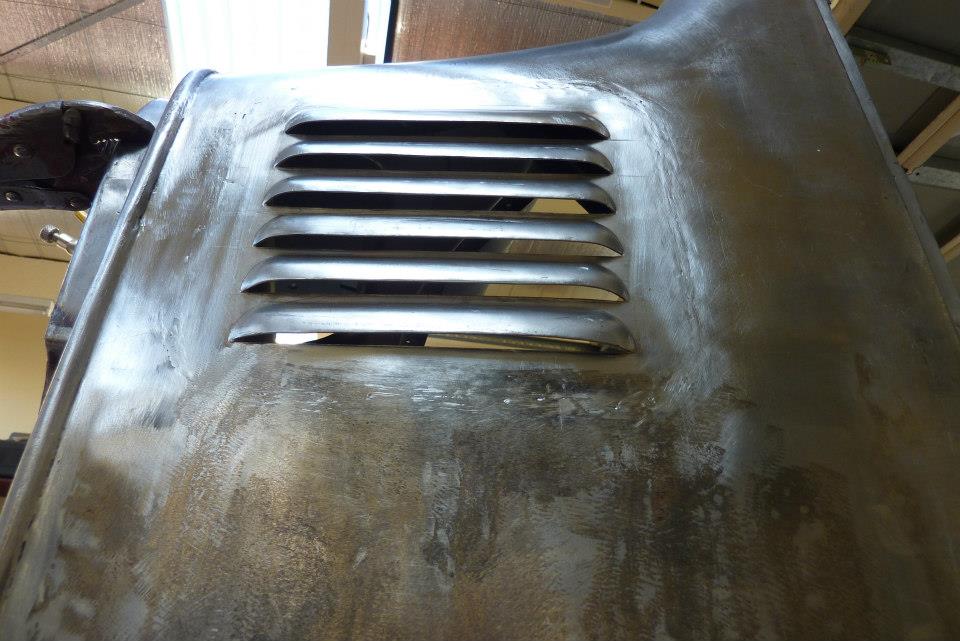
Straightened out pretty well.
The two together should provide enough fresh air to the intake of the A/C unit.
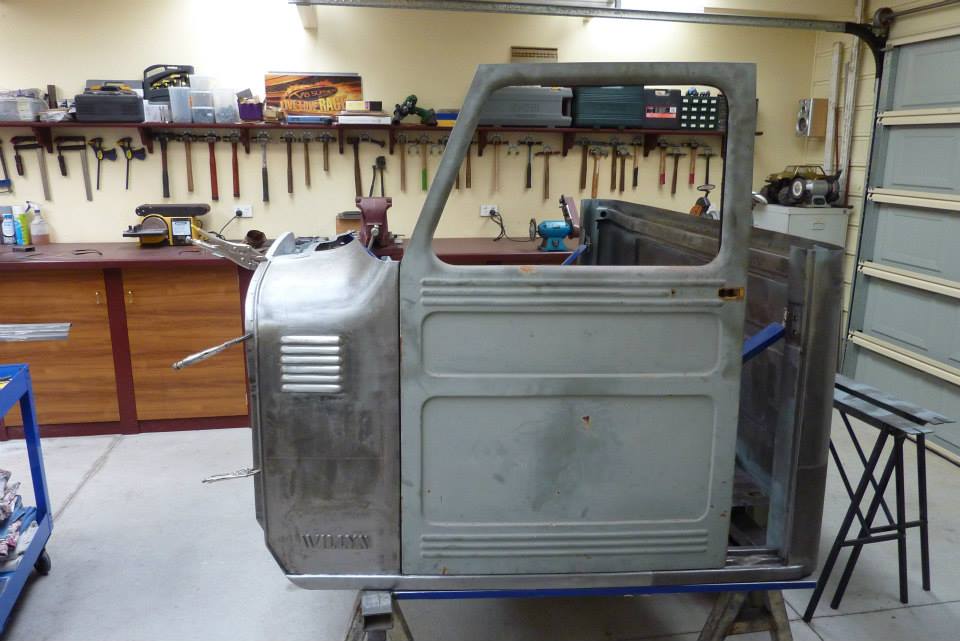
Doesn't look too bad. Function over form as like my fresh air yet still keep the windows up so it is quieter for long drives.


 XJ Cherokee
 HG Premier