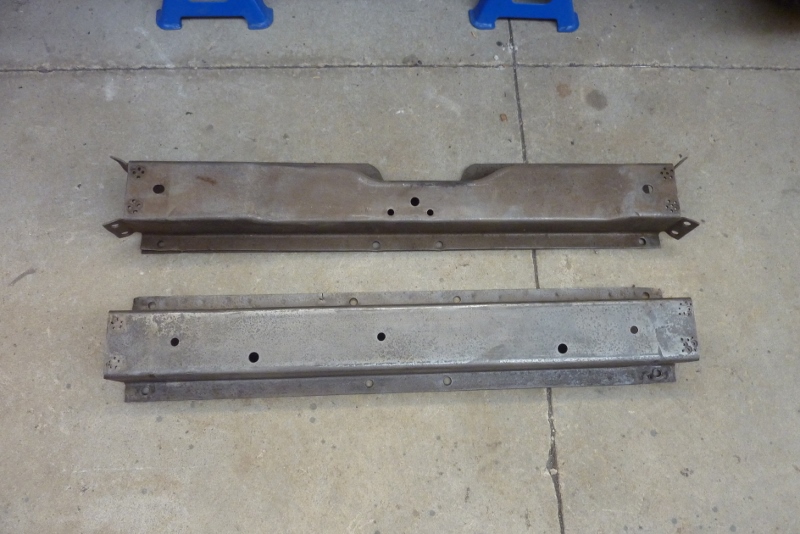
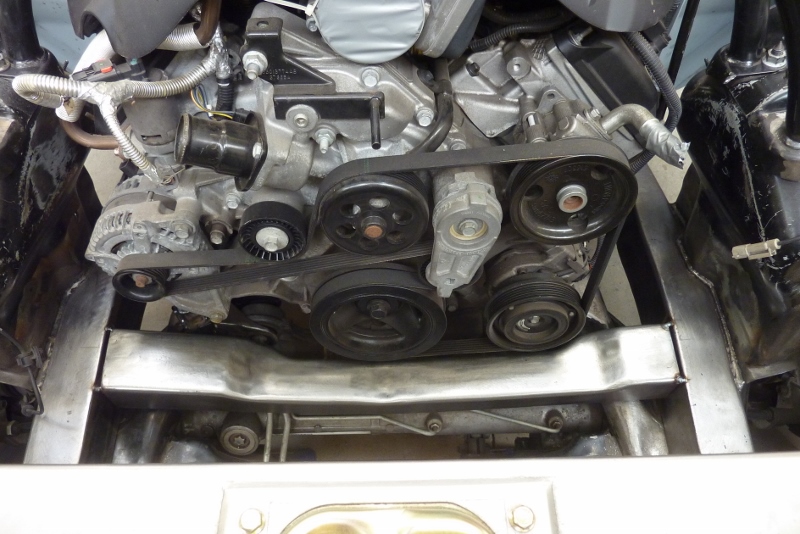
When building the chassis I knew I didn't have quite enough room for the front cross member between the front of the engine and the back of the fan, so left it out for the time being. I have both the 4 cylinder one on the bottom and the 6 cylinder one at the top to choose from.

I'm going to go with the 6 cylinder version as it drops down and has a cutout for the harmonic balancer. I only have the width of the narrowest part of it to fit between the fan and the bottom pulleys! And that was after I had already moved the grille forward 40mm-1.5" when reprofiling the front guards.
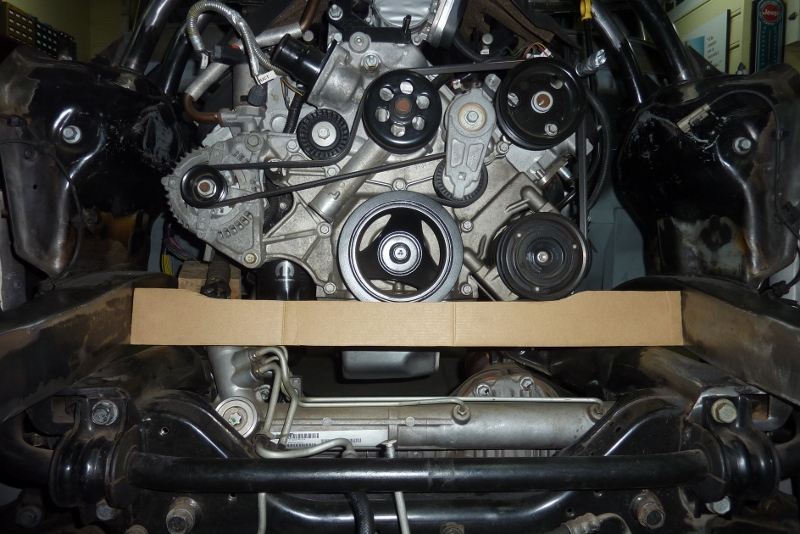
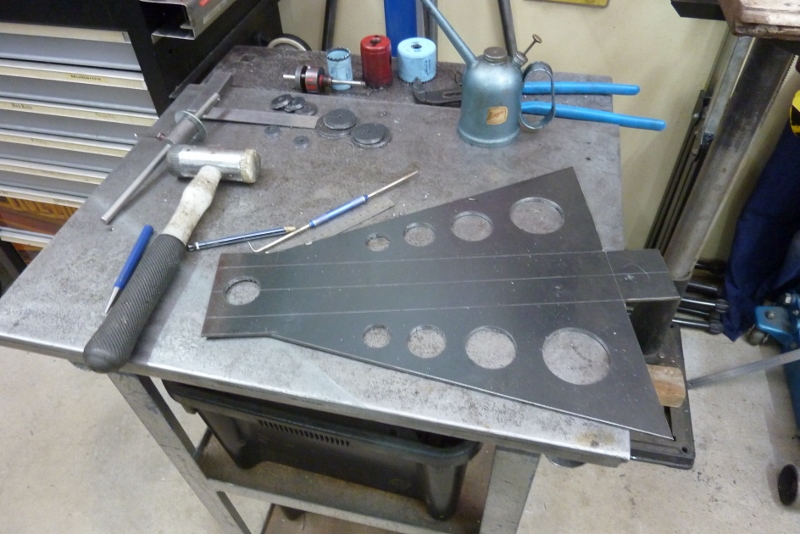
I find making a cardboard profile of the cross member helps visualise what needs to be done rather than start cutting away steel. It doesn't clear the underside of the pulleys, but not that far off. Can see why the 6 cylinder one was a better choice
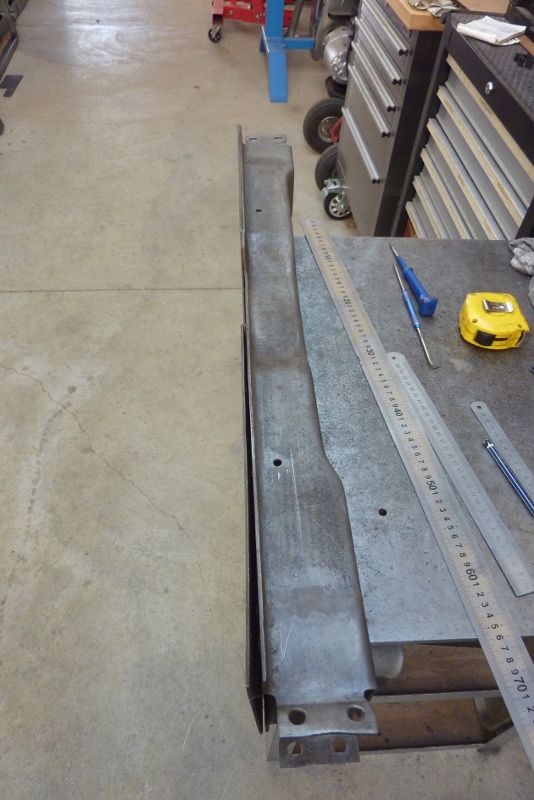
The bottom plate is just spot welded on and was already coming apart. I need the flanges removed for more clearance anyway, so will cut it off for now.
I was surprised how clean it was inside! I had soaked it in the citric acid bath 5 years ago and then just pressure washed the inside from ends to rinse it.
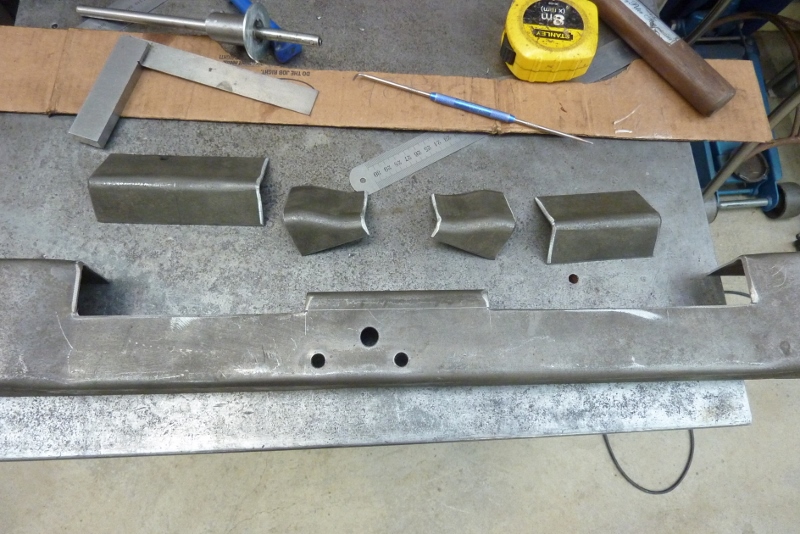
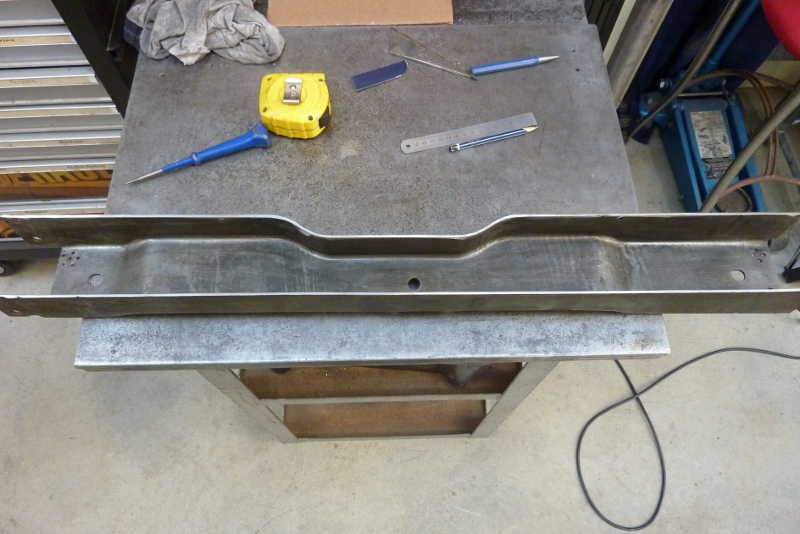
The cutout for the balancer was not long enough as it needed it to clear the A/C compressor as well, so will reuse the factory pressings and move them outwards.

Can see how it goes together while still only using steel from the original cross member. They just swapped places after the fill in pieces were cut down.

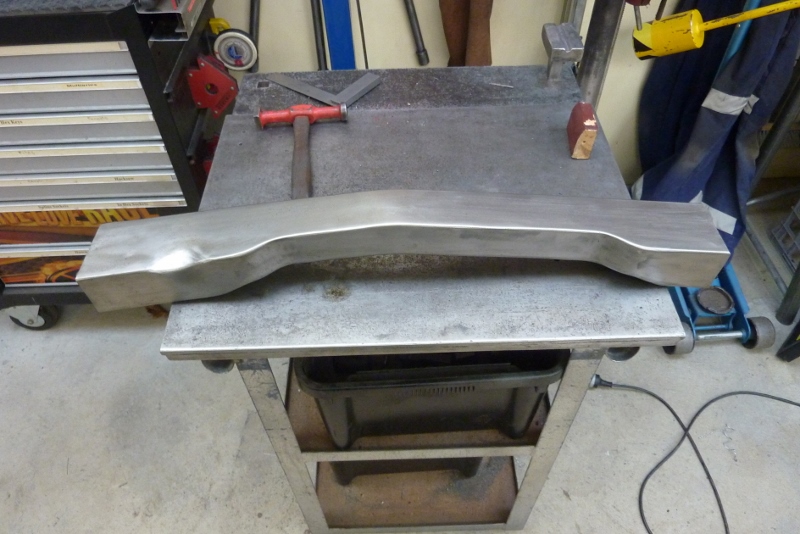
Now even though the longer cutout means it clears the front of the engine, it only just fits between the engine and fan without clearance. Rather than make the whole cross member even narrower, I will get it to go under the engine to give me the clearance I need. I cut a V into it but not all the way down, leaving 13mm-1/2" at the bottom. When I did the chassis rails I left 25mm-1".
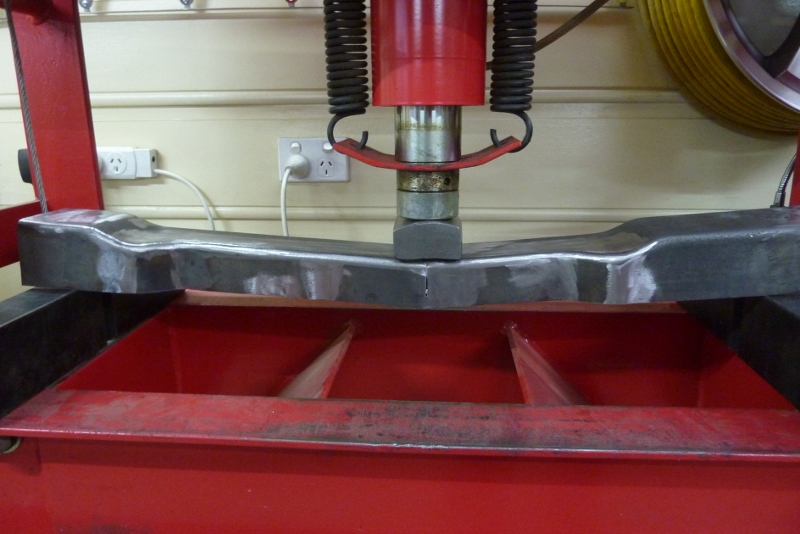
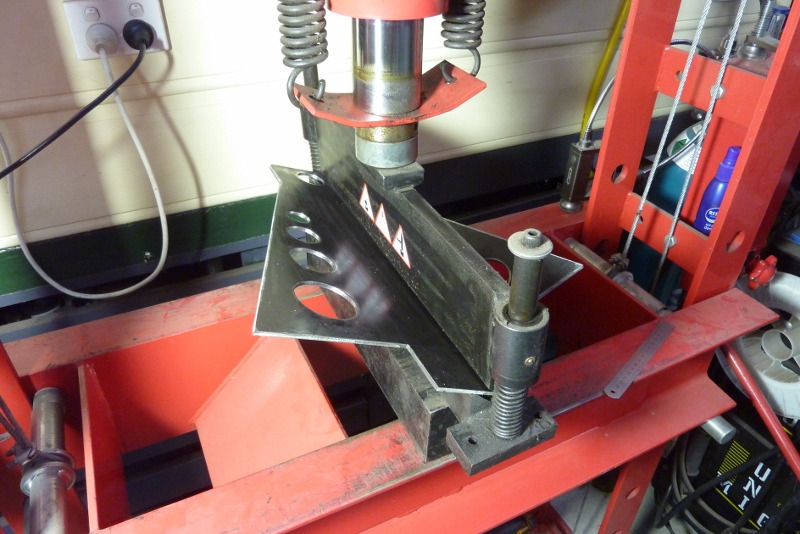
Leaving it partially uncut not only keeps everything in alignment, but gives you a radius at the bottom. The more you leave the bigger the radius. Takes very little pressure to bend it and I tack it in place while under the press.
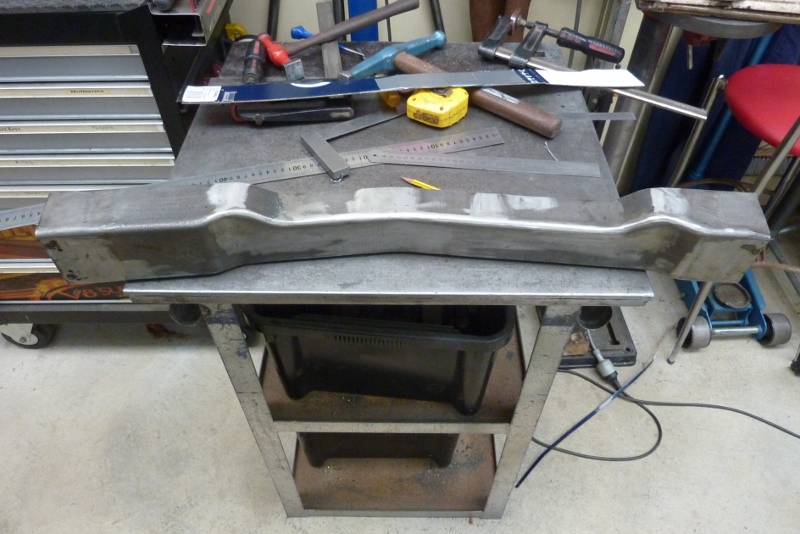
Welded up and you can see it looks more factory than just a mitred cut.

I coated the inside with zinc paint before welding the bottom plate back on again.

I put a block in the middle a bit taller than the gap and then tensioned the cross member over it with clamps at each end. Then tacked on the bottom plate.
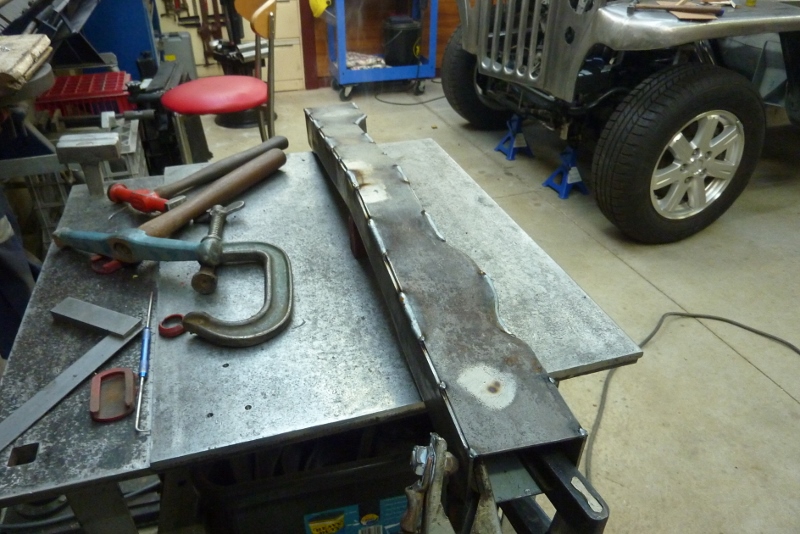
While still under tension I stitch weld a section before quickly doing directly opposite it. Ten leave a space before doing another stitch weld. Even though the tension over the block will help stop it from trying to straighten out some, it still good practice to balance your welds to stop twisting.
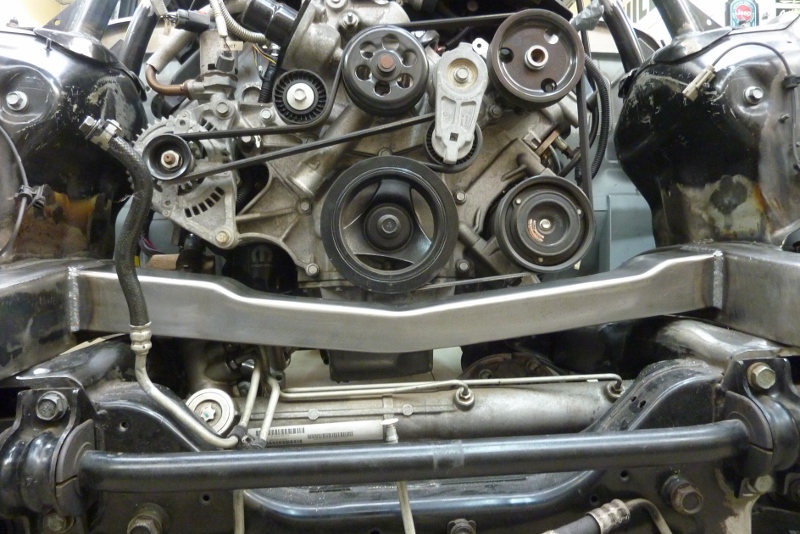
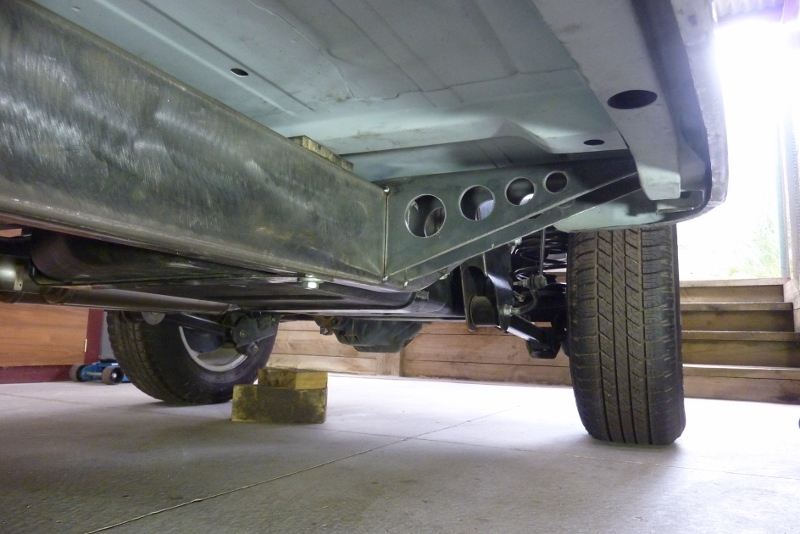
Once fully welded it was smoothed out. You can also see where I had hammered in a scallop to give clearance over the power steering rack.

Plenty of clearance over the rack, more than the minimum 10mm-3/8" clearance required.
Now it seems superfluous to have lengthened the cutout when the engine still hangs over it, but the reason is I now have just enough room to unbolt the subframe, with engine and everything in place on it, and move it back towards the firewall and drop the whole lot out the bottom of the chassis. Makes future engine or transmission changes easier.
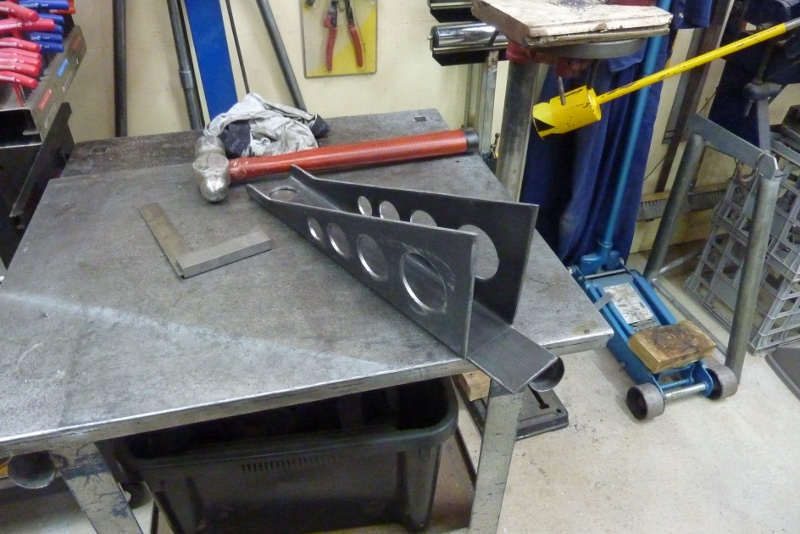
Worked out well with just using the one bend in the cross member to clear the pulleys.


 The Jeep
 Trailhawk

