Just finishing off a part that I was working on before picking up the new Willys. Hate to leave bits half done if I can avoid it.
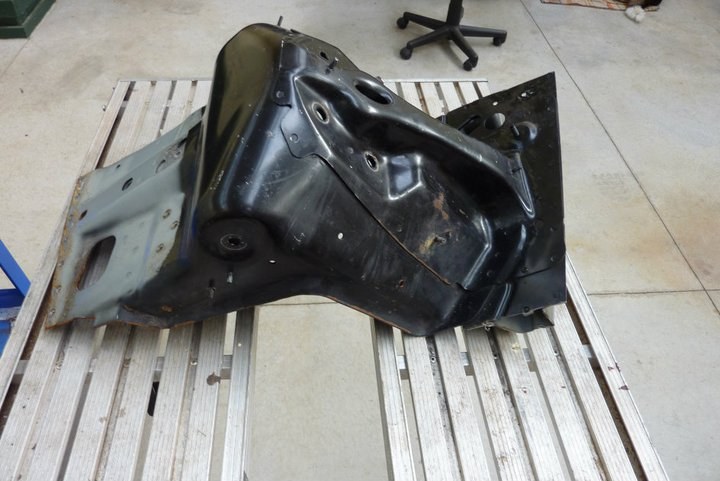
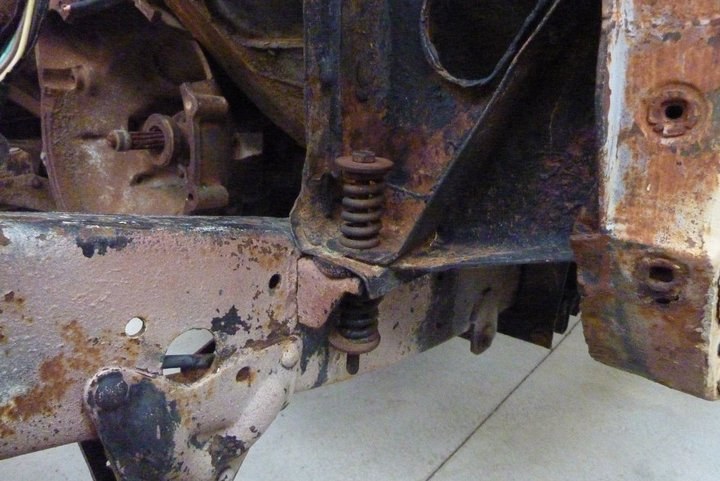
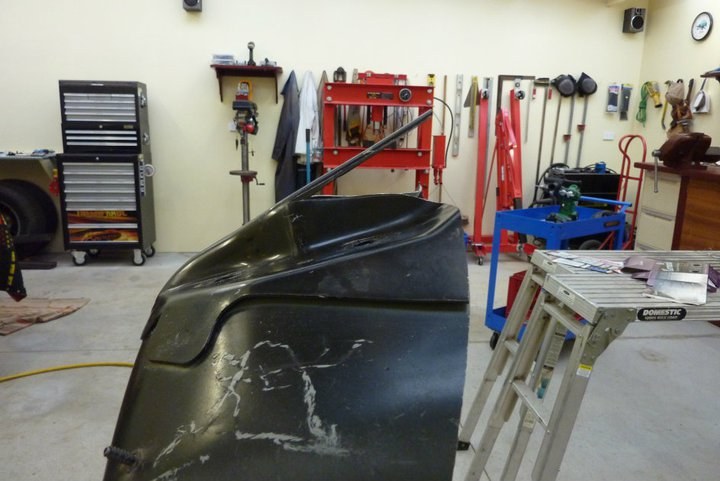
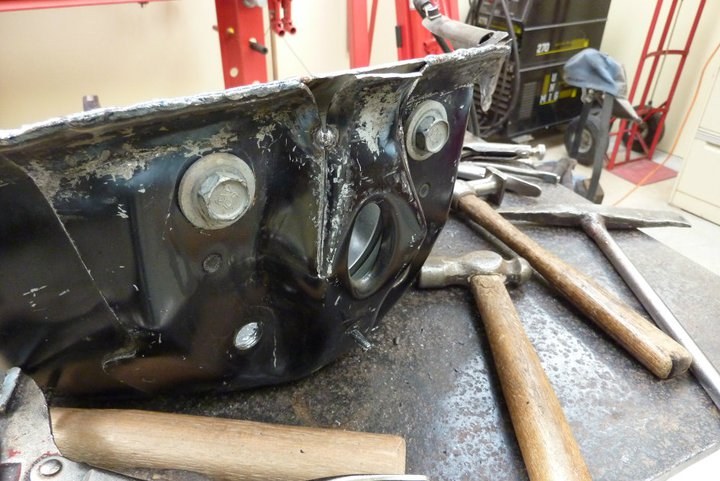
This is the mount for the upper wishbone as well as the coil over. It went from the Grand Cherokee uni-body frame to the inner guard. The right side of it was where the front guard bolted on.

As I cannot attach to the inner guard of the Willys due to having a separate frame, the two mounts will be braced across the engine bay to each other instead. So I cut off what was not needed but left an extra inch out from the coil over bolt area. This did make it look rather bad though with the pressed up part sticking out and open. Also the flared edge just terminates halfway along.
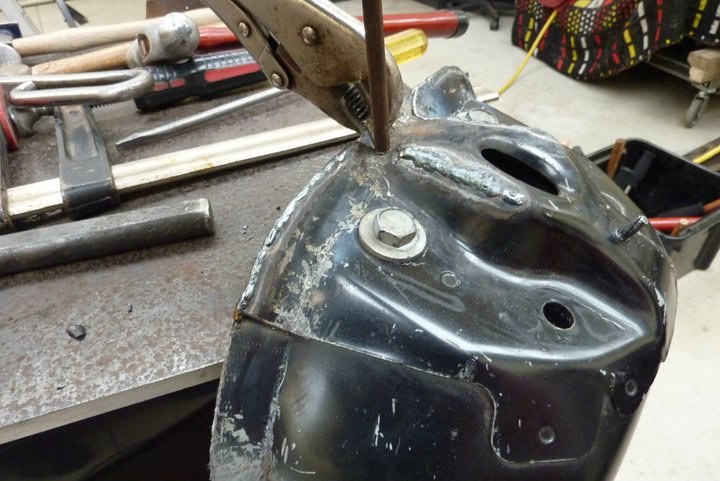
To improve the look of the pressed part that goes over the top of the shock pin, I decided the bring it down the same as the first half to close it up.

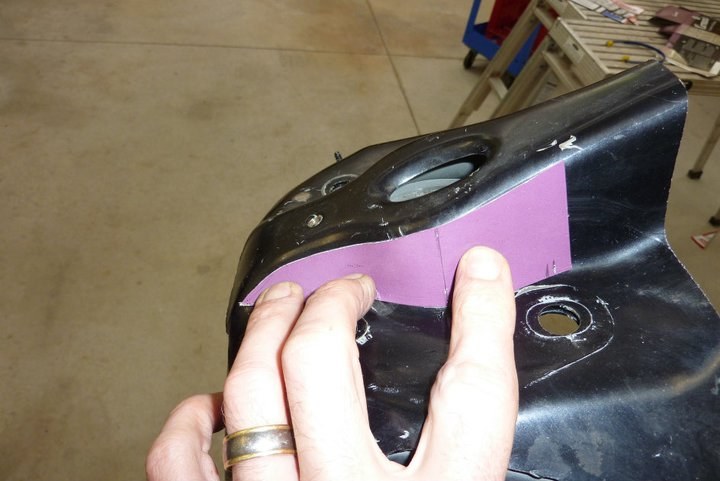
Flipped the pattern over making sure it was centred between the coil over bolt holes and at the same angle.
Using my new airsaw, cut the piece out
Continuing the flare along the edge was rather difficult as the HSLC steel has a 50% greater yield strength and requires 40% more force to form it. Even harder on the sections that were double thickness.
So I clamped it in my vice and then pushed the hole mount to flare it bit by bit. Did this over the whole edge around three times to get it where it matched the factory flare. When going back over, made sure it was always between where I clamped it last to make it smoother. Had to use a 18" shifter in some places too.
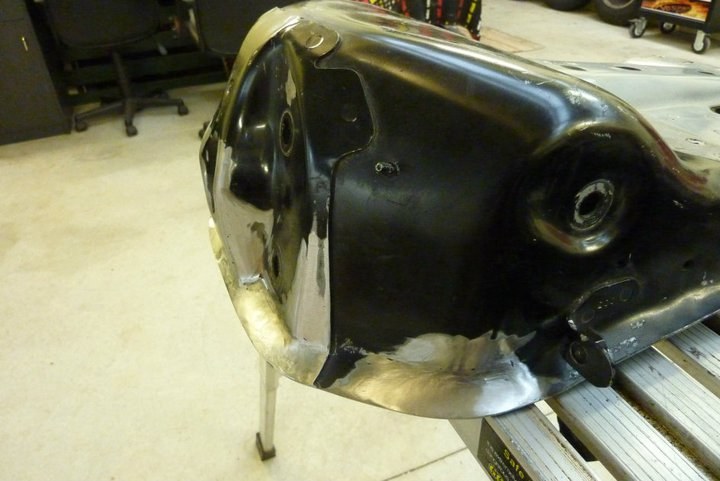
A small amount of hammer work was needed for the final finishing. Then arc welded the edge where it was double layered.
The top piece was pulled down and the end of it bent up a bit just using vice grips and hammering in the curve.
Welded the join closed except for the last bit which I could get the shape I was after yet as quite hard to move it cold. Hard to weld as the steel is galvanized and a bit thin for my arc welder, but very solid all the same.
While it was still hot from the welding, I was able to get the bend I was after using a cold chisel and hammering across where I wanted the bend and then peening over the edge just using a rod.

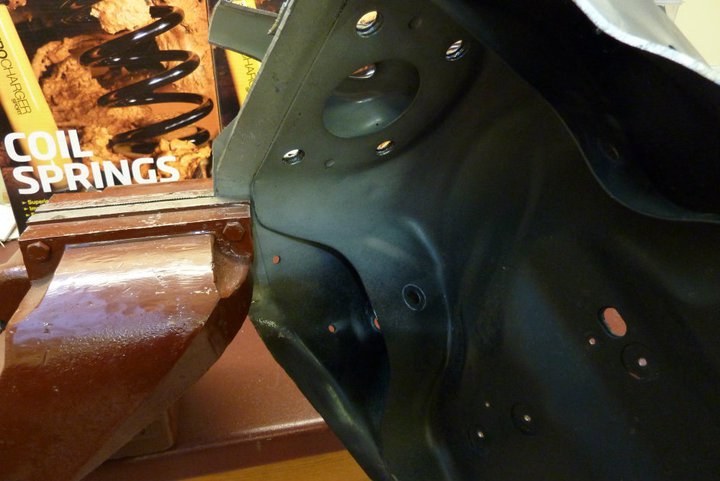
Can see here how it looks much better with the flare continued all round and the open end closed up.
The flaring of the edge also stiffens up the whole mount considerably which is why the factory did the first part which was not part of the inner guard.
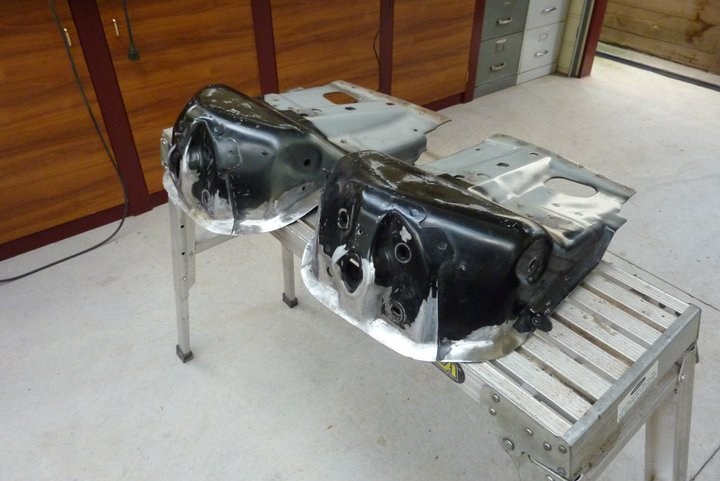
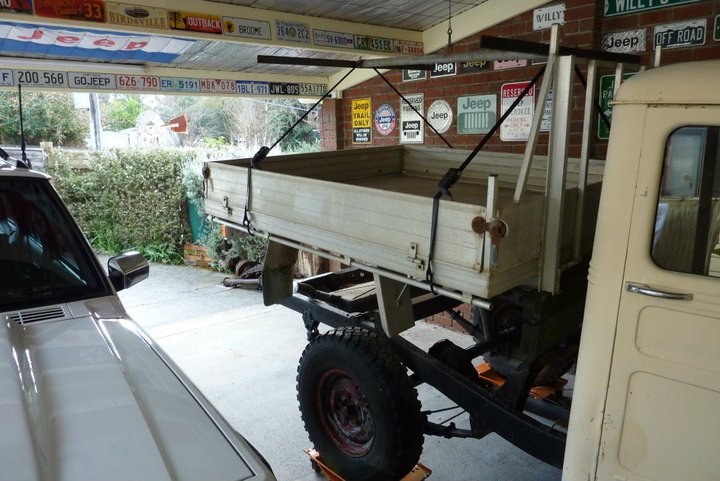
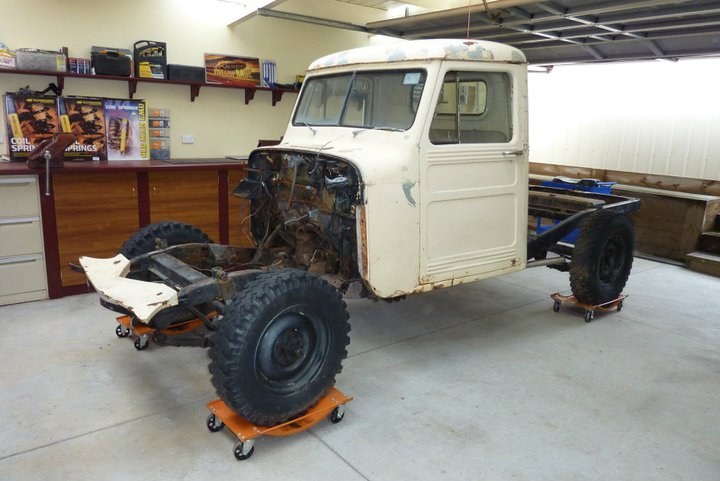
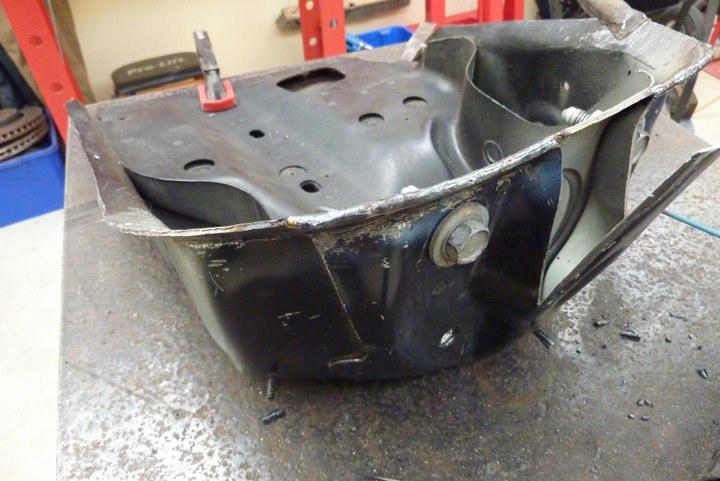
Another small piece done ready to be attached to the new 1948 Willys frame I just got on the weekend. Just needs to be stripped and cleaned yet though and meet my engineers approval!