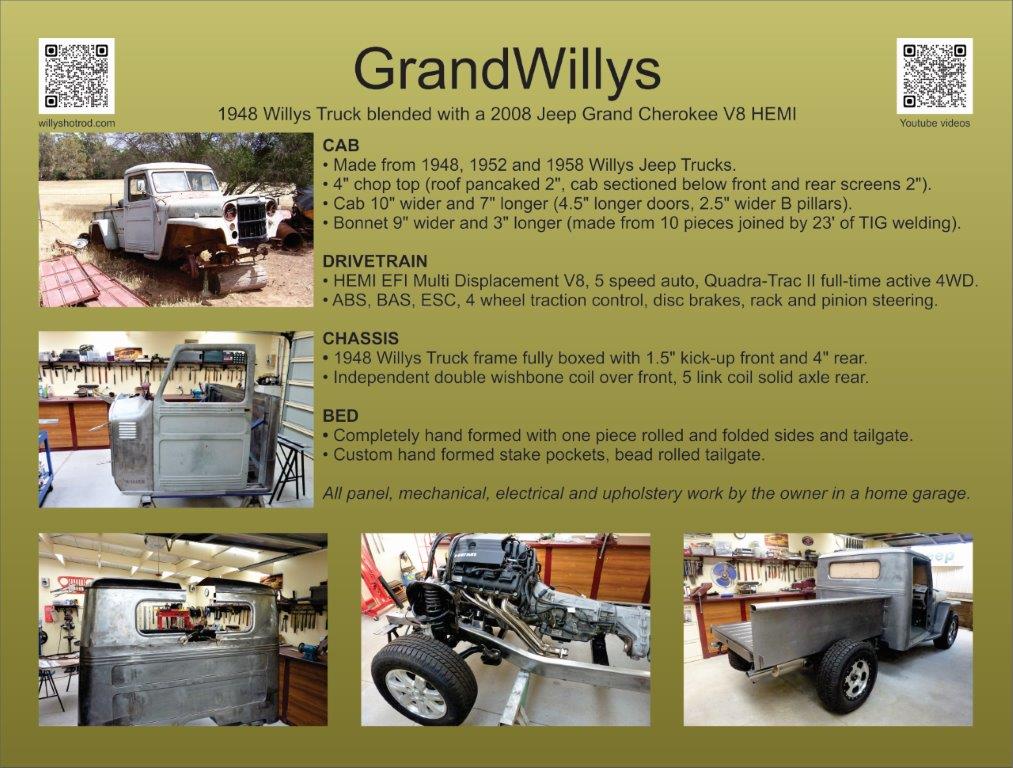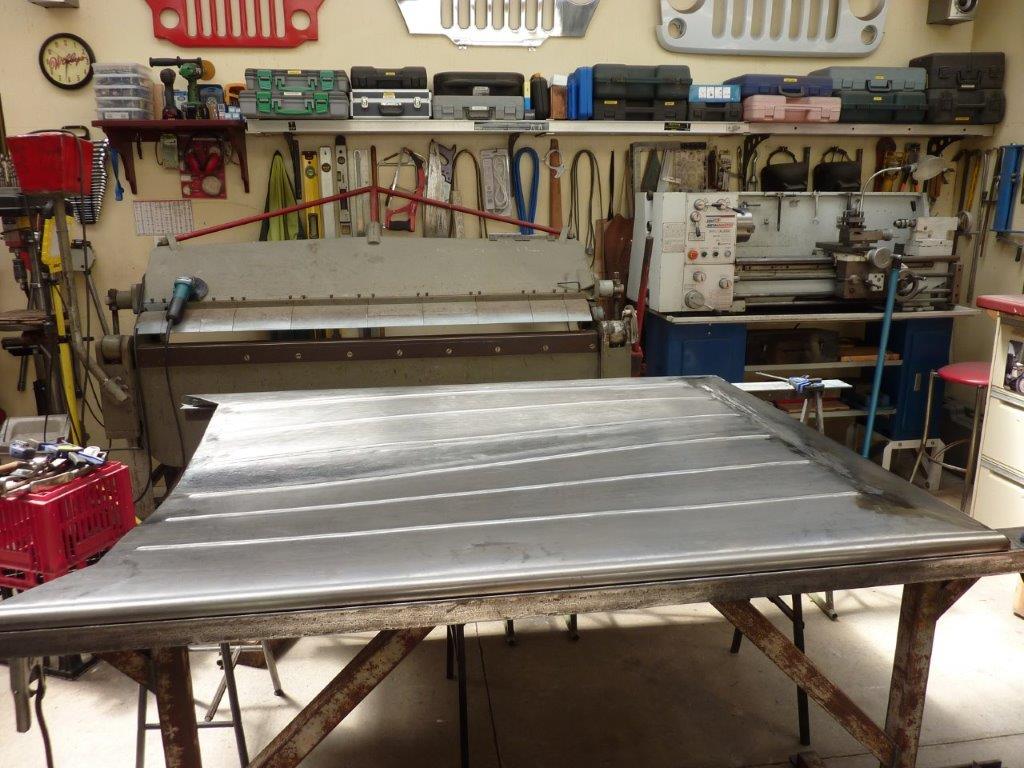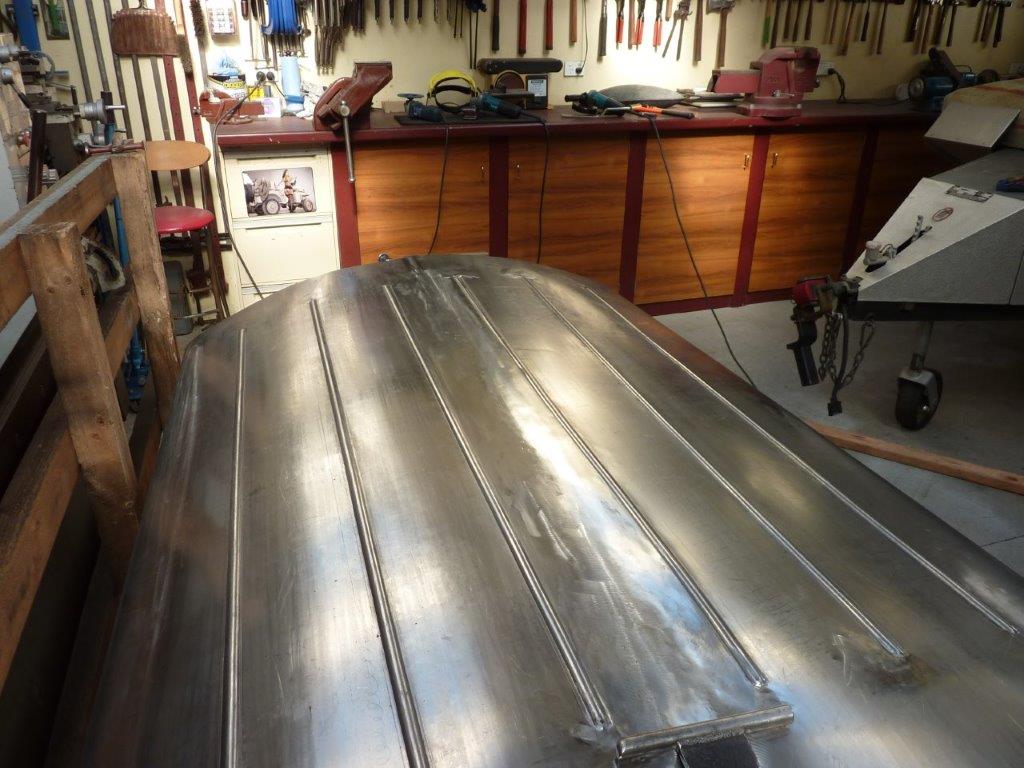
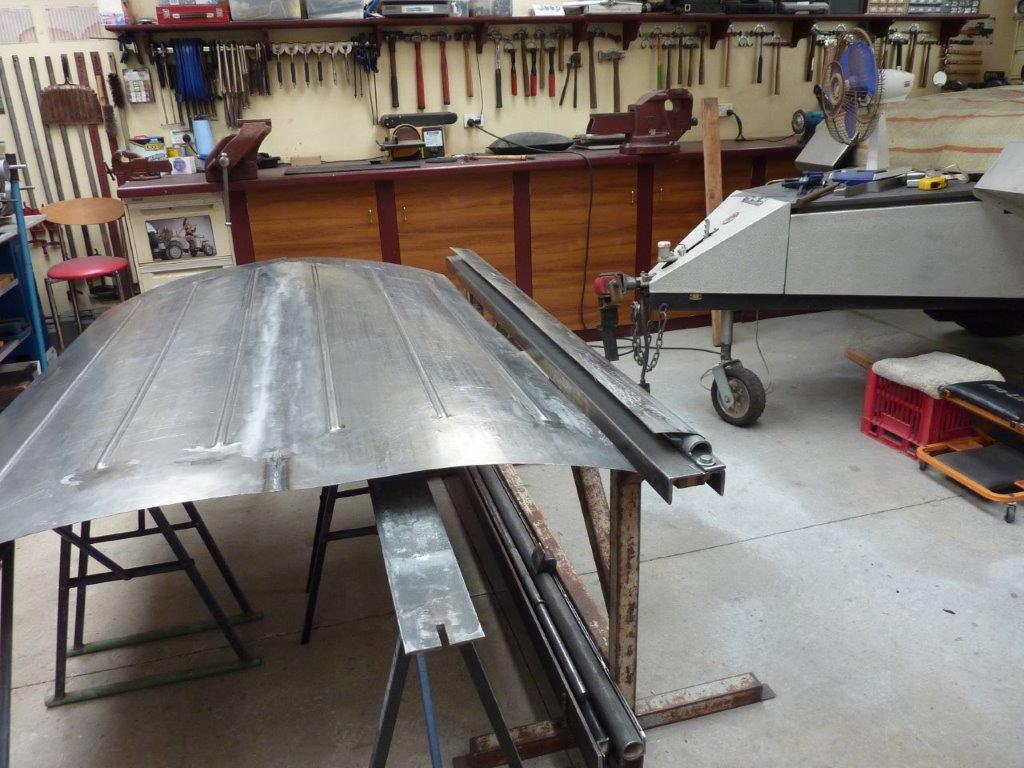
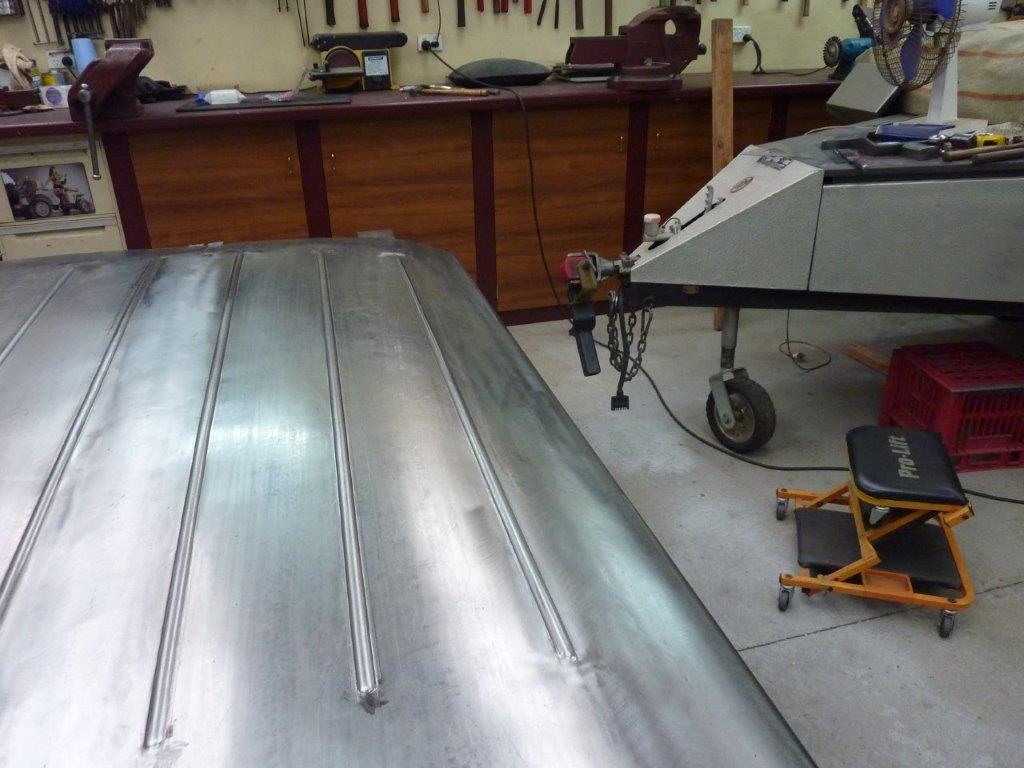
Getting the centre weld looking like this took twice as long as normal! Probably 12 hours all up from cutting, tacking together, welding, planishing, grinding, and sanding this 6 foot join. I couldn't reach into the centre with the dolly in one hand while seeing what my hammer was doing on the topside at the same time. I ended up balancing the dolly on a trestle underneath while hammering from the top. Moved it forward a little and repeated. Problem was I couldn't really 'feel' how the metal was responding and often overstretched the area. Then had to shrink it and then fine tune once again. Live and learn.
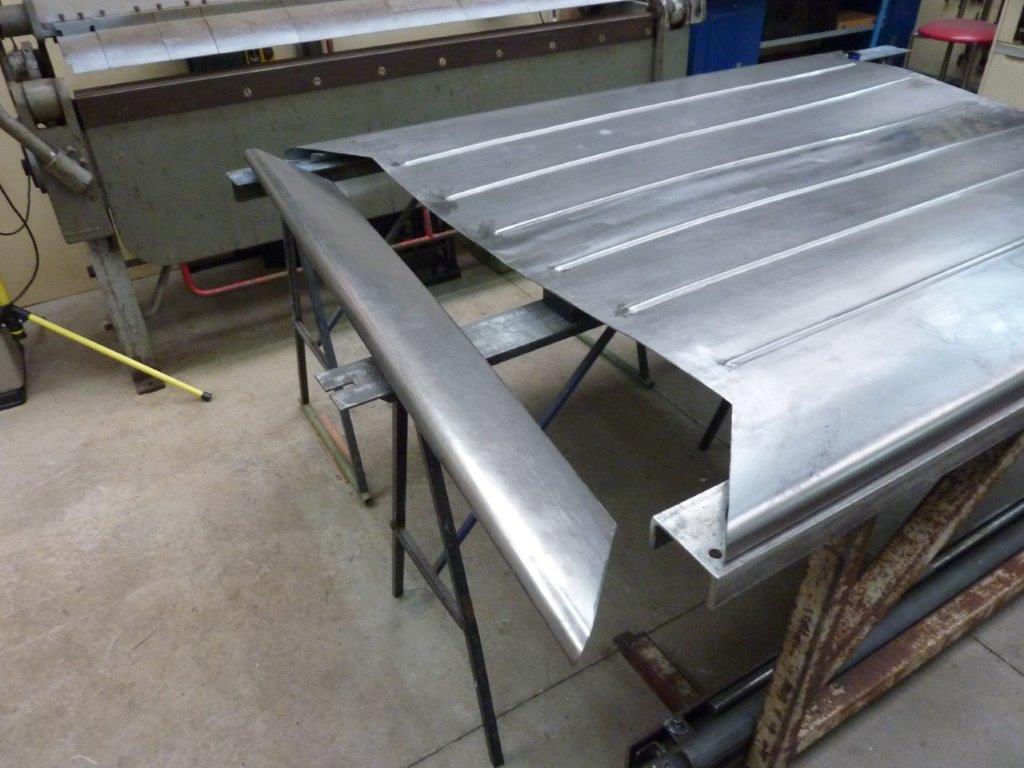
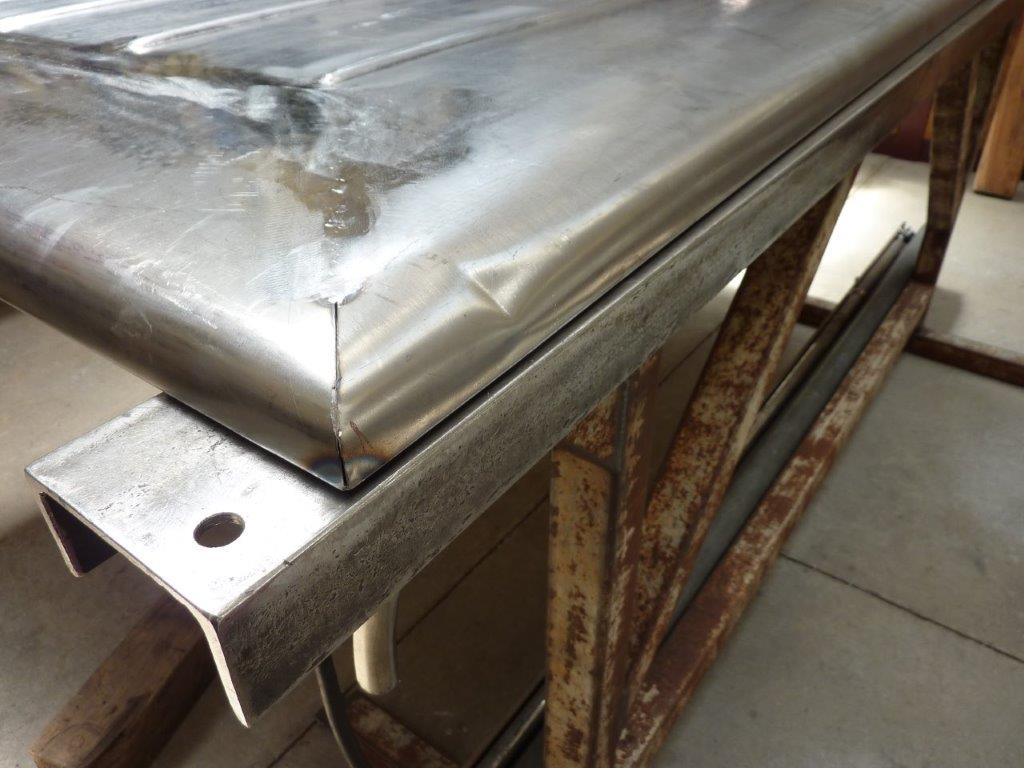
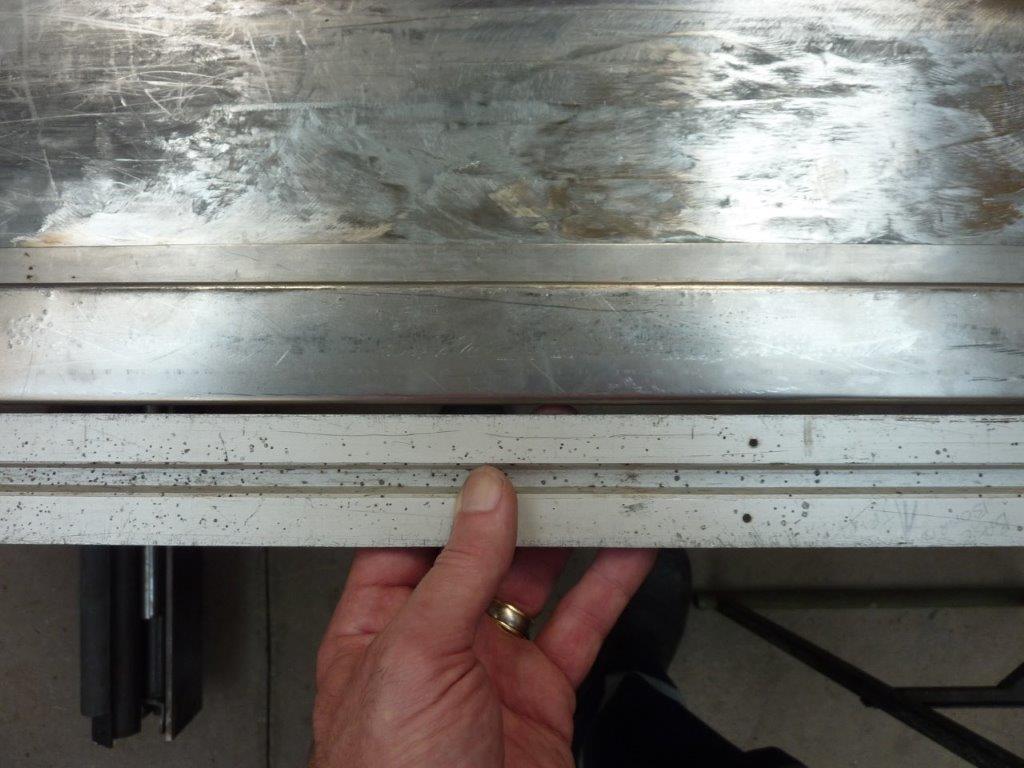
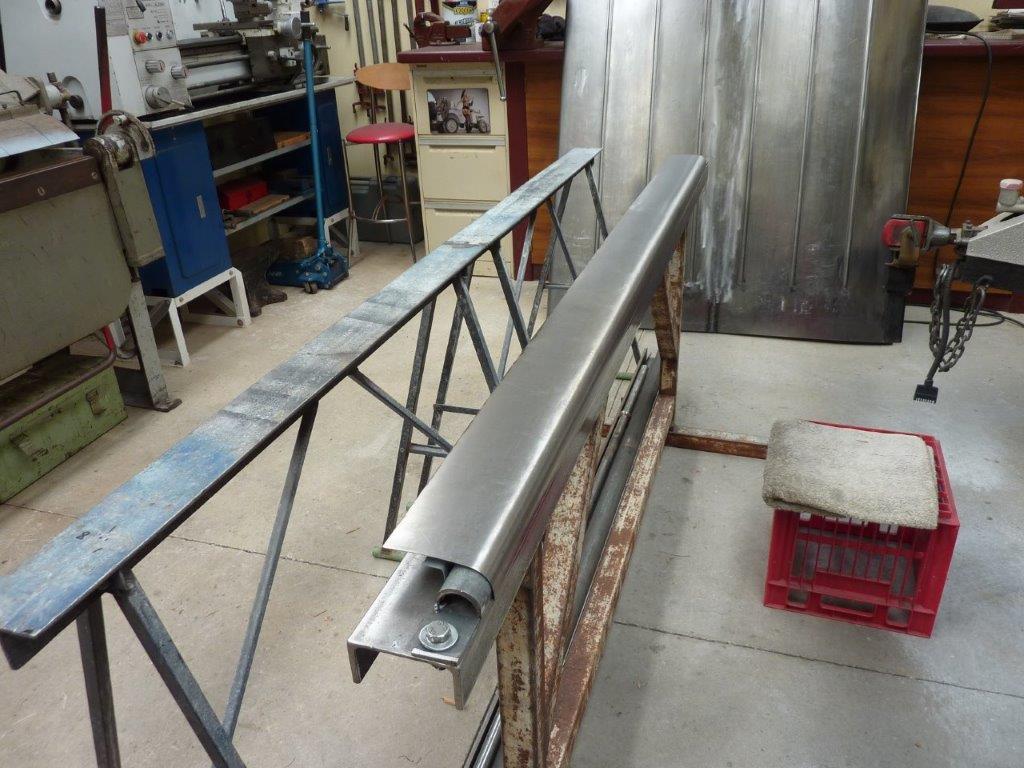
Another thing I made the mistake of doing on the first rolled side was not adding packers under the bolts for the half round die the same thickness as the sheet. What happened was that the die bent upwards when tightened and the sheet followed the arc when I pulled it over to make the rounded edge. I used a shrinking disc across the top which got it down to this gap, but that is still too much.

Next thing I tried was clamping it down and then stretching along the bottom edge to help pull it down some more.
That worked but it pulled it sideways instead!
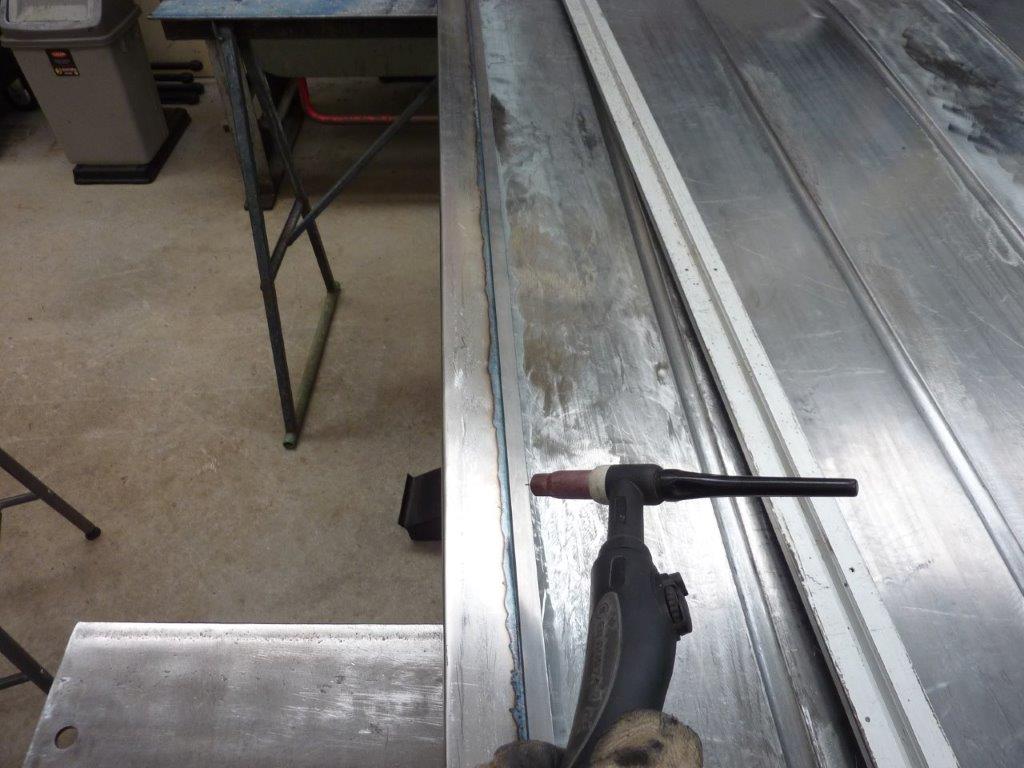
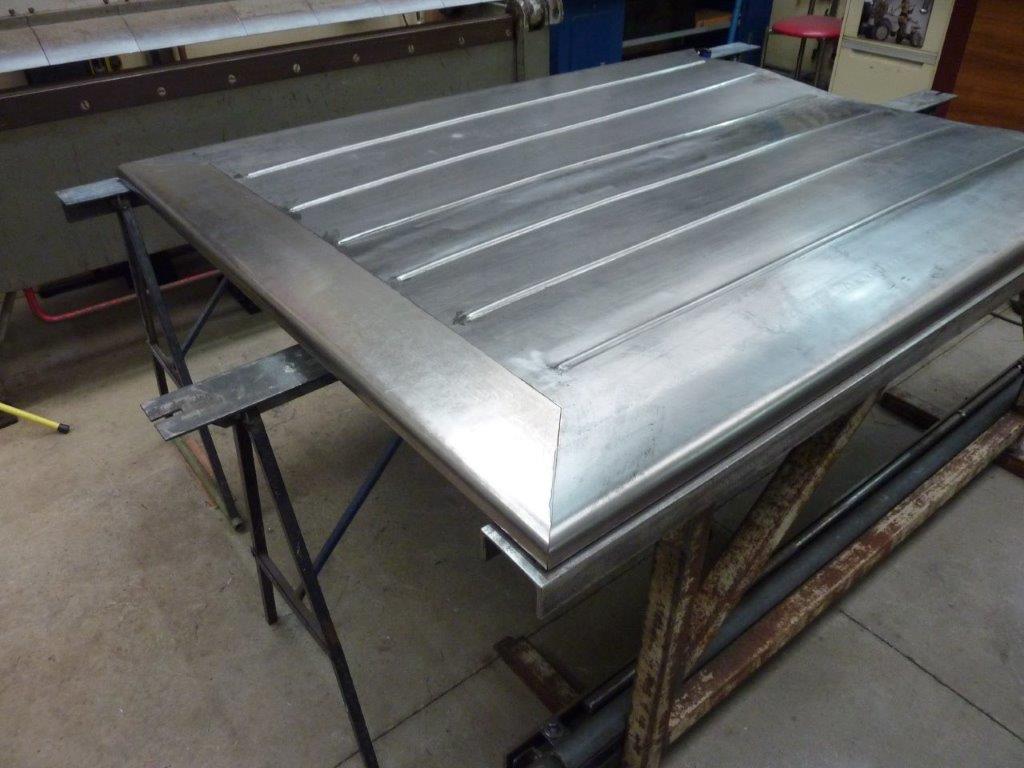
So to fix the sideways inwards pull, I carefully heated the edge of the fold to move it back straight again. I used a tig torch for this as it gives great localised heat. As soon as the arc was established, I quickly moved the torch along in little circles stopping a weld pool from forming.
Got is straight but now the other bend is back even worse!!!
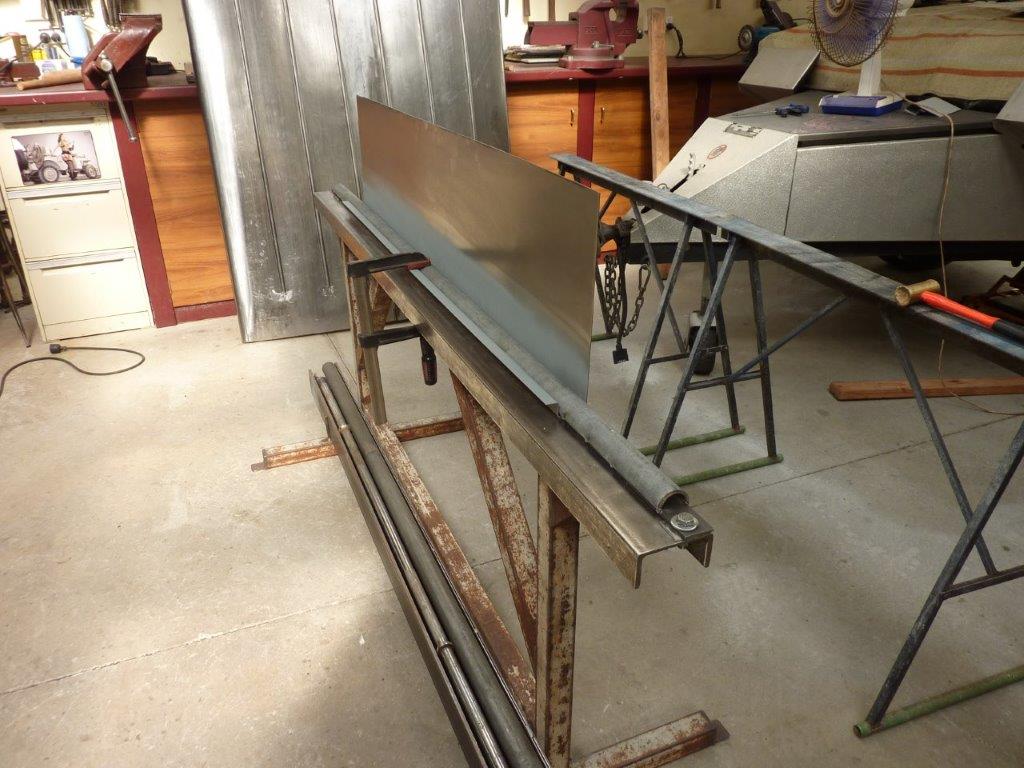
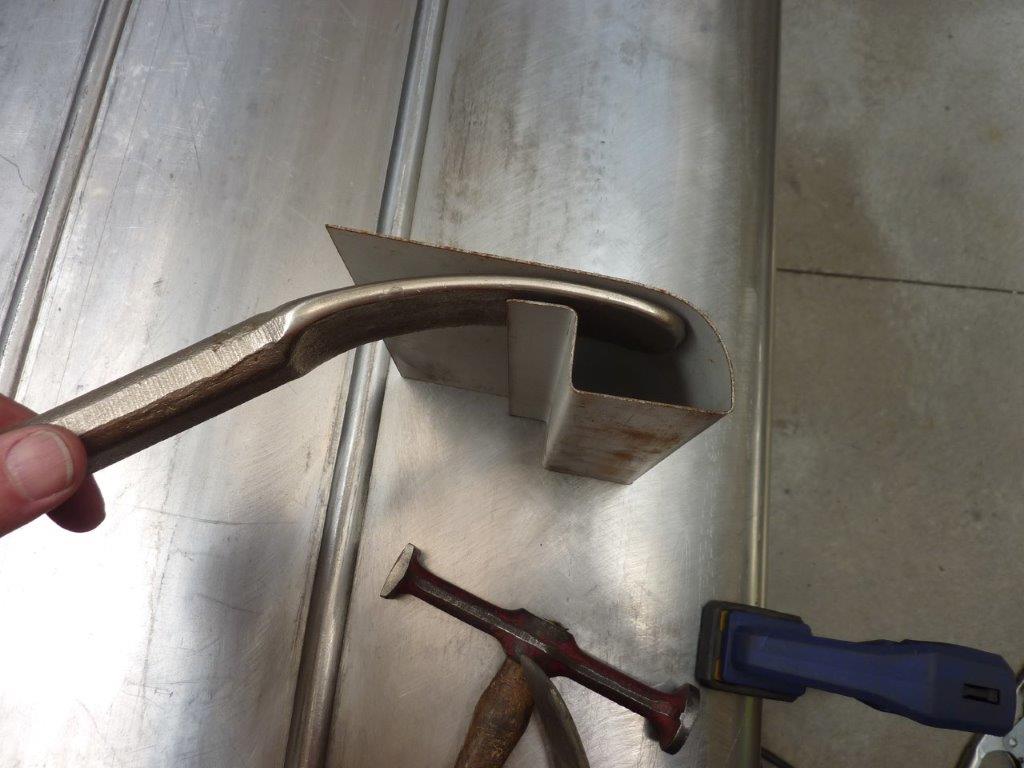
After the first bend I found clamping down the centre until the sheet started to touch the clamp head at about 45 degrees, I could then pull the rest of the sheet over without it lifting. One of the end sections shown being done here.
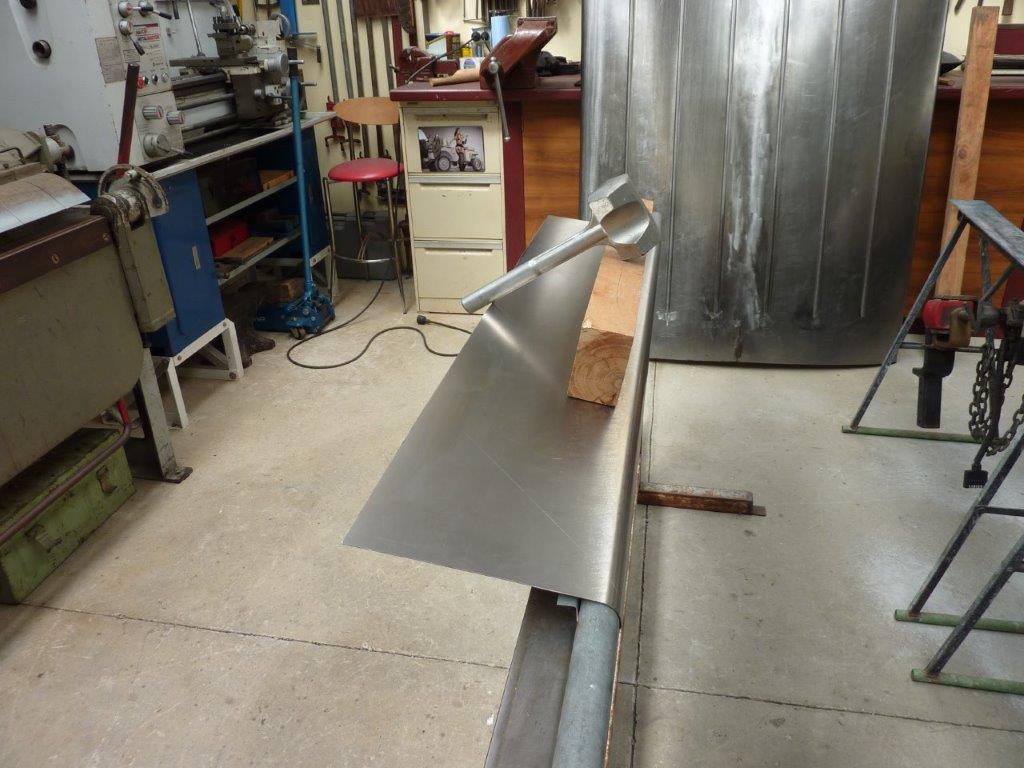
Also completing the bend by pelting down on a fence post with a 4lb mallet kept it straight and made the bend tighter.

So I started making a new side but had used up all my long lengths of the sheet. So welded a piece on to the end to make it long enough. Only the part that will be used was fully welded with the rest tacked so I could use it for leverage.
Cut the excess off ready to replace the bowed side.
Now that I had a replacement ready to go, I thought I would give straightening it one more go by using a torch instead of the shrinking disc this time.
Well it went too far and pulled sideways again! At least I gave it my best shot, so cut it free ready to replace it.
This turns out to be the biggest redo I have had to do for the whole Willys Truck build. Not bad considering that I am learning as I go along.
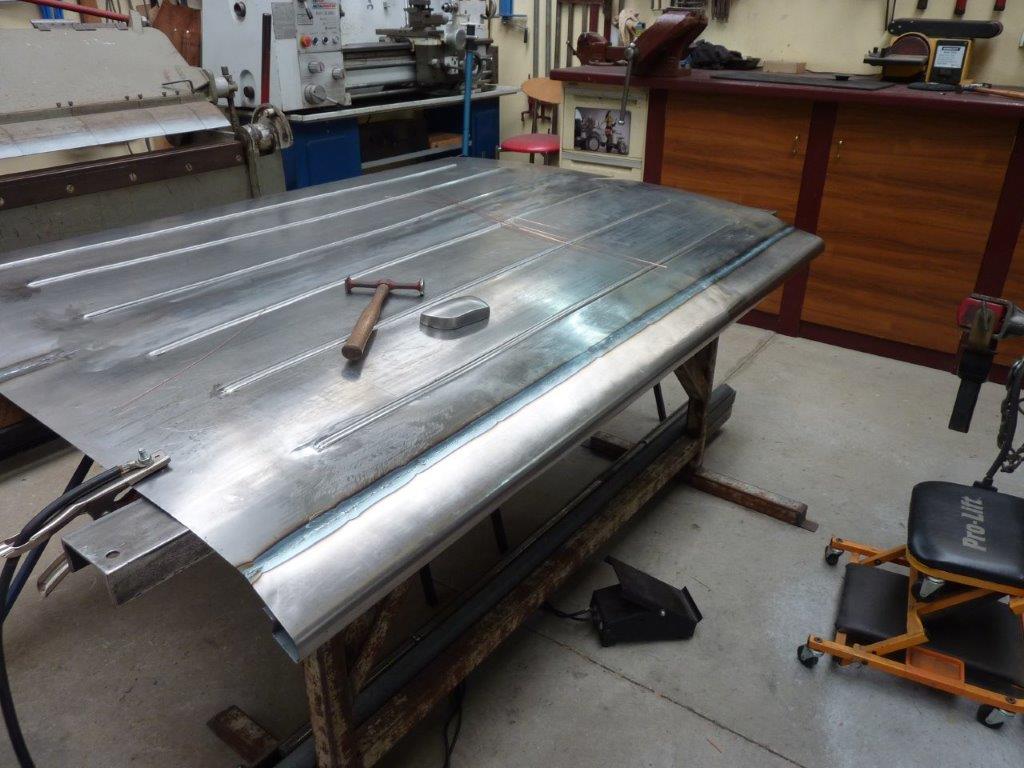
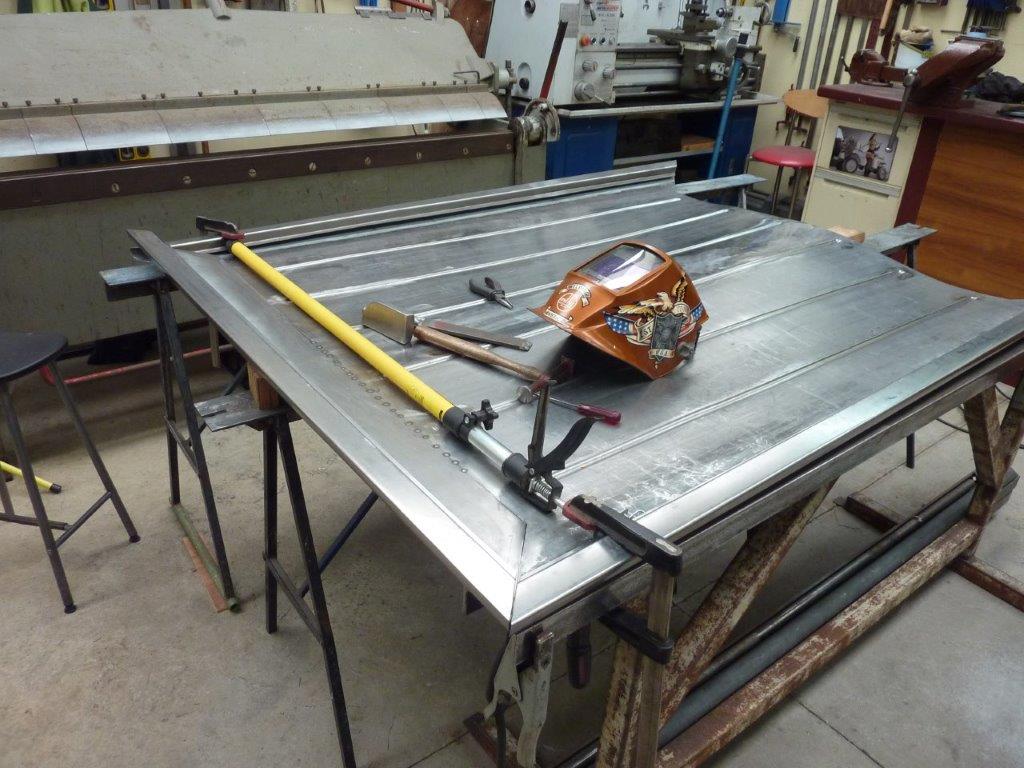
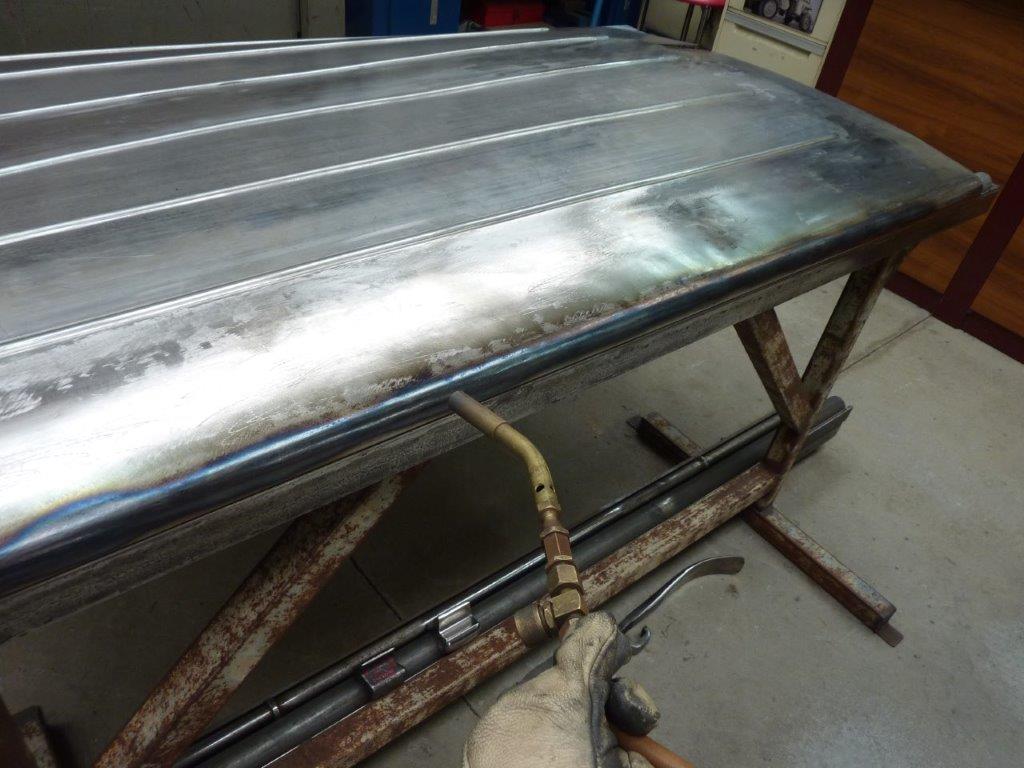
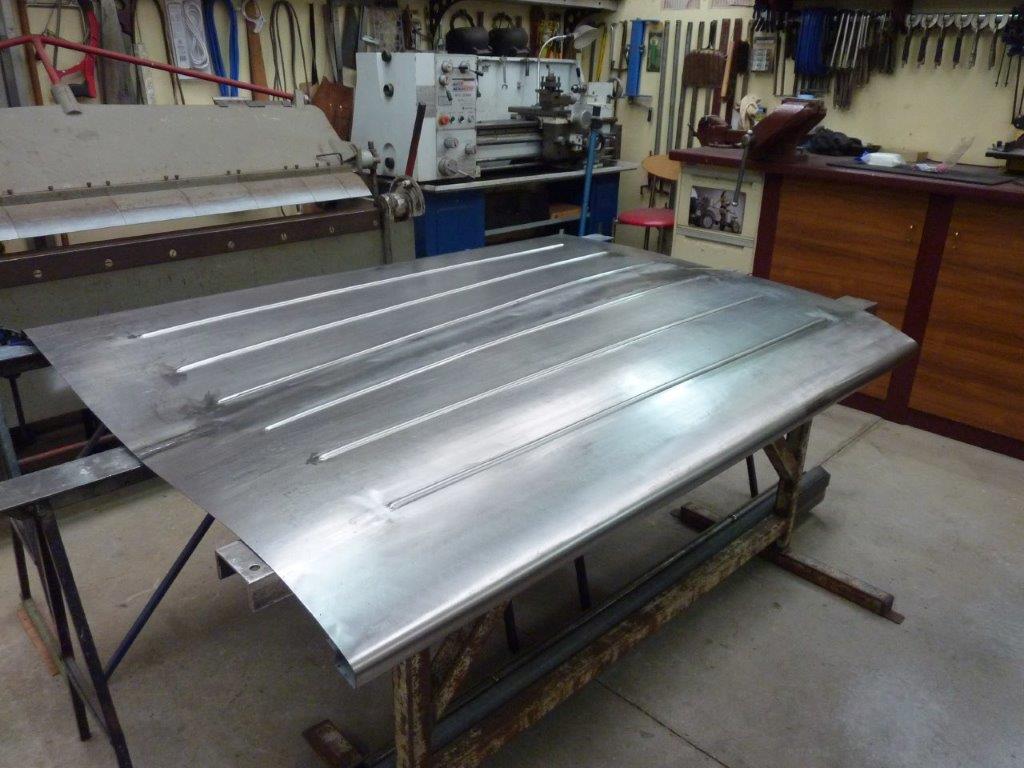
Here is the sheet fully welded in one go, apart from repositioning myself and needing more filler wire. No planishing has taken place yet.
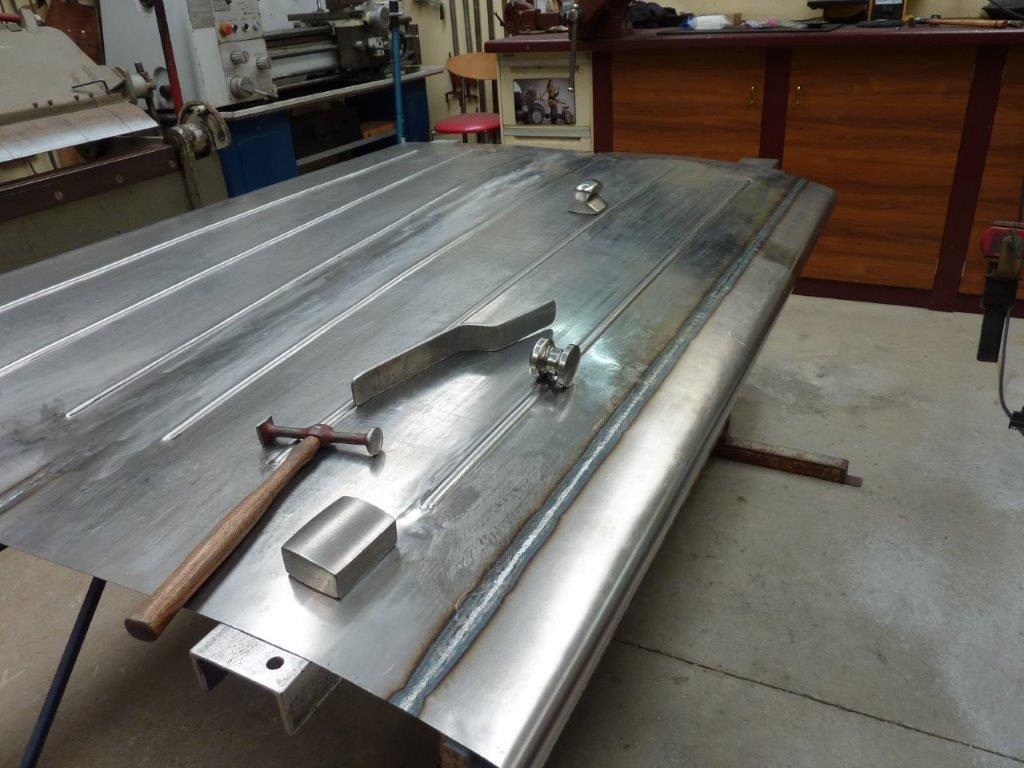
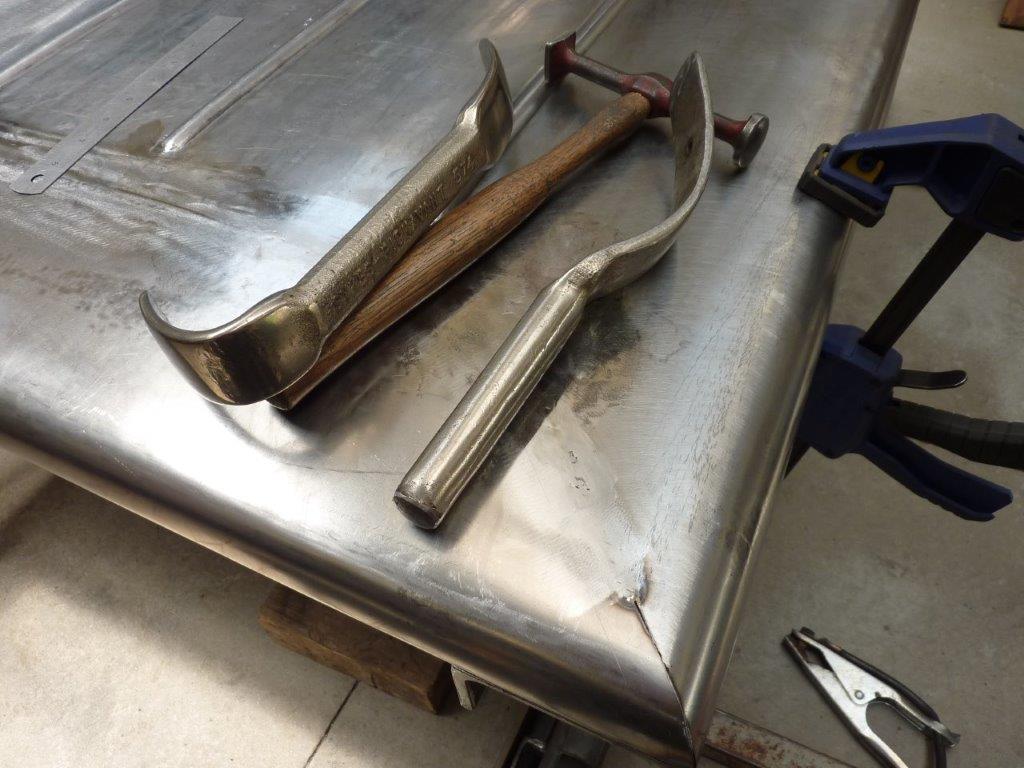
All stretching of the weld was done using the tools shown. Being a tig weld that is softer than mig and very little build up, I did my stretching without any grinding first.
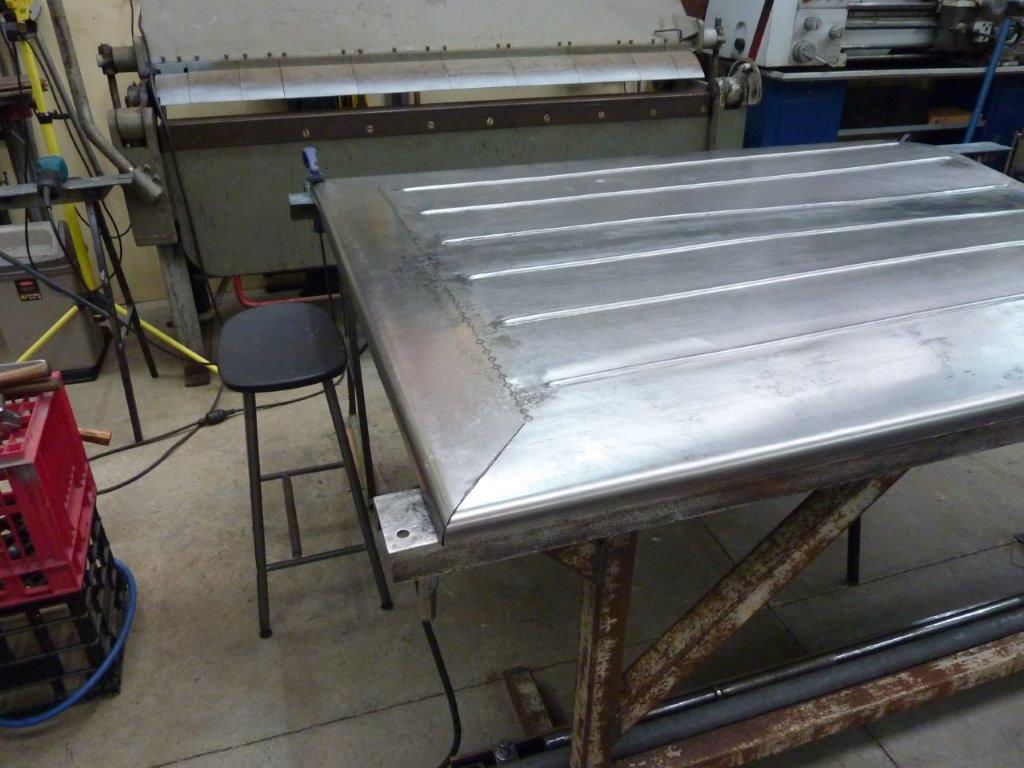
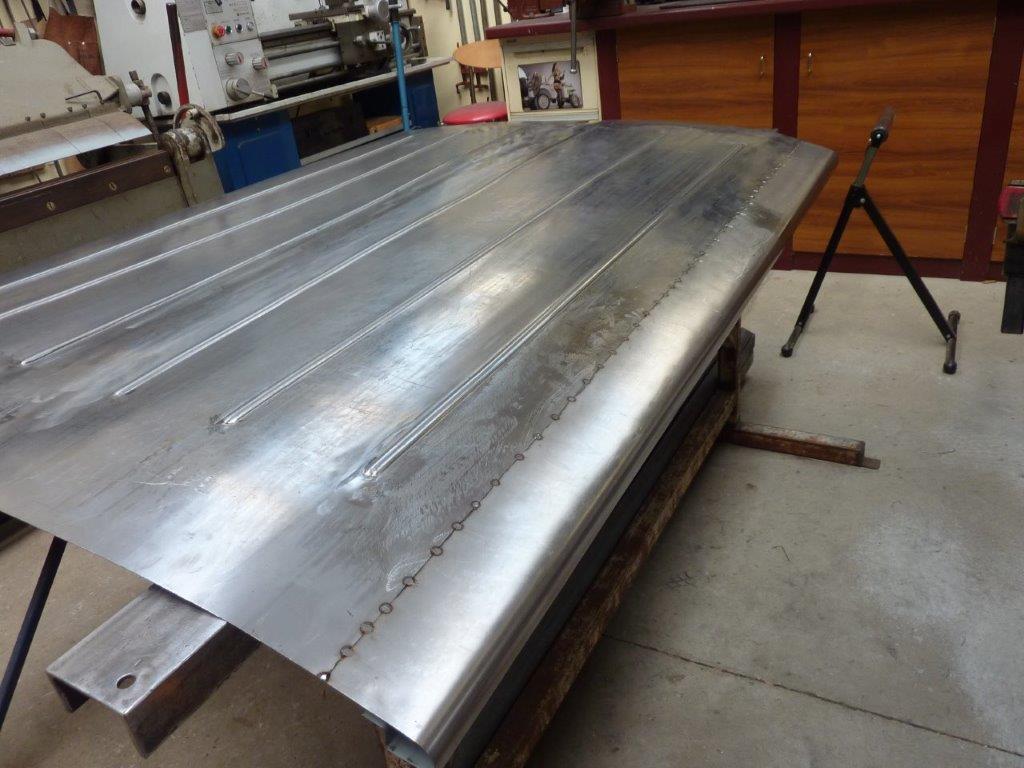
All ground down, sanded and run over with a Scotchbrite disc.
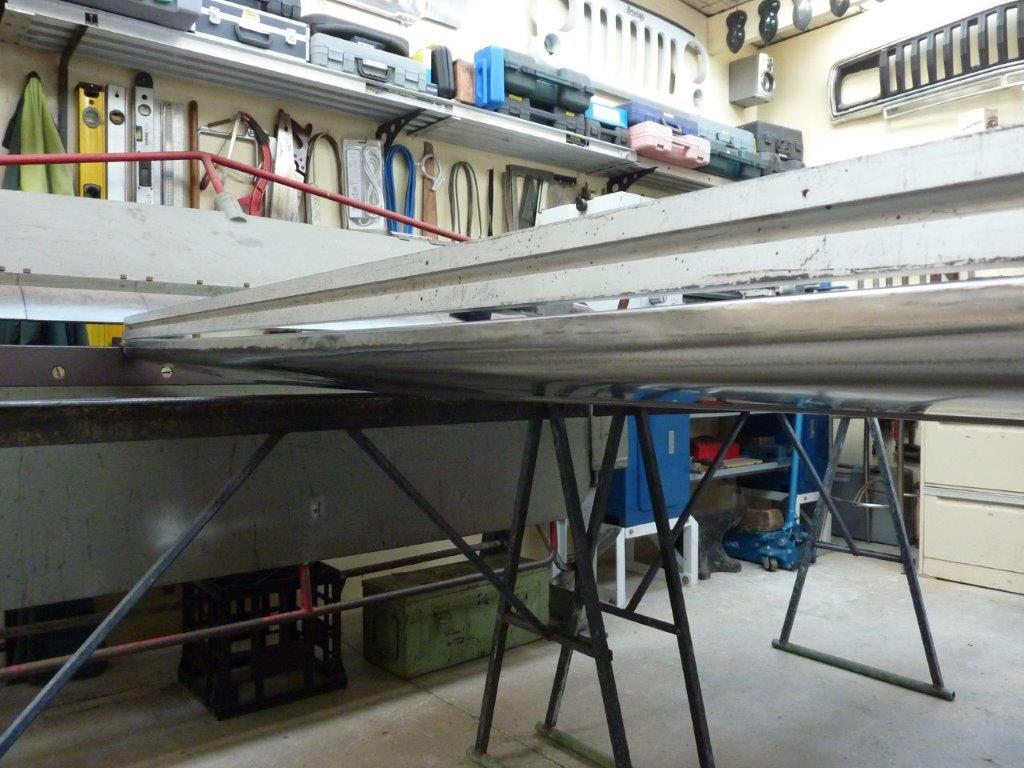
Now I can cut away the ends and weld in the rounded sections so all four sides will look the same. I will then work out the distortion you can see left that is from the un-wheeled areas at the ends.