Hi Guyz
I woke up sunday morning and all was well, Bathurst 1000 on the TV, a perfect day brewing until - I had a great idea - why not install a switch inside my Jeep to run my winch!
So I took a fistful of smarta$$ pills and begun!
I decided I wanted to keep the original SmittyX wired remote and add a wireless transmitter / receiver and a switch inside the cab near the steering wheel.
After much sitting around and watching the great race I realised that I really should install some kind of hidden switch to disable the winch so when I park it with the roof off people will not be able to reach into my cab press the winch out button and easily rip off my dyneema rope (which I keep tightly spooled onto the winch - so tight in fact that the mechanical free spool release can't be operated until some slack is created by pressing the winch out button for a few seconds.
I grabbed another handful of smarta$$ pills and realised immediately that if someone with a smittyX wired remote control really wanted my dyneema rope they could just plug their winch control into my winch and spool it all out - so I needed a master lockout switch preferably in the cab and preferably with a key
finally I got motivated to do it and thought what if someone sitting inside the cab (baby sitting the steering wheel and brakes) were to press the winch out button whilst I was outside the cab overseeing the winching and pressing the winch in button on the smittyX remote or the wirelss transmitter "would the winch blow up in spectacular fashion??? (If you know what happens please post up) - a lockout of some sort needed to be engineered!
quick tally up
1. Wired remote
2. Wireless remote
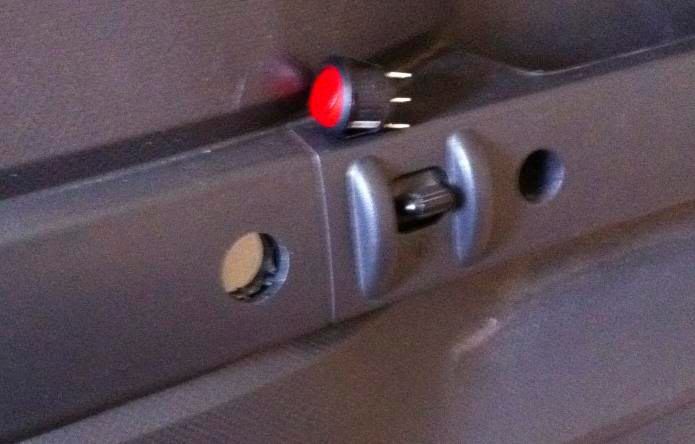
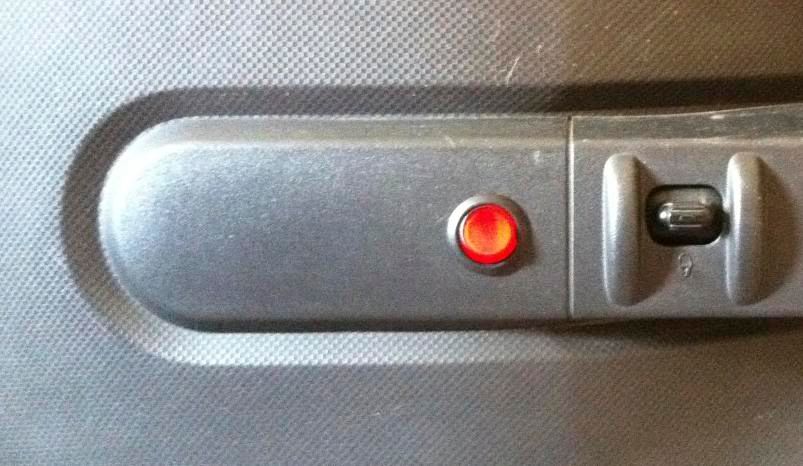
3. Incab switch
4. Master lock with key switch
5. electrical lockout system
I went to the wreckers because I knew that car window switches have a lockout system built in to stop dad in the front and little johnny in the back both pressing opposites (up & down simultaneously) and blowing up the window winder
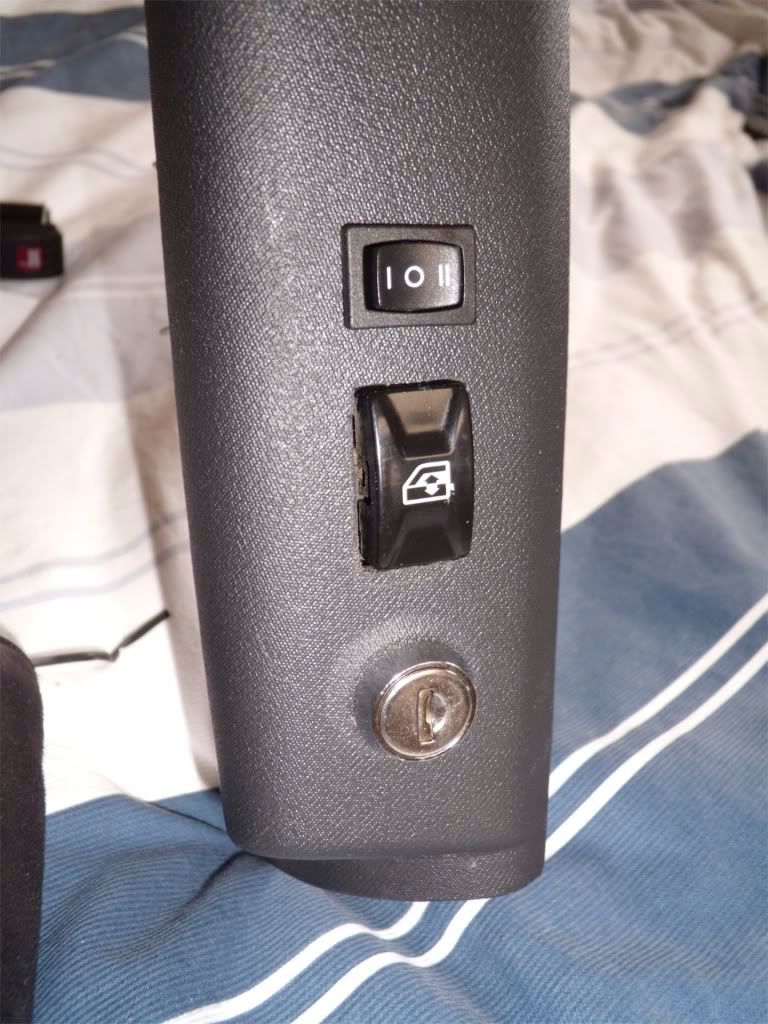
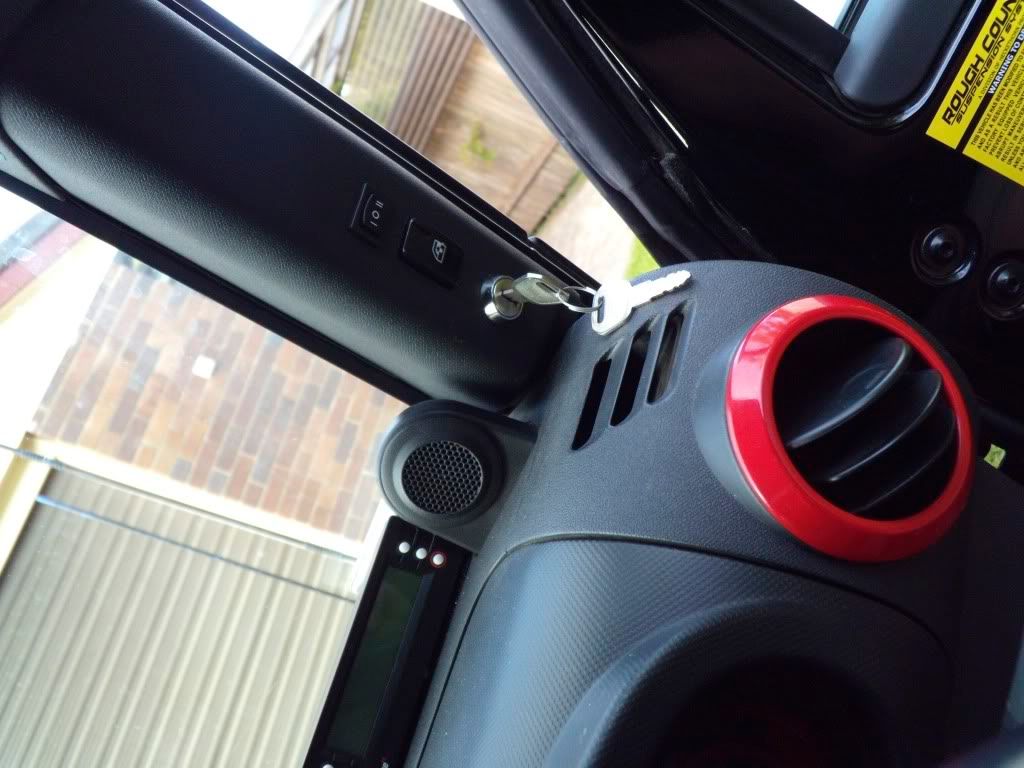
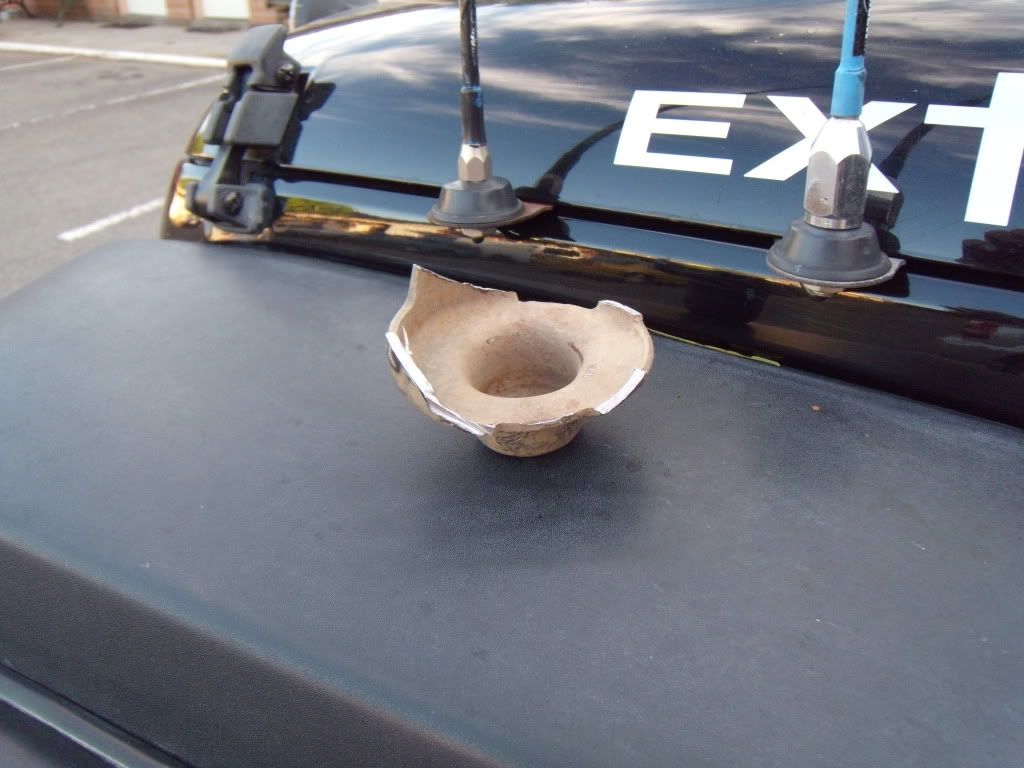
I wanted a slimline switch - i had seen other JK Jeeps with Arb switches mounted in the A pillar and wanted to try to get a little more subtle installation so I found a nice (LoL) SSangyong Musso 4x4 at pick a part and extracted its rear window switch.
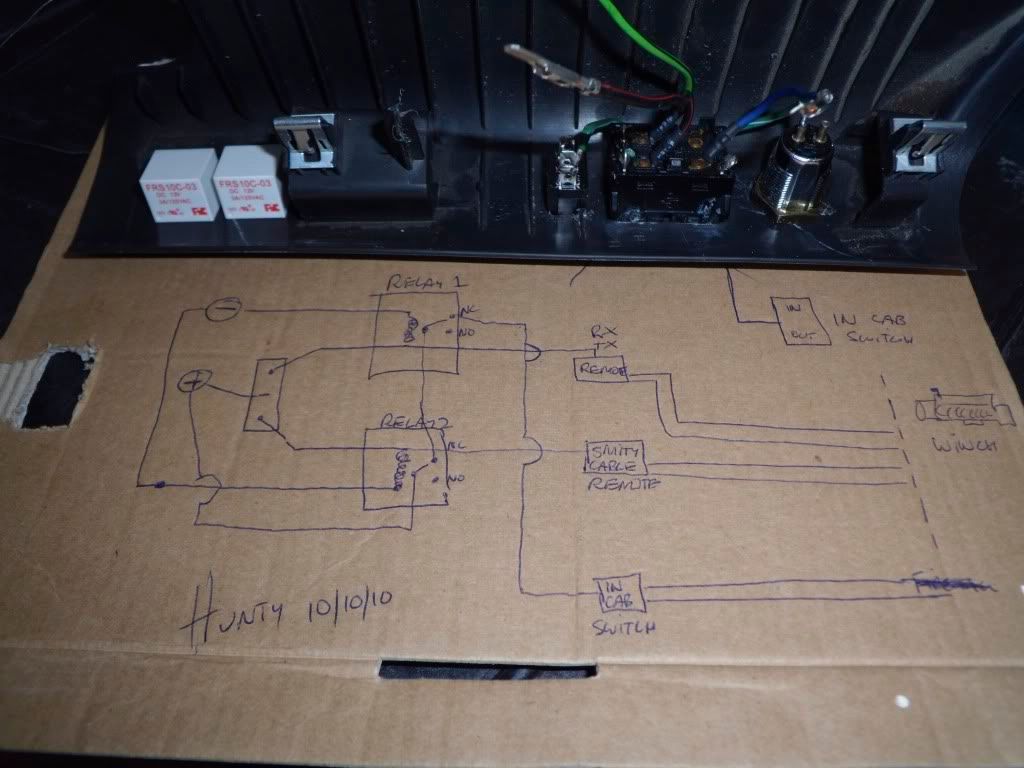
Holdens still leading so I got bored with the race and started to sketch possible circuit diagrams (as per pic lol) and realised that I would need at least 2 relays to ensure fool proof lockout
Final tally
1. Wired remote
2. Wireless remote
3. Incab switch
4. Master lock with key switch
5. electrical lockout system inc 2 x 12v relays with N/O N/C contacts
6. Hookup wire
7. Fuse holder and fuse
8. Convoluted plastic split tube to protect wire going from Cab to winch
9. 3 way selector switch - Jaycar i off ii
10. 2 more boxes of smarta$$ pills - because this became a real noodle scratcher
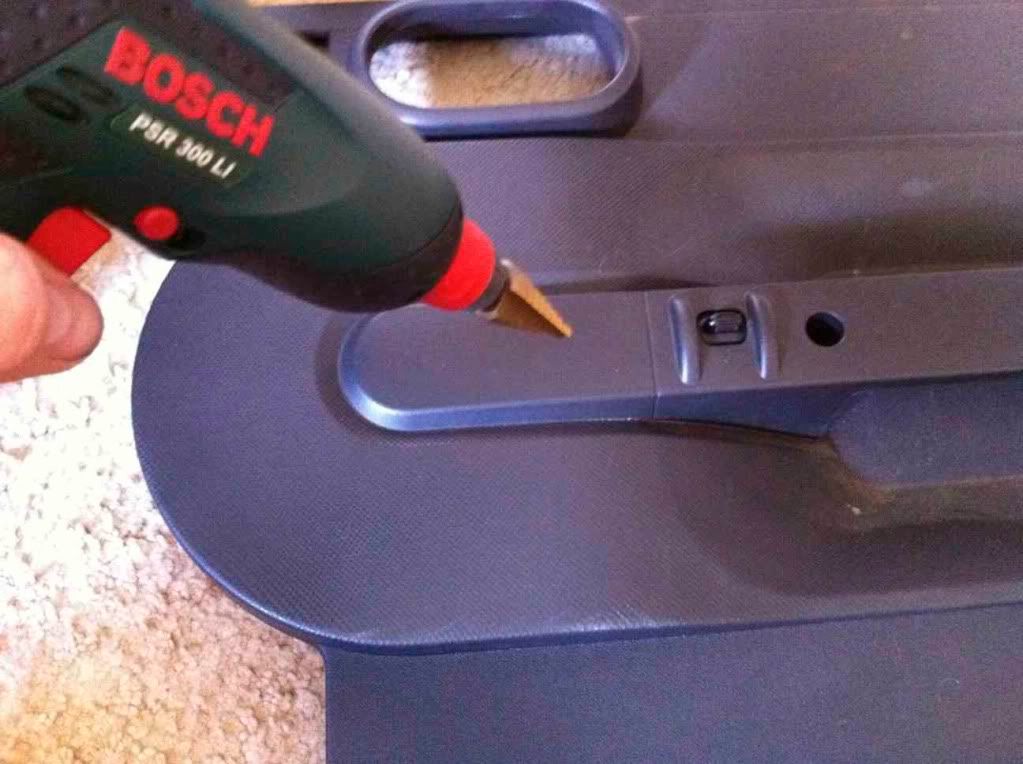
Step 1
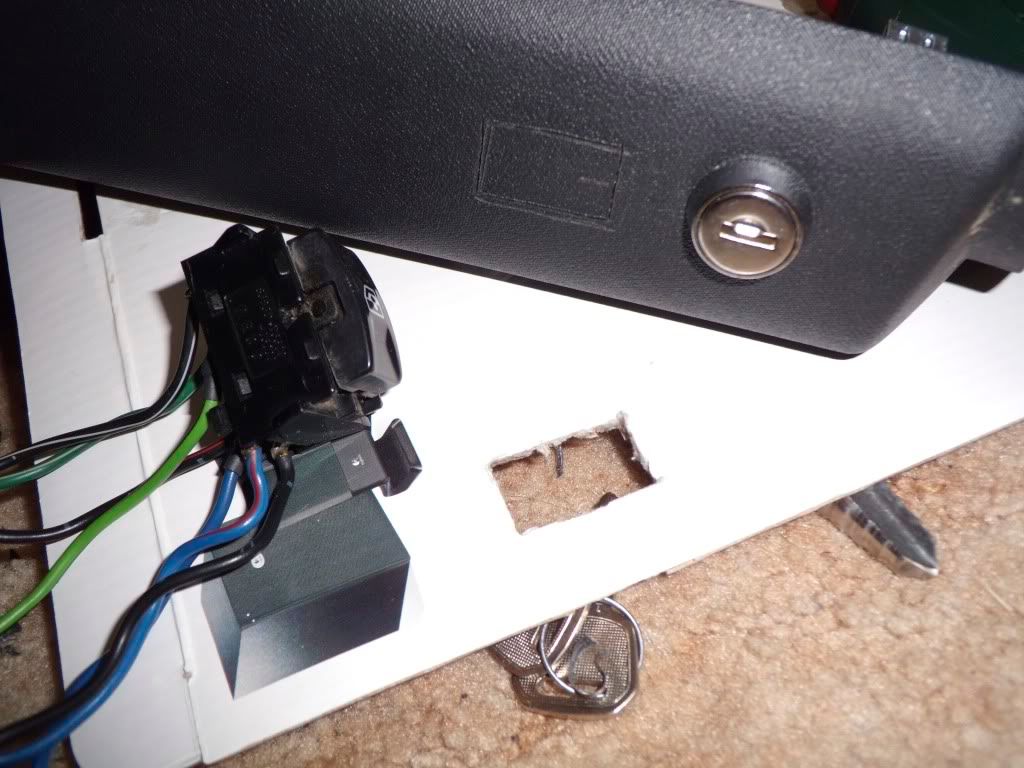
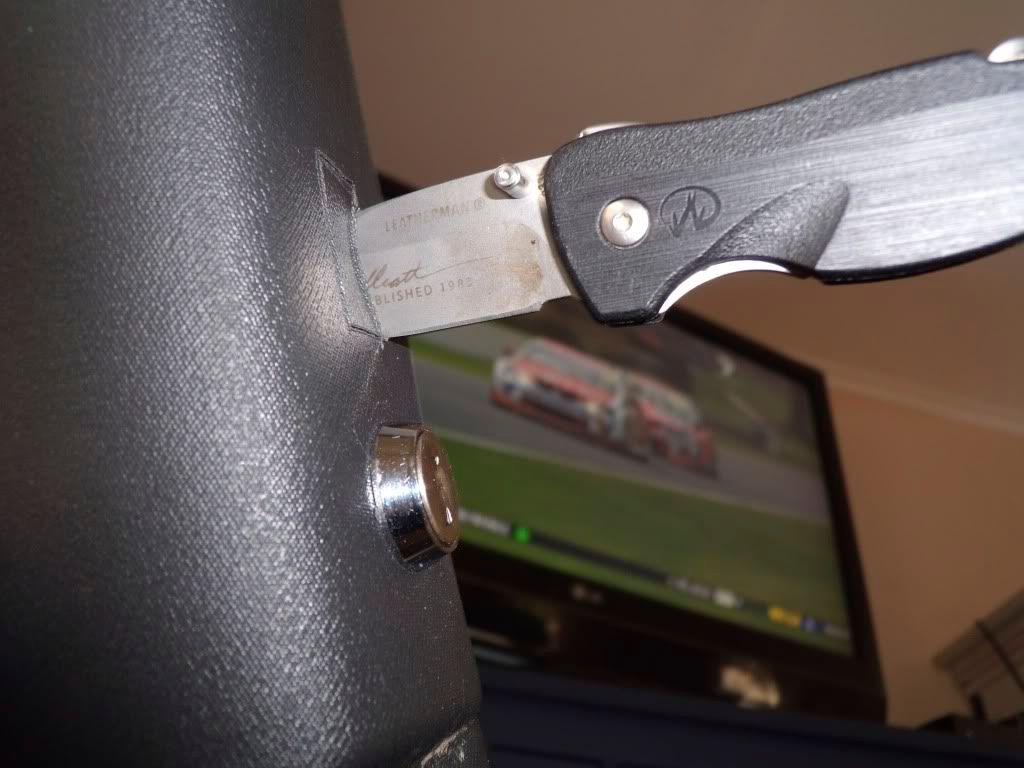
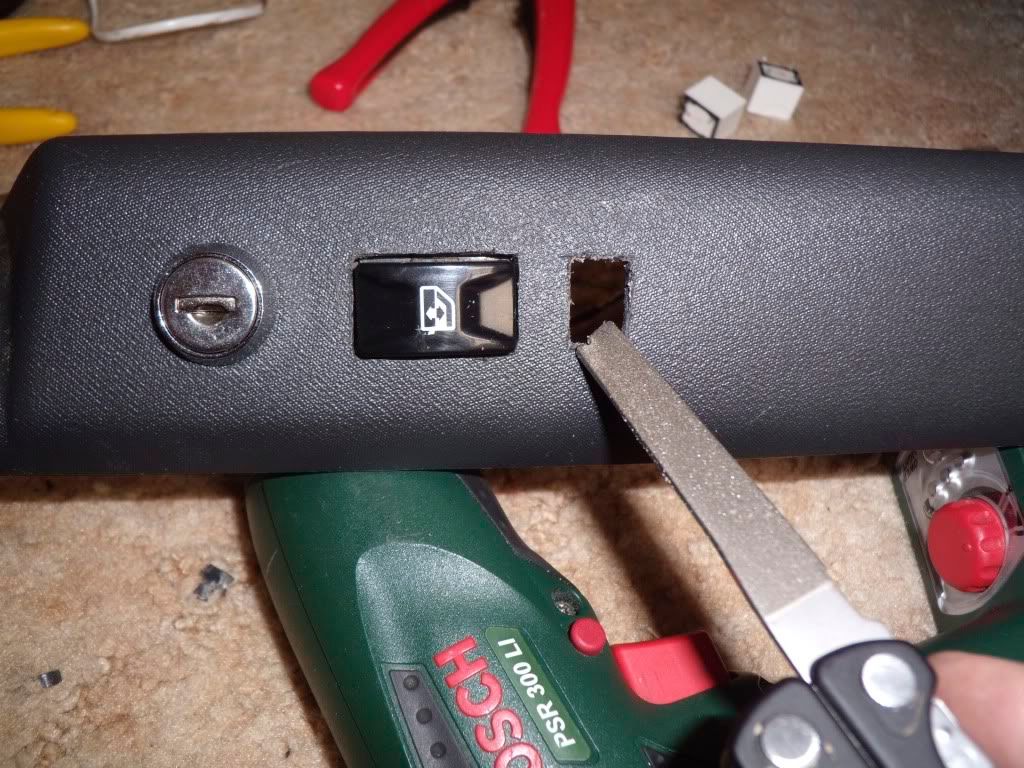
cut in switches - i preffer to use a piece of cardboard and cut a hole with a stanley knife and test fit my switches in the cardboard first - when I get the perfect fit I trace the hole onto the A pillar and then cut with a sharp knife and file with a metal file to get the hole as perfect as I can!
Step 2
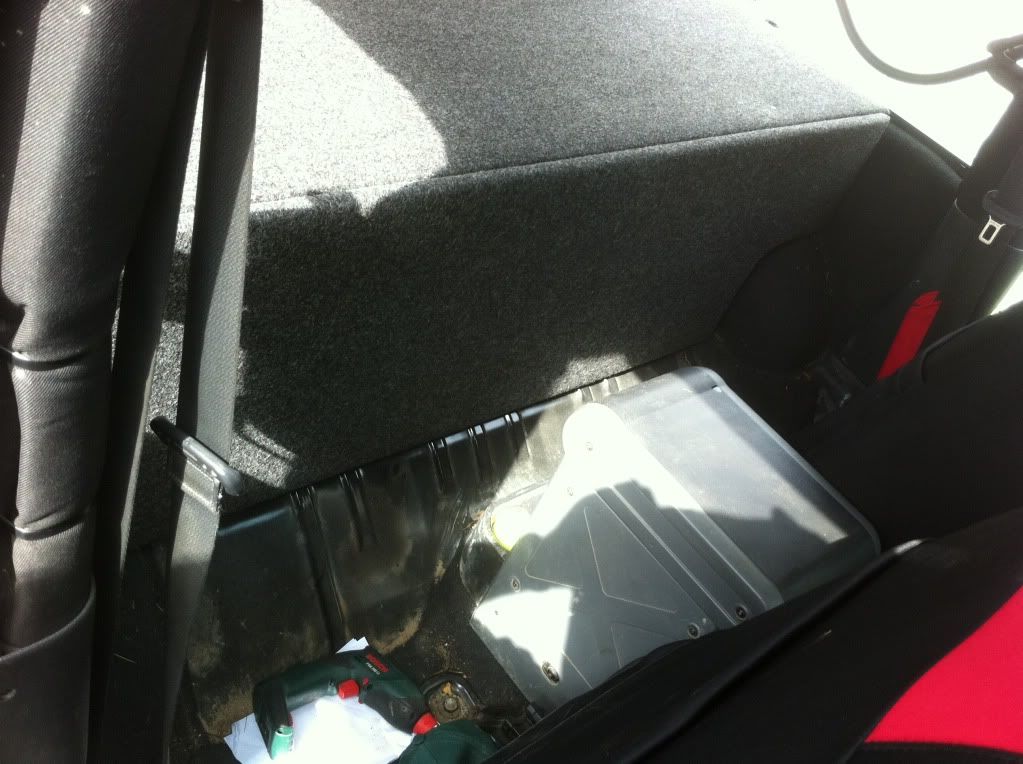
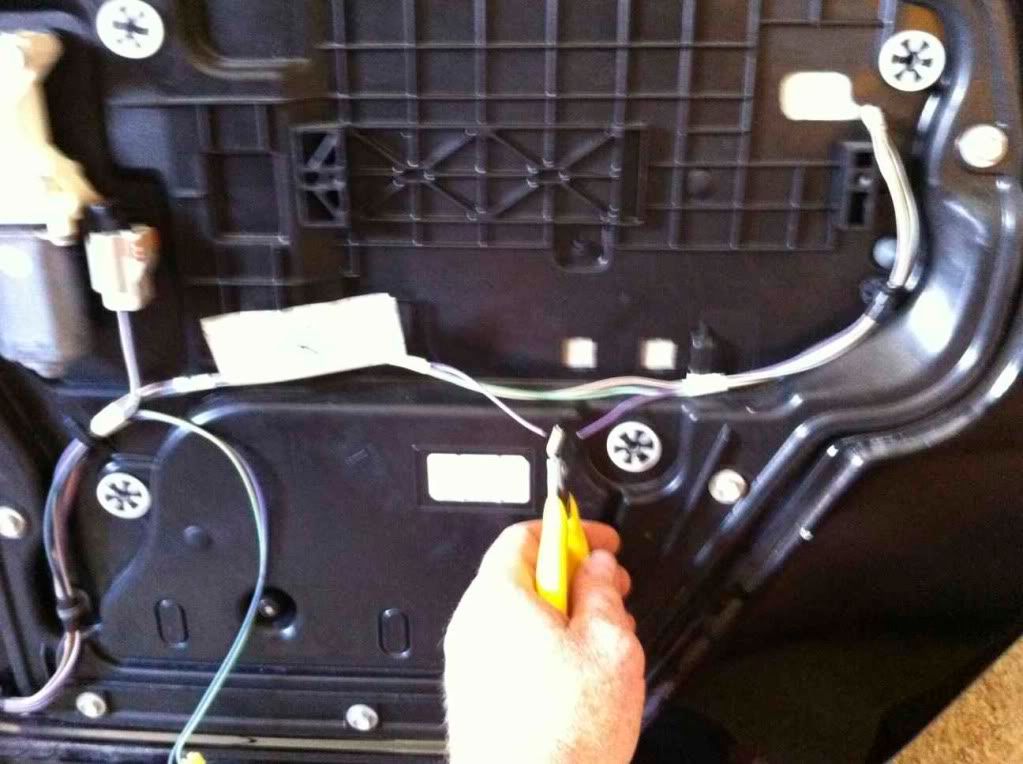
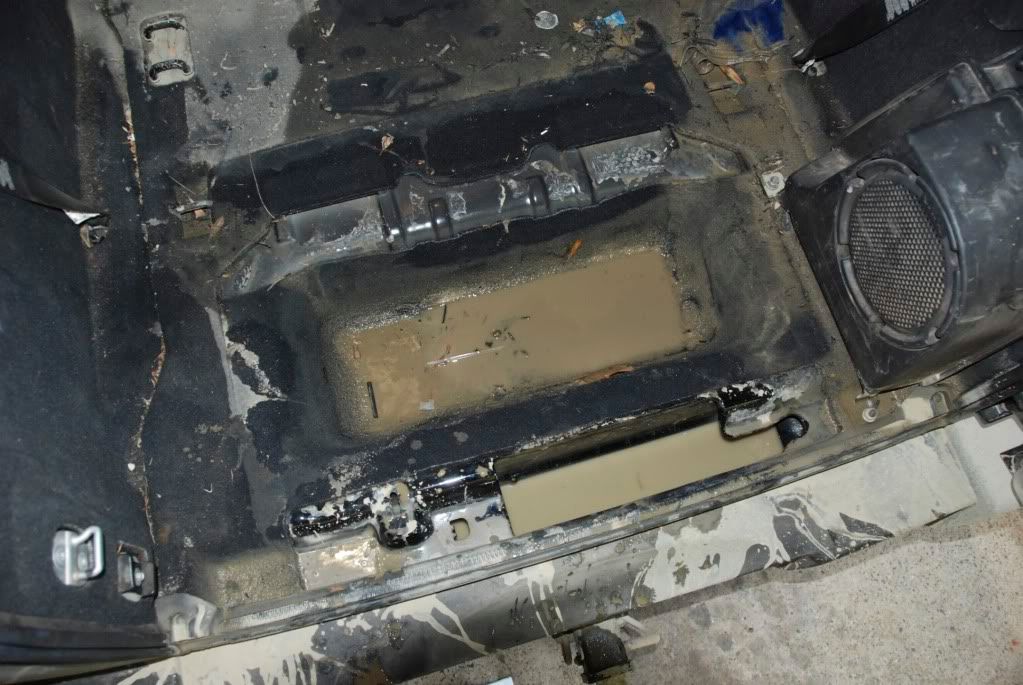
open the passenger door, remove the side dash pannel and you will see a hole blocked with yellow insulation material, get a big screw driver and poke through it - you now have acess from cab to engine bay - install cable
Step 3
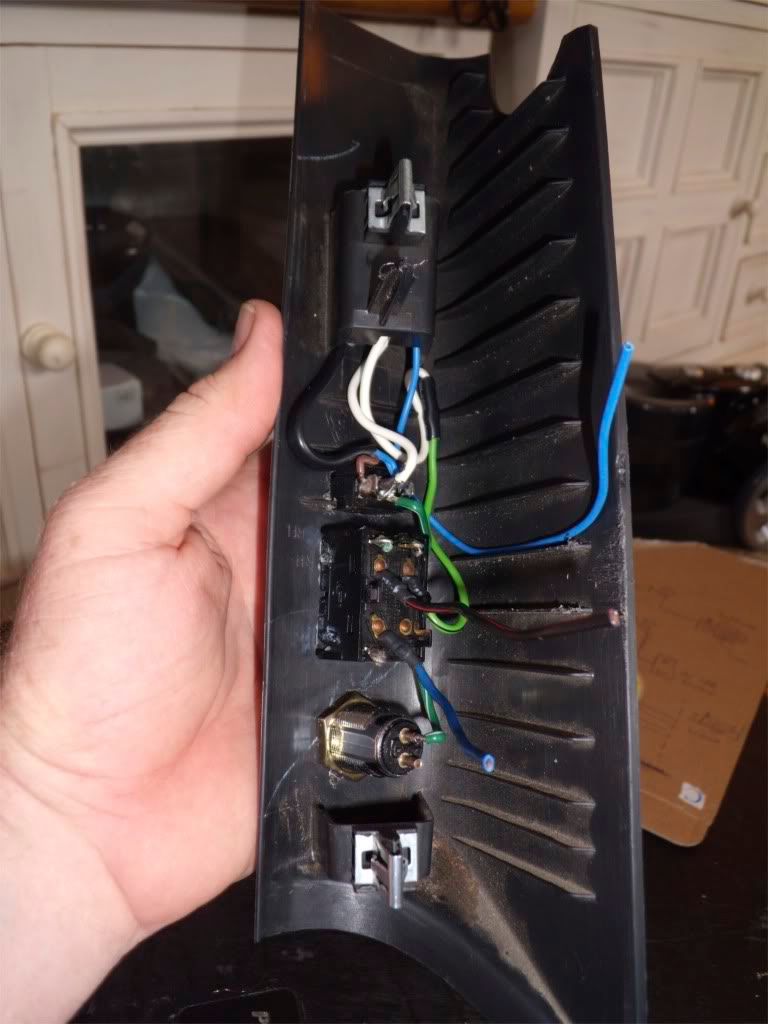
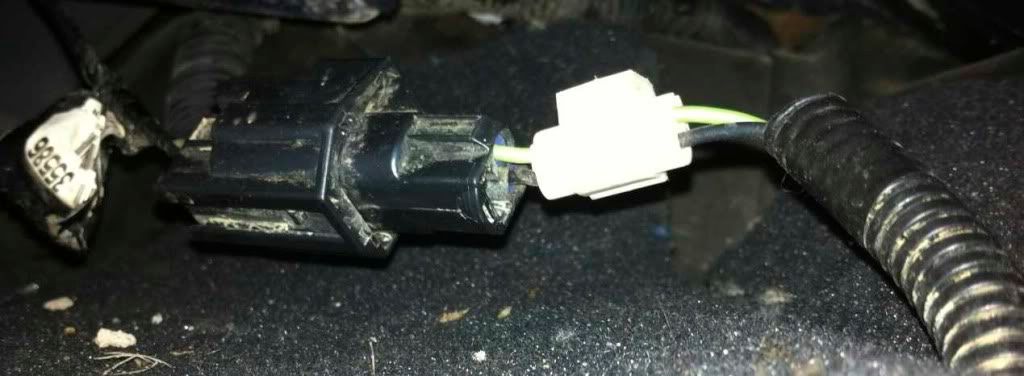
wiring, soldering and crimping
Basic wiring concepts
1. the key interrupts the 12v coming from the winch controller b4 it gets to a) the in cab switch b) the wireless remote and c) the standard smittyX wired remote control
2. The little switch (i off ii) is connected to both relays (i) to relay 1 and (ii) to relay 2 - 12v positive in ---- the negative in is connected to the Jeeps earth - when the switch (i) is pressed the relay (1) is activated the same goes for switch (ii) and relay 2 - --- because the relays provide a N/C output (N/C stands for normally closed - relay output is on even when the relay is not energised) it is possible to wire the incab switch through the relay N/C connection! ---- this will mean that when the switch is pressed (activating the wireless or wired remotes) and the relay is activated the in cab switch will get disconnected. (sorry if I am making no sense - run out of smarta$$ pills - LoL - if anyone can better explain this little relay magic please post up!
3. Connect everything up but keep the main 12v feed (350amp big red cable) to the winch off the battery incase of any D'oH fickle finger of fate actions - test with multi meter to ensure all works as desired.
in conclusion
The Key is the Master switch
the little switch determines which of the 3 input options will go to the winch
Wired remote, wireless remote and in cab switch
It all works well and looks neat and I don't have to worry about blowing up my winch
If anyone has any suggestions on how to improve the system please post up
enjoy
cheers Hunty