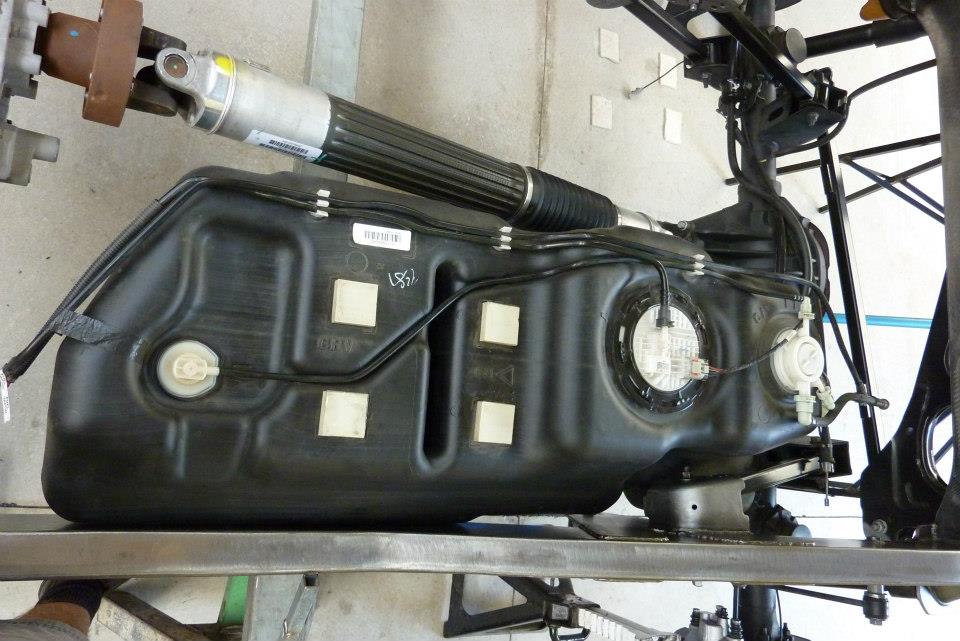
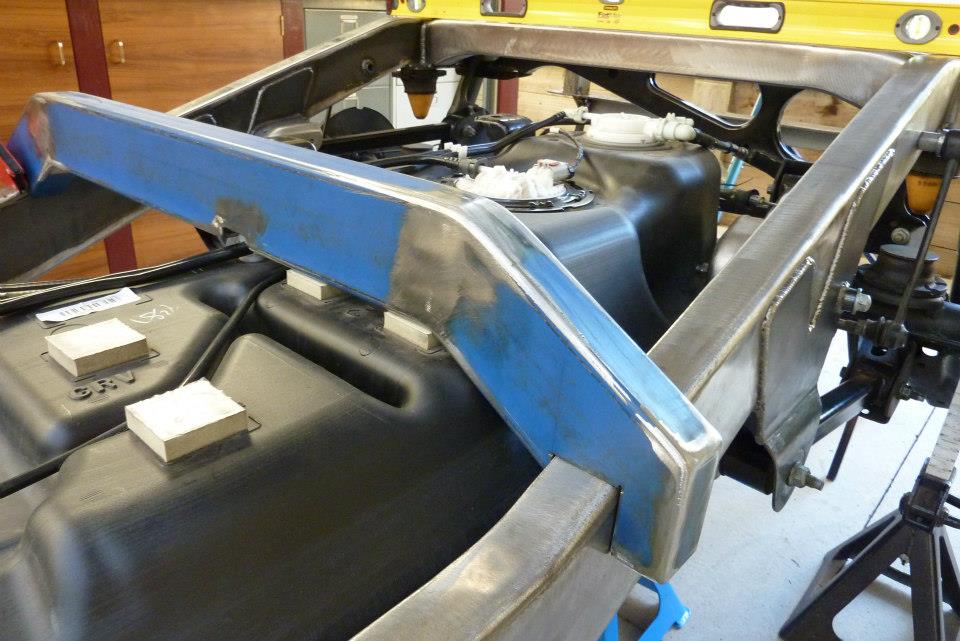
I weighed up different places to put a tank like behind the rear axle to over the drive shaft. For safety and and better handling decided in front of the axle was the best and will go with the donor tank. It just uses the space so well as you can see how it is moulded to go around the control arms mounts etc. So glad now that I went to the trouble of putting the threaded inserts inside the frame for the straps.

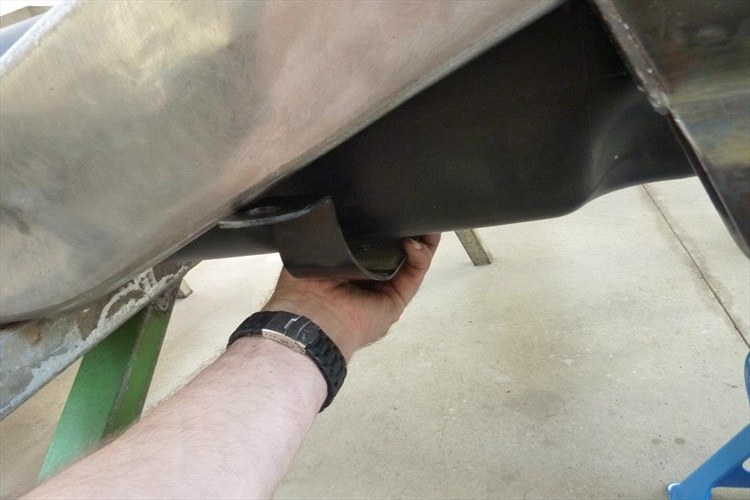
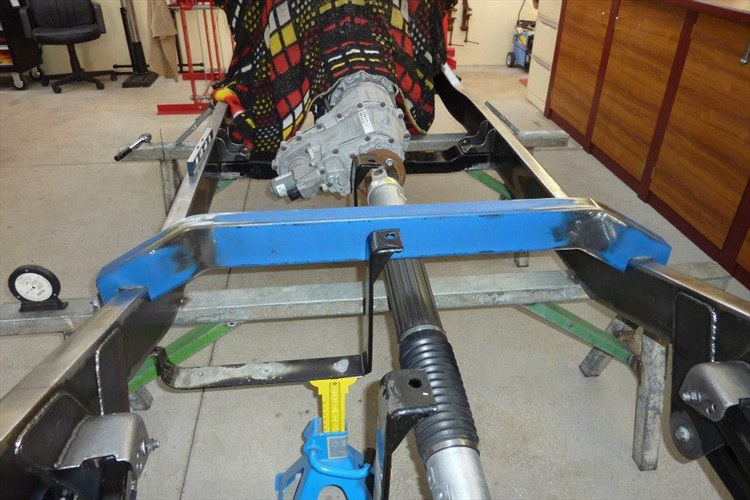
Checking to see that at full drop in the suspension travel that it still clears the upper control arm. Every bit of space is used with this setup. Also due to the greater depth of the rails, I was able to lift it up so that it sat flush with the bottom of them before the kick up.
As the frame is not as wide as the donors, and mine kicks up earlier, will have to modify them to bolt onto the underside.

Can see in the background how the middle strap turned out after I brought the bend in tighter around the tank and bent the end to suit the angle of the frame. Made a little saddle for the end strap off the side of the control arm mount.
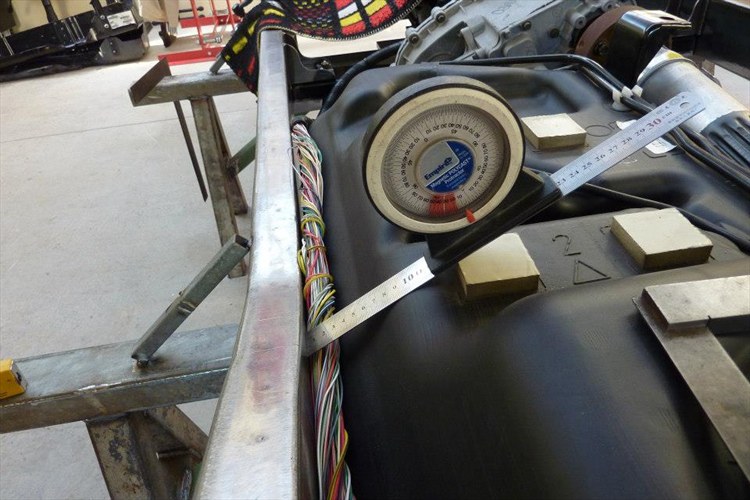
With one end of the straps all in place, have to design a way to support the strap in the middle of the frame. This is why I held off making the rest of cross members here until I had decided where the tank was going to go. You will noticed I have also the wiring loom in place to make sure I have enough clearance for where it will need to run later on.
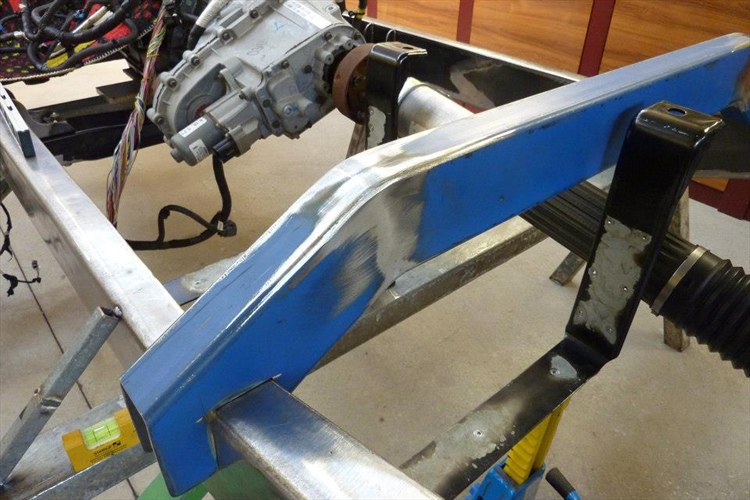
I have positioned the cross member to be over the top support pads that hold the tank down. You will notice I have continued it over the top of the rail and down the outside of it like it is done on late model Dodge pickups etc. This is because I don't have enough weld area on the inside only and want the cross member to add structural stiffness to the whole chassis as well. The weld area now adds up to more than it would have been had it joined fully on the inside.
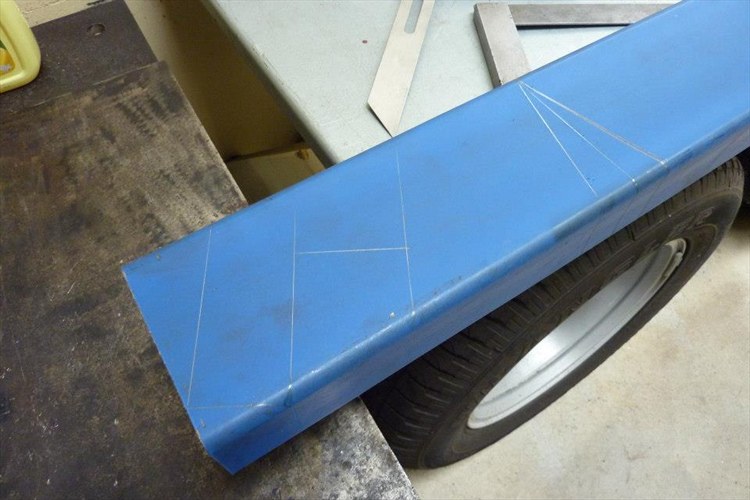
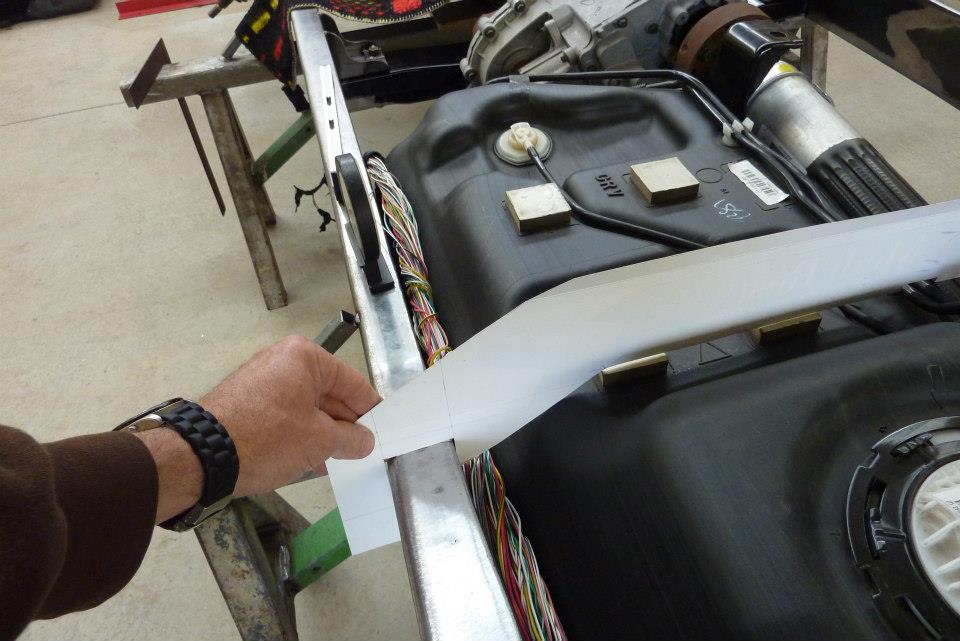
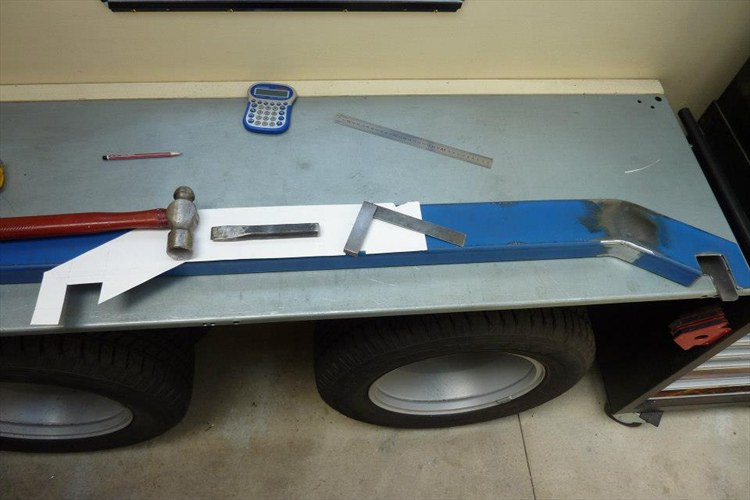
Laying it all out ready to be cut out. I am using 50x100x3mm, (2"x4"x1/8") RHS tubing. The original cross member in this position was of the same size but only channel. There was too many compromises modifying the original in this case, so started with new steel keeping the same 30 degree angle of the bends at each end that the original had, just further apart to clear the tank.
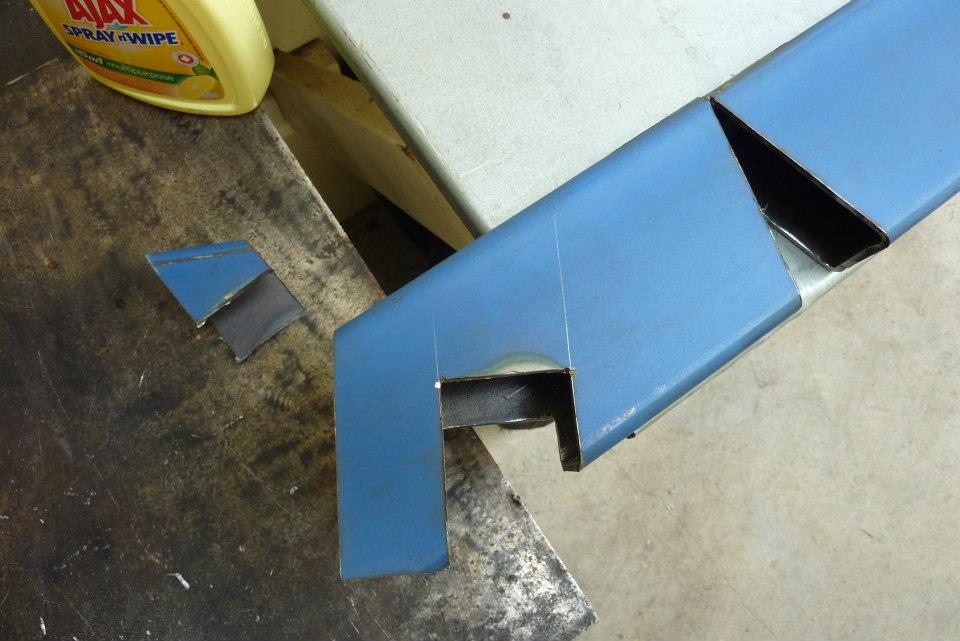
I have a technique I use to get the bend in the tubing looking more factory than the usual way of just butting the join together with sharp angles . I not only don't cut all the way through, but I cut slots in the top face as well. These slots are 50mm/2" long each side of the bending point for a total length of 100mm/4".
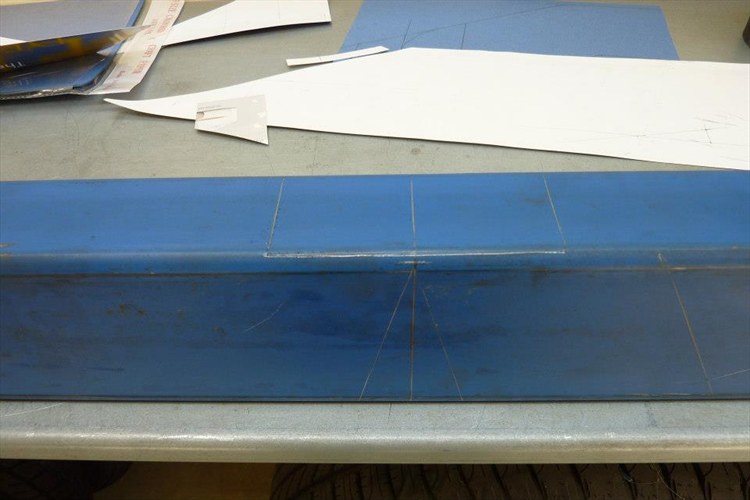
Cutting is done with a 9" grinder with a cutting disc. The one in the middle will be done with my 5" grinder with a worn disc in it.
Here you can see the top slots where the bend will be just inside the wall on each side.
I also had to take into account that the depth of the part sitting over the frame is at different heights to compensate for the angle of the frame rail.
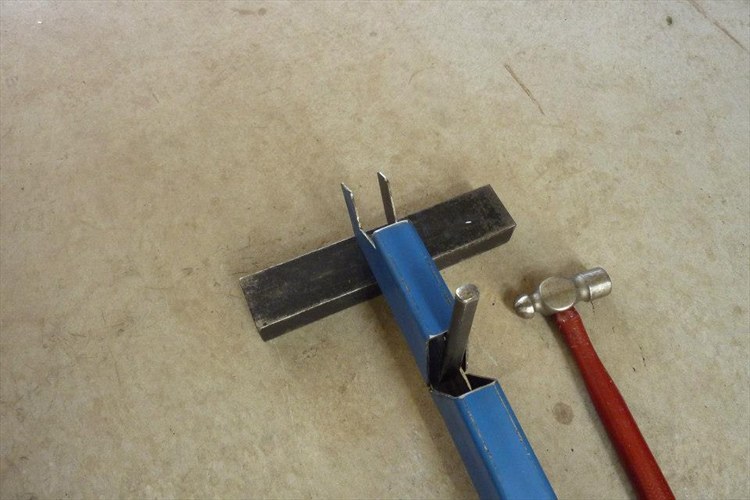
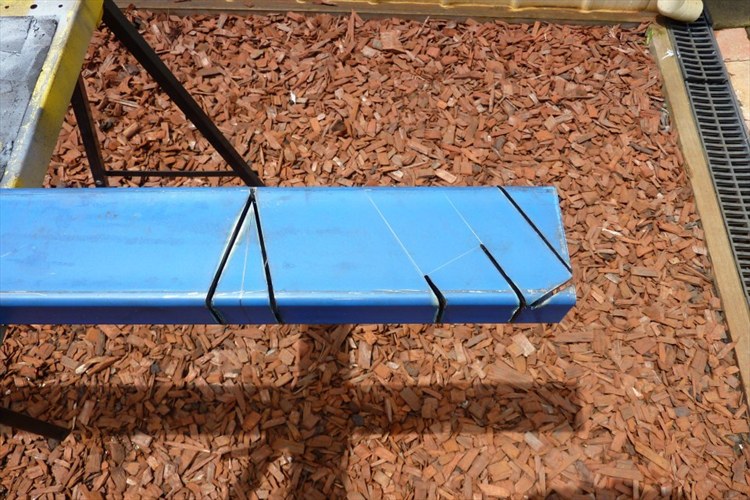
To get the bend to curve evenly, I just used a cold chisel and hammered at different spots right along the area between the slots. Just worked back and forth until the wedge closed up and couldn't use the chisel any more. Then just pulled it closed the rest of the way and tacked it.
Now you can see how the slots allow a nice flowing bend rather than a sharp one. The joint is also bevelled to allow full welding penetration.

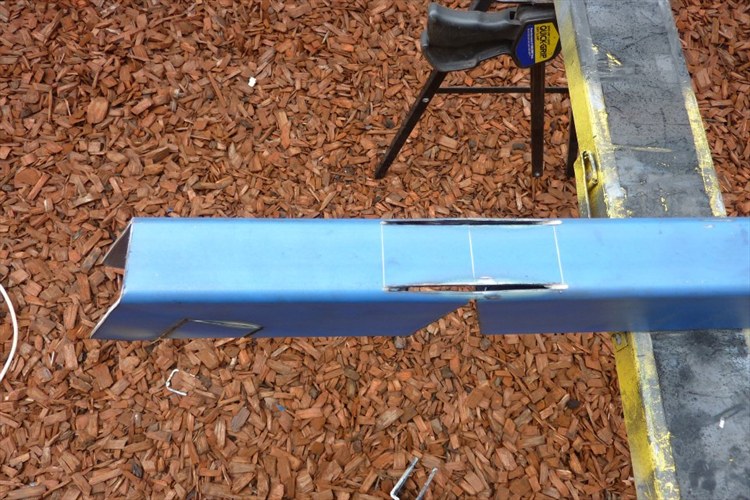
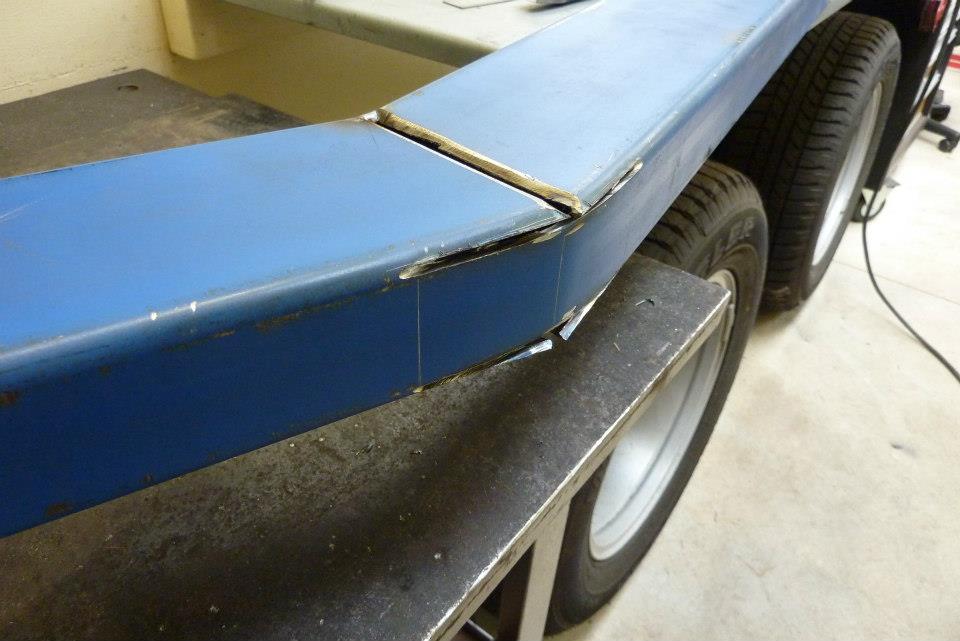
The end result.
Fit over the frame.
Now to work out where to start the cutting for the other end, I just laid the template the correct distance from the finished end.
Will make a bracket off it to go over the end of the tank strap.
Resting on the pads on top of the tank. I also had to notch a bit to clear the fuel and vent lines.


