Grand Willys Project - Page 297 - AUSJEEPOFFROAD.COM Jeep News Australia and New Zealand

Go Back   AUSJEEPOFFROAD.COM Jeep News Australia and New Zealand > JEEP GARAGE > Jeep build up
Register Forums Trading Your Jeep My Garage Mark All Read

Post New Thread  Reply
 
Thread Tools Search this Thread
  #2073  
Old 05-03-2024
5oclock  5oclock is offline
CrawlerStar
 
Join Date: Apr 2018
Location: East Gippsland, Vic.
Posts: 481
What Jeep do I drive?: WG
Likes: 386
Liked 73 Times in 65 Posts
Check out my Ride(s)
Default

Very nice!
  #2074  
Old 06-03-2024
Gojeep's Avatar
Gojeep  Gojeep is offline
LokRinger
 
Join Date: Jul 2002
Location: Victoria
Posts: 6,870
Likes: 789
Liked 1,754 Times in 556 Posts
Default

Thanks for the likes and comments and still following along after all this time!
__________________
Cheers, Marcus.

My web site:
http://willyshotrod.com Over 5'000 Club
Likes: (1)
  #2075  
Old 4 Weeks Ago
Gojeep's Avatar
Gojeep  Gojeep is offline
LokRinger
 
Join Date: Jul 2002
Location: Victoria
Posts: 6,870
Likes: 789
Liked 1,754 Times in 556 Posts
Default

Doing anything I can think of to help speed up putting it back together and then getting it out of the workshop at the end!

https://youtu.be/UeRtZfxWzl4
__________________
Cheers, Marcus.

My web site:
http://willyshotrod.com Over 5'000 Club
Likes: (2)
  #2076  
Old 3 Weeks Ago
Gojeep's Avatar
Gojeep  Gojeep is offline
LokRinger
 
Join Date: Jul 2002
Location: Victoria
Posts: 6,870
Likes: 789
Liked 1,754 Times in 556 Posts
Default


I wanted to replace the formply floor I had used with something longer lasting and harder wearing. After much research I came upon Compact Laminate board and the manufacturer said it would be perfect for what I going to use it for, even though I could be the first in this application! The core of a compact laminate is made up of several layers of Kraft paper that are saturated in phenolic resin. The top and bottom layer is a sheet of melamine impregnated with a patterned paper. Then pressed at 1000psi and 160*C/320*F in a large press to cure. Had it custom made to my measurements and had it freighted from interstate.


Unfortunately they did not tell me that compared to the formply, which was 50% thicker than the laminate, it was double the weight! 17mm formply weighed in at 20kg/44lbs and the laminate at 44kg/97lbs! I know I'm not building a race car, but that is a lot of extra weight. So it wasn't a total lose, I came up with a different use for it.


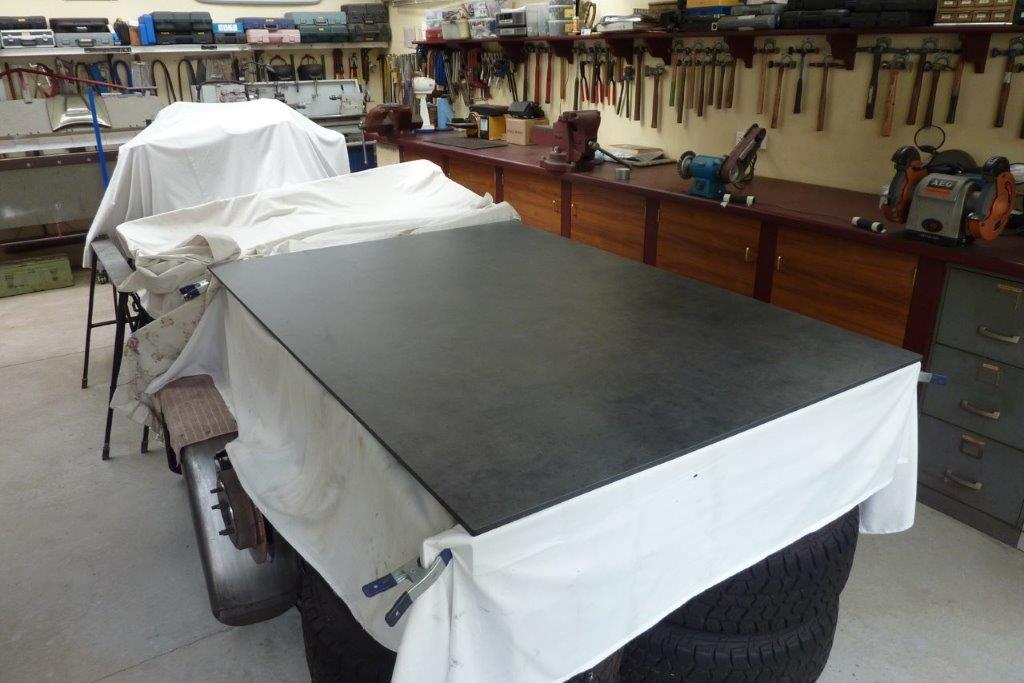
This stuff is super tough to cut and I went through a dozen quality metal jigsaw blades. Here I am using epoxy to double the edge and fit around a worn out desk top. Used up most the off cut to do this, so there was little wastage.


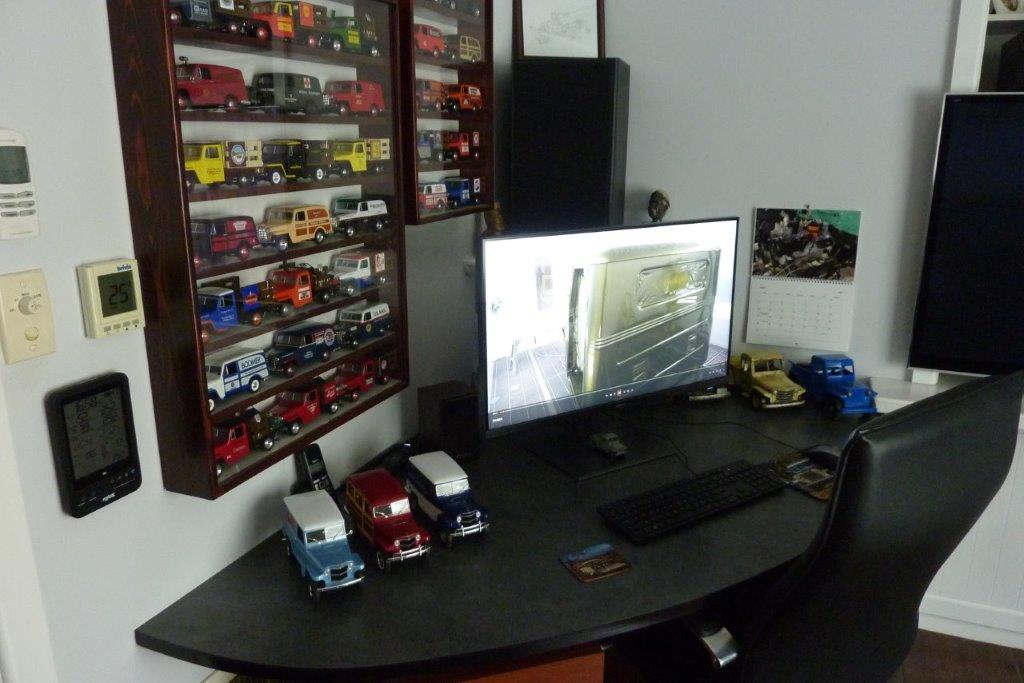
Feel better now as desk was due for replacement and this worked out a bit cheaper in the end than doing that. Can't half tell this is my desk with every model, 43 in all, being either a Willys Truck or Panel of the same model as mine.


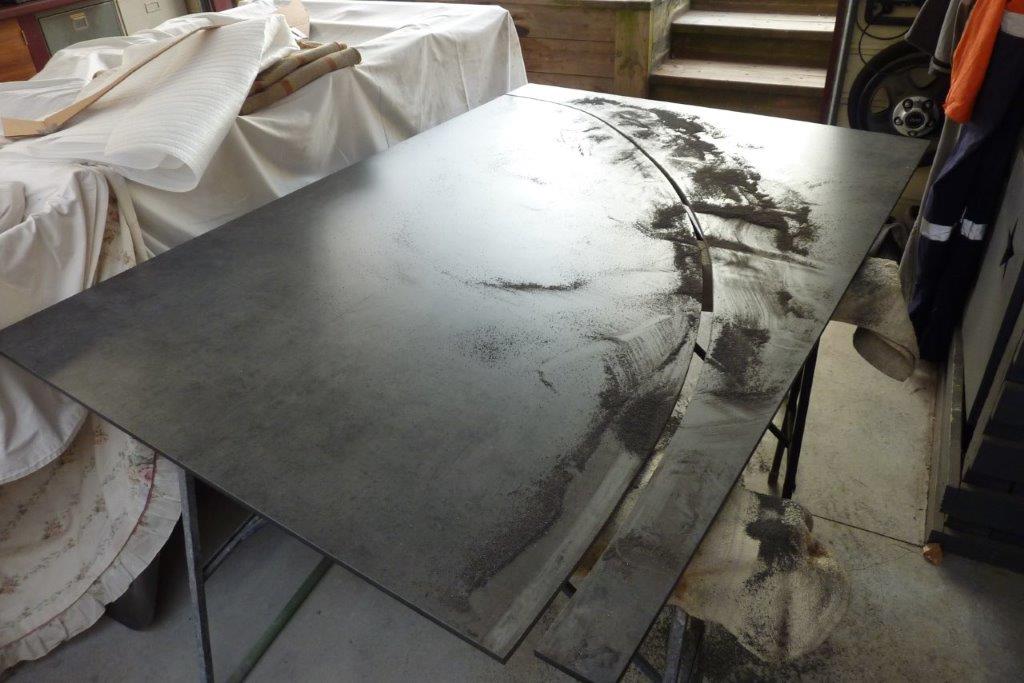
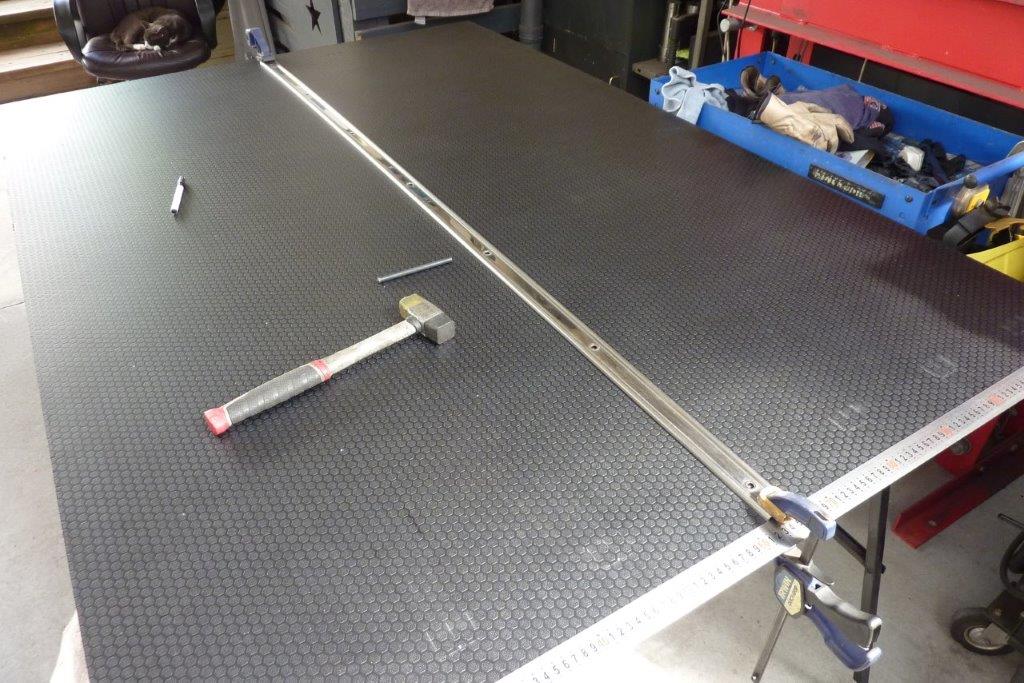
So what to use now? I really wanted to avoid a seam but my floor is wider than the normal 2440x1220mm/8'x4' sheet. I found this black patterned non slip Baltic birch plywood with just a layer of phenolic resin each side. Was a third of the price and less than half the weight too! Where the ruler lays is where I need to cut lengthwise.


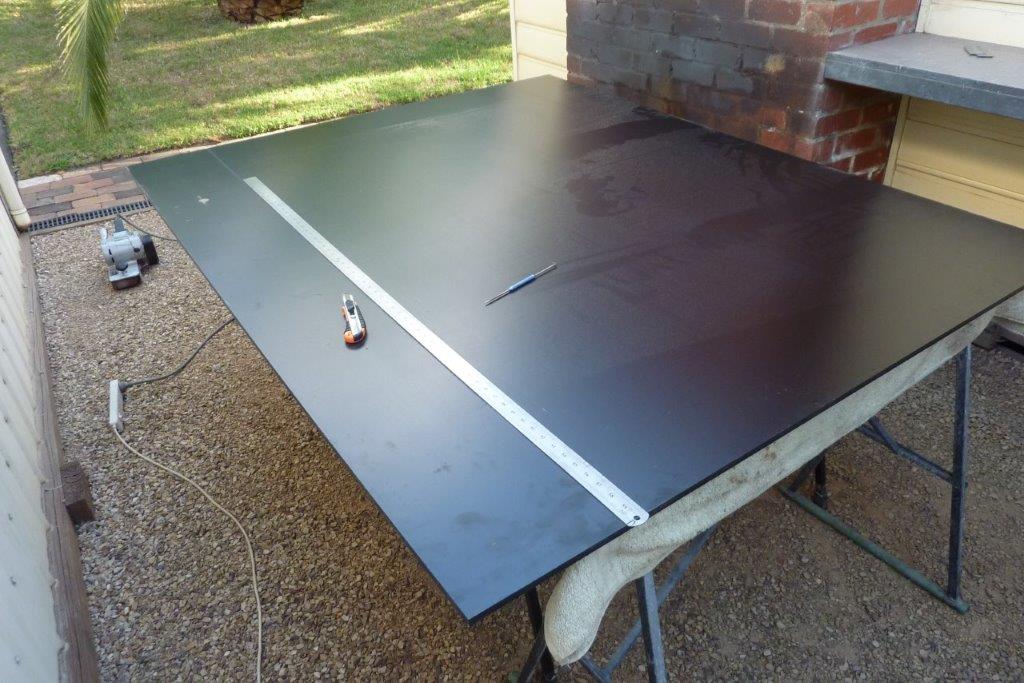
I could also get it in a 3050x1524mm/10'x5' sheet. Was way more than I needed length wise and even a bit extra width wise as the photos show.


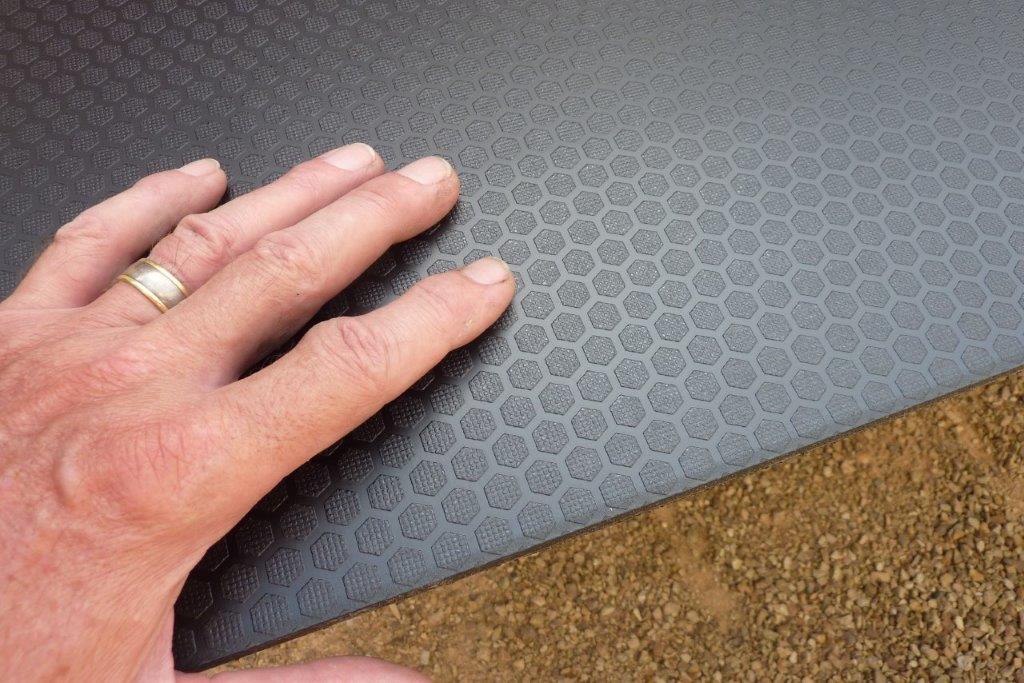
The hexagon pattern is a lot like a bed liner and very hard and tough. Used for trailer, caravan, scaffolding platforms etc.


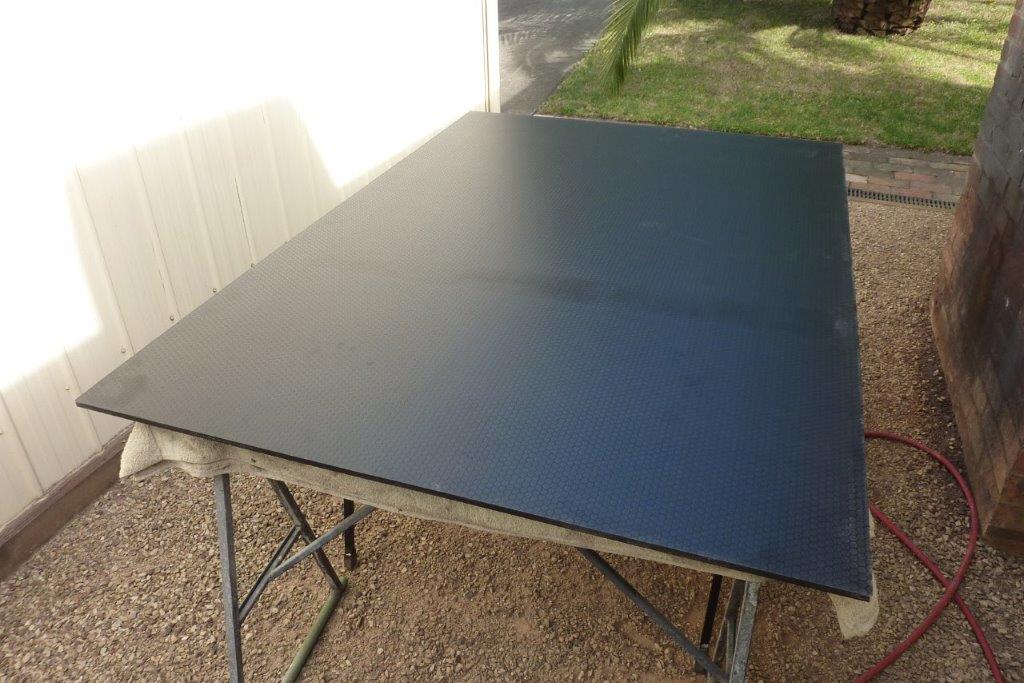
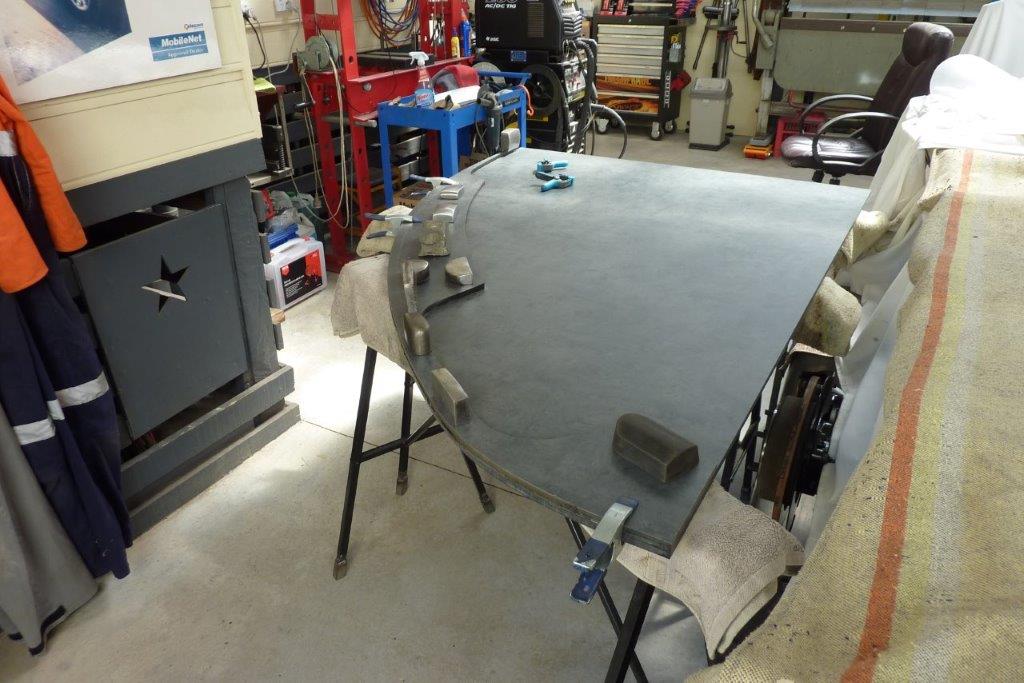
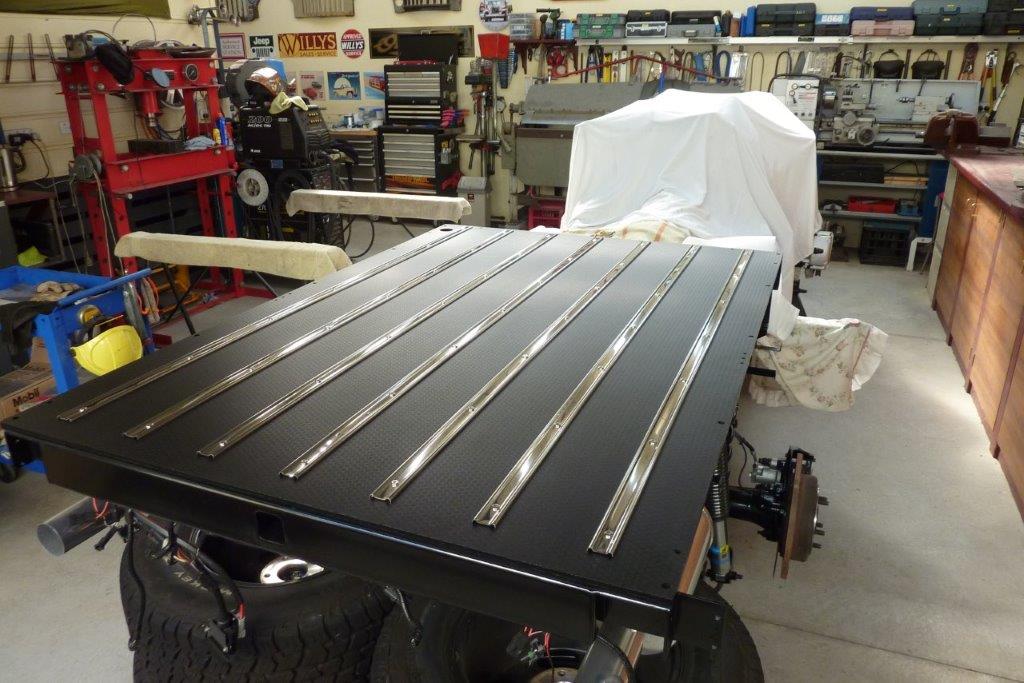
It was cut down to 1860x1288mm/73"x51" to replace the formply.


I laid down the stainless steel rub strips and used a transfer punch though the existing holes.


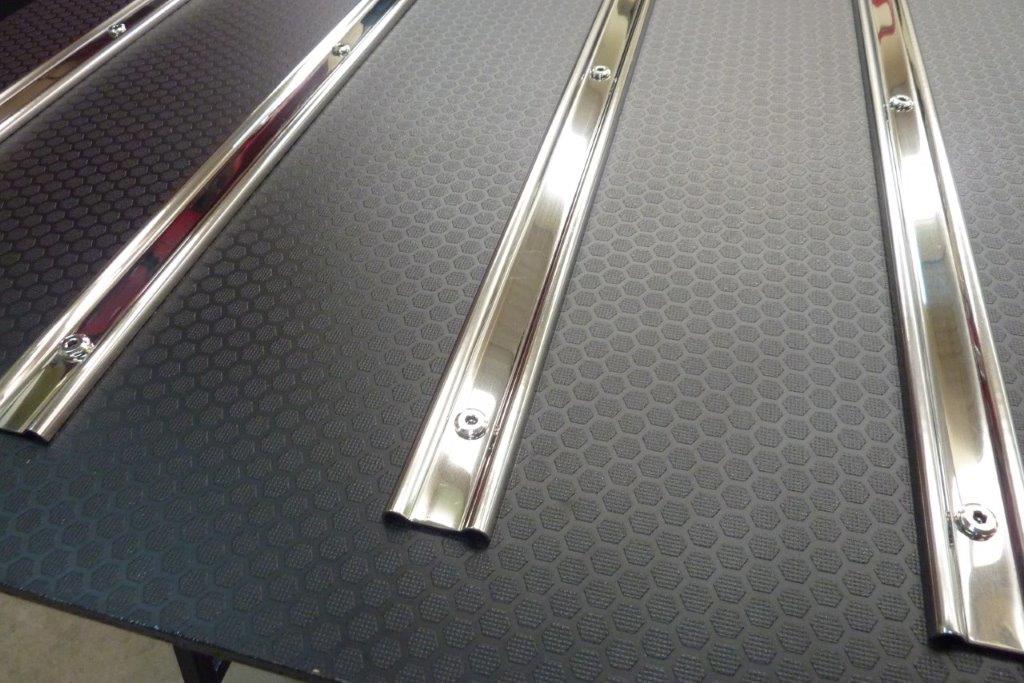
All the holes, which were less than 0.5mm bigger than the stainless barrel, or furniture bolts, all fitted perfectly.


The chassis and cross members were covered in automotive body mount double sided tape.


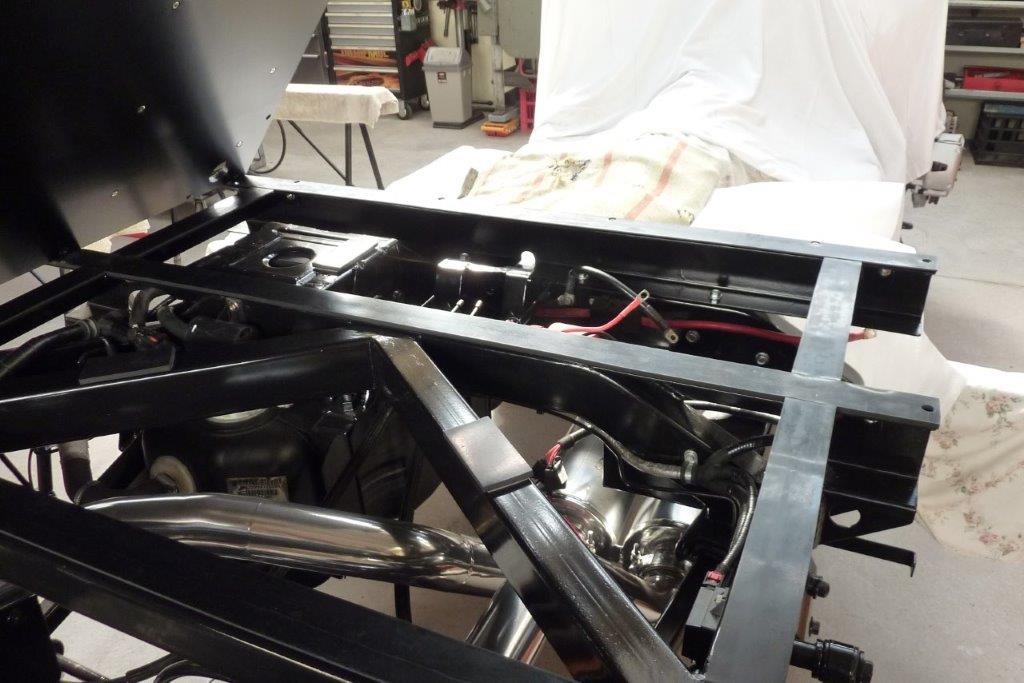
Then covered with neoprene rubber strips to isolate the board from the chassis to stop any noise and make up the difference in thickness between it and the formply.


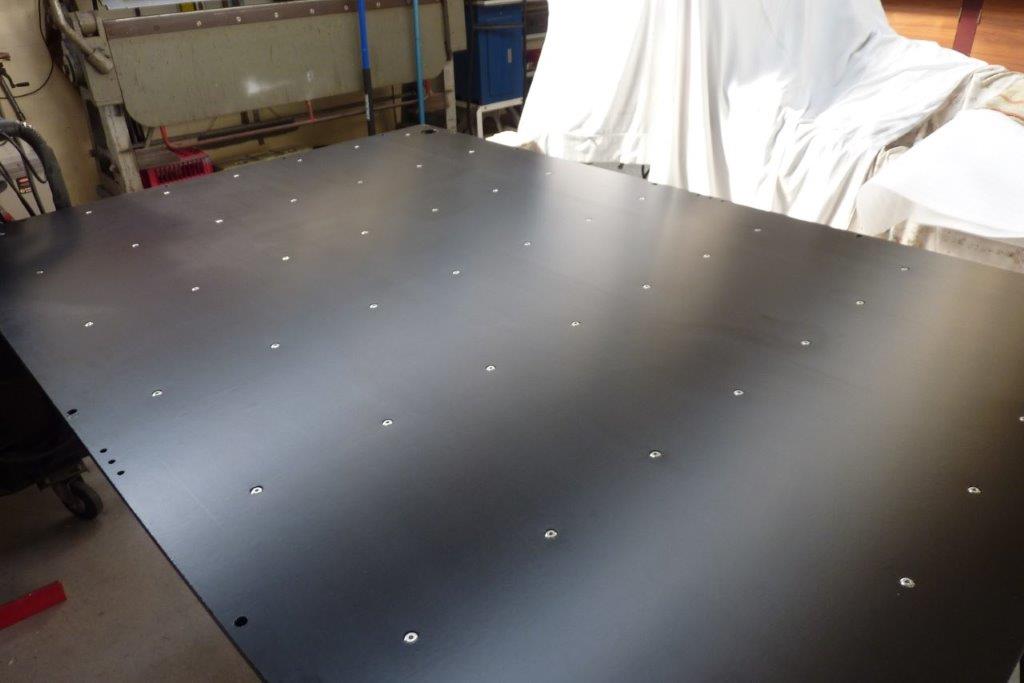
74 holes later, which were all painted by hand as well as the cut edges to stop any moisture getting in over time, it was ready to mount.


The fasteners were all recessed into the floor for a flat finish and placed onto the chassis ready for the tray.
__________________
Cheers, Marcus.

My web site:
http://willyshotrod.com Over 5'000 Club
Likes: (3)
  #2077  
Old 3 Weeks Ago
Gojeep's Avatar
Gojeep  Gojeep is offline
LokRinger
 
Join Date: Jul 2002
Location: Victoria
Posts: 6,870
Likes: 789
Liked 1,754 Times in 556 Posts
Default

In case anyone wants to hear me babble about it even more.
https://youtu.be/Btv9ZJck5nM
__________________
Cheers, Marcus.

My web site:
http://willyshotrod.com Over 5'000 Club
Likes: (1)
  #2078  
Old 2 Weeks Ago
Gojeep's Avatar
Gojeep  Gojeep is offline
LokRinger
 
Join Date: Jul 2002
Location: Victoria
Posts: 6,870
Likes: 789
Liked 1,754 Times in 556 Posts
Default

It's coming home!!

Off to pick up the cab and drop off the hard tonneau. It was too big to fit on the roof rack so into the hire trailer it goes. I had already taken all the other bed parts and the two sides on the roof of the Jeep earlier in the week.


At the painters I found the cab all ready to be loaded onto the trailer.


First time I had seen it since the cut and polish had been done. Looking really good in the autumn sunshine.


A group of the workers picked up the cab trolley and all and we sat it on the trailer. It is held down with the straps and the cable winch to hopefully stop it moving.


Got it home safely and it drew plenty of stares on the way home. It is less than 7km, away so a quick trip.


Doesn't look like it, but getting the trailer through my gates is not easy as cannot line up straight with them and they are only a couple of inches wider. No one to help guide me either and I block the traffic while doing it.


Looked like I would have enough clearance to fit under the carport. I was pushing the cab along from the front by myself.


Well it suddenly didn't move anymore as it had jammed under the first beam!!! My heart sank.


Pulled the cab back with my guts all twisted up wondering what damage I may have caused. Fortunately none!


Went inside and had a sit down wondering how to solve the problem. As the rear axle was already past the low beam, I figured taking off the front set was a quick way to drop it down some more.


That got me to the halfway point only though. Thought about letting air out of the rear tyres to get more clearance.


But taking the jack out from under the A frame and lowering it to the ground the last little bit got it past the beam with only a few millimetres to spare.


Got to enjoy the look of how the two sizes of gold pearl, silver metallic and the xirallic in the olive paint reacts in the setting sun while I wait for my wife Lisa to get home from work to help me unload.
__________________
Cheers, Marcus.

My web site:
http://willyshotrod.com Over 5'000 Club
Likes: (2)
  #2079  
Old 2 Weeks Ago
Gojeep's Avatar
Gojeep  Gojeep is offline
LokRinger
 
Join Date: Jul 2002
Location: Victoria
Posts: 6,870
Likes: 789
Liked 1,754 Times in 556 Posts
Default


Before putting it back on the chassis, I can finally run the donor Grand Cherokee under floor heat and isolation moulded mat.


There is also a firewall section and can see that I have to cut off the top section that used to go under the area of the donor cowl where the wipers and HVAC sat.


Only problem was that being right on the fold, it left an ugly edge along the top of the mat.


Used some pinch weld trim along the edge and that cleaned it up nicely. I had left all the mounting studs in place from the donor firewall and floor and placed the retainers back over them to hold it all in place.


There was also a factory pressed heat shield that sat above the exhaust system.


The pressed shield goes over the tunnel mat and fits perfectly.


We also put in the cab windows while it was easy to work around the cab. I put some rubber grease in the groove with along the cord as well as on the face of the lip that gets pulled over the window flange. Helps it pull over the flange when installing it.


Now it was time to roll the cab very carefully between the 32 Willys and the house to get it into the workshop.


Once along side the chassis, we attached the engine crane to the lifting rig I made that bolts to all the front seat mounts. It is angled back to be in the centre of balance of the cab.


Using plates between the crane and the rig with a single bolt allows me to tension the joint and stop it swinging around.


Can set it on an angle for instance and it stays there. Lisa is just keeping it steady and not holding any weight. We angled it up over the transmission as didn't have much head room under the panel door guide.


Not a lot of room between the back of the bell housing and the front of the bed floor, so had to go in straight.


It dropped straight over the mounts so the hard part is all done without damage.
__________________
Cheers, Marcus.

My web site:
http://willyshotrod.com Over 5'000 Club
Likes: (2)
Post New Thread  Reply


Posting Rules
You may not post new threads
You may not post replies
You may not post attachments
You may not edit your posts

BB code is On
Smilies are On
[IMG] code is On
HTML code is On


All times are GMT +10. The time now is 05:05 AM.


Advertisements


AJOR does not vouch for or warrant the accuracy, completeness or usefulness of any message, and are not responsible for the contents of any message. The messages express the views of the author of the message, not necessarily the views of AJOR or any entity associated with AJOR, nor should any advice be substituted as technical advice replacing that of a mechanic. You agree, through your use of this service, that you will not use AJOR to post any material which is knowingly false and/or defamatory, inaccurate, abusive, vulgar, hateful, harassing, obscene, profane, sexually oriented, threatening, invasive of a person's privacy, religious, political or otherwise violative of any law. You agree not to post any copyrighted material unless the copyright is owned by you or by AJOR. The owner, administrators and moderators of AJOR reserve the right to delete any message or members for any or no reason whatsoever. You remain solely responsible for the content of your messages, and you agree to indemnify and hold harmless AJOR, the administrators, moderators, and their agents with respect to any claim based upon transmission of your message(s). The use of profile signatures to intentionally mislead or misdirect any member on this forum is not acceptable and may result in your account being suspended. Any trip that is organised through the AJOR forum is participated at your own risk. If you or your vehicle is damaged it is your responsibility, not that of the person that posted the thread, message or topic initiating the trip, nor the organisers of AJOR or moderators of any specific forum. This forum and associated website is the property of AJOR. No user data is harvested and no information supplied in your registration will be sold for profit.


Powered by vBulletin® Version 3.8.7
Copyright ©2000 - 2024, vBulletin Solutions, Inc.

AJOR © 2002 - 2024 AUSJEEPOFFROAD.COM. All corporate trademarked names and logos are property of their respective owners. Ausjeepoffroad is in no way associated with DaimlerChrysler Corporation or Fiat Jeep.
www.ausjeep.com www.ausjeep.com.au www.midlifemate.com ausjeepforum.com www.r9kustoms.com
vB Ad Management by =RedTyger=