Grand Willys Project - Page 294 - AUSJEEPOFFROAD.COM Jeep News Australia and New Zealand

Go Back   AUSJEEPOFFROAD.COM Jeep News Australia and New Zealand > JEEP GARAGE > Jeep build up
Register Forums Trading Your Jeep My Garage Mark All Read

Post New Thread  Reply
 
Thread Tools Search this Thread
  #2052  
Old 17-07-2023
Gojeep's Avatar
Gojeep  Gojeep is offline
LokRinger
 
Join Date: Jul 2002
Location: Victoria
Posts: 6,870
Likes: 789
Liked 1,754 Times in 556 Posts
Default

Quote:
Originally Posted by BENAMON View Post
getting pretty excited to see it in fresh paint!
Same here!
__________________
Cheers, Marcus.

My web site:
http://willyshotrod.com Over 5'000 Club
  #2053  
Old 28-07-2023
Gojeep's Avatar
Gojeep  Gojeep is offline
LokRinger
 
Join Date: Jul 2002
Location: Victoria
Posts: 6,870
Likes: 789
Liked 1,754 Times in 556 Posts
Default

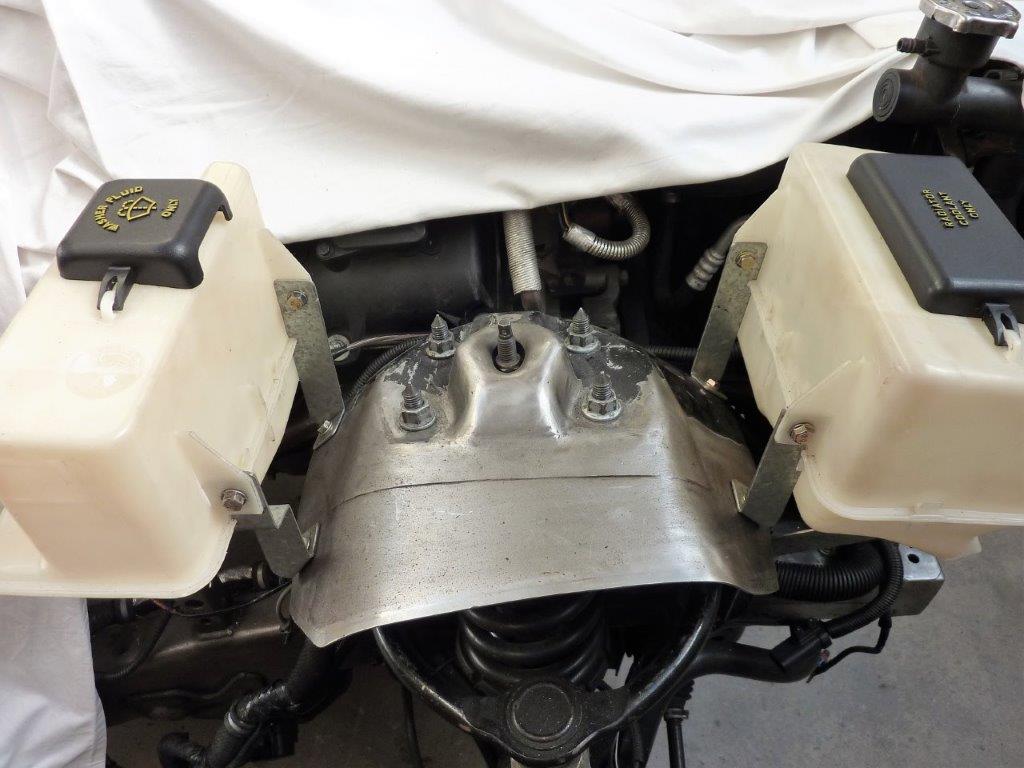
Before I start pulling down the rolling chassis and loosing all the room in the workshop, I'm thinking of anything at all that I wouldn't mind changing the appearance of before it goes to paint.


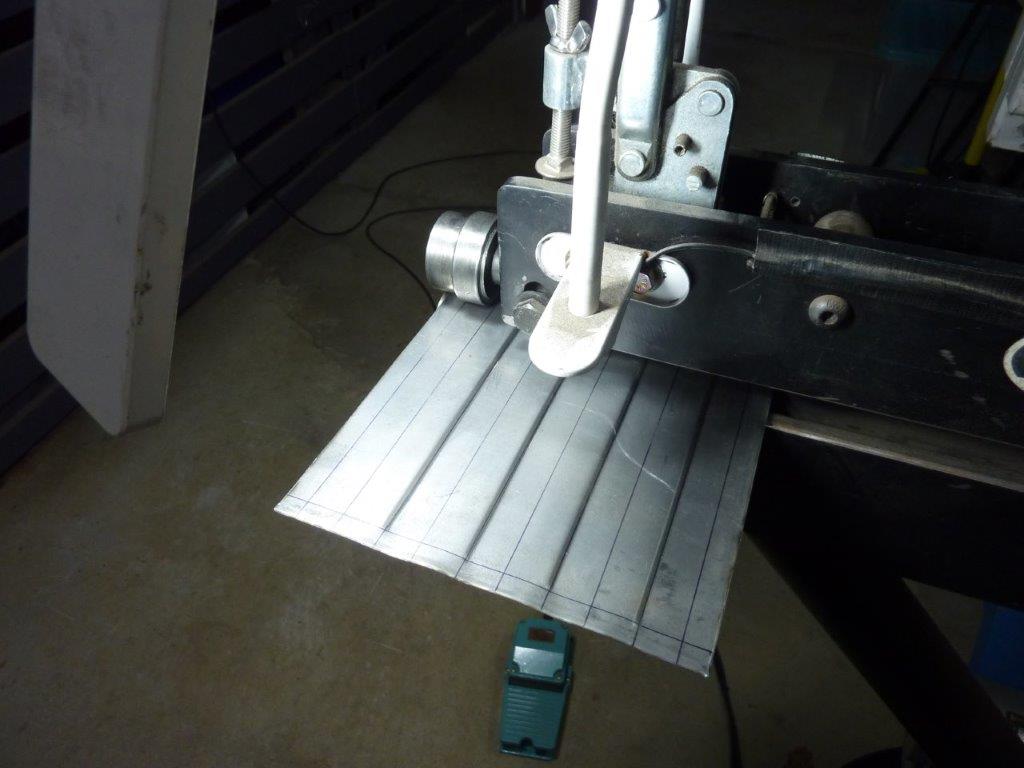
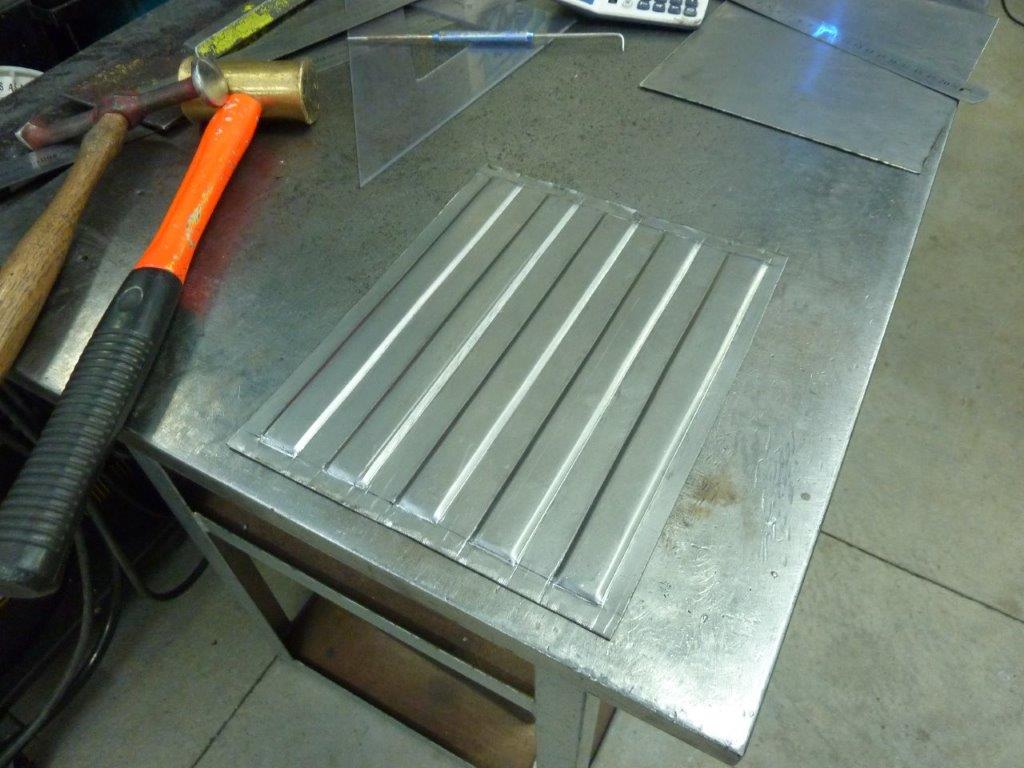
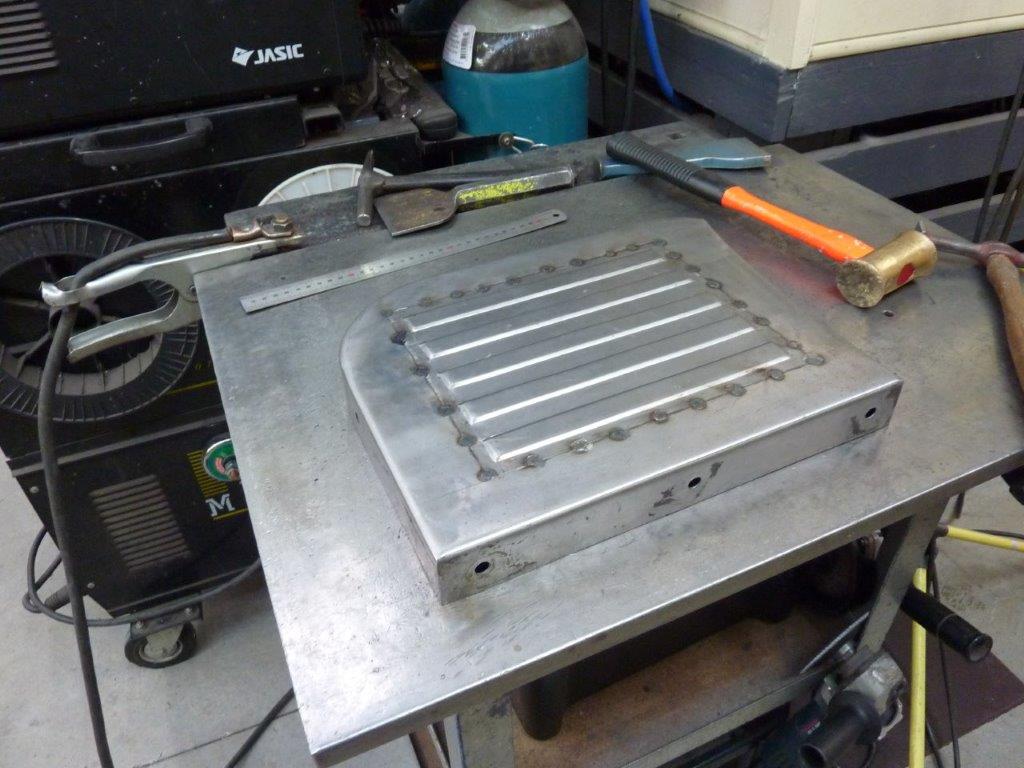
I decided to replace the 3 rounded beads I had on my side steps to more useful flat top ribs that I could put some grip tape on. More ribs as well to make it stiffer and the paint better protected. I'm just using a step die to do all of one side of each rib first before turning the piece around to do the other side.


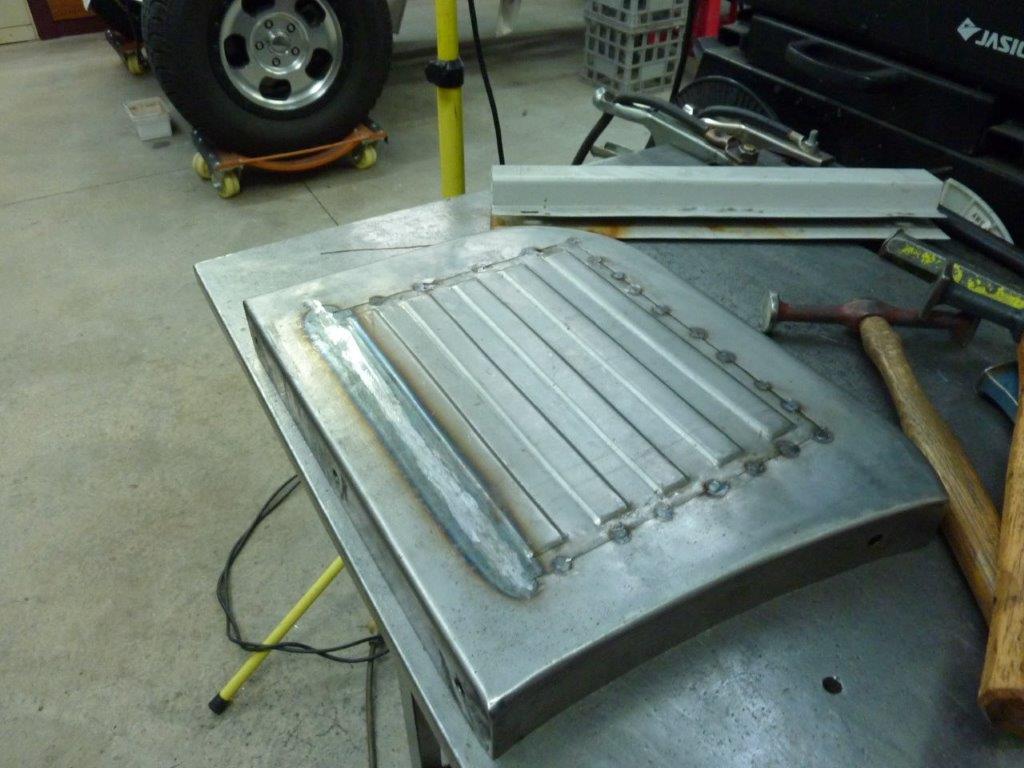
To finish off the ends of the ribs I'm using the step die to run across the very end of each one only. This leaves the end up more than crushing the ends to finish them off.


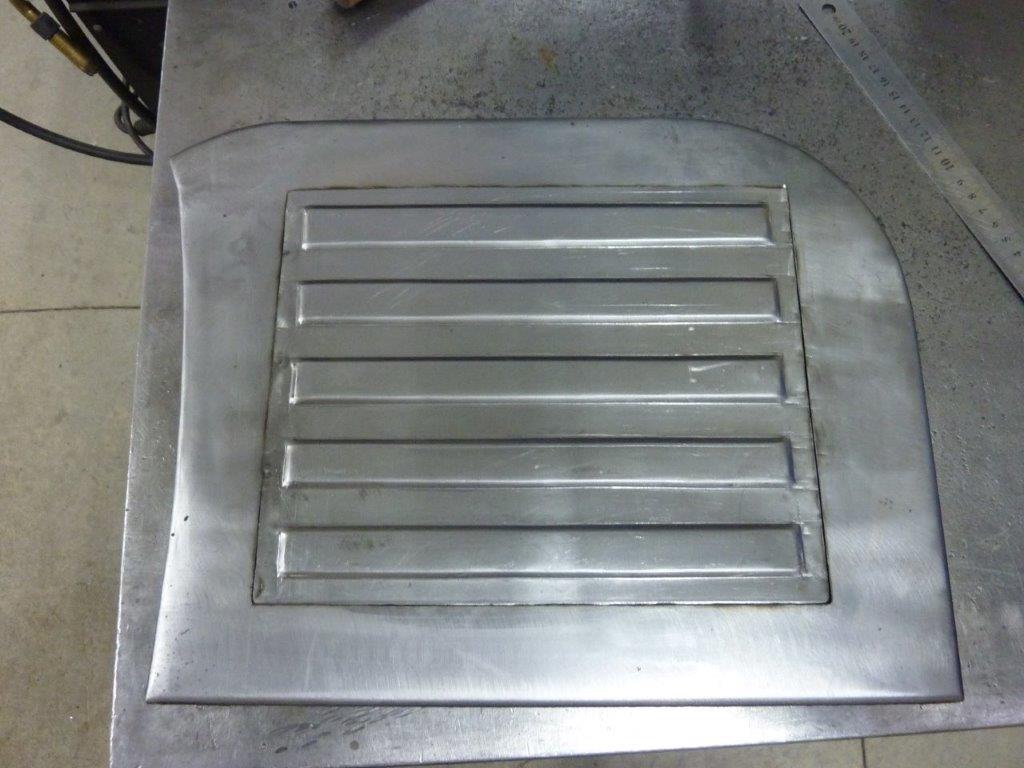
Measuring across the ribbed section showed that in a flat plain, it was slightly shorter than the ends. So a little shrink at the end of each rib sorted that out.


A bit of work stretching along the side of the ribs anywhere it was low got the rest of the piece completely flat.


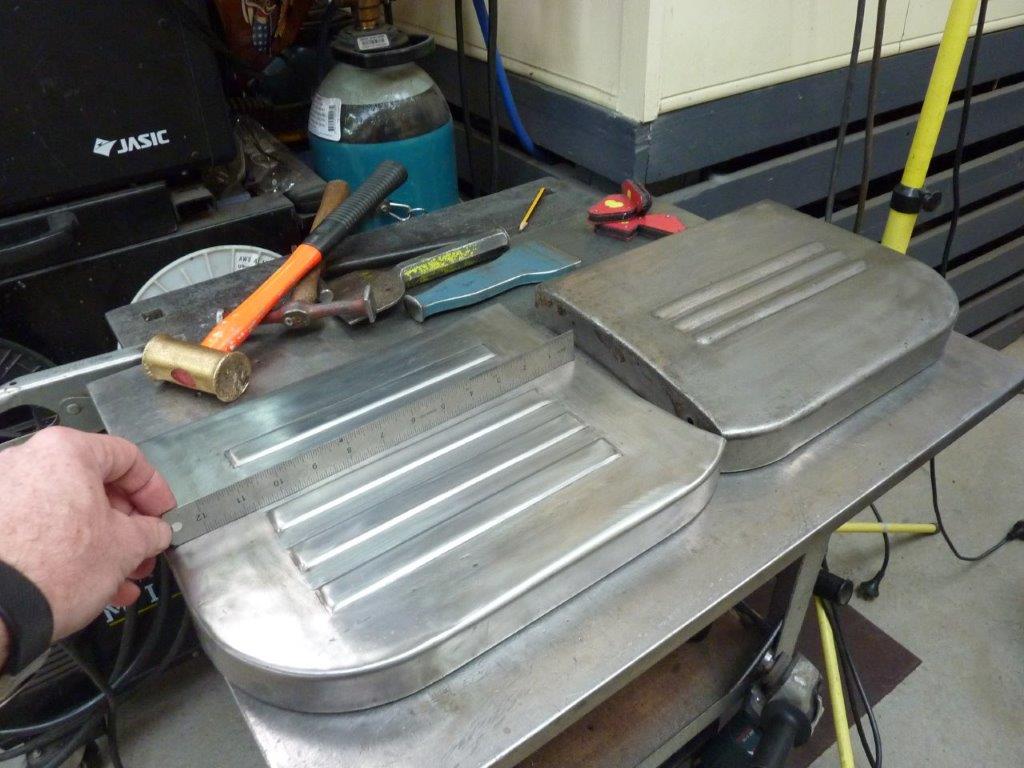
Cut the three rounded beads out to sit the new piece in ready for tacking into place. I thought this was easier than starting the step from scratch again as know this fits perfectly and I can't check the fit as the whole bed is already removed and in pieces.


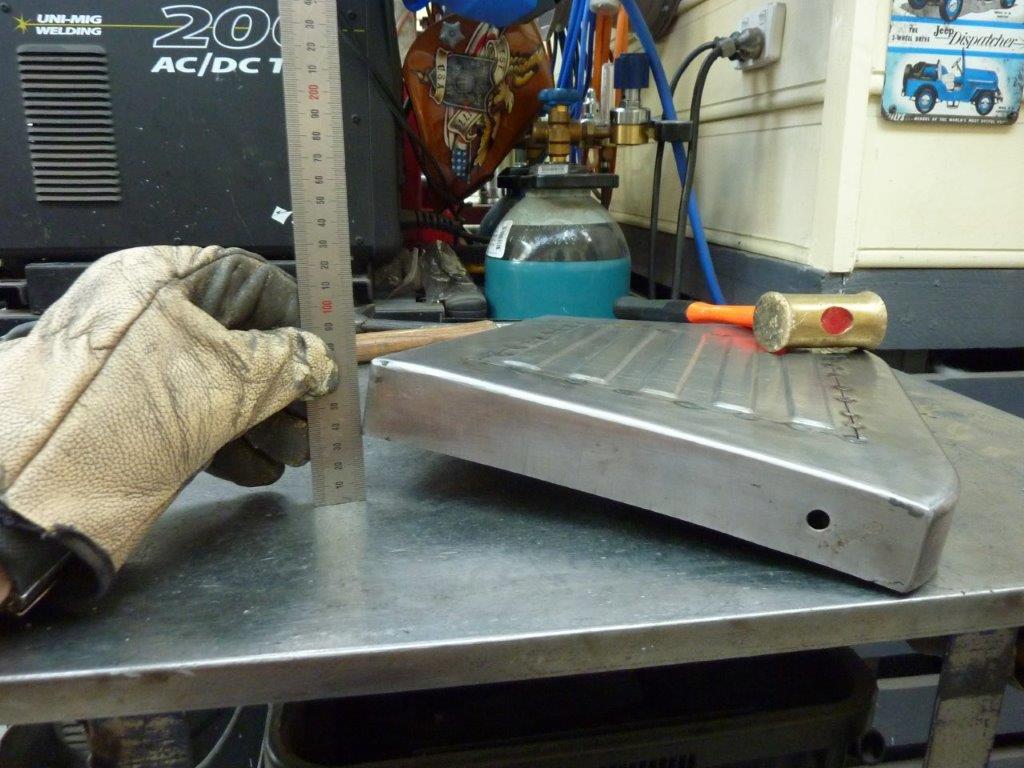
Just the shrinking of the tacks twisted the whole piece up 35mm or 1.25"!


Knowing that it was flat before tacking, I knew that just stretching the tacks would bring it flat again. Just hit each tack a similar amount and continued around a number of times until it sat flat again.


I did one continuous tig weld and knocked off any particular high spots in the bead before planishing the weld to stretch it. You don't want to go too hard and fast with it or otherwise you get a trough each side of the bead. I stretch it from both sides as well depending of what it needs always keeping within the heat effected zone. I grind the weld bead down in stages between hammering it to keep it all flat. Once the piece was perfectly flat again, I would go to the next side and repeat. That way you always know where the distortion is coming from.


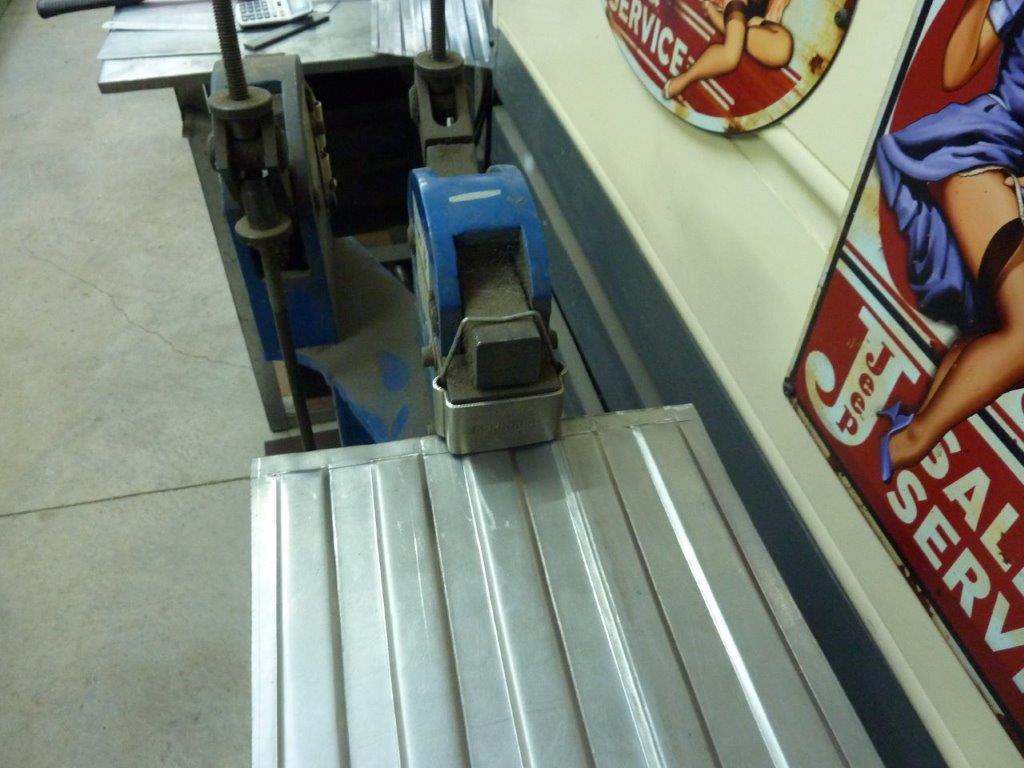
Checked in every direction to make sure it was flat. You can also see what the step looked like with just the three rounded beads.


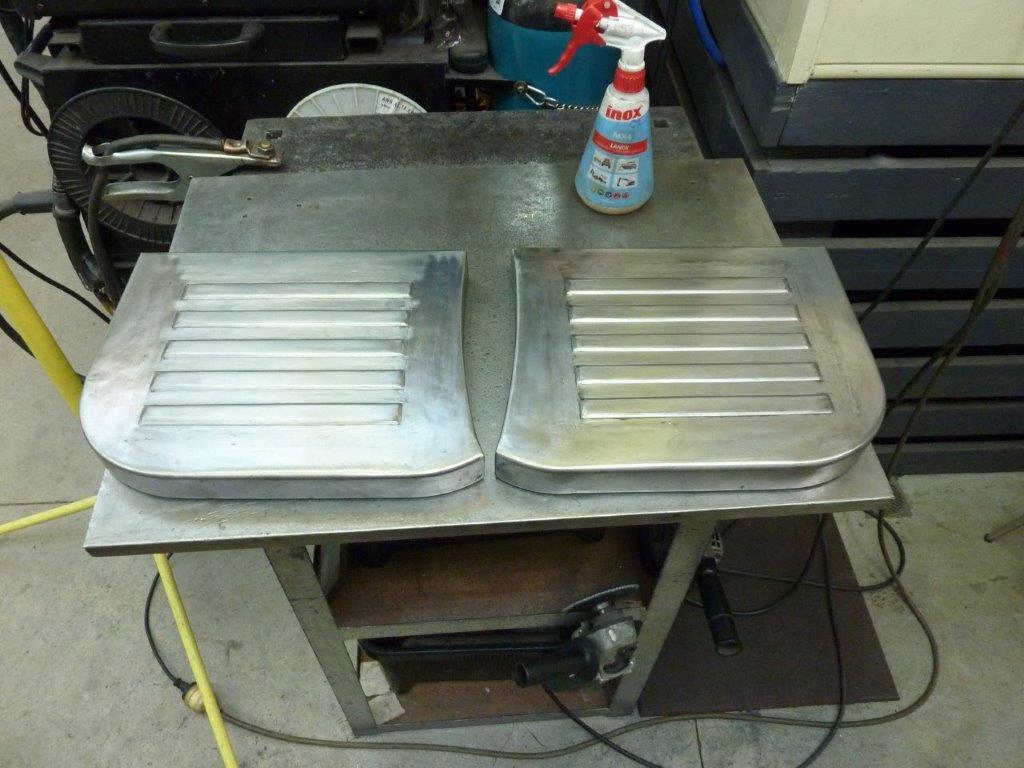
Both sides now done.
__________________
Cheers, Marcus.

My web site:
http://willyshotrod.com Over 5'000 Club
Likes: (2)
  #2054  
Old 30-07-2023
Gojeep's Avatar
Gojeep  Gojeep is offline
LokRinger
 
Join Date: Jul 2002
Location: Victoria
Posts: 6,870
Likes: 789
Liked 1,754 Times in 556 Posts
Default


Thought I would dress up the brackets I made to hold the washer and radiator overflow bottles. They were perfectly functional, but a bit of a custom look would make them look better as well.


Laid out a design and happy I don't anymore have to use a holesaw to cut large holes, as it always stalled my drill press. Using a hydraulic hole punch instead is faster and gives a cleaner result.


Once the holes were punched I cut out the pieces and folded the flanges. Used the same tool with my dimple dies.


Bracket cover pieces finished.


I spot welded them to the original brackets.


Looks less rudimentary now.


This will help them tie in with the bonnet supports etc that I also dimple die'd.
__________________
Cheers, Marcus.

My web site:
http://willyshotrod.com Over 5'000 Club
Likes: (2)
  #2055  
Old 22-08-2023
Gojeep's Avatar
Gojeep  Gojeep is offline
LokRinger
 
Join Date: Jul 2002
Location: Victoria
Posts: 6,870
Likes: 789
Liked 1,754 Times in 556 Posts
Default

Update on the deconstruction of the Willys Truck.
https://youtu.be/SpNaEhBXwMY
__________________
Cheers, Marcus.

My web site:
http://willyshotrod.com Over 5'000 Club
Likes: (2)
  #2056  
Old 26-09-2023
BENAMON  BENAMON is offline
Established Member
 
Join Date: Aug 2008
Location: Gold Coast
Posts: 190
What Jeep do I drive?: JK
Likes: 23
Liked 29 Times in 26 Posts
Default

How's the paint going!? Any sneak peek updates?
Likes: (1)
  #2057  
Old 26-09-2023
Gojeep's Avatar
Gojeep  Gojeep is offline
LokRinger
 
Join Date: Jul 2002
Location: Victoria
Posts: 6,870
Likes: 789
Liked 1,754 Times in 556 Posts
Default

Quote:
Originally Posted by BENAMON View Post
How's the paint going!? Any sneak peek updates?
I only have updates on the painting I have been doing and been adding videos to my Youtube channel. Haven't linked here as have had trouble getting onto the site and I can't getting logged off when I do!

Didn't think anyone here was interested either so haven't posted, along with other forums as well.

The painters have only sent one photo so far showing that it passed all adhesion tests as they were worried after the use of the wax and lanolin. All was fine just using wax and grease remover and then sanding with a DA as they would normally anyway.
Hope to get another update at the end of this month if they have been working on it!
__________________
Cheers, Marcus.

My web site:
http://willyshotrod.com Over 5'000 Club
Likes: (3)
  #2058  
Old 28-09-2023
BENAMON  BENAMON is offline
Established Member
 
Join Date: Aug 2008
Location: Gold Coast
Posts: 190
What Jeep do I drive?: JK
Likes: 23
Liked 29 Times in 26 Posts
Default

Yeah that's fair enough! I've also had issues logging onto this website over the last few weeks.

I've been following this since the very start - so always keen to see updates!

Interesting point you bring up regarding the lanolin - I was also thinking about that when it came time for paint. I've heard things like tyre shine and anything silicone based makes it a complete nightmare for painters - so was wondering how they would go stripping all the lanolin out of the creases and crevices.

Will check out you tube
Likes: (1)
Post New Thread  Reply


Posting Rules
You may not post new threads
You may not post replies
You may not post attachments
You may not edit your posts

BB code is On
Smilies are On
[IMG] code is On
HTML code is On


All times are GMT +10. The time now is 04:10 AM.


Advertisements


AJOR does not vouch for or warrant the accuracy, completeness or usefulness of any message, and are not responsible for the contents of any message. The messages express the views of the author of the message, not necessarily the views of AJOR or any entity associated with AJOR, nor should any advice be substituted as technical advice replacing that of a mechanic. You agree, through your use of this service, that you will not use AJOR to post any material which is knowingly false and/or defamatory, inaccurate, abusive, vulgar, hateful, harassing, obscene, profane, sexually oriented, threatening, invasive of a person's privacy, religious, political or otherwise violative of any law. You agree not to post any copyrighted material unless the copyright is owned by you or by AJOR. The owner, administrators and moderators of AJOR reserve the right to delete any message or members for any or no reason whatsoever. You remain solely responsible for the content of your messages, and you agree to indemnify and hold harmless AJOR, the administrators, moderators, and their agents with respect to any claim based upon transmission of your message(s). The use of profile signatures to intentionally mislead or misdirect any member on this forum is not acceptable and may result in your account being suspended. Any trip that is organised through the AJOR forum is participated at your own risk. If you or your vehicle is damaged it is your responsibility, not that of the person that posted the thread, message or topic initiating the trip, nor the organisers of AJOR or moderators of any specific forum. This forum and associated website is the property of AJOR. No user data is harvested and no information supplied in your registration will be sold for profit.


Powered by vBulletin® Version 3.8.7
Copyright ©2000 - 2024, vBulletin Solutions, Inc.

AJOR © 2002 - 2024 AUSJEEPOFFROAD.COM. All corporate trademarked names and logos are property of their respective owners. Ausjeepoffroad is in no way associated with DaimlerChrysler Corporation or Fiat Jeep.
www.ausjeep.com www.ausjeep.com.au www.midlifemate.com ausjeepforum.com www.r9kustoms.com
vB Ad Management by =RedTyger=