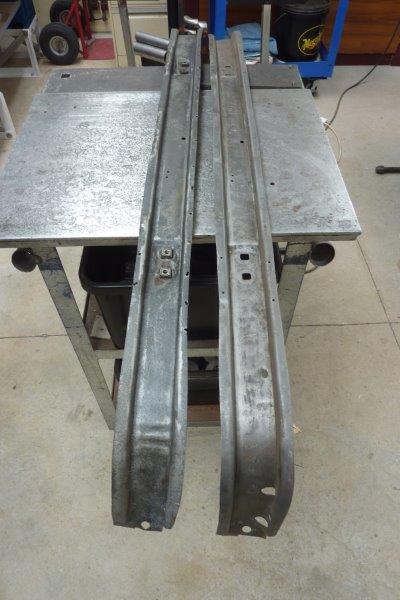
Time to start on the rear bonnet support. I got the two originals I made the bonnet skin from to use. I was very surprised to find how many spot welds went through the outer exposed skin. One had 26 in all! Normally on cars this is never done, especially on large panel such as this, as it shows up through the paint work as the skin expands and contracts with temperature. It will pull on the welds even if it was not visible as time of paint preparation. I will use an adhesive/sealer and spots welds only on the flange at the ends which I will add to these. It will also be held down by the clamping of the hinge screws.
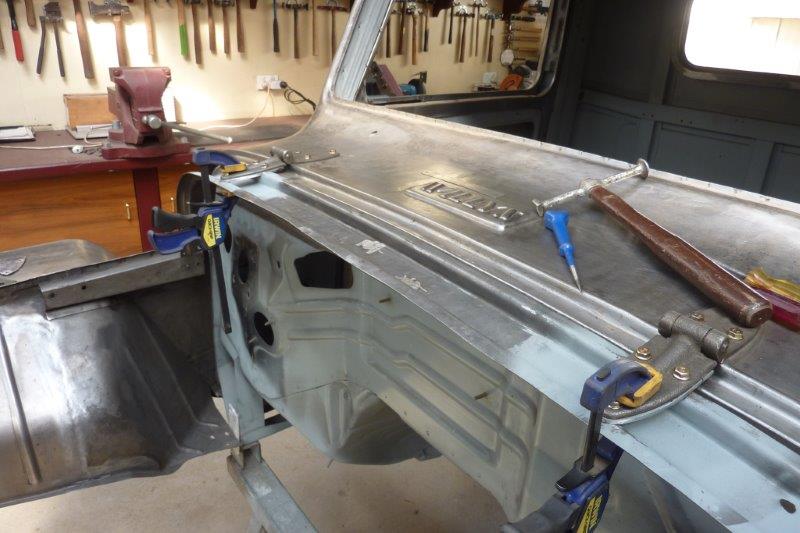
I came up with a way to easily make level mounts for the hinges. There was a 4mm difference from one side to the other so made new threaded plates out of some 4mm plate. It is welded in flush on one side and sits up the plate thickness on the other so it stays level under the hinge while the support curves downwards.

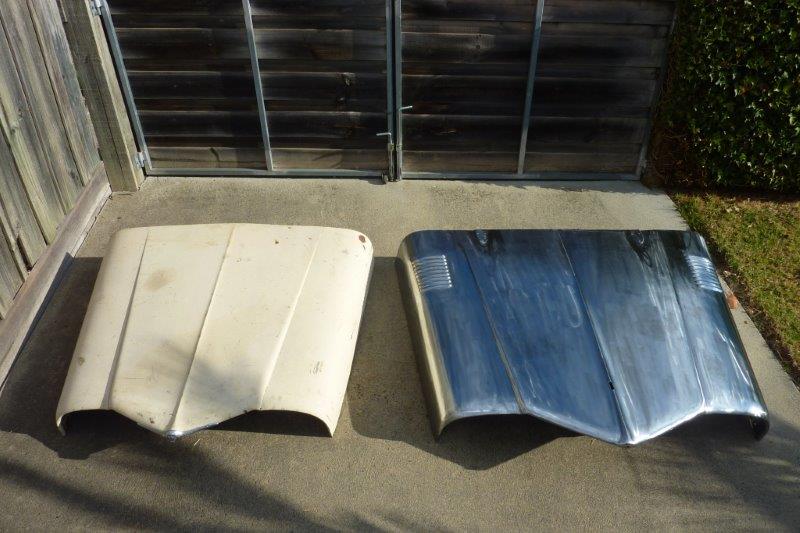
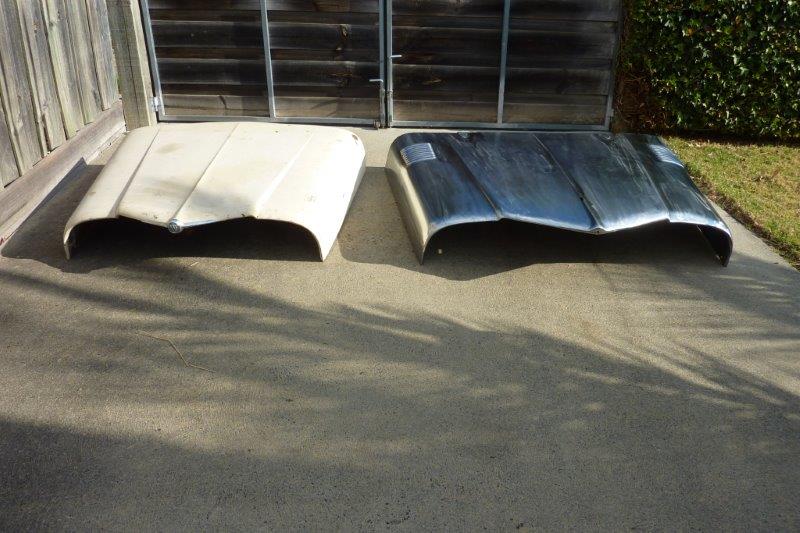
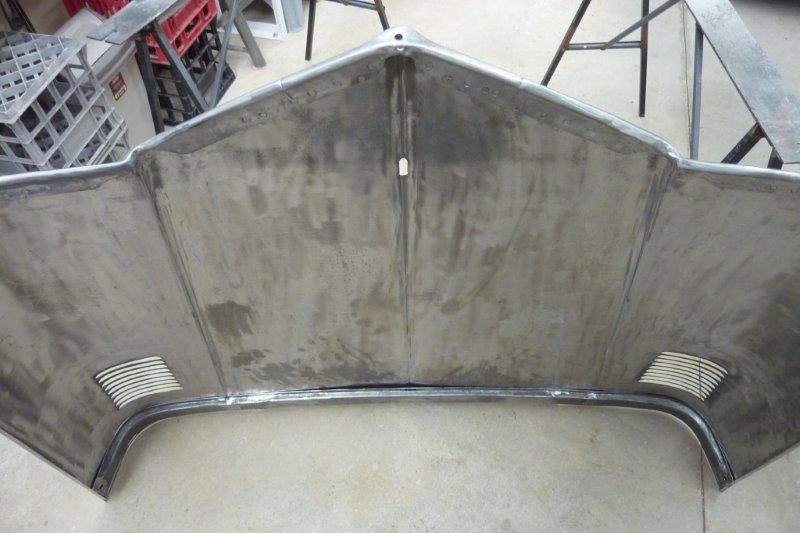
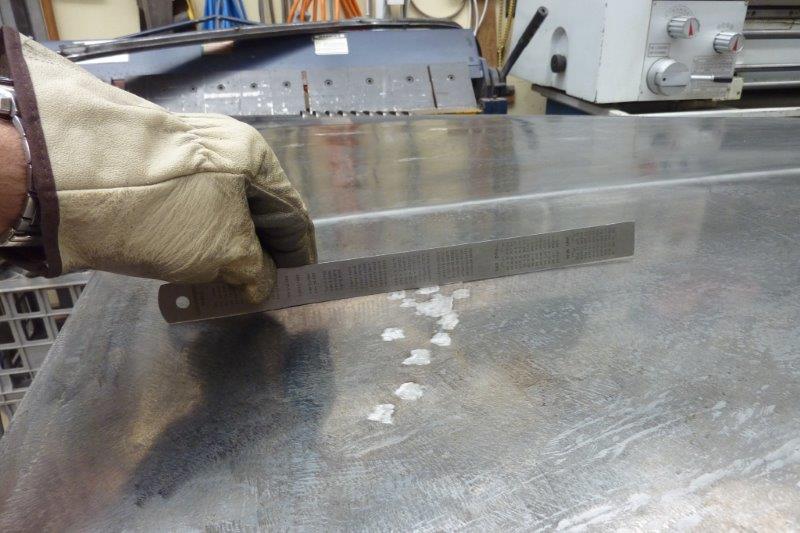
Can really see how much wider the cowl and how different the curvature is. The rise is the same, but over a longer distance, so it is shallower overall. I will have to alter the support completely from one end to the other to match it. I will hammer right long the bottom edge only, as pictured, to stretch it which will reduce the curvature.

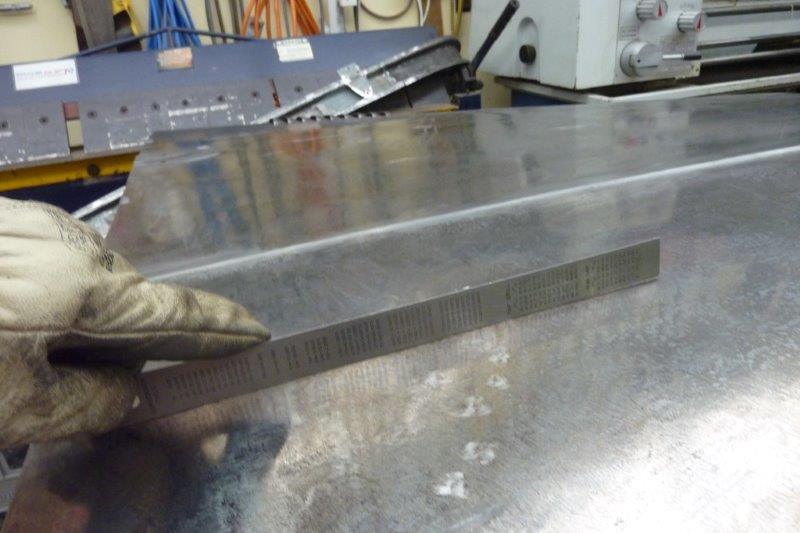
With the profile now matching the cowl between the outer bends, it is time to measure where to cut and then fit the ends from the other bonnet support to lengthen it.
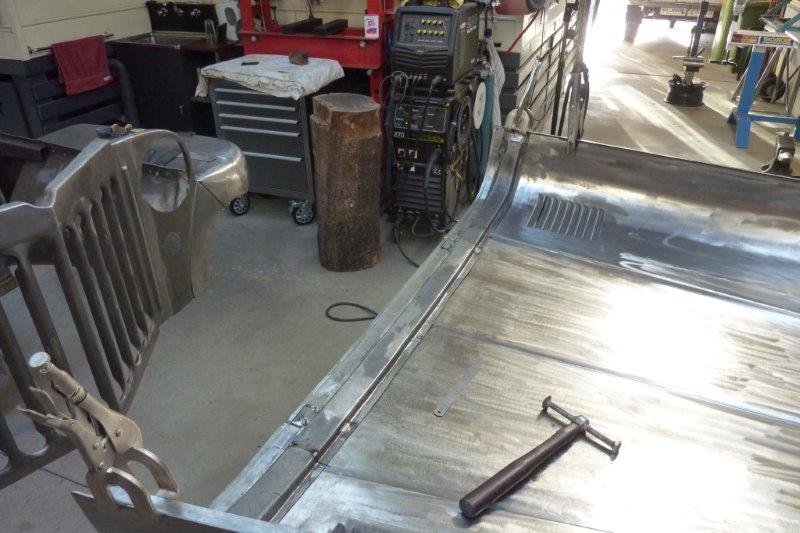
I have only tacked one side of the join so I can make final adjustment once it is bolted to the hinges and matches the cowl.
I think it would have been better if I had made the support first and then made the skin match it. I have some excess material left and what is shown is about half of what I started with before using the shrinking disk to reduce it.
I have shrunk down the skin a lot more over the support but it leaves excess further down the skin as expected. I was having trouble getting this down any further with the shrinking disc.

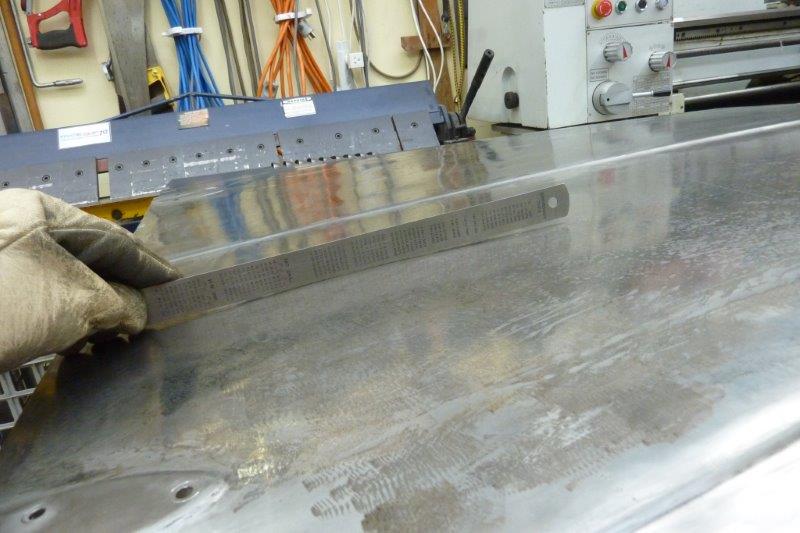
Something I have done for years, but possibly never shown, is I use tacks as a heat shrink. I don't have an oxy and this has more control than my propane torch. Like with the shrinking disc, I don't use compressed air or a wet rag to shrink it while hot. The metal stays much more workable this way.
This is what the same spot looks like after only sanding the tacks and then, not before, hammering it down into a rubber dolly so as not to stretch the area.
A bit more work with the shrinking disc around the surrounding area and it is nearly there.

Not far off now and think I will use the same tack technique here.

Can see how much closer the centre is as well and hopefully some tacking will get it flush. It will stick out above the cowl edge if I don't get it down flush.