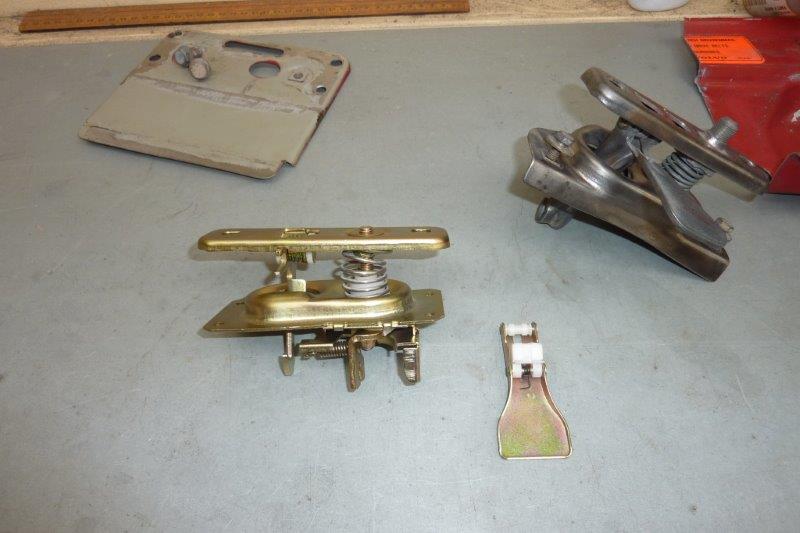
For the latch I wanted to see what else I could use that was new and didn't need replating. Just doing an image search I came across this latch from a 1990's VW Polo and Jetta.
Very similar to the ones they sell for universal latches for hotrods etc, but $100 cheaper! This only cost $30 AUD including freight. I like that this one had a nylon spring retainer so it won't mark up the latch and even nylon bushings.
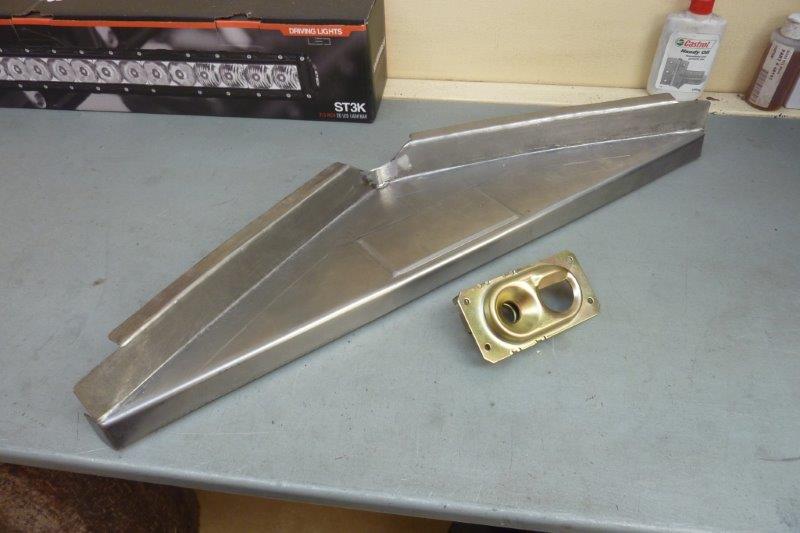
Turns out that the hole spacing was the same as the Volvo latch so I used the reinforcement plate from it. Used weld through primer before plug welding it on.
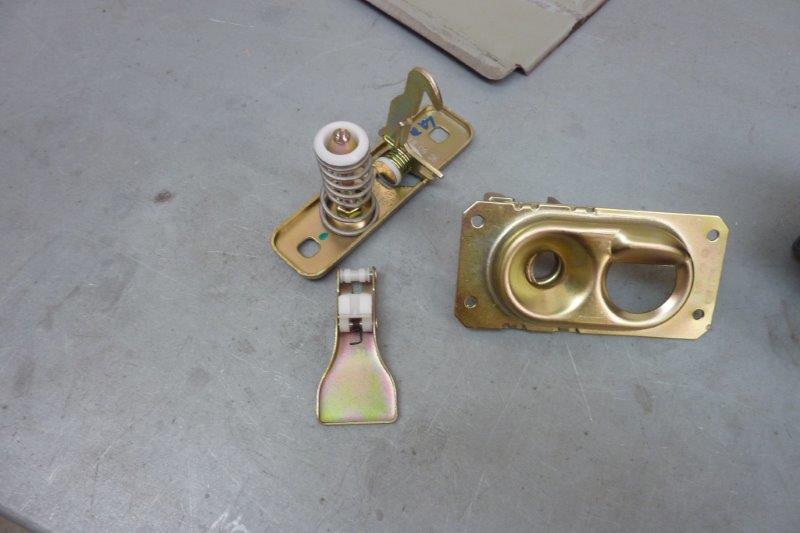
One thing I didn't like was that the handle for the safety catch had to sit on a little pedestal in front of it to work. So I drilled a hole and attached directly to the arm and turned the catch around to face the other way just like the Volvo one was.

Even reused the original pin by reflaring the end after cutting and trimming down the nylon bush to fit each side of the arm.
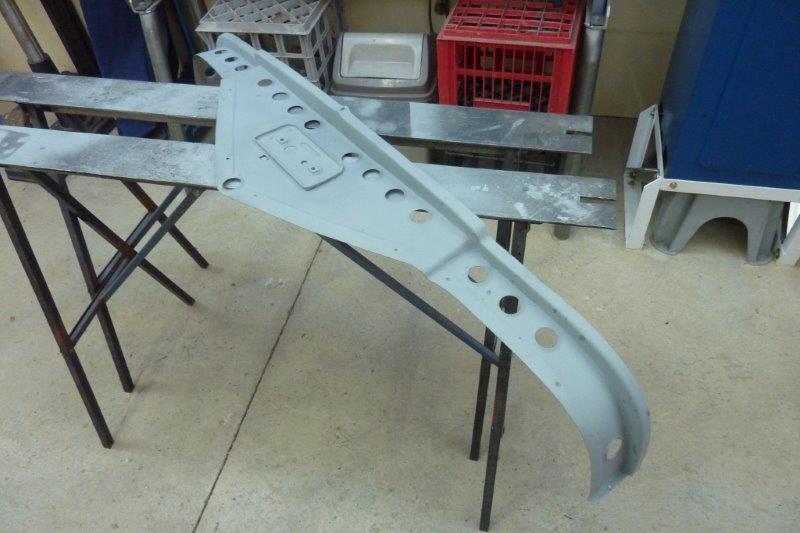
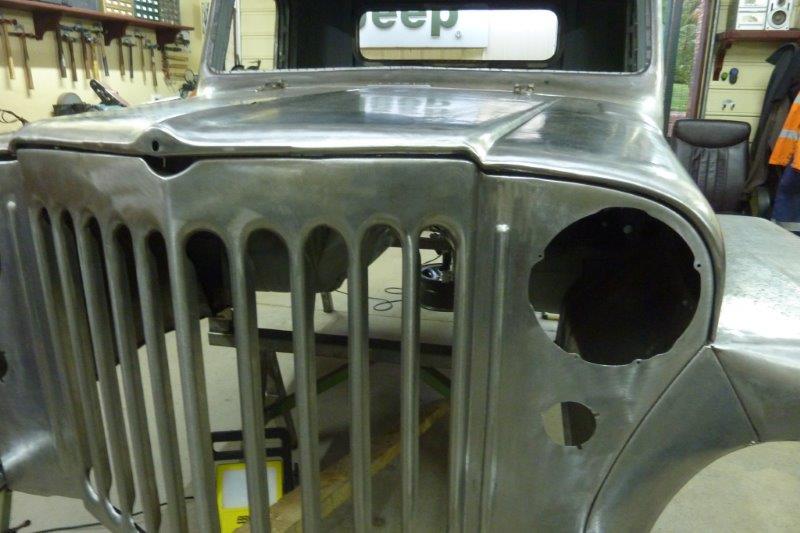
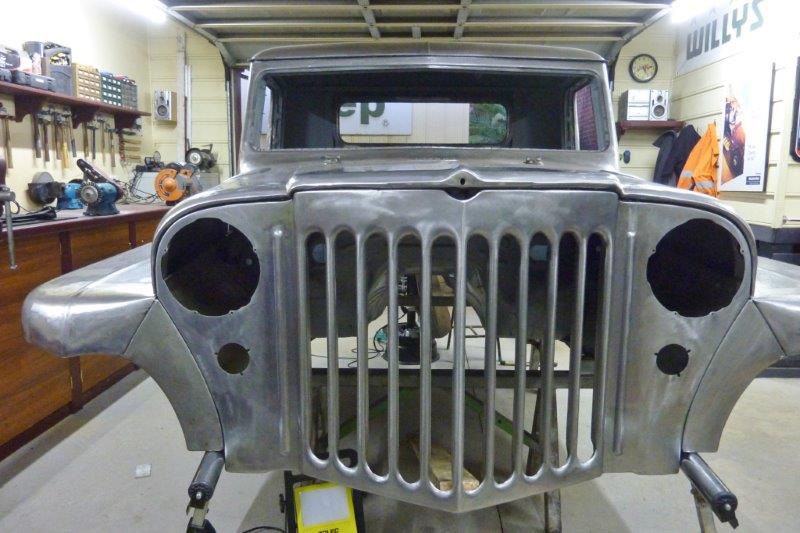
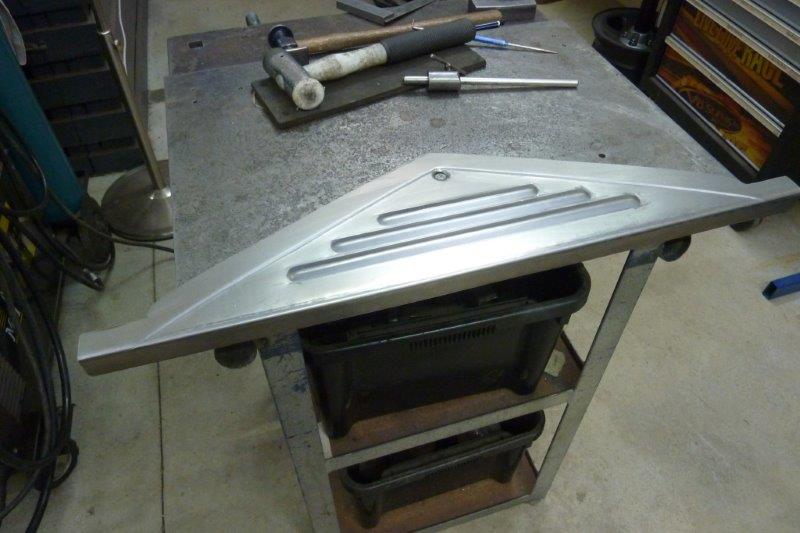
I made a new upper plate for the grille from a single piece. Apart from the fold to sit in front of the radiator seal, it was all folded by hand as has a gentle curve to it. Also bead rolled in a raised section for the lower catch to sit under. This will add more stiffness for it.
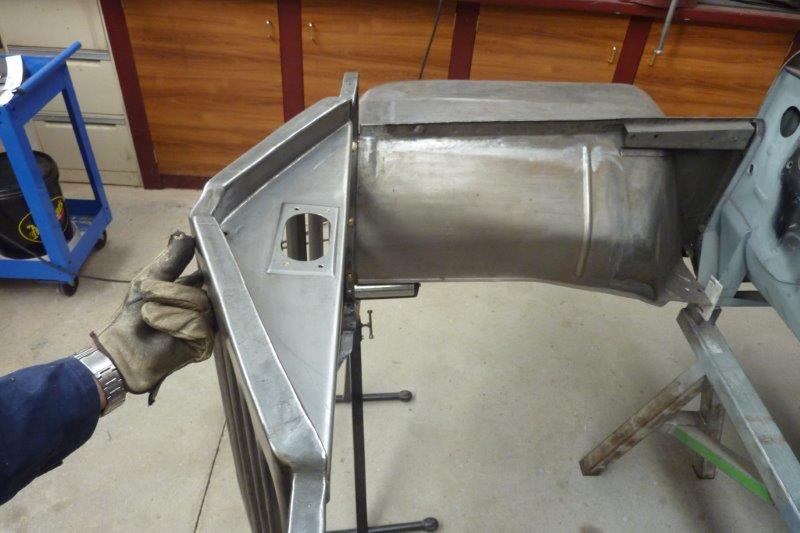
The factory setup on the older grille had the plate attached directly to the front face of the grille which means you would see the spot welds. The later ones had an extra fold come back under the top flange where it was spot welded to it. I brought the fold up earlier and then forward under the upper flange where it will be plug welded. I think it looks neater and means the fold is closer to the lower latch removing flex.
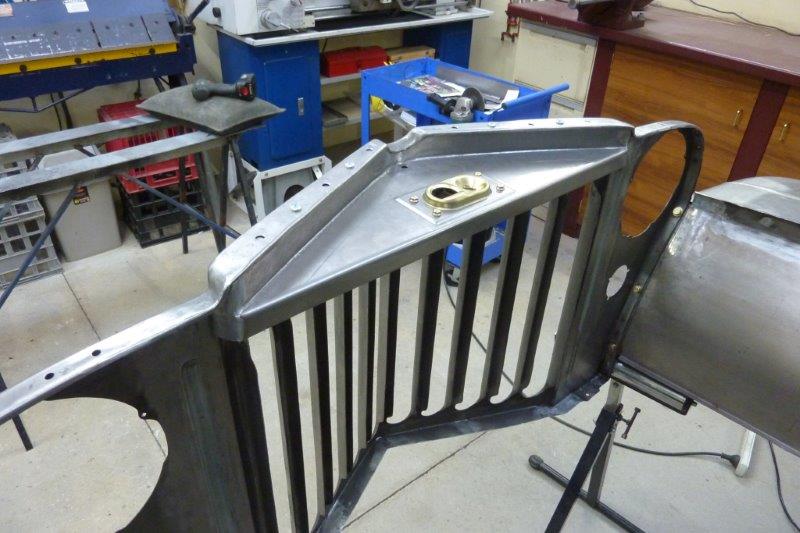
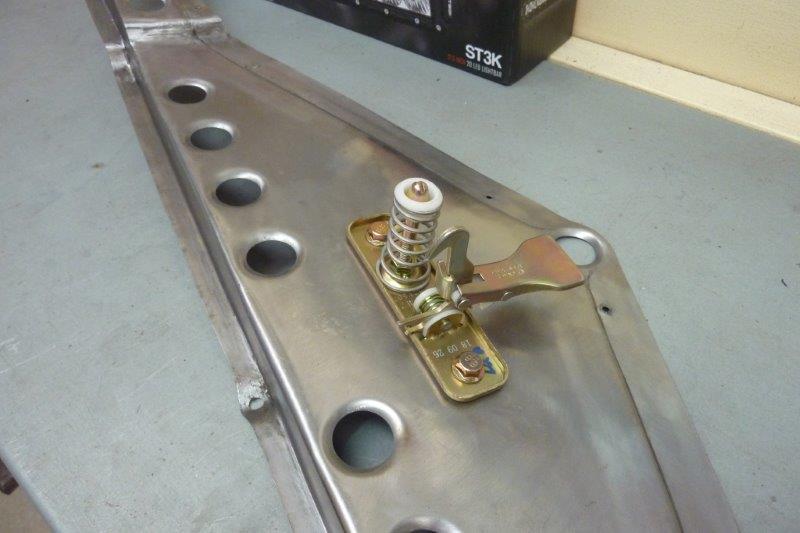
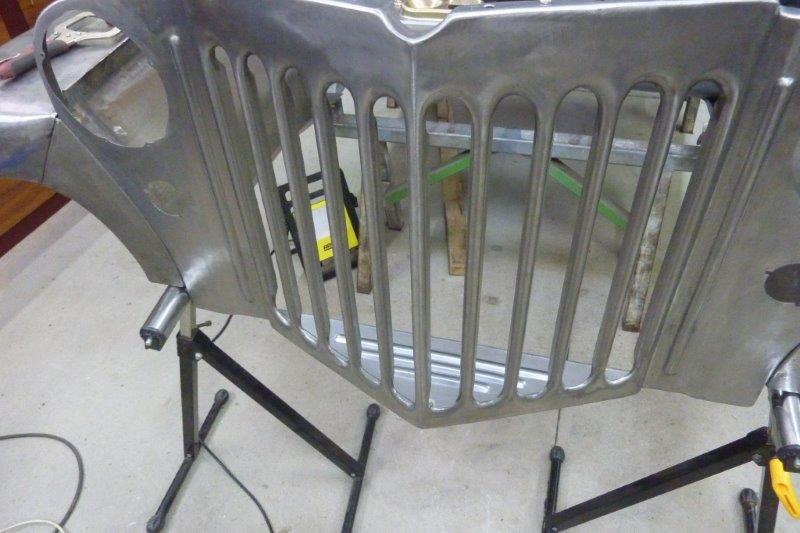
Got some temporary screws holding it in place until it gets plug welded later. Latch looks good too I think. No dimple holes here as it keeps the air from travelling over the top of the radiator.
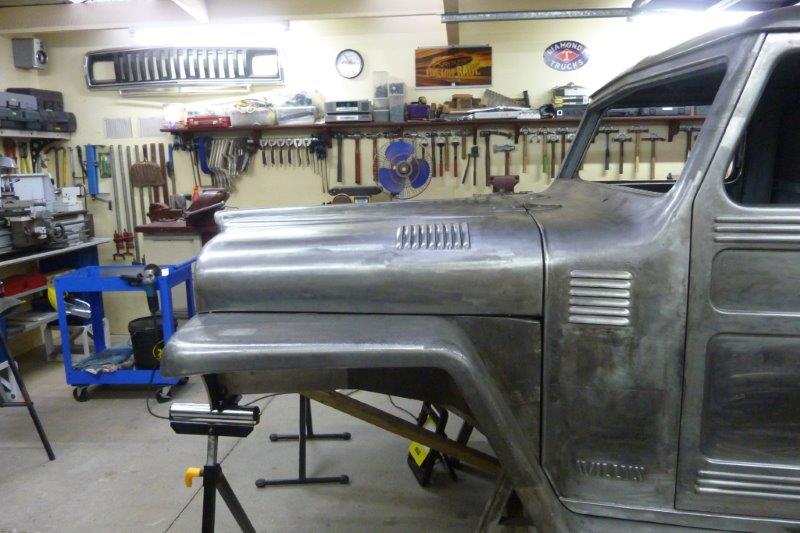
Another thing I did this week was lower the grille and guards down creating more angle on the front guards and bonnet. Was only 1.5 degrees but flows better than dead level. It has pulled the guard away from the firewall, but I have to rebuild that anyway.
Was not happy that the bonnet was sitting up a bit mainly on one side after the front support was screwed into place.

I used my sand bag to weigh down the other side while I lifted this side up leaving my hand under the step while pushing down with all my weight on the raised corner.
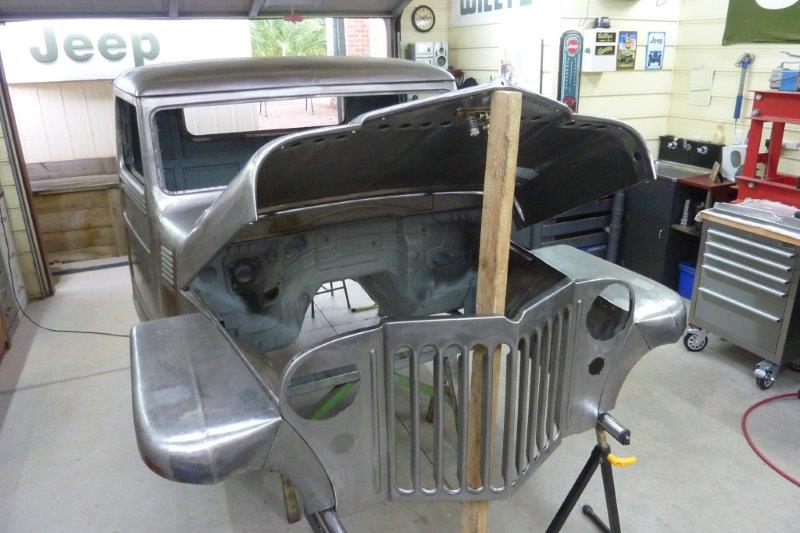
The middle had to come up a touch too so supported it while hanging down on each side.
This side has come up well.
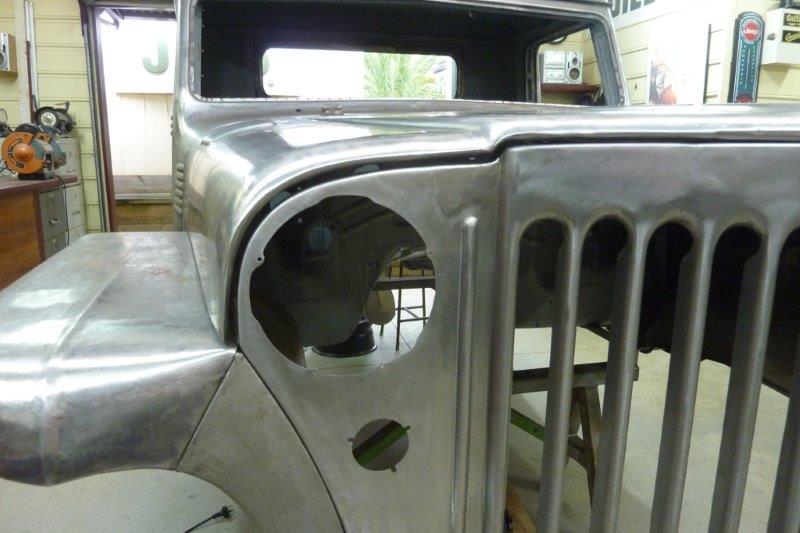
This side has the right profile on the outside, but one section on the inside near the outer headlight hole is too close.
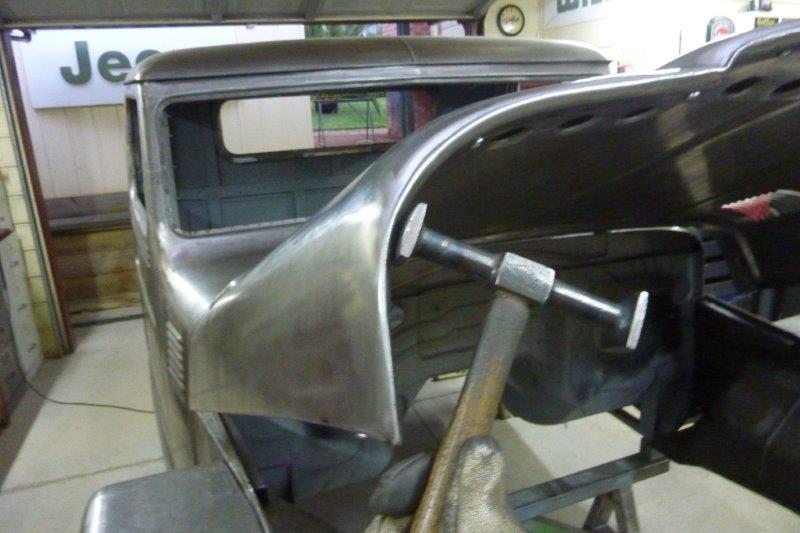
A bit of hammering with the right shaped hammer to fix it.

Much better.
About as good as I can get it right now.


 The Jeep
 Trailhawk
