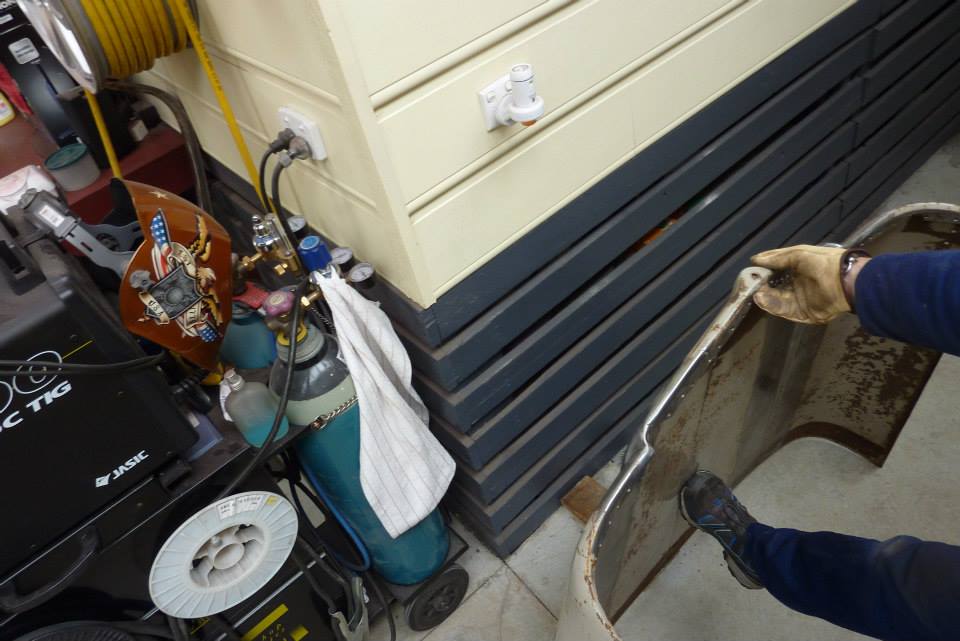
Grand Willys Project - Page 158 - AUSJEEPOFFROAD.COM Jeep News Australia and New Zealand

Go Back   AUSJEEPOFFROAD.COM Jeep News Australia and New Zealand > JEEP GARAGE > Jeep build up
Register Forums Trading Your Jeep My Garage Mark All Read

Post New Thread  Reply
 
Thread Tools Search this Thread
  #1100  
Old 27-06-2015
Gojeep's Avatar
Gojeep  Gojeep is offline
LokRinger
 
Join Date: Jul 2002
Location: Victoria
Posts: 6,869
Likes: 788
Liked 1,754 Times in 556 Posts
Default


A start has been made for the upper section of the cab. Using a 7" stripping disc I have had to go through 7 layers including primers and a skim coat of filler some where in the middle. Grey originally and been repainted into cream twice. I felt like an archaeologist! Grey primer, grey top coat, red oxide primer, cream top coat, filler skim coat, grey primer, cream top coat.


No surprises were found and very little rust pitting, but a heap of dents and flat spots. Looks like it had been stood on a number of times and caved in before being popped up again.


Underside not too bad with some surface rust showing through.


Only 4 layers of paint on the underside so literary took half the time to strip. 2 hours for the topside and 1 hour for the underside. Took one whole strip disc to do it all.


The long flat areas I took out mainly with the bigger mallet hammering into the hand sized sand bag. At no time was a metal hammer on metal dolly used directly as don't want to stretch the metal at all. The rubber dollies with lead inside came in handy for this too. The photo is from before I started.
__________________
Cheers, Marcus.

My web site:
http://willyshotrod.com Over 5'000 Club
Likes: (2)

Last edited by Gojeep; 03-08-2017 at 09:54 AM.
  #1101  
Old 04-07-2015
Gojeep's Avatar
Gojeep  Gojeep is offline
LokRinger
 
Join Date: Jul 2002
Location: Victoria
Posts: 6,869
Likes: 788
Liked 1,754 Times in 556 Posts
Default

Things have slowed down due to a right shoulder injury, but still have a bit to show with what I could do left handed.


If you look closely you can see some of the damage that needs to be taken out. From the dent in the middle of the side to the corner in the left of the picture where the circular crease is, it has all be flattened inwards. This also continues along about 2/3rds of the way from the same corner the other way too. Every side has similar damage all the way around.


Got all the major dents out and back into shape again.


Doing some final dressing using a lead bossing stick. This and another one was given to me by a old plumber and can still be bought today under lead working tools. I used the hand beater bag on the outside and worked out any remaining high spots and shape that was needed from the inside.


All the flat areas, dents and creases are pretty well gone now.


They were all along the front face too.


Now to divide it into 4 equal pieces


Wasn't sure how to get nice straight lines when dealing with the surface being a compound curve. So set the roof up vertically and level in both directions and used a cheap laser level to get my lines.


Then cut it into 4 with a jigsaw ready to go into the citrus bath later on to rid it of any remaining rust. Will be mainly using only the perimeter of the these pieces and a whole new centre part of the roof will be welded in to make it longer and wider to suit the bigger cab.
__________________
Cheers, Marcus.

My web site:
http://willyshotrod.com Over 5'000 Club
Likes: (5)

Last edited by Gojeep; 03-08-2017 at 09:56 AM.
  #1102  
Old 05-07-2015
Freetripper's Avatar
Freetripper  Freetripper is offline
I just registered
 
Join Date: Jan 2014
Location: South-East Melbourne
Age: 48
Posts: 258
What Jeep do I drive?: JK
Likes: 81
Liked 95 Times in 68 Posts
Default

Outstanding work as always Marcus. I wish I had your skills even with a bung shoulder!
Keep up the amazing work, we're all enjoying watching your progress and can't wait to see the finest, most comfortable, reliable Willys jeep on the planet when it's finished.


Sent from my iPhone using Aussie Jeep Offroad mobile app
__________________
08 JK CRD
Locked F+R, 2 1/2" 33's
AEV F+R bars

"Dr. says I need a backiotomy!"
Likes: (2)
  #1103  
Old 05-07-2015
blackzook  blackzook is offline
Senior Newbie
 
Join Date: Nov 2012
Posts: 58
What Jeep do I drive?: JK
Likes: 88
Liked 10 Times in 6 Posts
Default

Awesome work mate, love the dog and cat photo bombing the shots.
Likes: (1)
  #1104  
Old 05-07-2015
Gojeep's Avatar
Gojeep  Gojeep is offline
LokRinger
 
Join Date: Jul 2002
Location: Victoria
Posts: 6,869
Likes: 788
Liked 1,754 Times in 556 Posts
Default

Quote:
Originally Posted by Freetripper View Post
Outstanding work as always Marcus. I wish I had your skills even with a bung shoulder!
Keep up the amazing work, we're all enjoying watching your progress and can't wait to see the finest, most comfortable, reliable Willys jeep on the planet when it's finished.


Sent from my iPhone using Aussie Jeep Offroad mobile app
Thank you.

Quote:
Originally Posted by blackzook View Post
Awesome work mate, love the dog and cat photo bombing the shots.
They come looking for me after it gets dark outside wondering why I am not inside so they can be fed!
__________________
Cheers, Marcus.

My web site:
http://willyshotrod.com Over 5'000 Club
  #1105  
Old 05-07-2015
LeighP's Avatar
LeighP  LeighP is offline
Lowranger Shocker
 
Join Date: Mar 2014
Location: Macarthur Region, SW Sydney
Posts: 1,683
What Jeep do I drive?: JK
Likes: 1,053
Liked 584 Times in 369 Posts
Default

Damn, thats real nice work. Skills, mate!
  #1106  
Old 18-07-2015
Gojeep's Avatar
Gojeep  Gojeep is offline
LokRinger
 
Join Date: Jul 2002
Location: Victoria
Posts: 6,869
Likes: 788
Liked 1,754 Times in 556 Posts
Default

Bonnet time!

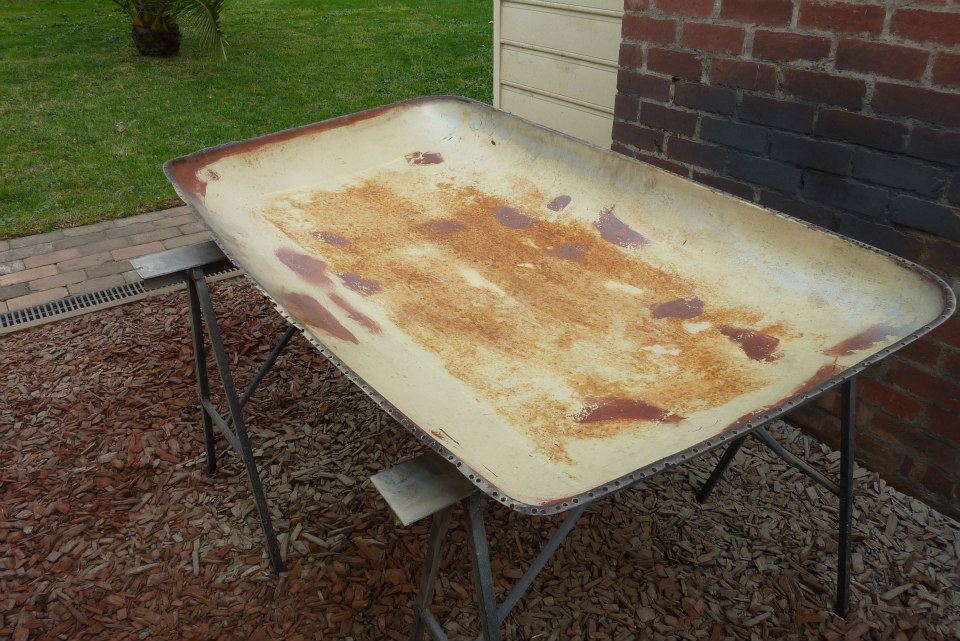
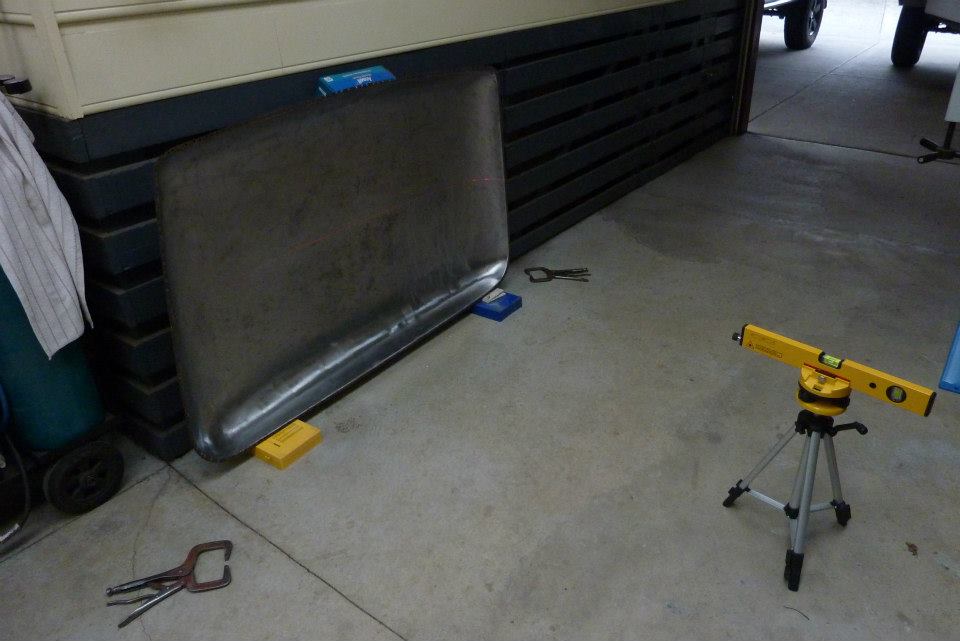
I have this spare bonnet, as well as the grille, from a 1952 Willys Wagon that came with the 58 Truck when I bought it. I think it was deemed to hard to repair as it has bowed down across the middle of the bonnet a good 16 mm- 5/8", from someone walking on it. Most of the damage it right through the two vertical sides of pressings.


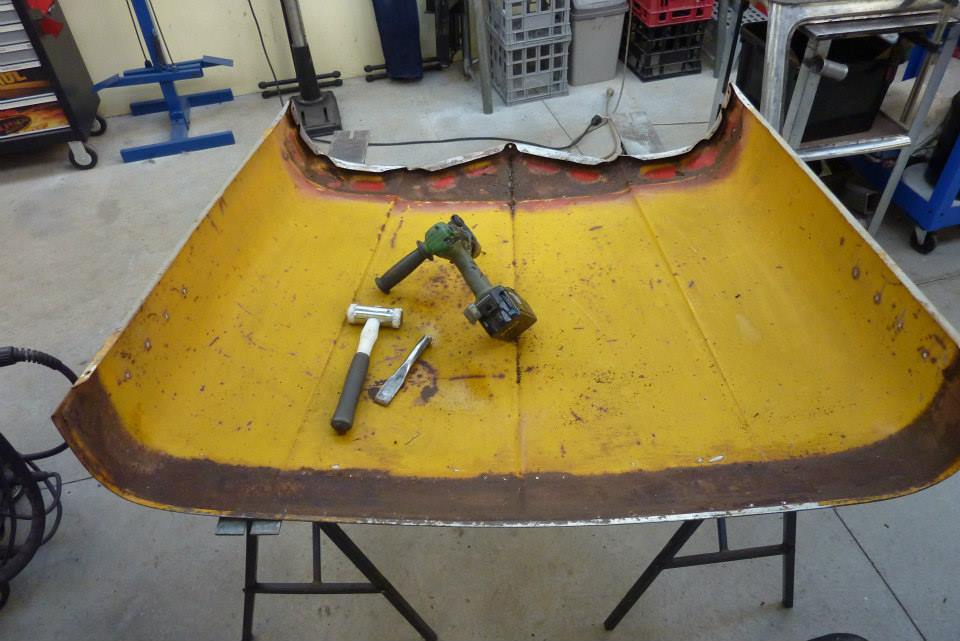
Something had also pushed up in under the front support as well causing a bulge on one side near the same pressing line.


So took out the support to get full access to the damage and will remove the rear one as well.


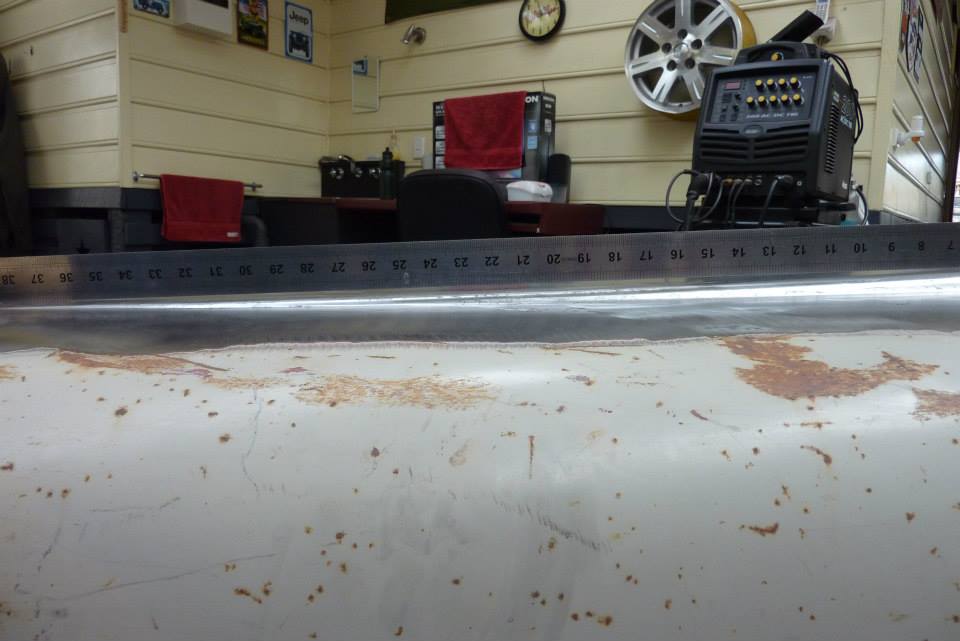
Really hard to show but you might be able to see the big gap under the ruler edge that you can easily fit your fingers underneath in the middle of the bow.


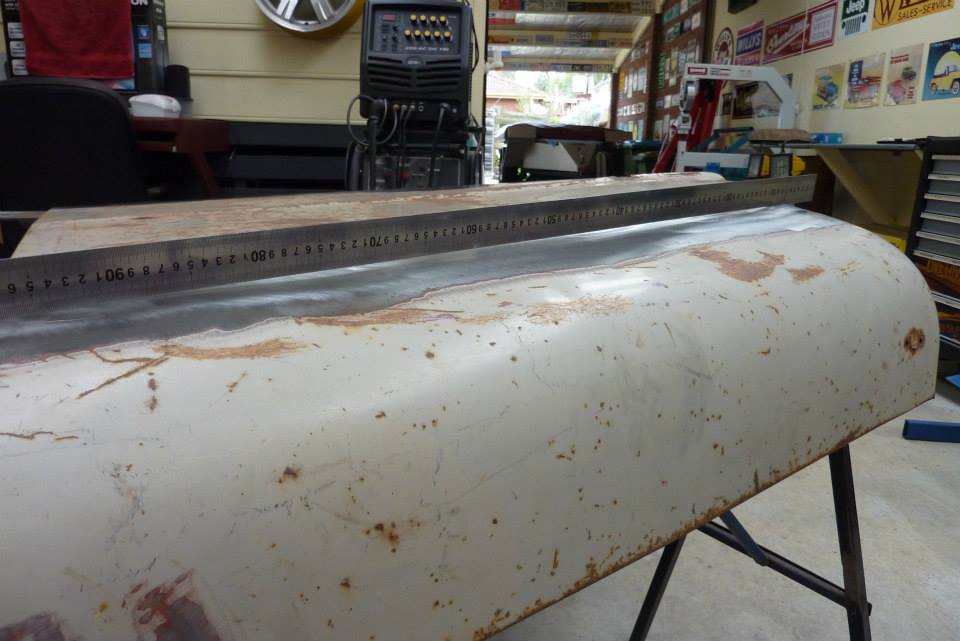
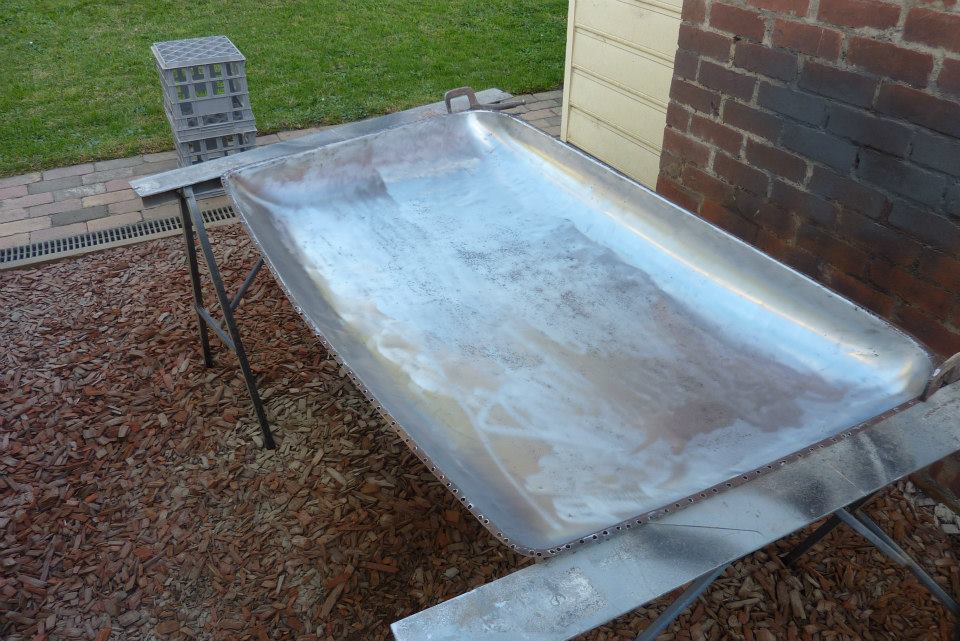
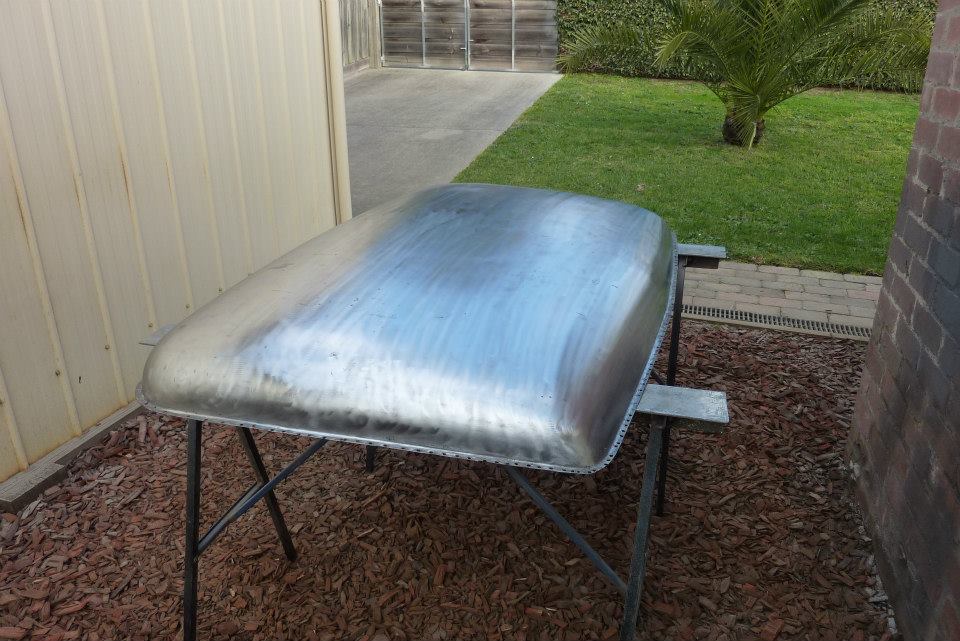
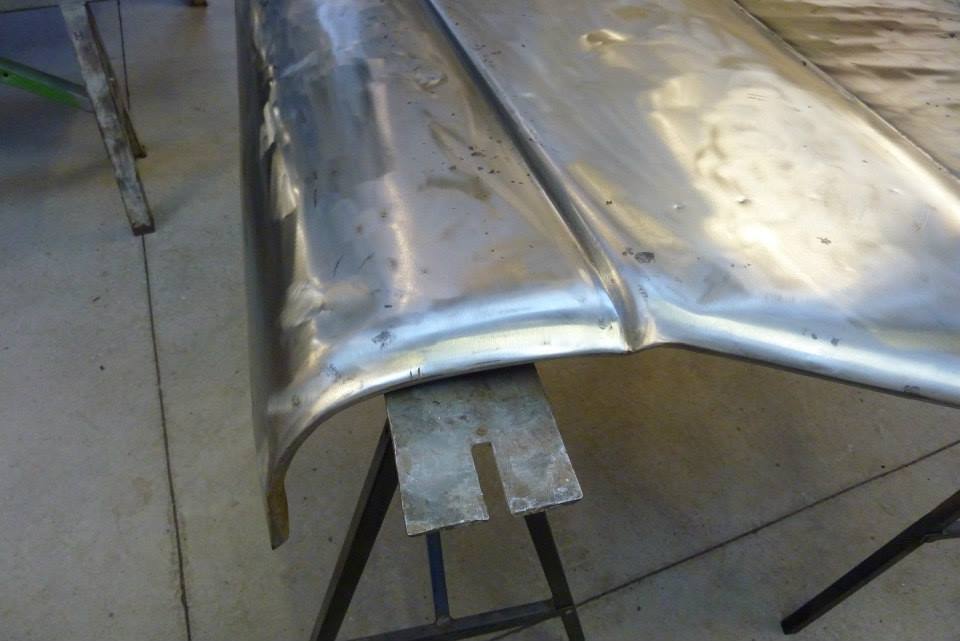
I worked up the creases and dents along the pressing and is looking a lot better, but still not good enough. You might spot also the middle of the bonnet also still sags down.


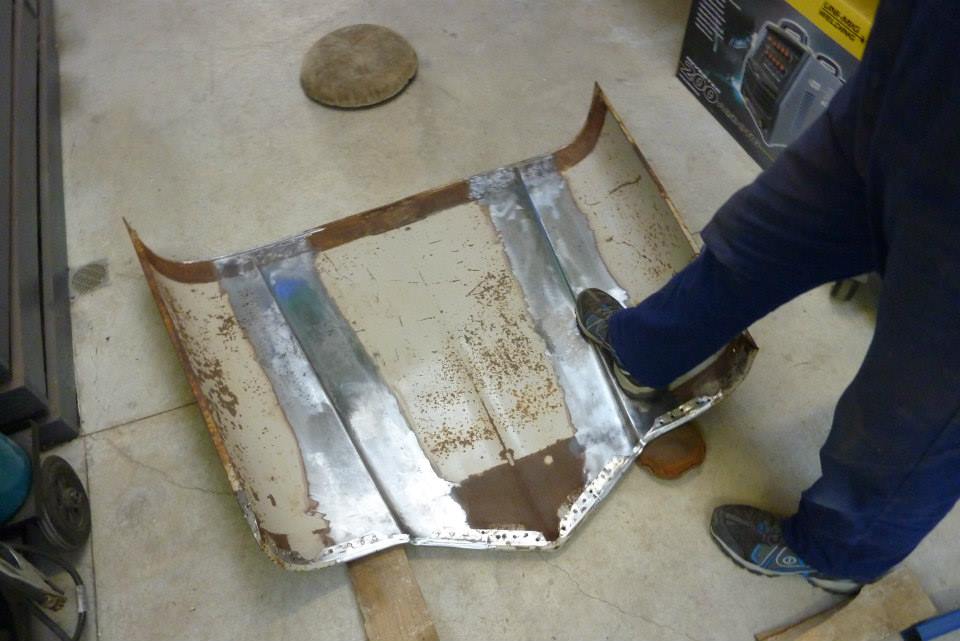
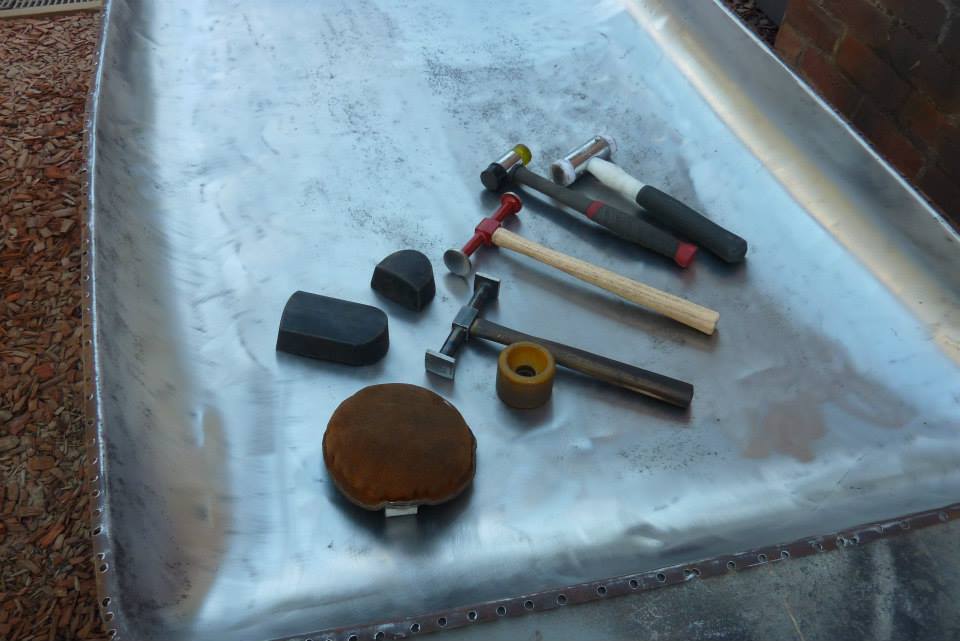
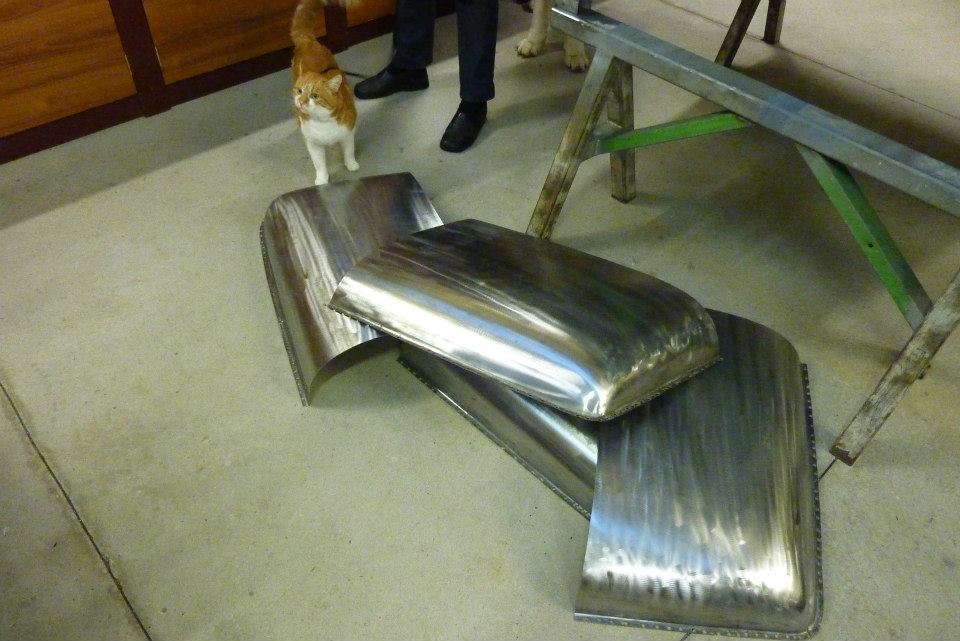
Time to get creative. If walking around on put the bow in, it should get it out! Supported the front with my small beater bag and gently pressed down on the worse spot. Wore sneakers rather than my steel capped boots to get more feel and less hard edges. Would do a bit and then check with the straight edge noting where more was still needed.


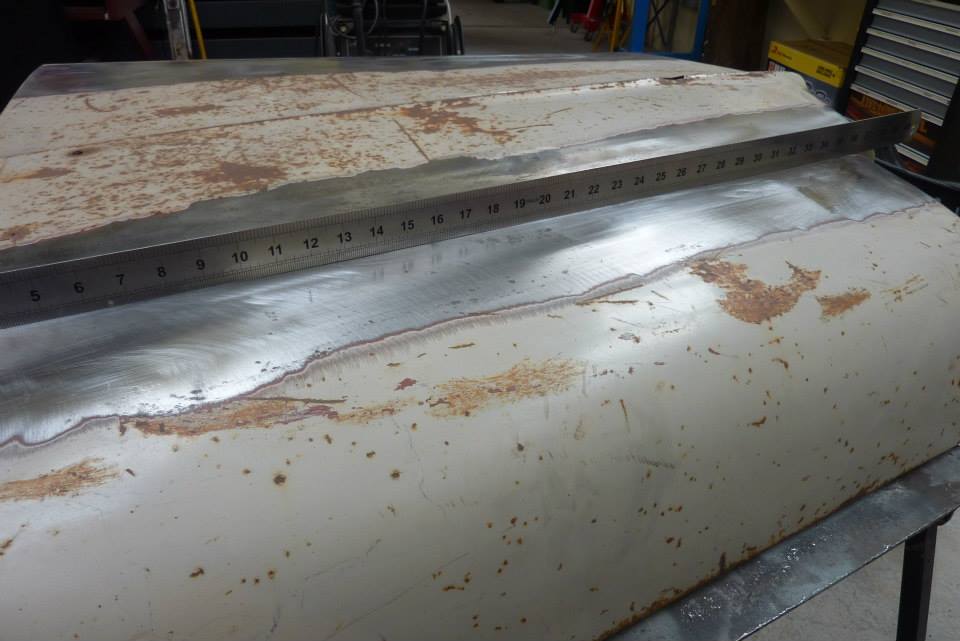
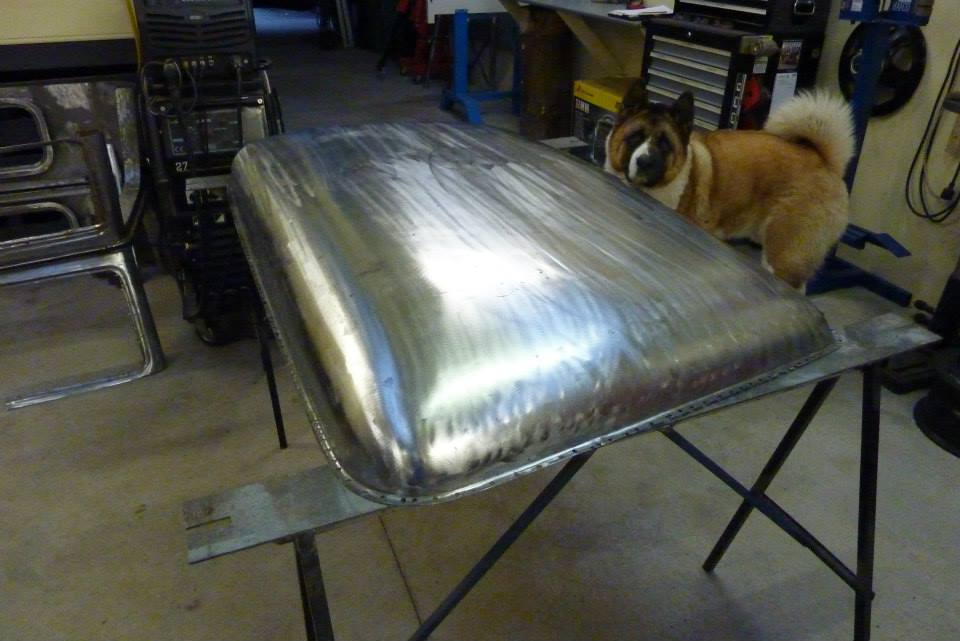
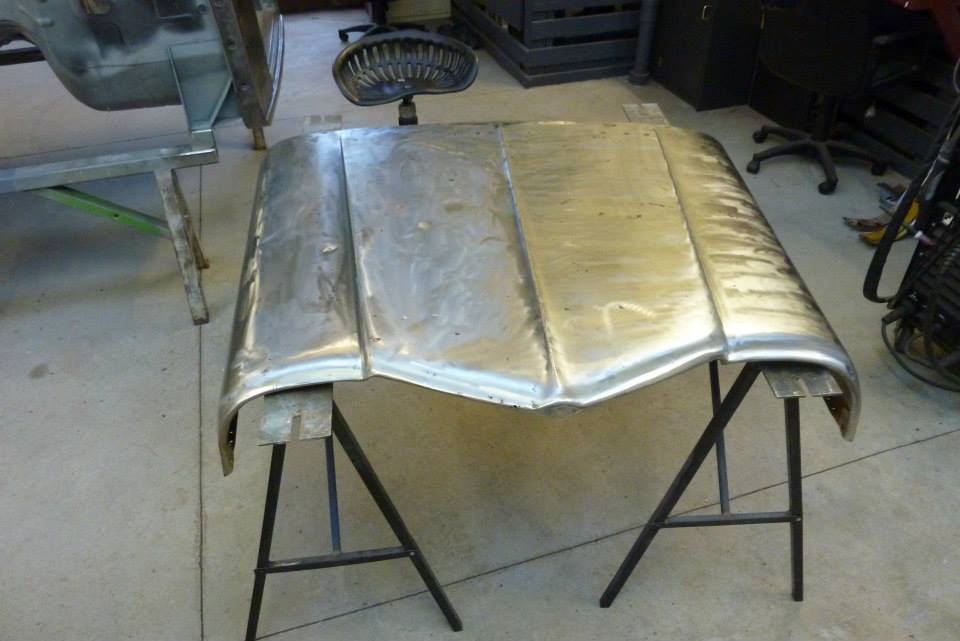
Just about there now and a few shrinks with the shrinking disc should get the last millimeter.


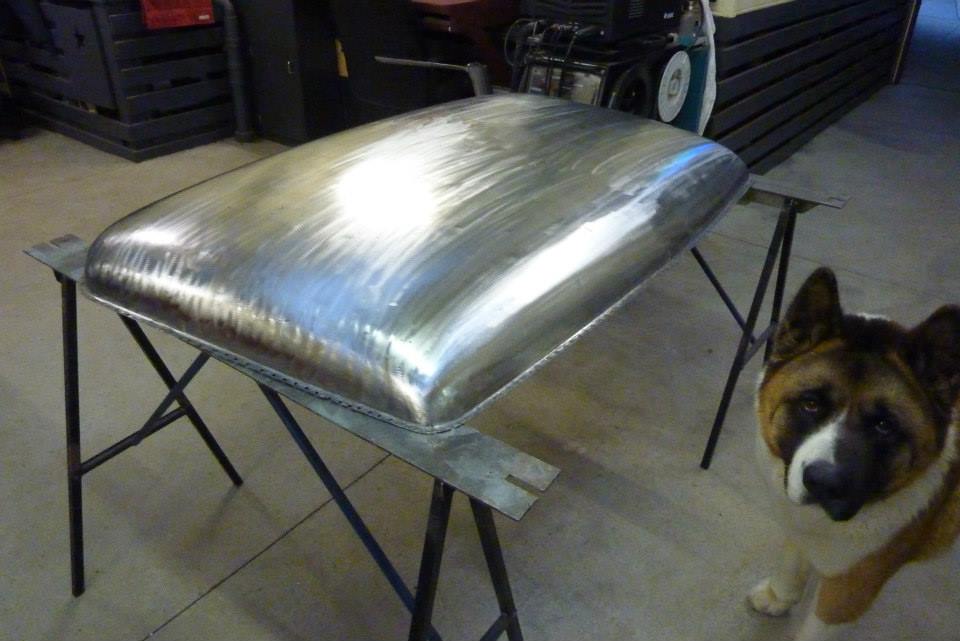
For the middle I placed a block against the side of the house and tilted the bonnet until it was only just being held against the block. While holding the top and ran my foot right down the middle with even pressure and it came out rather well. I put these techniques under 'primitive but effective'!


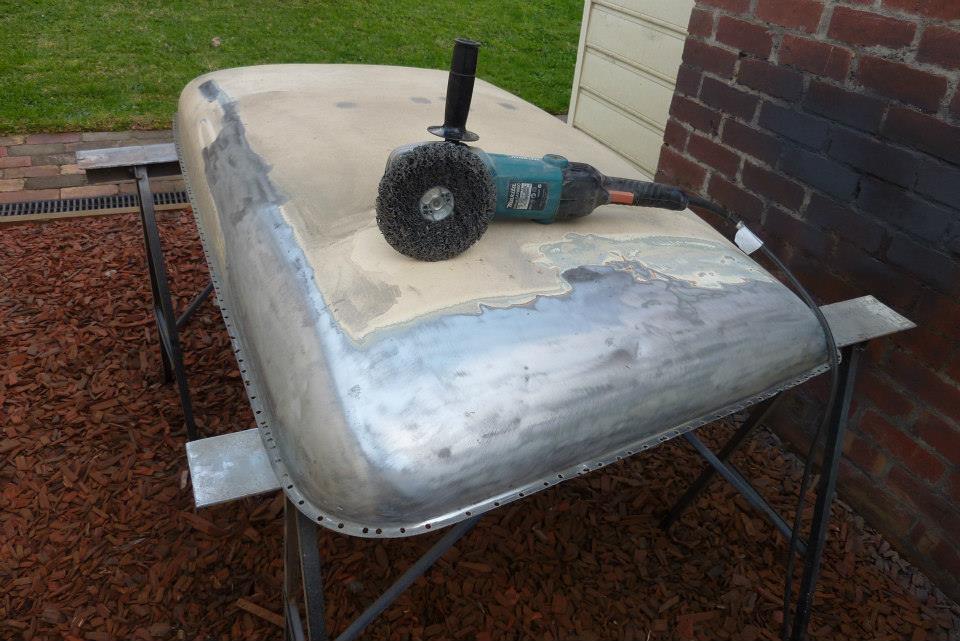
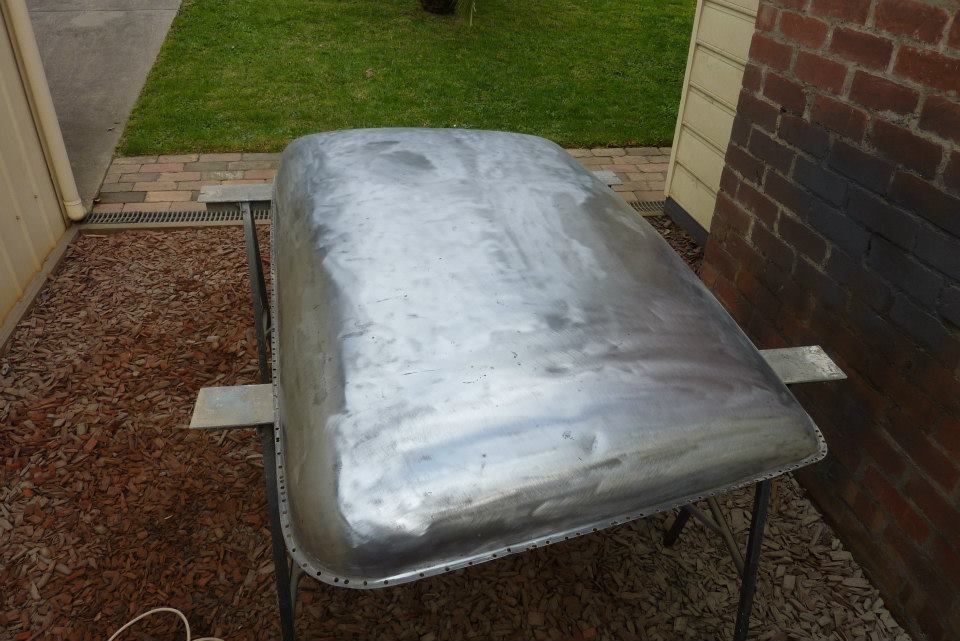
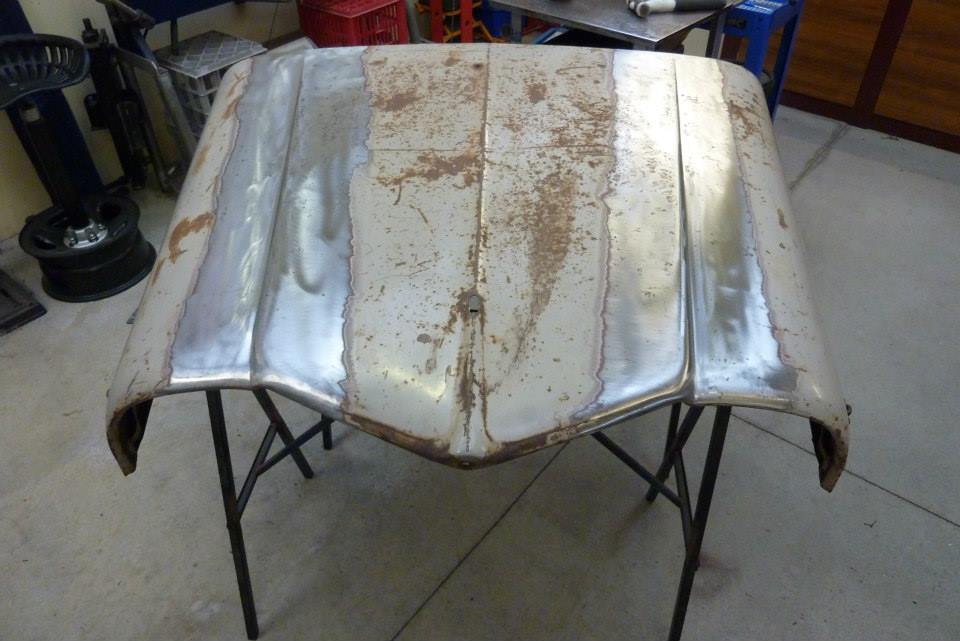
Onto the 58 bonnet now. I stripped out the supports ready to take the dents out of this one. Noticed this later one the that it had more spot welds on inner edges of both supports which seems strange as that is usually not done.


These has dents all over it and these ones near the front as well. Two to the left of the trestle and one to the right of the pressing line.


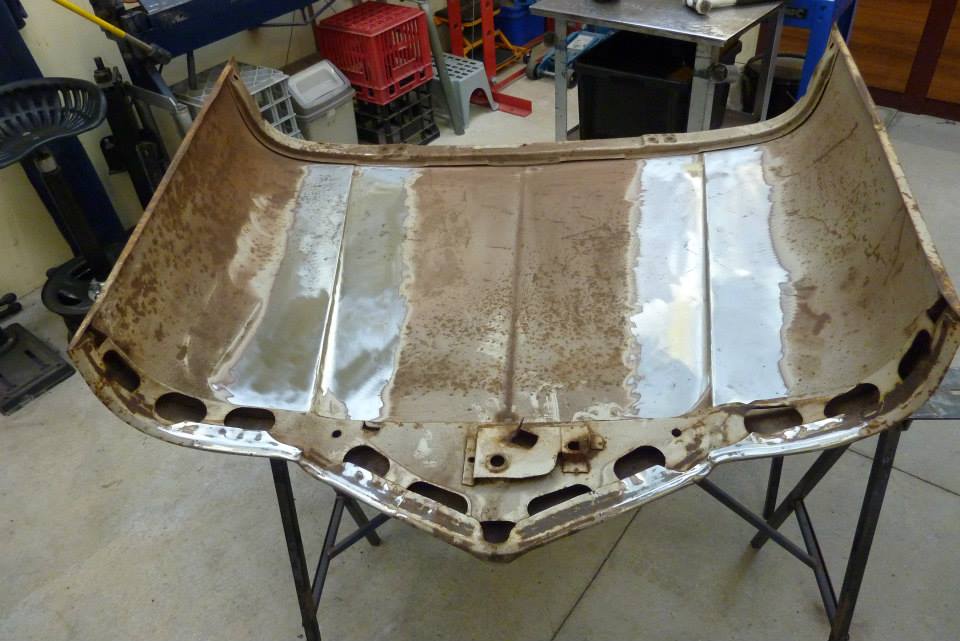
Once I have the dents out I will decide which pieces to use from each bonnet. This needs to be made 220 mm-9" wider over all. It is not just a matter of adding a section from the other one up the middle as the centre higher part sits over the grille and this is only going to be 120 mm-5" wider by adding 2 extra grille slots. The other 100 mm-4" are over the headlight area, 50 mm-2" each side, which is the lower part of the sides.


To make the other bonnet wider on both sides of the pressings, I would cut the pressing area out of one and then add sections back in, like what has been cleaned of paint on this one, with the extra required width. Still means four long welds that I have to get perfectly flat and distortion free, but any other way would mean 6 or 8 welds! Another section also has to be added across part of the back of the bonnet when the centre part comes forward. I found that hard to explain so hope it makes sense?
__________________
Cheers, Marcus.

My web site:
http://willyshotrod.com Over 5'000 Club
Likes: (2)

Last edited by Gojeep; 03-08-2017 at 09:59 AM.
Post New Thread  Reply


Posting Rules
You may not post new threads
You may not post replies
You may not post attachments
You may not edit your posts

BB code is On
Smilies are On
[IMG] code is On
HTML code is On


All times are GMT +10. The time now is 03:43 PM.


Advertisements


AJOR does not vouch for or warrant the accuracy, completeness or usefulness of any message, and are not responsible for the contents of any message. The messages express the views of the author of the message, not necessarily the views of AJOR or any entity associated with AJOR, nor should any advice be substituted as technical advice replacing that of a mechanic. You agree, through your use of this service, that you will not use AJOR to post any material which is knowingly false and/or defamatory, inaccurate, abusive, vulgar, hateful, harassing, obscene, profane, sexually oriented, threatening, invasive of a person's privacy, religious, political or otherwise violative of any law. You agree not to post any copyrighted material unless the copyright is owned by you or by AJOR. The owner, administrators and moderators of AJOR reserve the right to delete any message or members for any or no reason whatsoever. You remain solely responsible for the content of your messages, and you agree to indemnify and hold harmless AJOR, the administrators, moderators, and their agents with respect to any claim based upon transmission of your message(s). The use of profile signatures to intentionally mislead or misdirect any member on this forum is not acceptable and may result in your account being suspended. Any trip that is organised through the AJOR forum is participated at your own risk. If you or your vehicle is damaged it is your responsibility, not that of the person that posted the thread, message or topic initiating the trip, nor the organisers of AJOR or moderators of any specific forum. This forum and associated website is the property of AJOR. No user data is harvested and no information supplied in your registration will be sold for profit.


Powered by vBulletin® Version 3.8.7
Copyright ©2000 - 2024, vBulletin Solutions, Inc.

AJOR © 2002 - 2024 AUSJEEPOFFROAD.COM. All corporate trademarked names and logos are property of their respective owners. Ausjeepoffroad is in no way associated with DaimlerChrysler Corporation or Fiat Jeep.
www.ausjeep.com www.ausjeep.com.au www.midlifemate.com ausjeepforum.com www.r9kustoms.com
vB Ad Management by =RedTyger=