Back to posting an update. Just could not get the time to work on it last week but have had some time since. Was not sure if to show all of this or not, as might be seen as a failure by some, but I saw it as a good training exercise even if it ended up going in a different direction by the end of it.
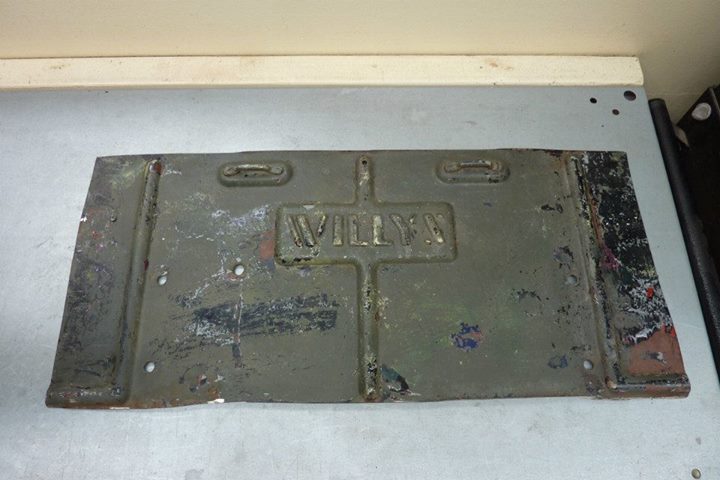
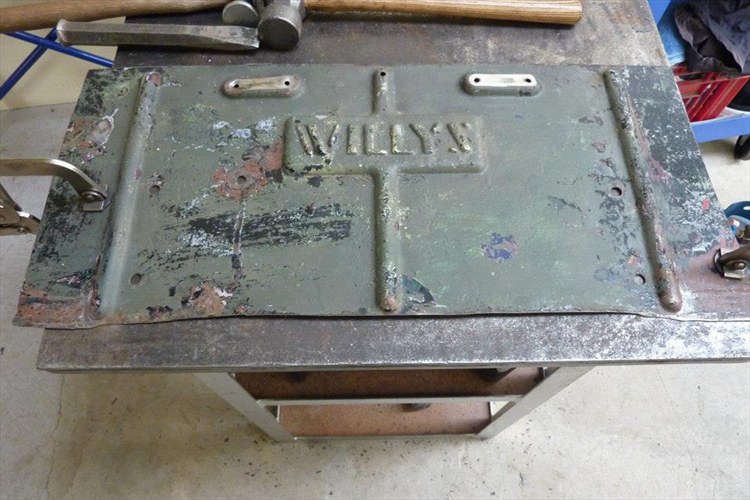
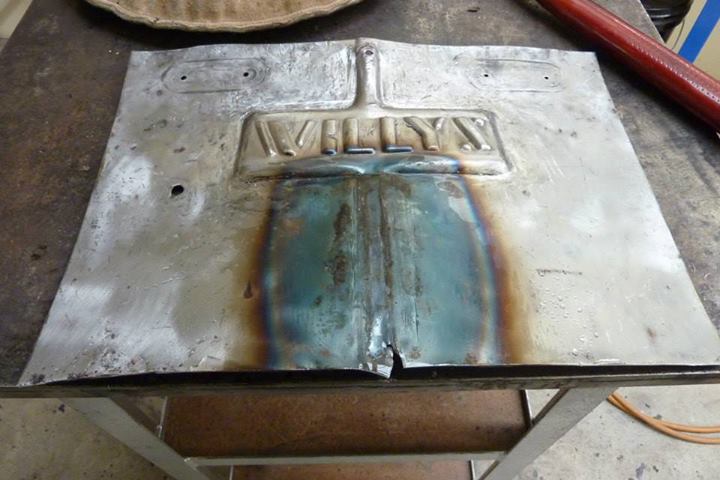
I bought a 1947 CJ2a Willys tailgate in the US and got the centre cut out of it and sent over for me. My thought was to use the centre raised part with the Willys stamped into it to replace the old cowl vent. I wanted to keep some detail there rather than have it just plain if I filled it in.
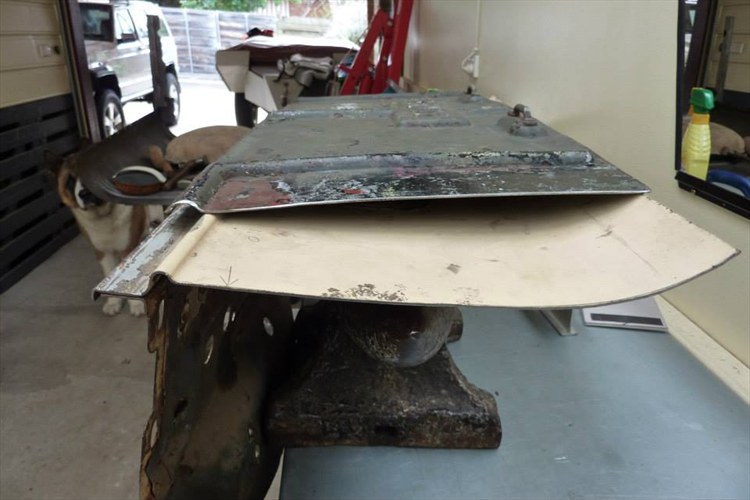
Then I wondered what it would look like to try and replace the whole centre cowl panel with the tailgate piece. Would need quite a bit of shaping though as you can see. Made even harder by the fact it had those big ribs in it and it is 1.6 mm, or 16 gauge steel.
The cowl not only curves from top to bottom but also left to right creating a compound curve.
I started by hamming out the rib where it made a right angle turn along the bottom.
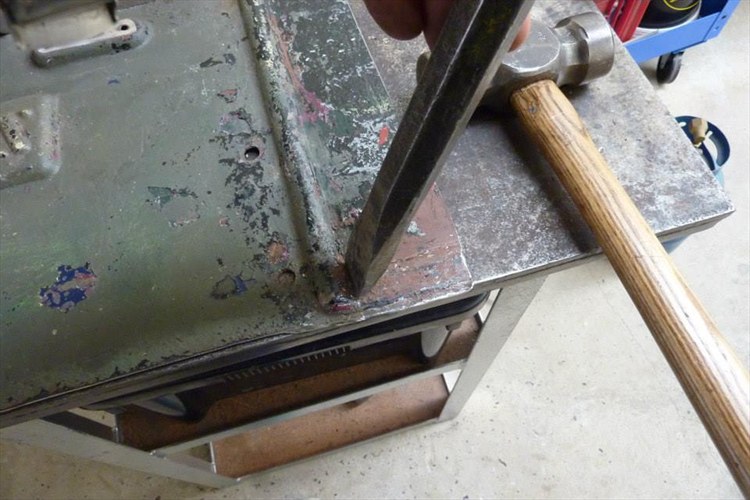
Straightened up the edge using a cold chisel.
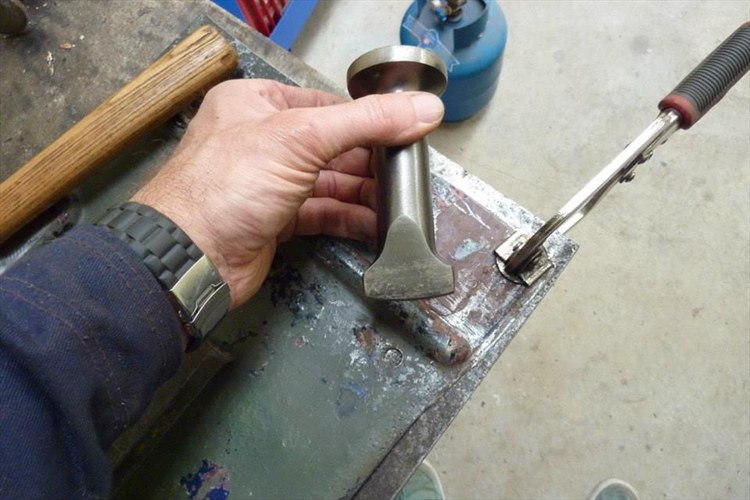
Also used this wedge dolly to help round the end by hammering it using it as a chaser.
Clamped it upside down to the edge of the bench to straighten it from the inside too.
Come up fairly well.
Did the other side and they now match the factory middle one.
Didn't want the pressing that the tie down loops were on. Done one side already and used heat this time as wanted it to shrink at the same time.
Using a blocking hammer where I could over the beater bag and the curved wedge dolly along the side the ribs to try and curve it.
Can see that I am getting there but still needs more along the flatter part as well as the end.
End is looking pretty good now.
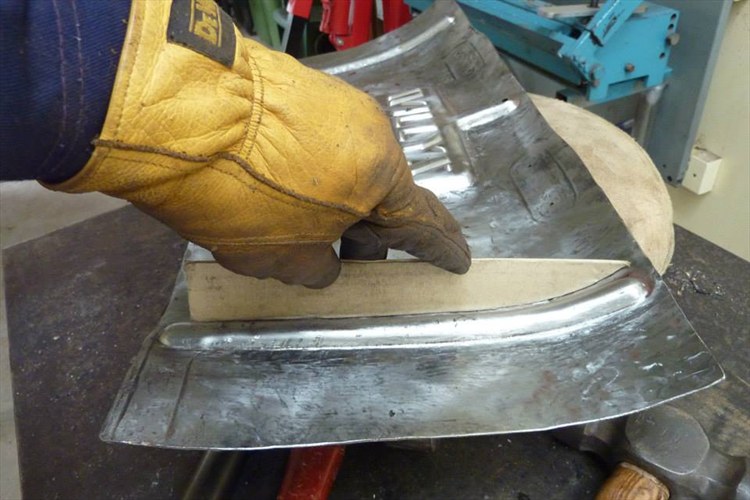
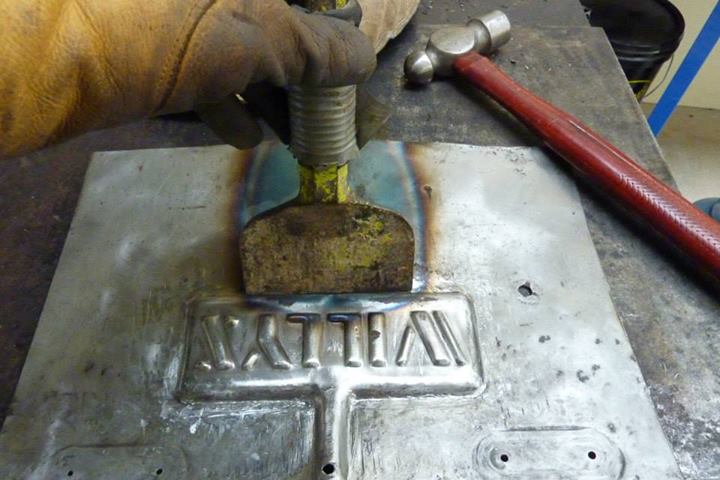
It is the middle I am having problem with because I can't bend the area where the Willys stamp is without risking damaging it.
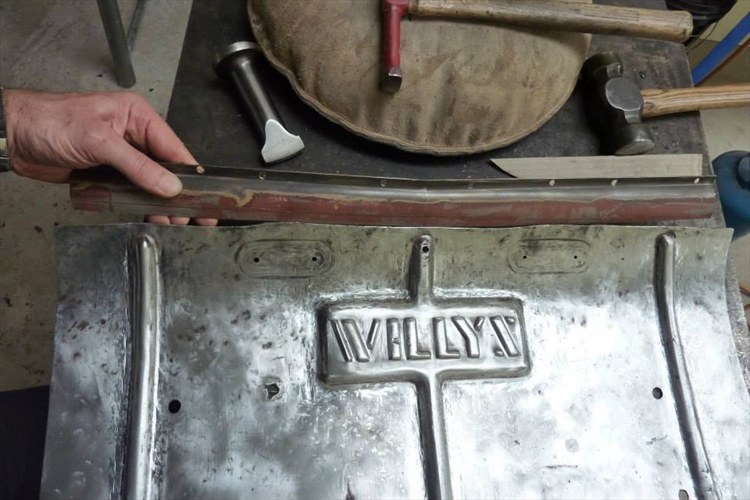
This piece I am holding above it forms the lower part of the windscreen and needs to be welded to the top of it. I have no where near enough curve in the centre to match it.
Can see the problem here that without trying to curve the Willys stamping, it will never be right. Also starting to think the ribs are too much as well as they are much bigger than the ones on the rest of the body so will look out of place.
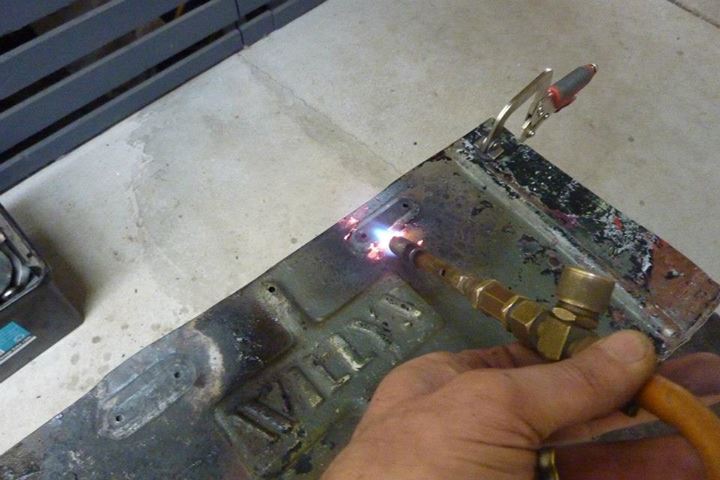
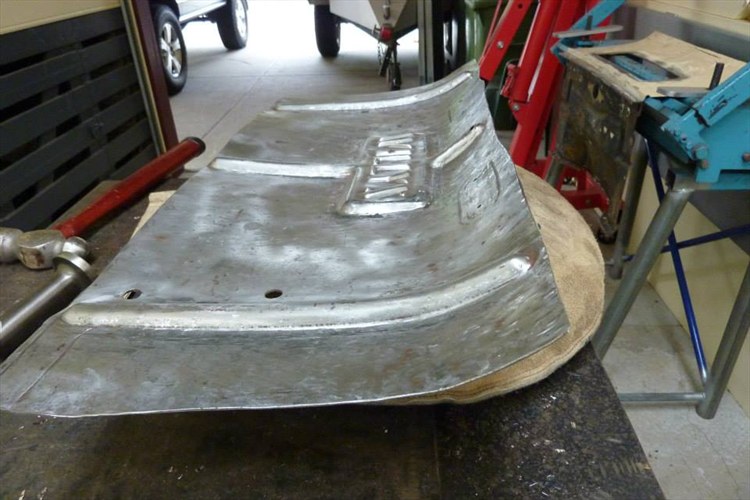
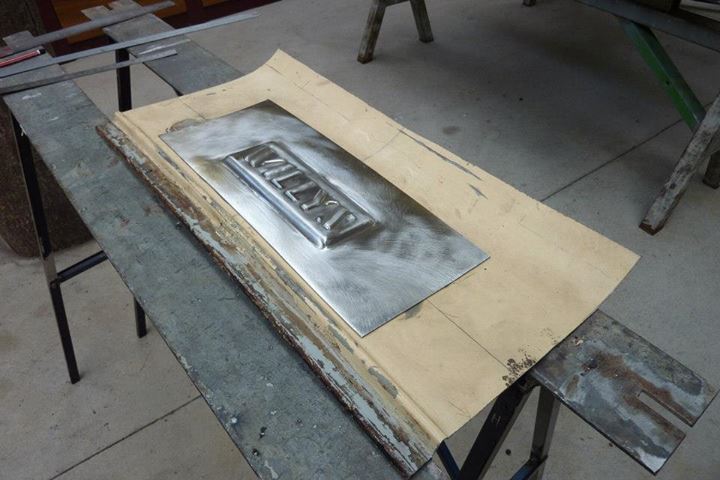
So going back to my original idea of just using the Willys stamp and the raised bit it sits on. Just hope I have not ruined the part now with all the beating it has already taken! I cut the outer ribs off and started to flatten out the one in the centre.
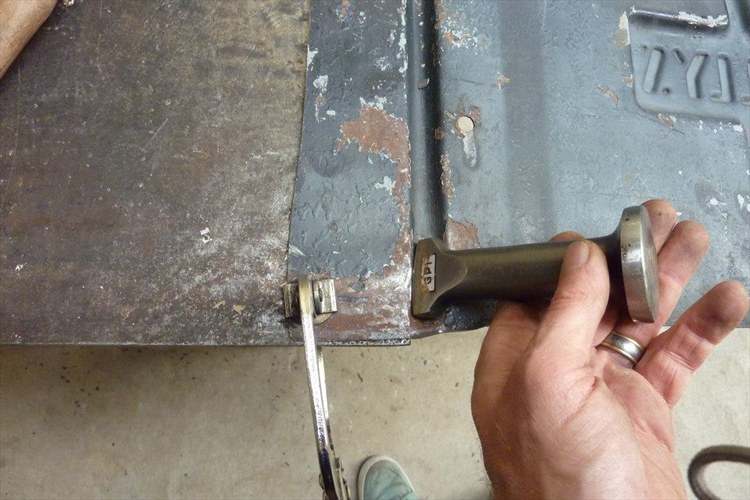
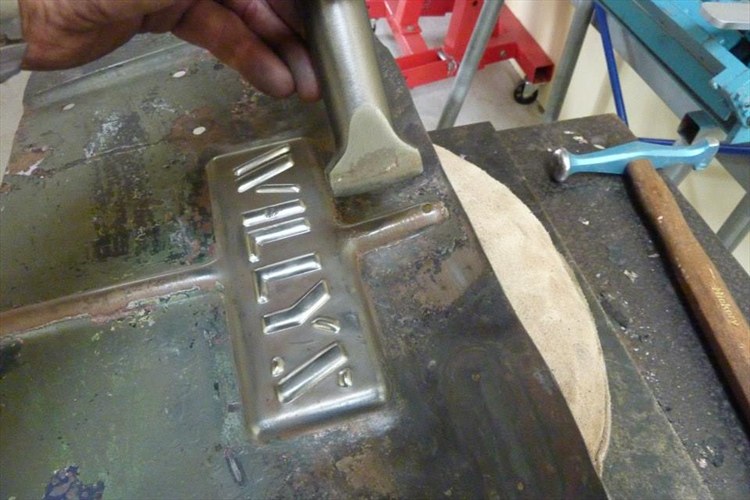
Using an old brickies bolster I dressed up the edge.
Brought up the dip it got in the middle as well using the bolster from underneath.

Flattened out the top rib as well and showing how I bring the edge and straighten it after clamping it along the edge of the table.
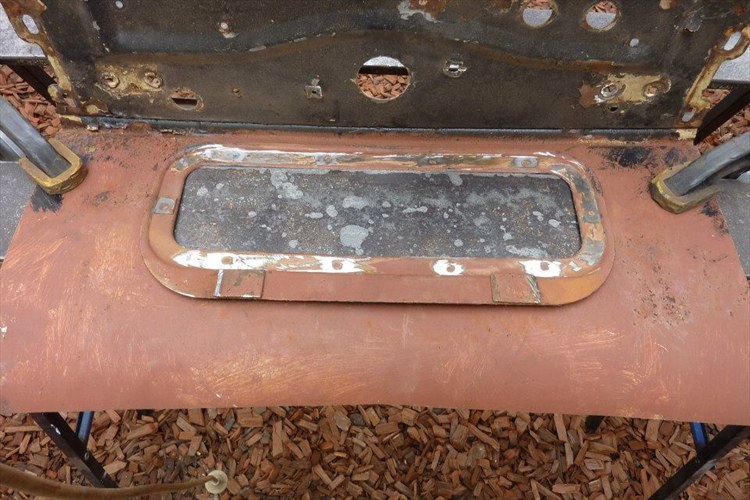
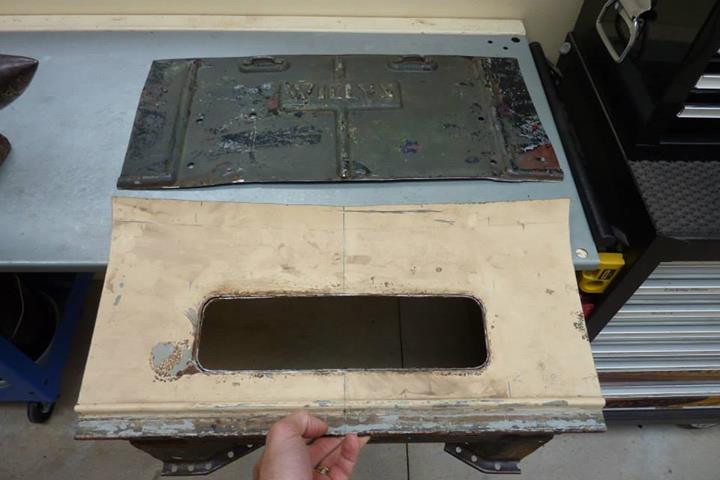
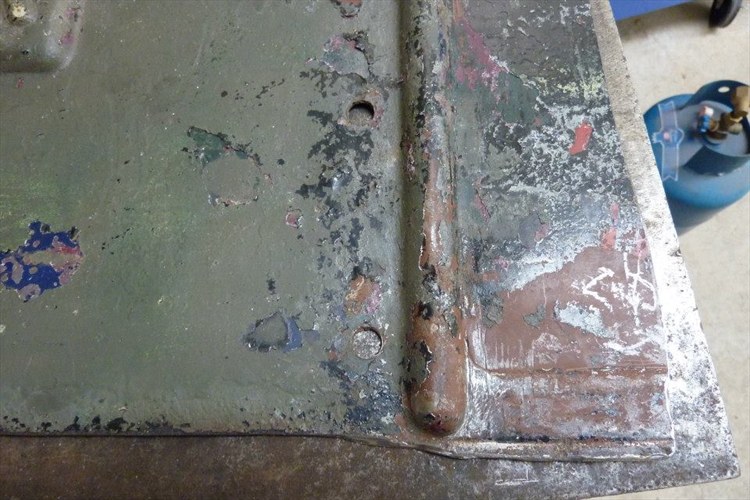
This it the underside of where the cowl vent sat and where the Willys piece will fill it in.
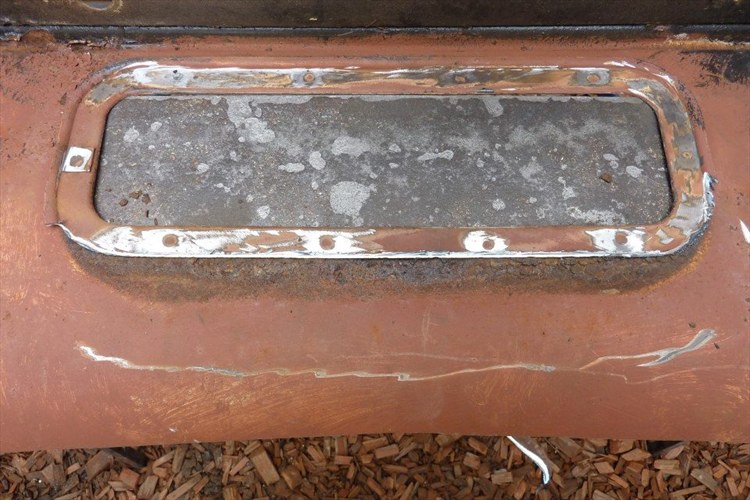
Cut the lip off and found rust so decided to make the cut out larger to get rid of it.
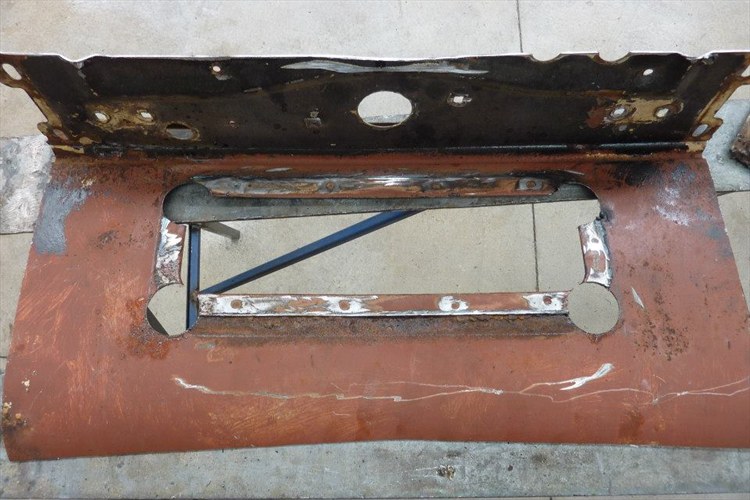
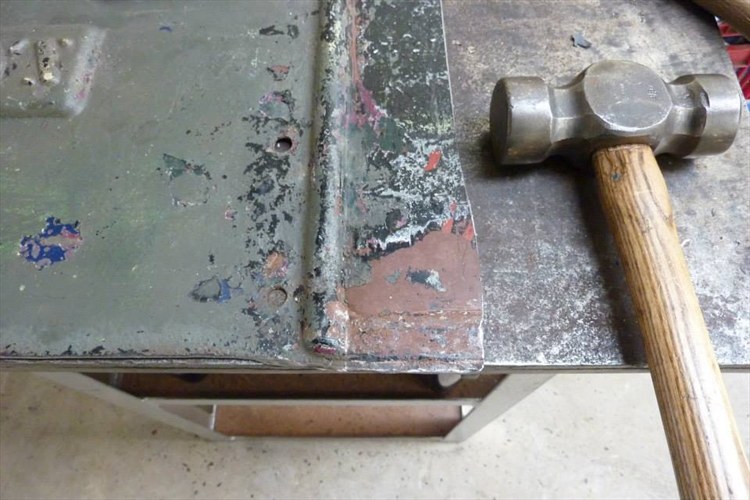
Used a holesaw in each corner as this reduces the distortion as the weld wont be concentrated to a sharp corner.
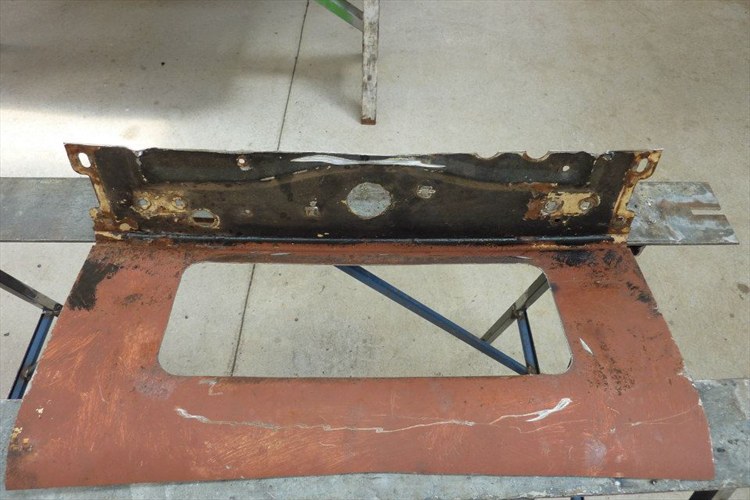
Hole cut out and the rust gone.
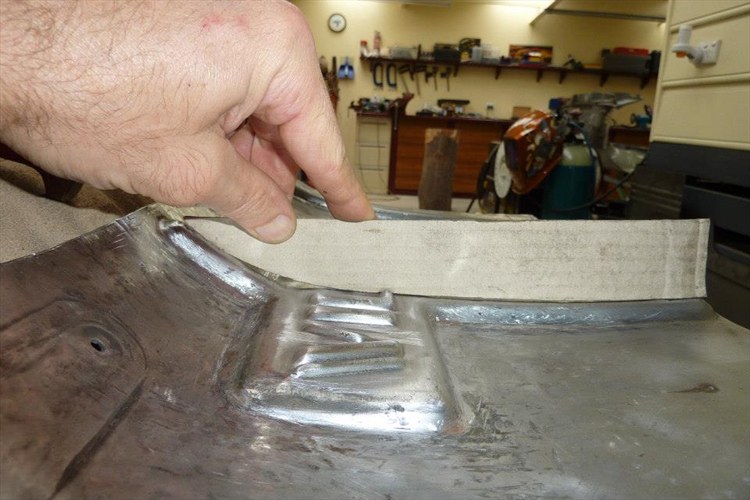
So now I have the final size of the cut out I can start shaping the piece to match the compound curves of the lower part of the cowl.
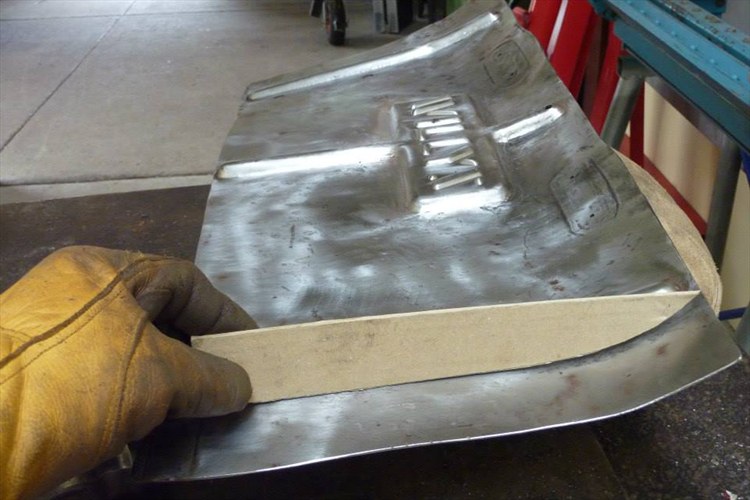
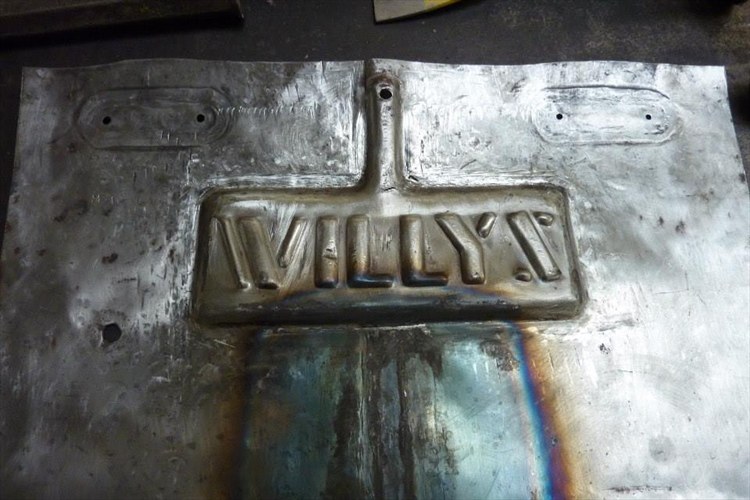
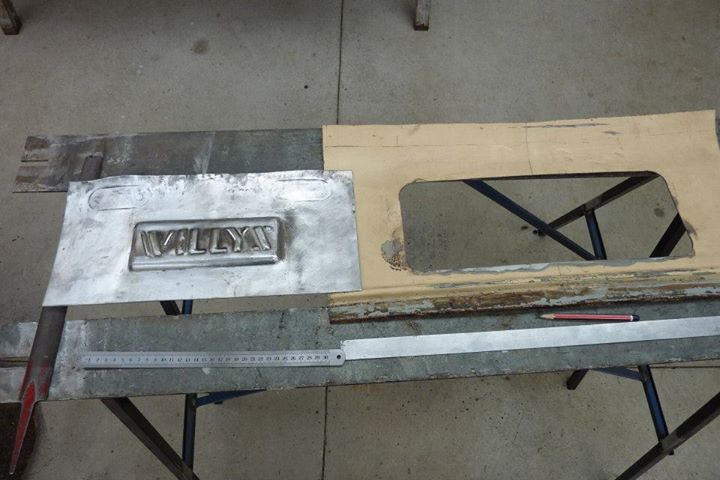
Dressed it out and it came out better than I thought after all that hammering!
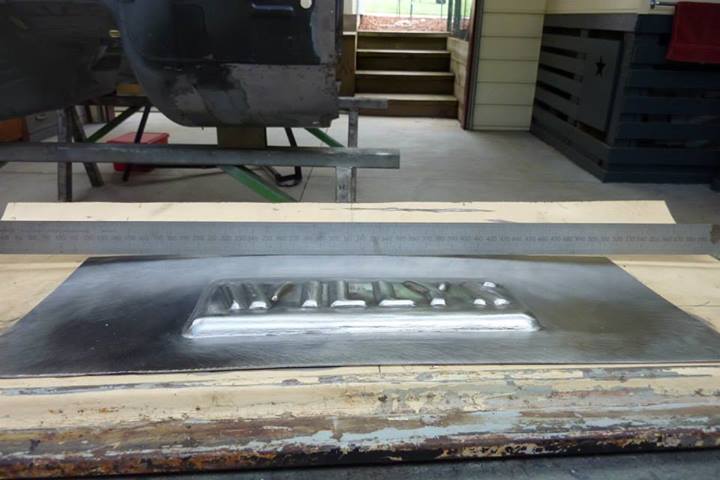
This shows how much curve it has left to right along with front to rear. I even got the Willys part to curve as well to blend in better. I will strip the paint from the cowl and then make the final cut to this piece fit the hole.


