Grand Willys Project - Page 249 - AUSJEEPOFFROAD.COM Jeep News Australia and New Zealand

Go Back   AUSJEEPOFFROAD.COM Jeep News Australia and New Zealand > JEEP GARAGE > Jeep build up
Register Forums Trading Your Jeep My Garage Mark All Read

Post New Thread  Reply
 
Thread Tools Search this Thread
  #1737  
Old 14-12-2020
Gojeep's Avatar
Gojeep  Gojeep is offline
LokRinger
 
Join Date: Jul 2002
Location: Victoria
Posts: 6,870
Likes: 789
Liked 1,754 Times in 556 Posts
Default

Quote:
Originally Posted by Penguintas View Post
Great to see the next stage. Back in the day heard contact lenses were made of PMMA (Perspex) and I can remember making small changes to these and then polishing with Silvo. A really useful compound, and as you say does not shatter like polycarbonate. Polycab is not our favourite material for spec lenses either.
Would have not have thought to use Silvo but I guess it has a finer abrasives in it. Can you use it to polish polycarbonate as well like your dash instrument cover lens?
__________________
Cheers, Marcus.

My web site:
http://willyshotrod.com Over 5'000 Club
  #1738  
Old 15-12-2020
Penguintas  Penguintas is offline
Senior Newbie
 
Join Date: Oct 2009
Posts: 62
What Jeep do I drive?: XJ
Likes: 0
Liked 13 Times in 13 Posts
Default

Polycarb is much more difficult to get a really clear finish with house hold products. I have a solution with an abrasive built in for polycarbonate in a spray can that I have had for years. It was marketed for soft top polycab solid rear windows (a small market) but it works well. Not even sure where I got it. The Novus products seem to be the buzz at the moment. The muffins tell me not to use the Silvo on polycarb. Don't know about Brasso though
Likes: (1)
  #1739  
Old 30-01-2021
Gojeep's Avatar
Gojeep  Gojeep is offline
LokRinger
 
Join Date: Jul 2002
Location: Victoria
Posts: 6,870
Likes: 789
Liked 1,754 Times in 556 Posts
Default

With no new cases of the dreaded COVID for a couple of months in our state, could finally take off and go camping for most of December.
Was just what we needed having not been allowed to go anywhere for awhile.

Back on the build again with more enthusiasm.

If you look carefully you can see how much narrower the stock rear window is! I have to make a new template and gasket to suit the 273mm-10.5" wider window.


I bought these PVC pipe cutters from ALDI to cut the rubber gaskets. Being supported on both sides of the cutting blade, it stops the rubber distorting more on one side than the other.


I make a squared line around the gasket and line up the blade and the middle of the jaws at the bottom. It cuts slowly so you can make sure it is following the line.


Dale Bates, who makes brass windscreen frames for a living, put me onto using this specific Loctite for joining the rubber. Careful as there are two versions of 424. You need the check the part number in the smaller print which says 42423 which is for difficult to bond rubber.


I used some mdf the same thickness as the glass to hold everything square. Kept it away from the ends a bit because this glue will bond that mdf into place as well otherwise.


You get one go with this only! No moving it around for a second or two even. So I came in on an angle, lining up one edge before straightening up the faces. I practised with some scraps first!


I wrapped some cord around the channel and roped it in place. I was able to tilt the top in first with the gasket going over the pinch weld. You always pull the cord directly away from the edge and can rotate it in circles when going around the corners.


I have done quite a few windows like this before but had problems with this gasket.


It would keep tearing regardless of all the tricks to stop it. I had imported this from the USA under the part number used by one the the American manufactures. Turns out the seller was selling cheap, I presume, Chinese made rubber. Just just peeling back the rubber with your thumb and it would break! Was like 60 year old weather beaten rubber. Tried to contact them about it and the seller had disappeared!


The problem now was that I had had ground down about 2mm off the pinch weld so that rubber would fit over it as it was a bit shorter than stock. Now I have gotten some new rubber, I have to add it back again plus a few extra millimeters! So using a squashed down piece of copper pipe as a backer, I can lay down two rows of weld along the edge all the way around the window opening.


Then have to grind down the welds and make it all a uniform height and thickness all the way around the window frame.


The new rubber was by Metro Moulded Parts, #LP-30. https://metrommp.com/windshield-and-...dow-seallp-30/ It was part of their supersoft range and it really was! Took about five minutes by myself to get the template roped into place.
__________________
Cheers, Marcus.

My web site:
http://willyshotrod.com Over 5'000 Club
Likes: (4)
  #1740  
Old 31-01-2021
SeaComms's Avatar
SeaComms  SeaComms is offline
MonsterMoose
 
Join Date: Jun 2010
Location: Noosa QLD.
Age: 58
Posts: 7,940
What Jeep do I drive?: WK2
Likes: 1,432
Liked 809 Times in 466 Posts
Check out my Ride(s)
Default

Thank God you're back, was getting withdrawal symptoms hehehe.

Wife and I are packing up the house in QLD in a couple months for a few years on the road, if you are up for visitors will have to look you up when/if we can finally get to Vic to visit relatives!

Sent from my SM-N975F using Tapatalk
__________________
Cheers, Dave :)

2010 JK, then a 2015 KL Trailhawk, now a 2017 GC Trailhawk!

Over 5000 Club
  #1741  
Old 31-01-2021
Gojeep's Avatar
Gojeep  Gojeep is offline
LokRinger
 
Join Date: Jul 2002
Location: Victoria
Posts: 6,870
Likes: 789
Liked 1,754 Times in 556 Posts
Default

Quote:
Originally Posted by SeaComms View Post
Thank God you're back, was getting withdrawal symptoms hehehe.

Wife and I are packing up the house in QLD in a couple months for a few years on the road, if you are up for visitors will have to look you up when/if we can finally get to Vic to visit relatives!

Sent from my SM-N975F using Tapatalk
Wow, gutsy move to pack up everything and do that. Let me know once you are done here.
__________________
Cheers, Marcus.

My web site:
http://willyshotrod.com Over 5'000 Club
Likes: (1)
  #1742  
Old 01-02-2021
Gojeep's Avatar
Gojeep  Gojeep is offline
LokRinger
 
Join Date: Jul 2002
Location: Victoria
Posts: 6,870
Likes: 789
Liked 1,754 Times in 556 Posts
Default


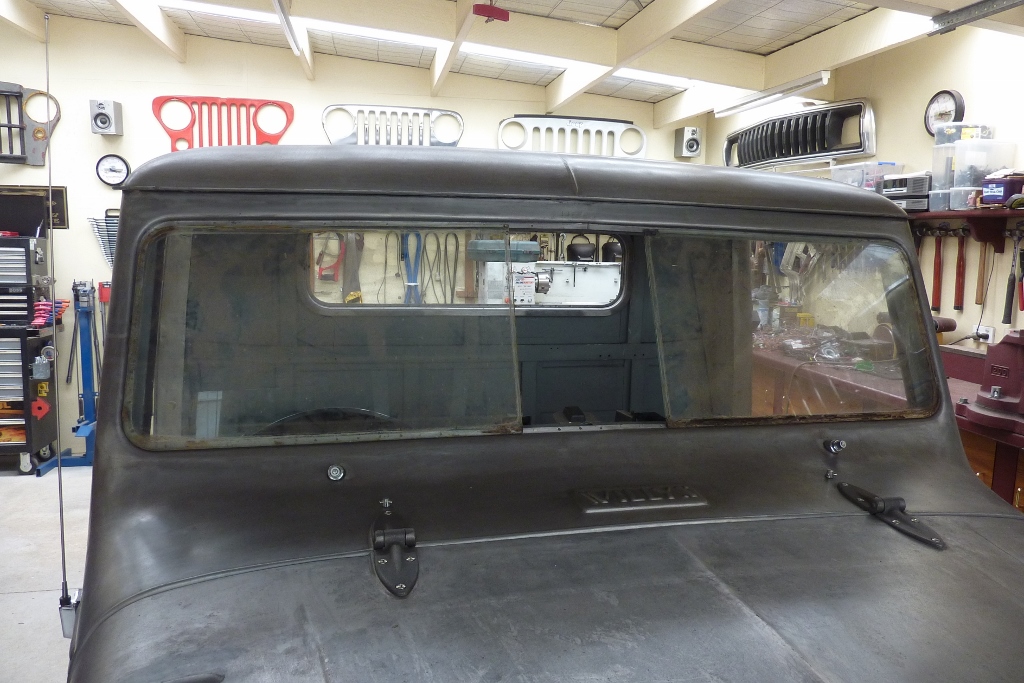
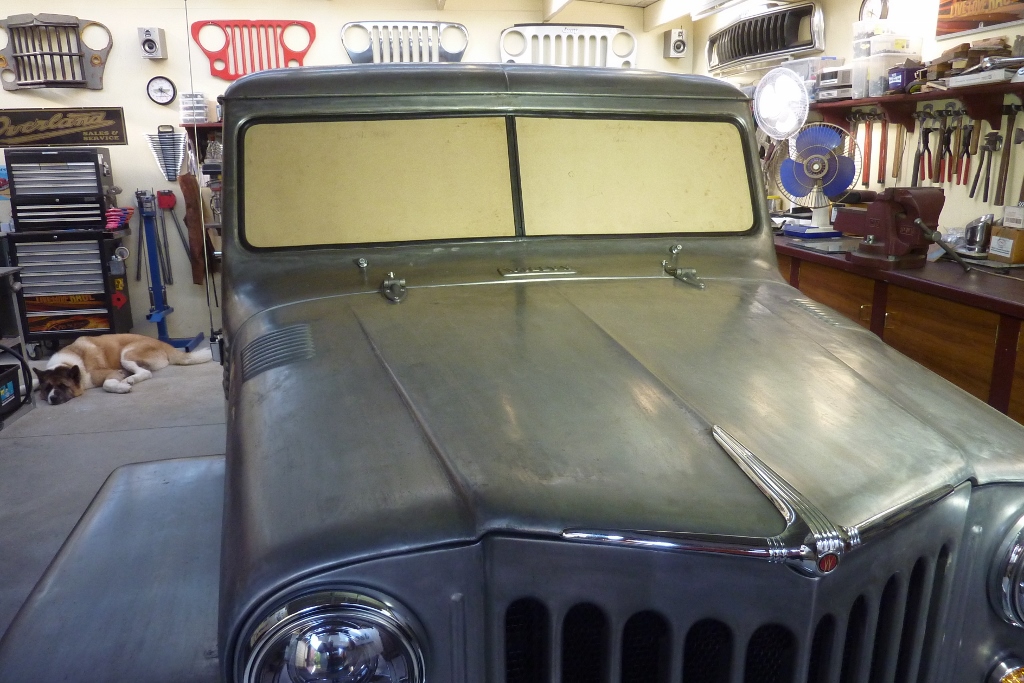
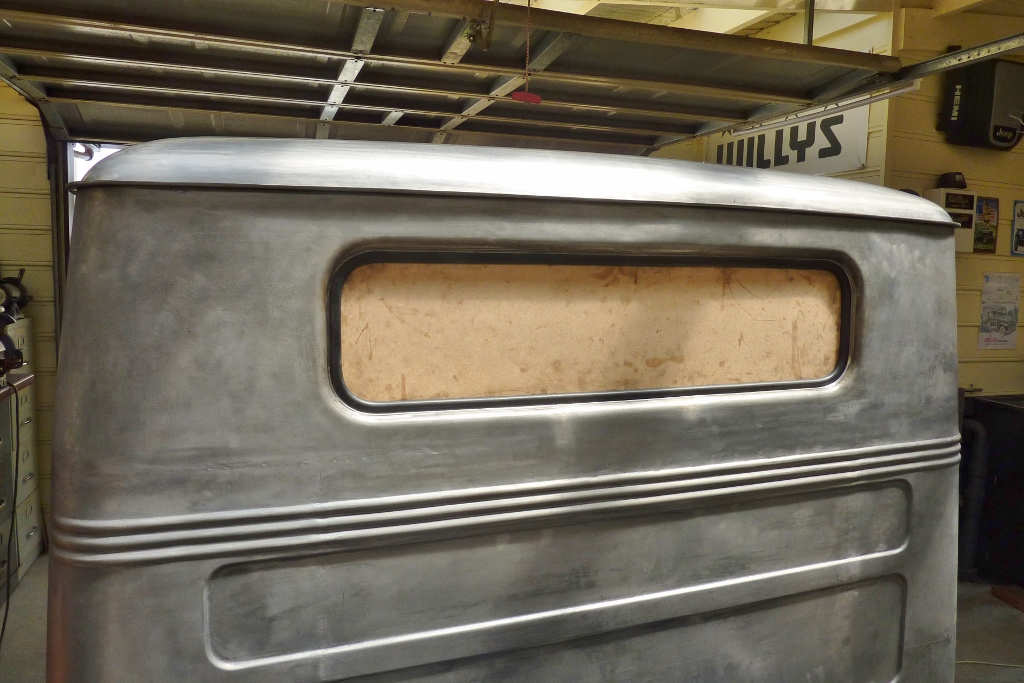
With the 9" wider cab, I have to make the windscreen wider to suit


I checked again to make sure the flanges were nice and straight and flat against the glass so there was no pressure points on the glass to cause cracking or leaks.


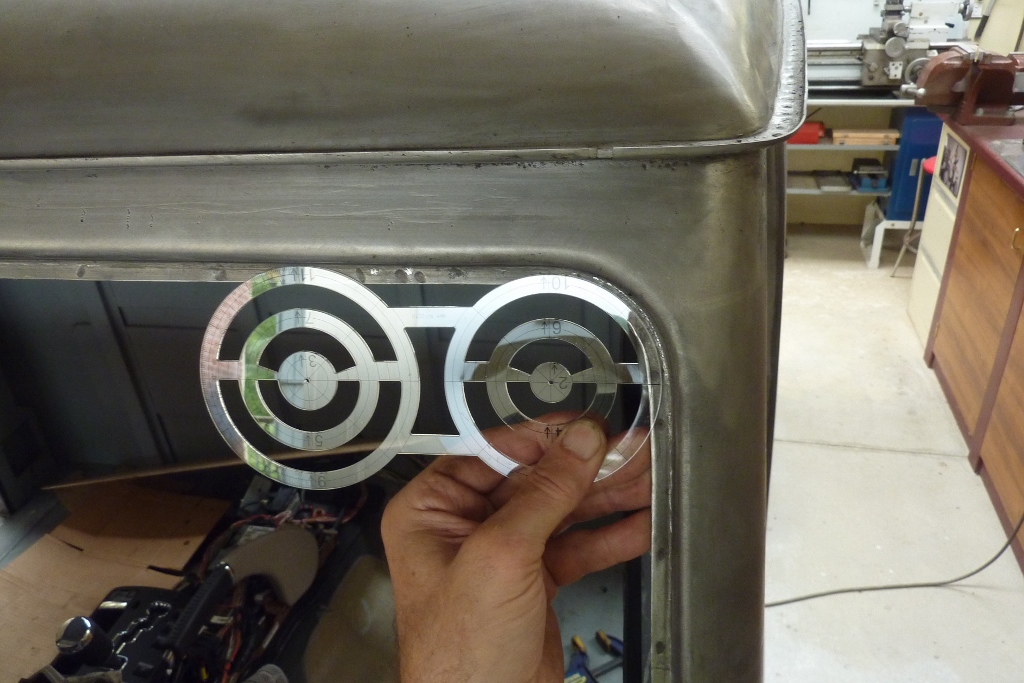
I am using here a tailors template to select a matching radius for the template corners. It is being held away from the edge the thickness of the bottom of the window channel in the rubber gasket/seal.


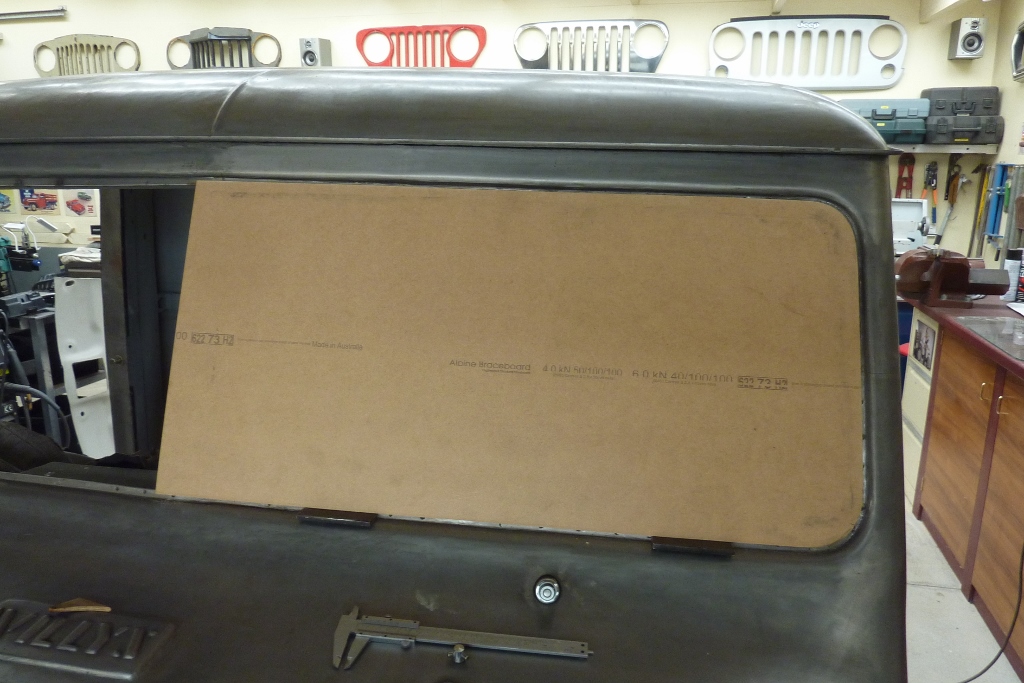
I used packers the thickness of the bottom of the glass channel to check fitment. I left about a 1 mm clearance around the template inside the rubber to give some room to fit it and make sure any movement in the cab wouldn't directly impact on the glass. Took a lot of care in the corners to make sure the seal would sit right to the edge of them.


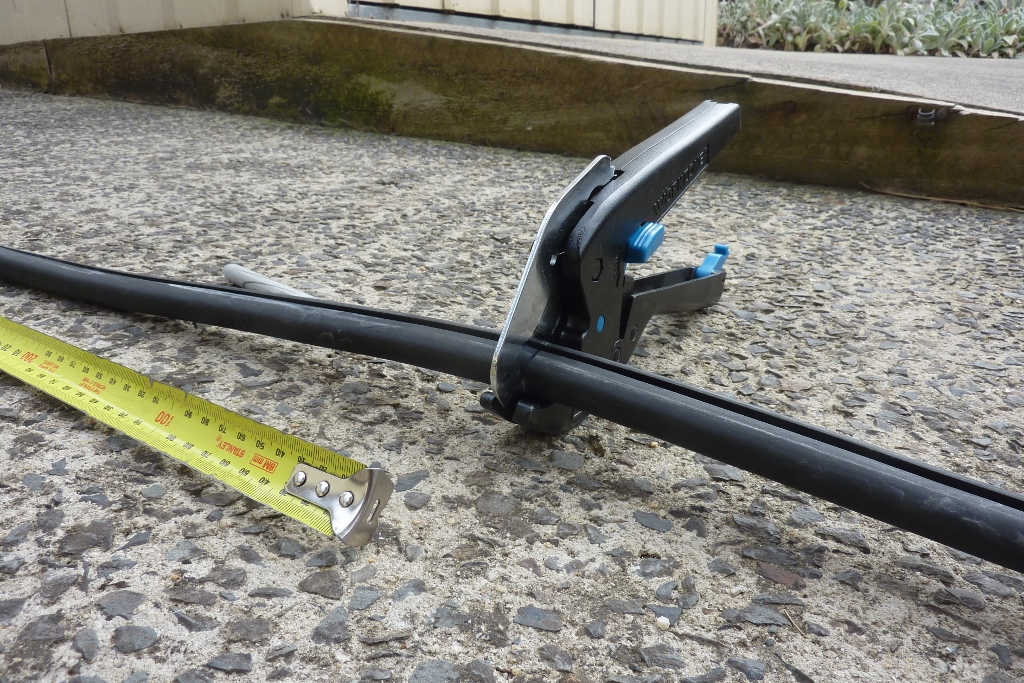
To get an idea on the length of the gasket/seal, I used a tailors or dress makers tape to measure around the inside perimeter of the window opening that the seal sits against.


I knew this would still be too long as the seal will compress and stretch around the corners. I pushed the ends apart as much as I could before marking it as better to have the seal as long as you can as it shrinks over time. Also looks very unprofessional when it pulls in at the corners from being too short.


I unfortunately had to weld all around the flange here too as had already prepared it for the useless rubber. 12 meters, 39 feet, of weld was added to the front and rear window openings and ground down. Spent the whole week on it! Then had to make sure the whole flange width was flat, all in the same plane, and straight against the glass again.


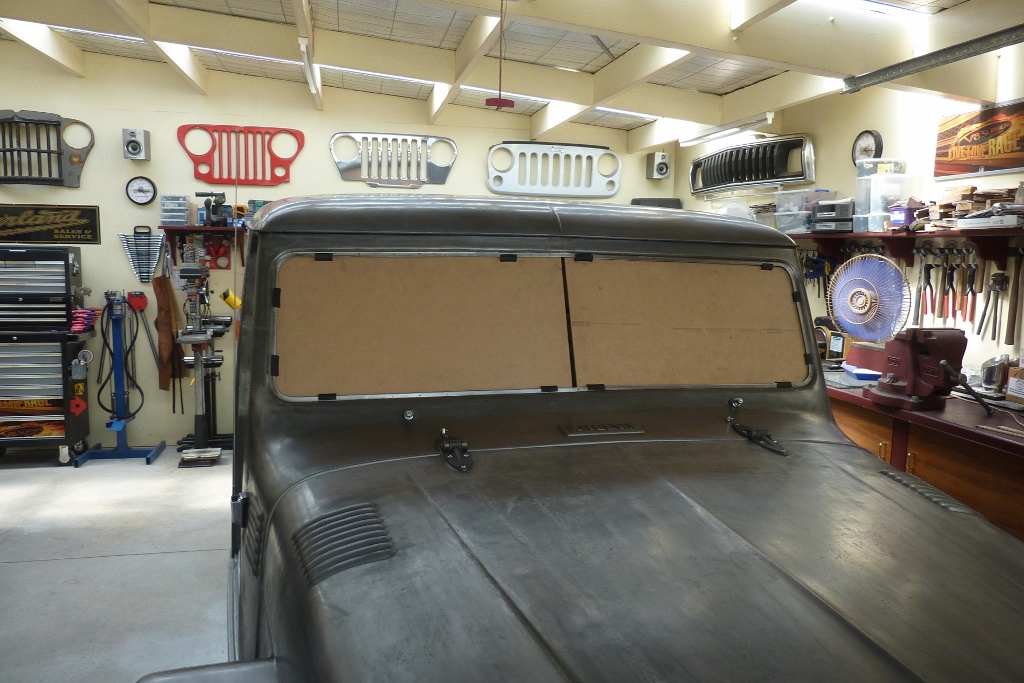
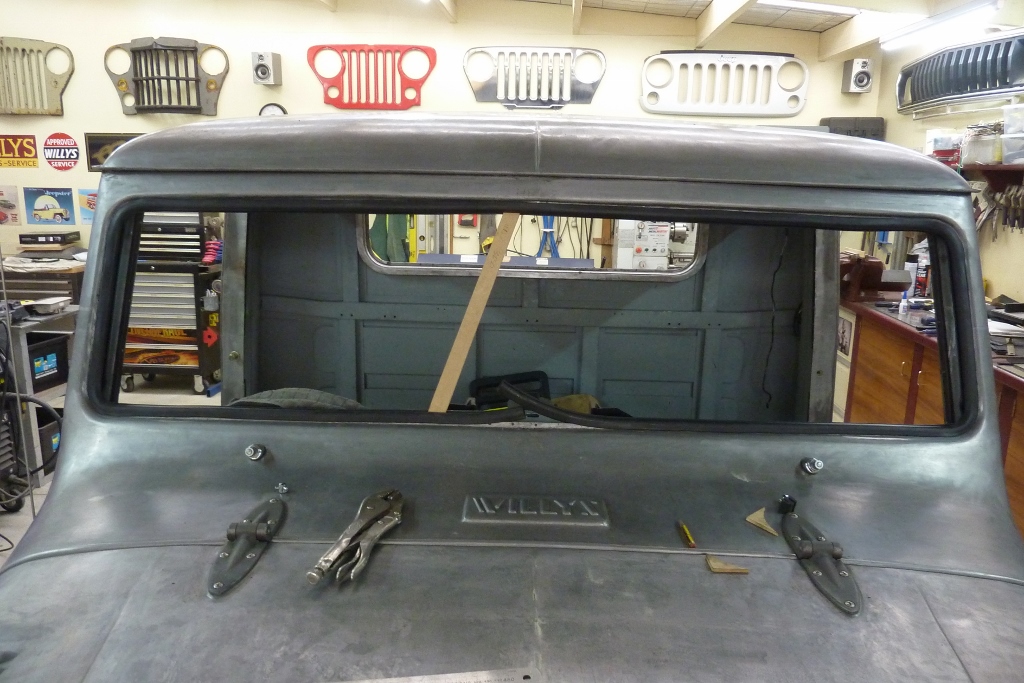
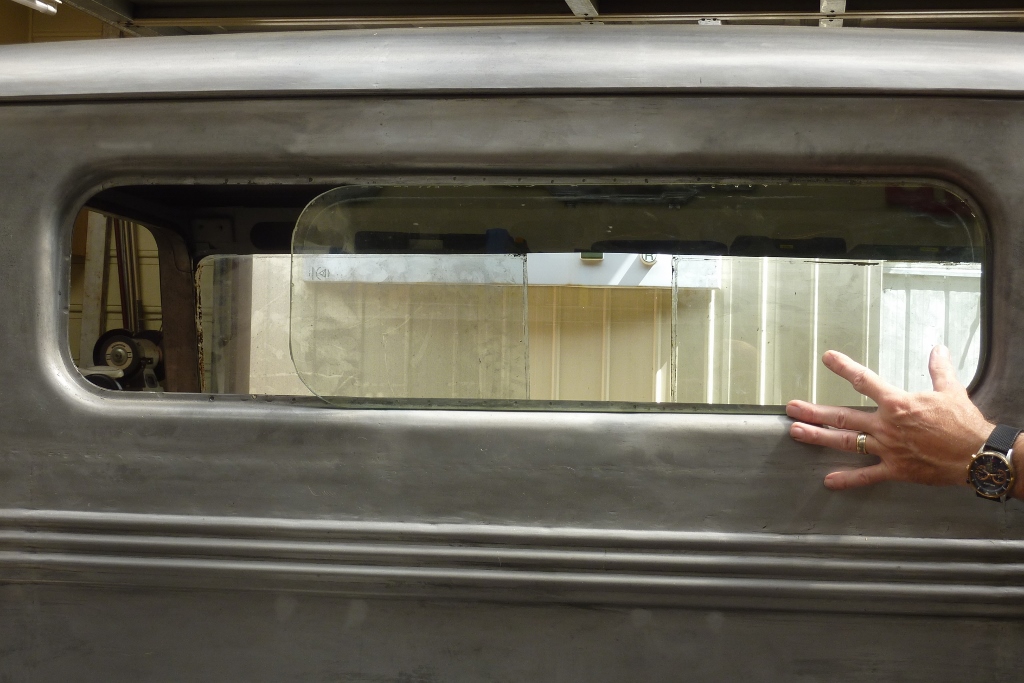
Both templates made and made sure the centre gap was parallel and square to the body and lining up exactly in the middle. Using offcuts of the seal to hold it into place and make sure there was an even gap all the way around on the inside with an extra millimetre for clearance.


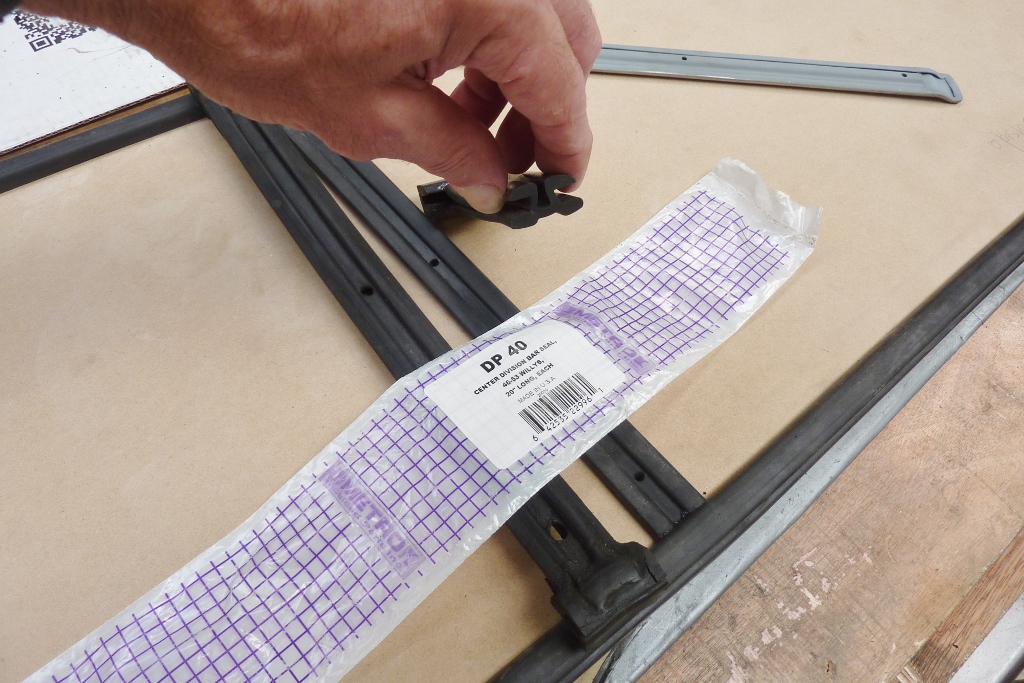
The centre divider seal also came from Metro Mouldings and made specifically for the Willys! I was lucky that a forum member reading my build found it listed for me. I also slide this over the template and compressed the seal as much as I could before cutting it too length. Ended up 6mm-1/4" longer than the height uncompressed. That will keep the seal sitting nice and straight and have pressure on the joint keeping it together.


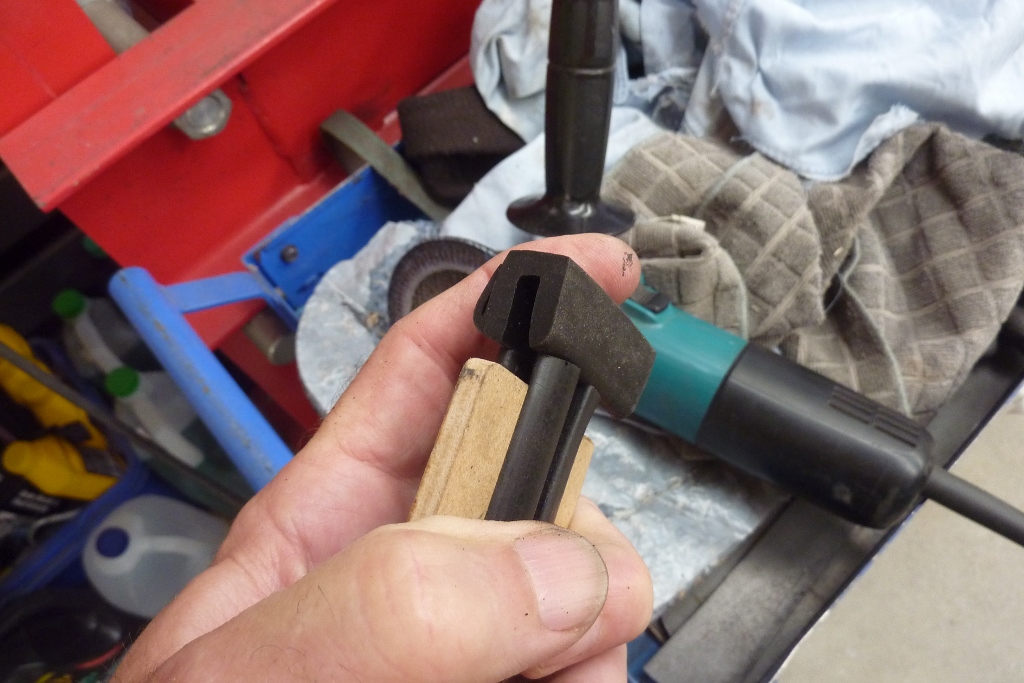
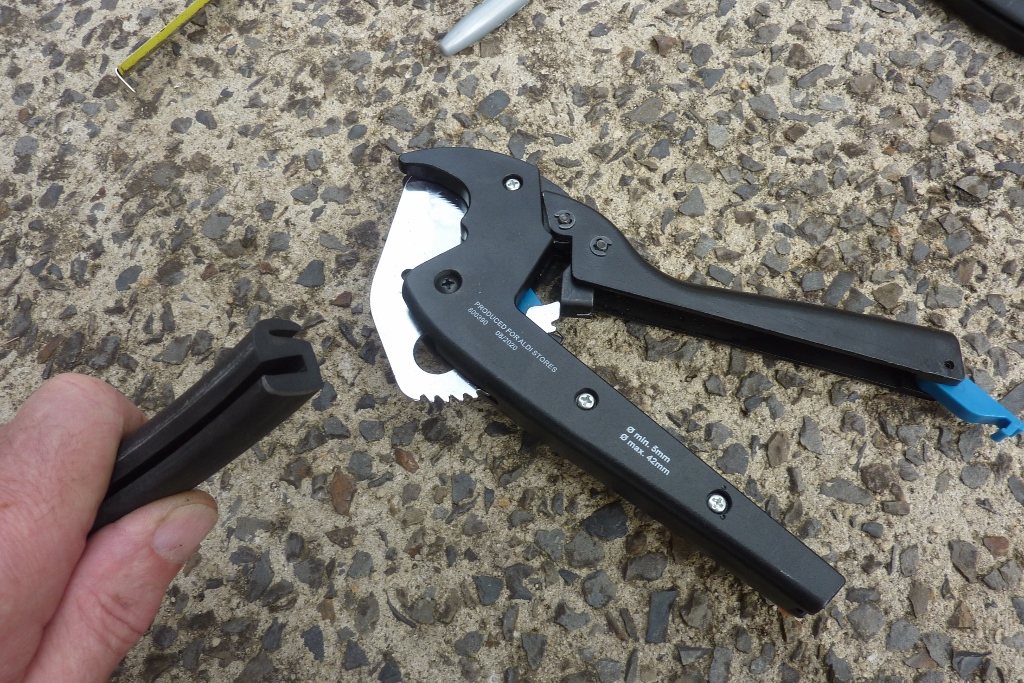
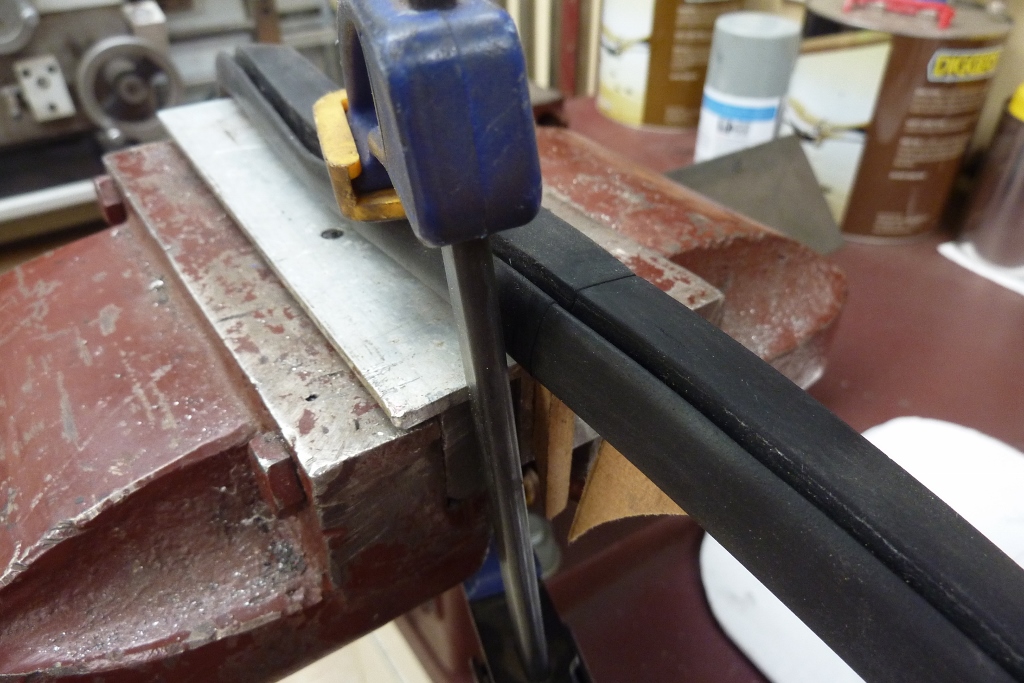
I used a old flap wheel to carefully shape the ends of the seal so it matched the other seals profile without pressure.


Before bonding it together I glued in a piece of the rubber inside the glass channel the width of the gap between the two glass pieces. The divider seal centre section does not line up with the channel and I wanted more surface area to bond the divider seal too. It also reinforced the other seals join and made lining up easier. I coated the ends of the mdf with a light smear of rubber grease to stop it sticking.


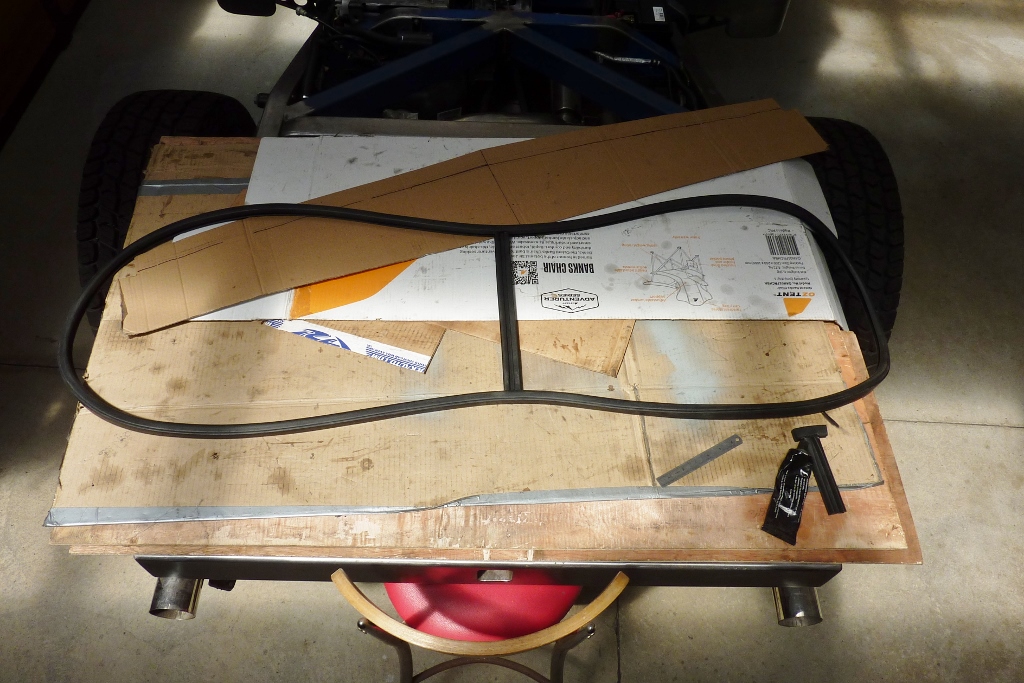
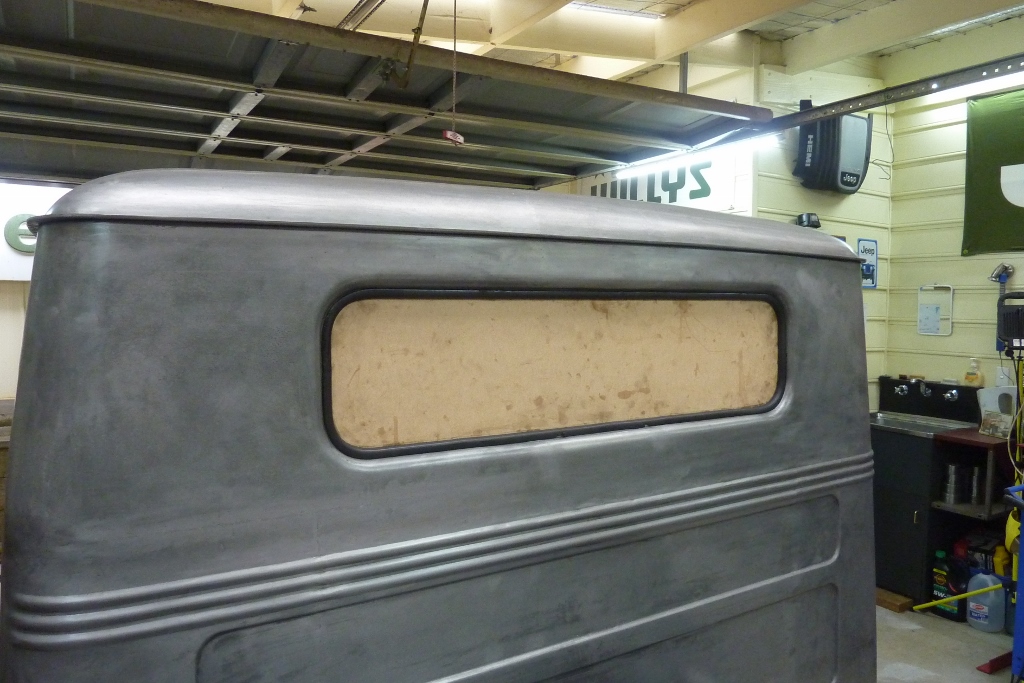
One custom windscreen seal to suit a 9" wider Willys Truck!


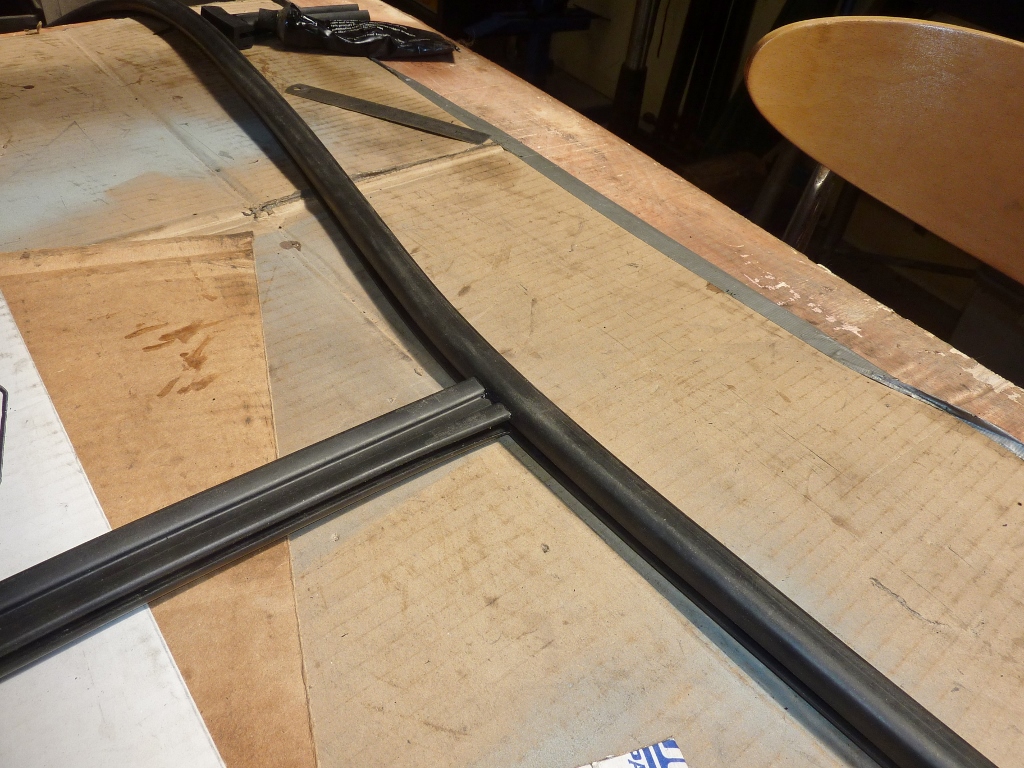
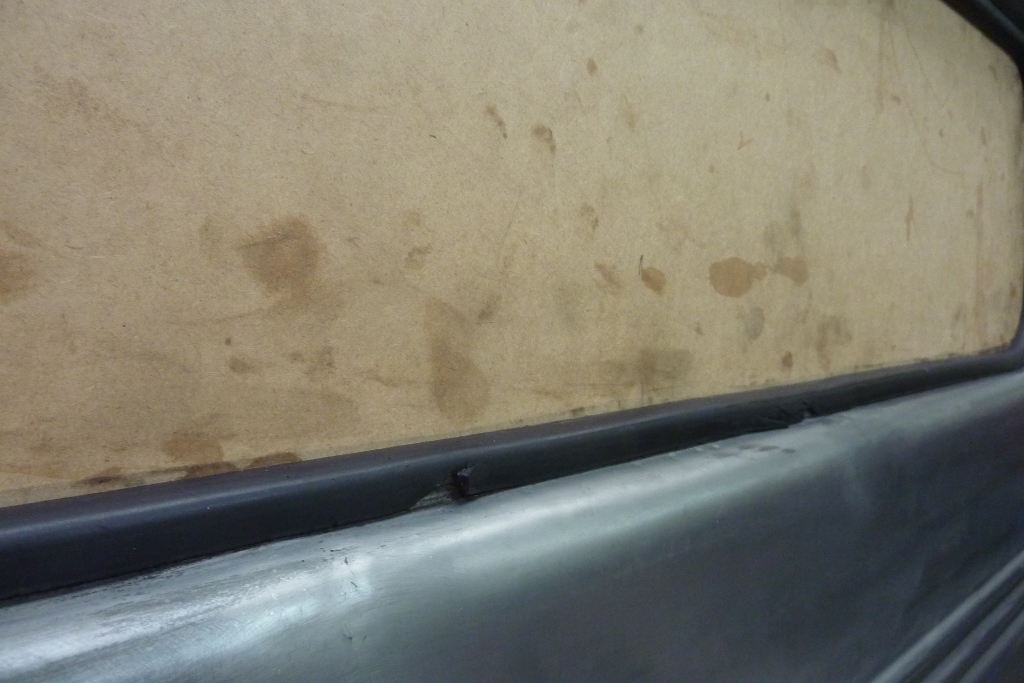
Close up of the join. The mdf made sure all the glass channels are inline.


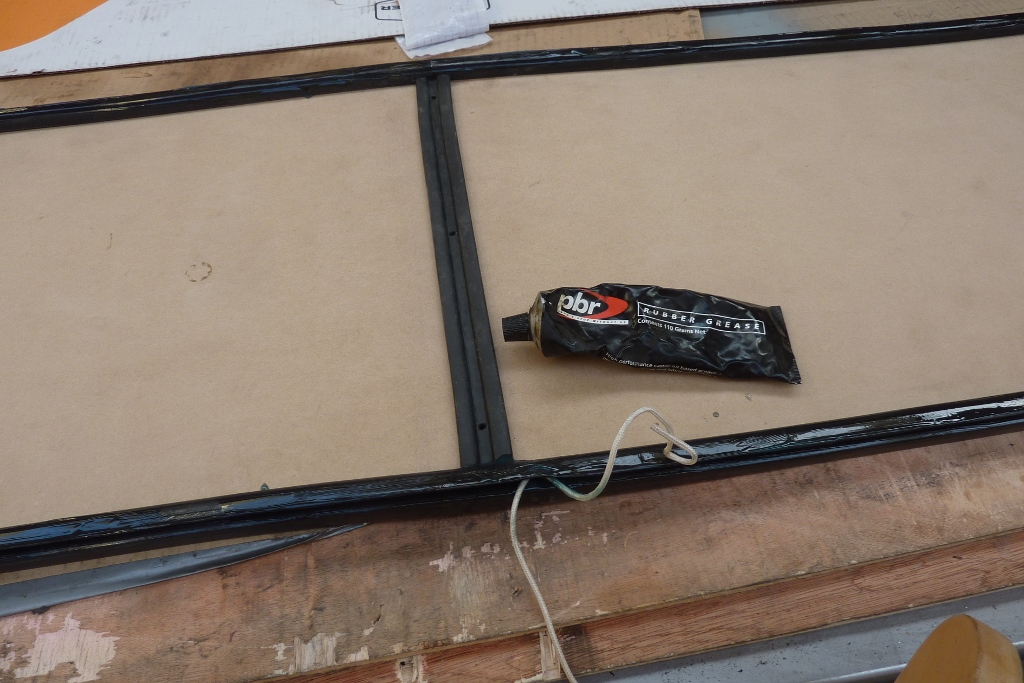
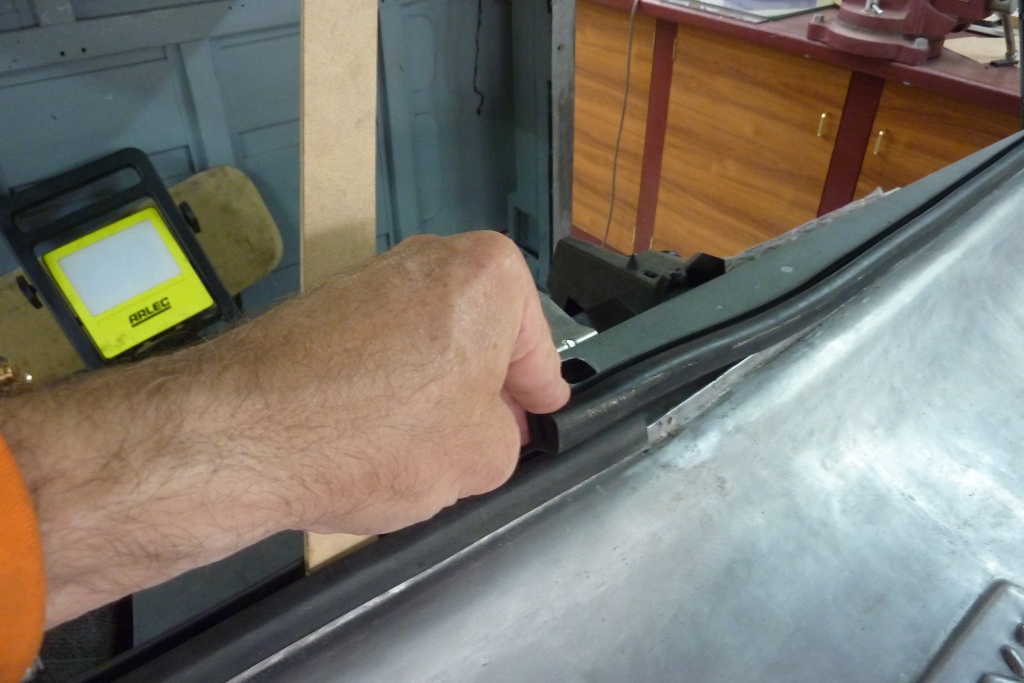
Doing the same rope in trick. The cord is actually from an old curtain track. I found that not only coating the inside of the channel and the rope, but the outside of the seal lip as well. When the lip is getting pulled over the pinch weld, it is getting pulled against the back of the pinch weld, so the lubricant helps it slide over. I have tried the usual soaps etc but found using my PBR Rubber Grease works the best. This is what I always used as a brake mechanic for assembling brake components as it doesn't swell the rubber like normal grease does. It is caster oil based.


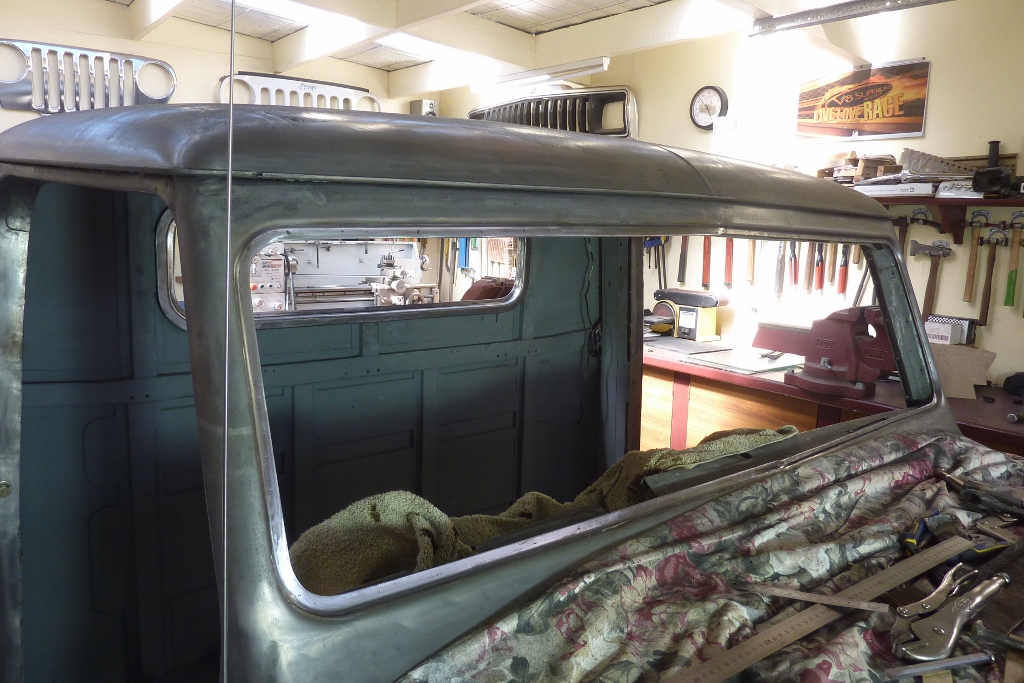
These windscreens can be tricky to put in as the seal is not the standard H profile. The glass actually is bigger than the opening and sits behind the flange in a S shaped profile seal. Means the seal height is nearly half of the H profile giving you more glass area. The corners get tucked in first and then the centre is pushed forward to lay flat behind the flange. Nice to have such a beautiful willing assistant.


Took us only 10 minutes to rope it in with my wife gently keeping the templates in position from inside the cab. If you push too hard it won't give you room to pull the lip out from behind the flange.
__________________
Cheers, Marcus.

My web site:
http://willyshotrod.com Over 5'000 Club
Likes: (3)
  #1743  
Old 01-02-2021
Fishframe's Avatar
Fishframe  Fishframe is offline
Full Flexer
 
Join Date: Apr 2020
Location: Townsville NQ
Posts: 1,099
What Jeep do I drive?: TJ
Likes: 758
Liked 619 Times in 415 Posts
Default

Being a flat windscreen, on my TJ, daily driving it I get at least one cracked windscreen a year. It seems to crack so easily even with just a little stone being thrown up around town on bitumen roads.
__________________
Jeep TJ rebuilt 4.0L, Custom Steel Roof Racks, vintage ((Jeep specific)) 15” Centerline Hellcats,
Post New Thread  Reply


Posting Rules
You may not post new threads
You may not post replies
You may not post attachments
You may not edit your posts

BB code is On
Smilies are On
[IMG] code is On
HTML code is On


All times are GMT +10. The time now is 07:14 AM.


Advertisements


AJOR does not vouch for or warrant the accuracy, completeness or usefulness of any message, and are not responsible for the contents of any message. The messages express the views of the author of the message, not necessarily the views of AJOR or any entity associated with AJOR, nor should any advice be substituted as technical advice replacing that of a mechanic. You agree, through your use of this service, that you will not use AJOR to post any material which is knowingly false and/or defamatory, inaccurate, abusive, vulgar, hateful, harassing, obscene, profane, sexually oriented, threatening, invasive of a person's privacy, religious, political or otherwise violative of any law. You agree not to post any copyrighted material unless the copyright is owned by you or by AJOR. The owner, administrators and moderators of AJOR reserve the right to delete any message or members for any or no reason whatsoever. You remain solely responsible for the content of your messages, and you agree to indemnify and hold harmless AJOR, the administrators, moderators, and their agents with respect to any claim based upon transmission of your message(s). The use of profile signatures to intentionally mislead or misdirect any member on this forum is not acceptable and may result in your account being suspended. Any trip that is organised through the AJOR forum is participated at your own risk. If you or your vehicle is damaged it is your responsibility, not that of the person that posted the thread, message or topic initiating the trip, nor the organisers of AJOR or moderators of any specific forum. This forum and associated website is the property of AJOR. No user data is harvested and no information supplied in your registration will be sold for profit.


Powered by vBulletin® Version 3.8.7
Copyright ©2000 - 2024, vBulletin Solutions, Inc.

AJOR © 2002 - 2024 AUSJEEPOFFROAD.COM. All corporate trademarked names and logos are property of their respective owners. Ausjeepoffroad is in no way associated with DaimlerChrysler Corporation or Fiat Jeep.
www.ausjeep.com www.ausjeep.com.au www.midlifemate.com ausjeepforum.com www.r9kustoms.com
vB Ad Management by =RedTyger=