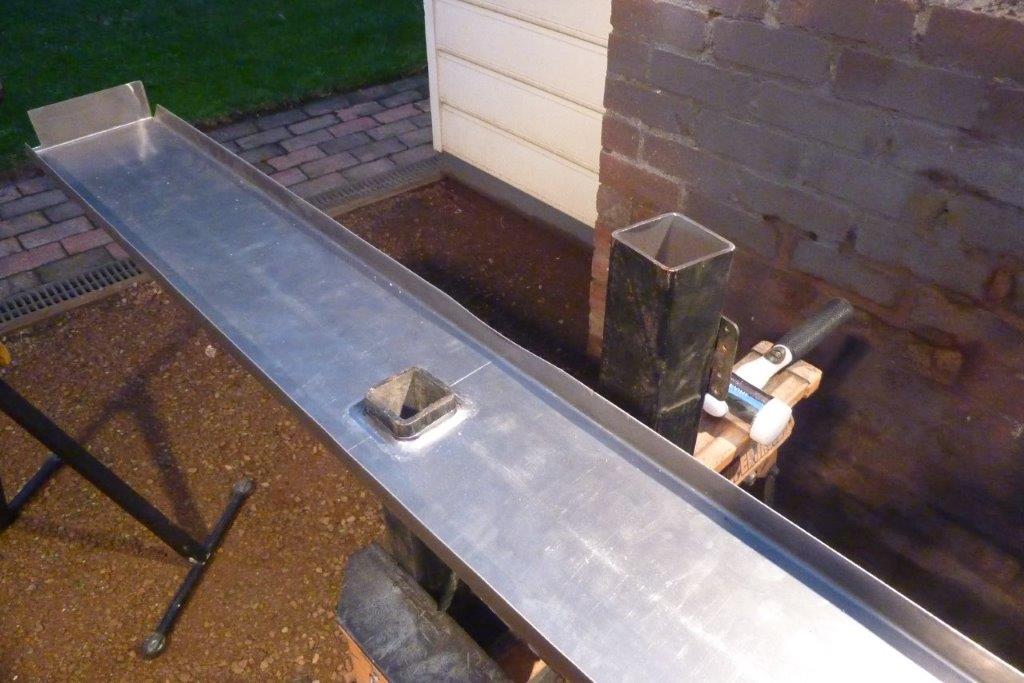
I am flaring the hitch hole in the rear valance panel. Hole was cut smaller and placed over some 50mm/2" tubing, the same size as found on the hitch tongue. Hammered a piece of 75mm/3" tubing over it to force the smaller tubing through.
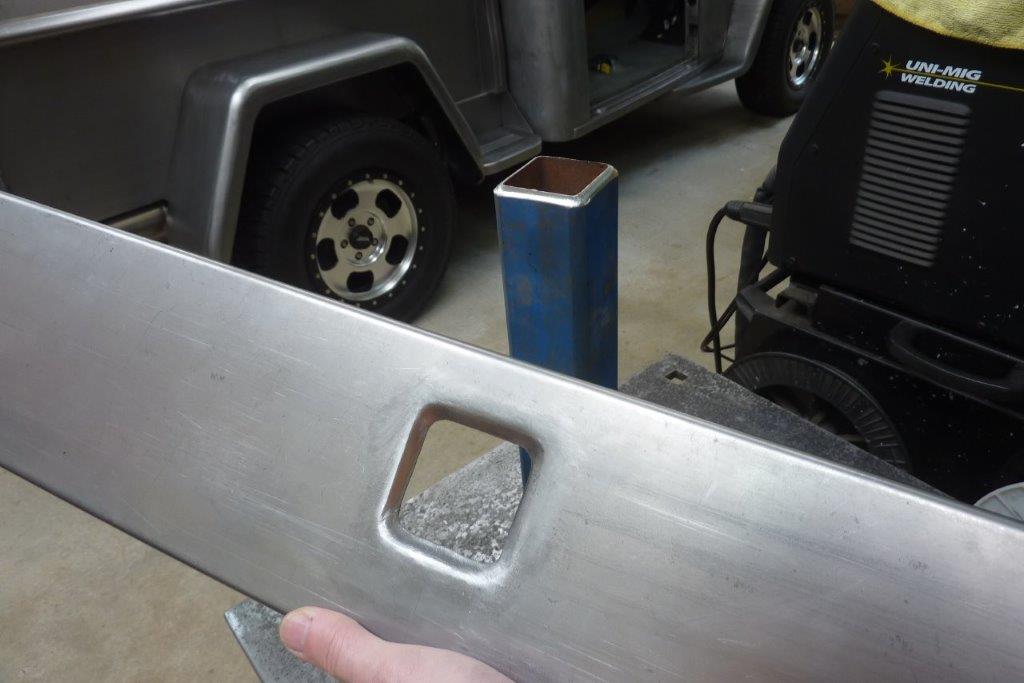
Ground a bevel on some 65mm/2.5" tubing to use as a dolly to finish shaping the flare.
Gives a neater appearance than just a flat square hole.

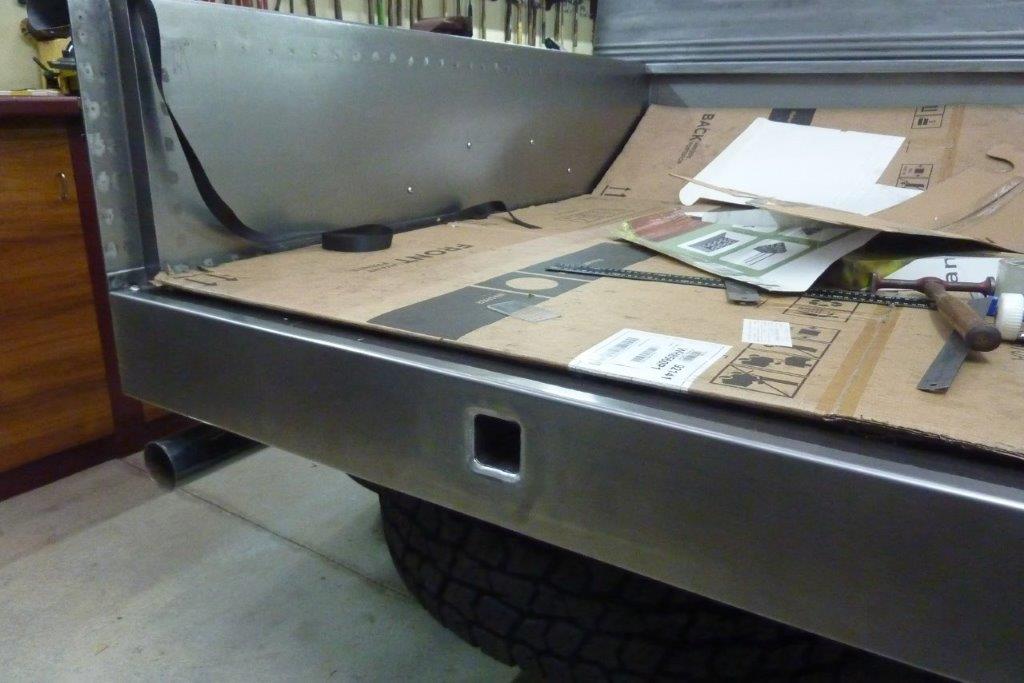
When making this rear floor support I also included a section that went through the bed side and ended up inside the stake pocket. I have now drilled through the stake and into the support and drilled and tapped it for the two button head bolts. This stabilises the end of the bed. Notice the gap between the bed side and the other part of the same support bracket. This is where the flange at the end of the valance slots in between and two more bolts are drilled and tapped to hold the valance in place as well as further support for the end of the bed.
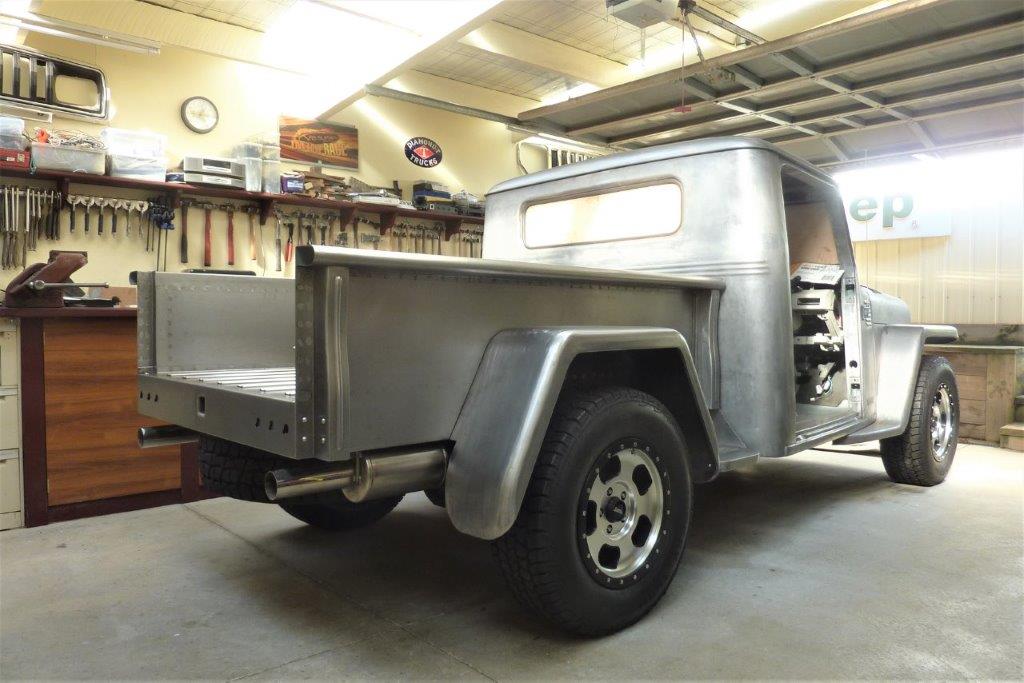
Doesn't look to bad without the rear skirts on actually!
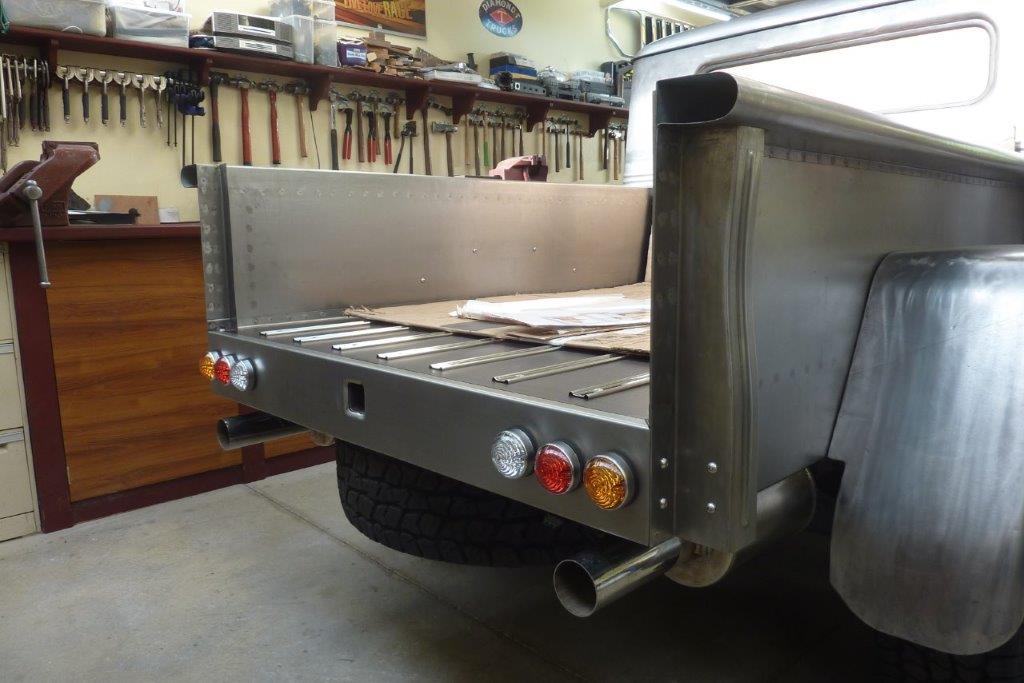
Fitted the lights up and are fully wired in with weather pack connectors. When I made the bed sides I made them 5mm-3/16" longer than the floor. This was to give enough room behind the valance to run both the wiring and put the flare in for the hitch hole.
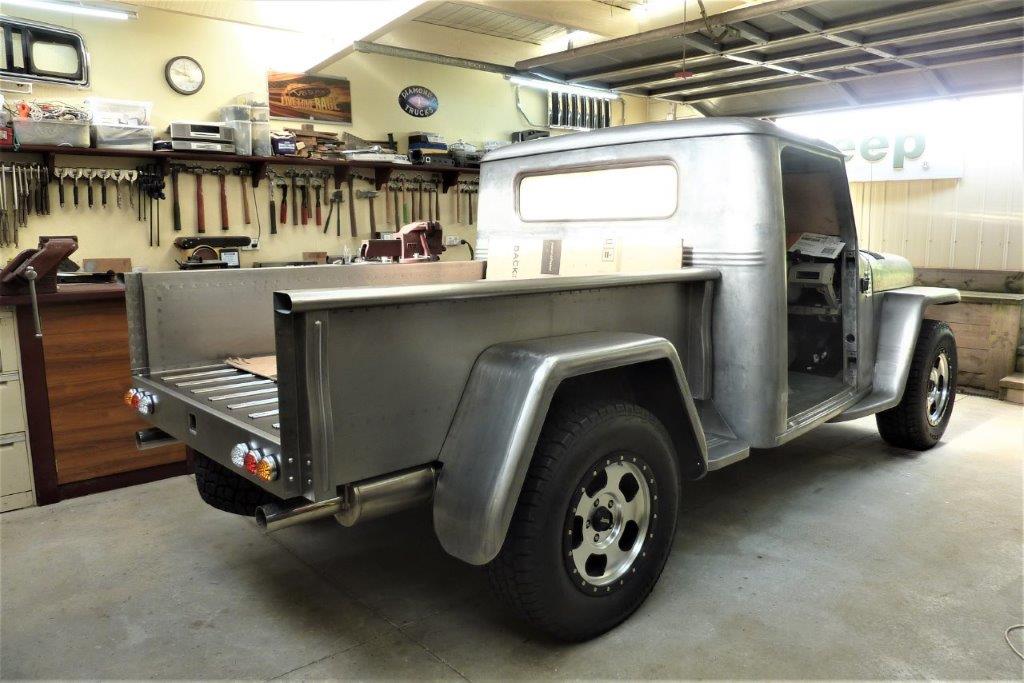
Another piece of the puzzle done. Side skirts next and a roll pan under the valance to tie it all in together.


 TJ New project and third Jeep!
 FJ
FJ EJ
EJ HD
HD
