
 |
|

07-06-2015
|
 |
LokRinger
|
|
Join Date: Jul 2002
Location: Victoria
Posts: 6,869
Likes: 788
Liked 1,754 Times in 556 Posts
|
|
Quote:
Originally Posted by CJ6np435

An engineer once told be, if you are going to fully seal a box section, put a wet Steelo in, the Steelo rust and uses up all the oxygen, preventing any further corrosion, it would want to be 100% air tight tho!
|
Well that is the first I had heard of that one. Can see where he is coming from but think it would be hard to guarantee it to be air tight forever.
I am at this stage going to spray the underside and firewall with a 2 part bed liner, so should helps moisture coming between the joints at least for a long while.
Thanks for the rest of the feed back too. I will add a drain hole to the lowest portion just like the original had. Can then use cavity wax or similar after all the paint work has been completed.
Last edited by Gojeep; 07-06-2015 at 08:03 PM.
|
07-06-2015
|
|
LokRinger
|
|
Join Date: Jul 2002
Location: Victoria
Posts: 6,869
Likes: 788
Liked 1,754 Times in 556 Posts
|
|
Quote:
Originally Posted by JeepCJ
Coming along nicely Marcus...... attention to detail as good as ever 
My surgeon gave me the bad news this week, I'm out of action for another 8weeks...  I'm going crazy looking at the six sitting in the shed and so much to do 
Think you'll have it finished years before mine |
Sorry to hear that you are being laid up even longer than you had hoped. Just use the time to find and hard to get parts and get more ideas of what you want to do to it.
|
13-06-2015
|
|
LokRinger
|
|
Join Date: Jul 2002
Location: Victoria
Posts: 6,869
Likes: 788
Liked 1,754 Times in 556 Posts
|
|

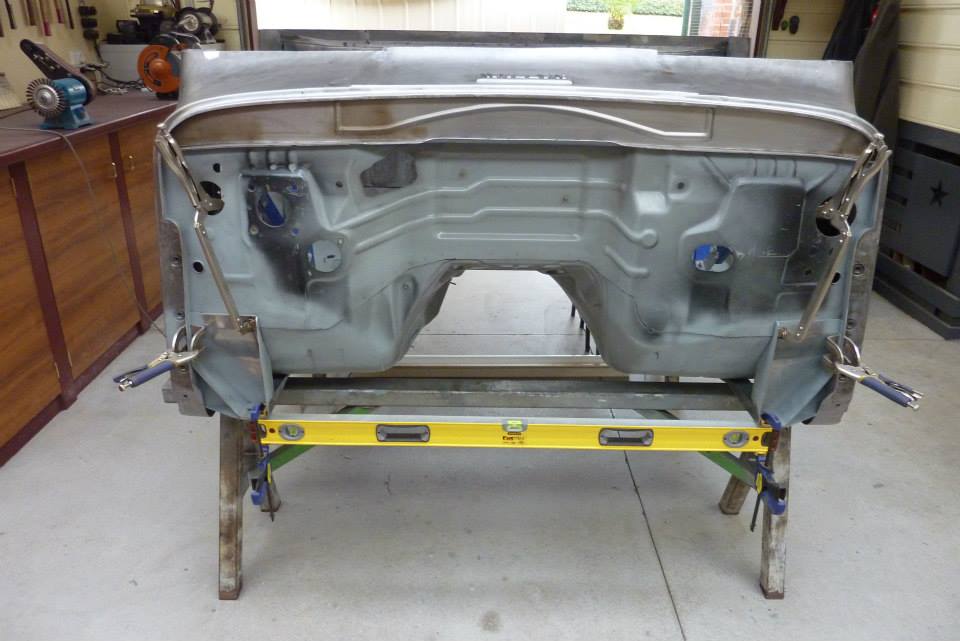
Getting close to finishing off the lower part of the cab for now. 
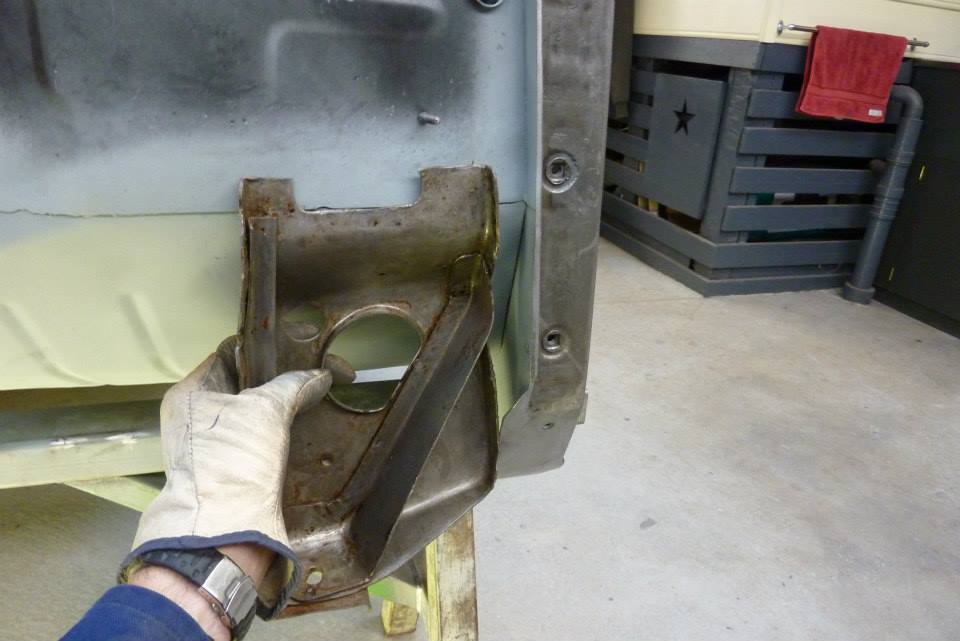
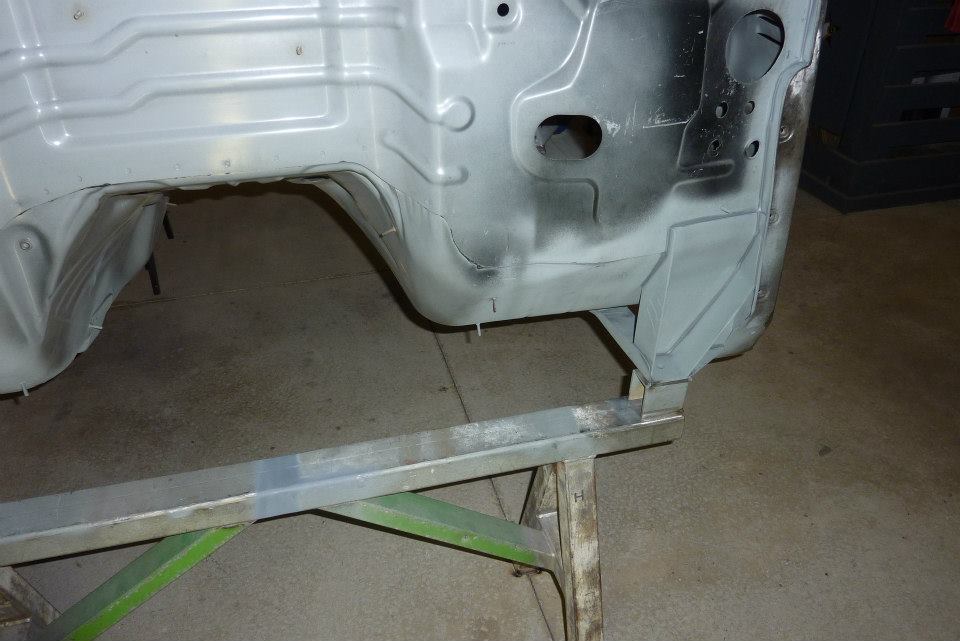
I had a good pair of original Willys front cab mounts that were rust free after cleaning them up in the citric acid bath. Hoping to use them on the donor firewall.
But the fold on the donor firewall sits a lot lower than it was on the Willys. That rear brace support is supposed to touching the floor showing how low the whole mount is.
The angle is different as the Willys had two 45* bends in the toe board to firewall where the donor has three 33* ones.
Looked at modifying the originals a lot to fit but thought it would be better just to start from scratch. First need to workout how far back I need to go to get the bottom of the mount level with the bottom of the floor while still being behind that lip.
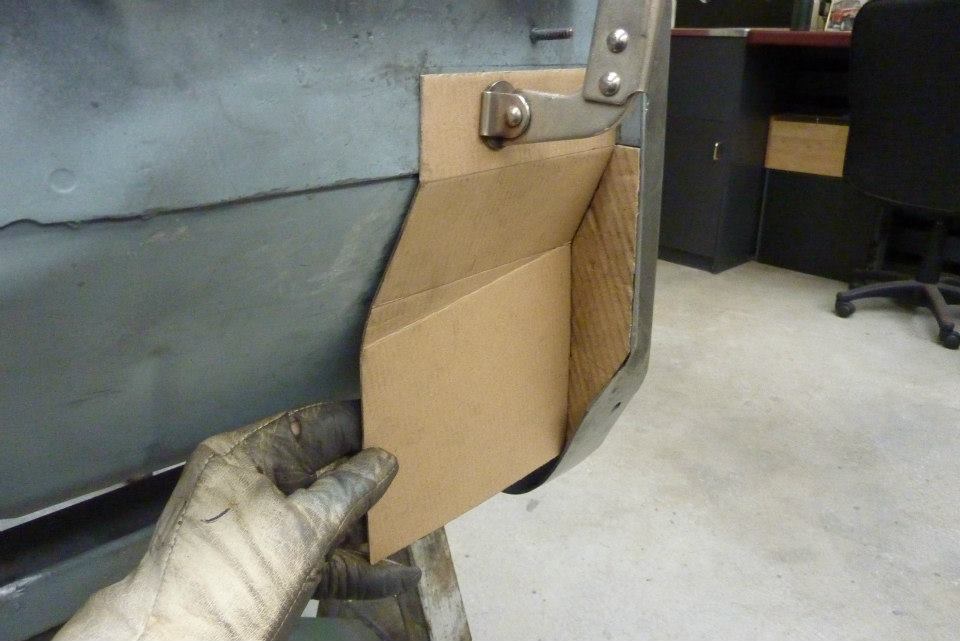
You might noticed too that the second fold is down on an angle. That is because the donor firewall is not flat straight across like the Willys was. I wanted the lower part to still be like that. I had to continue down the firewall until the lower part was vertical and square
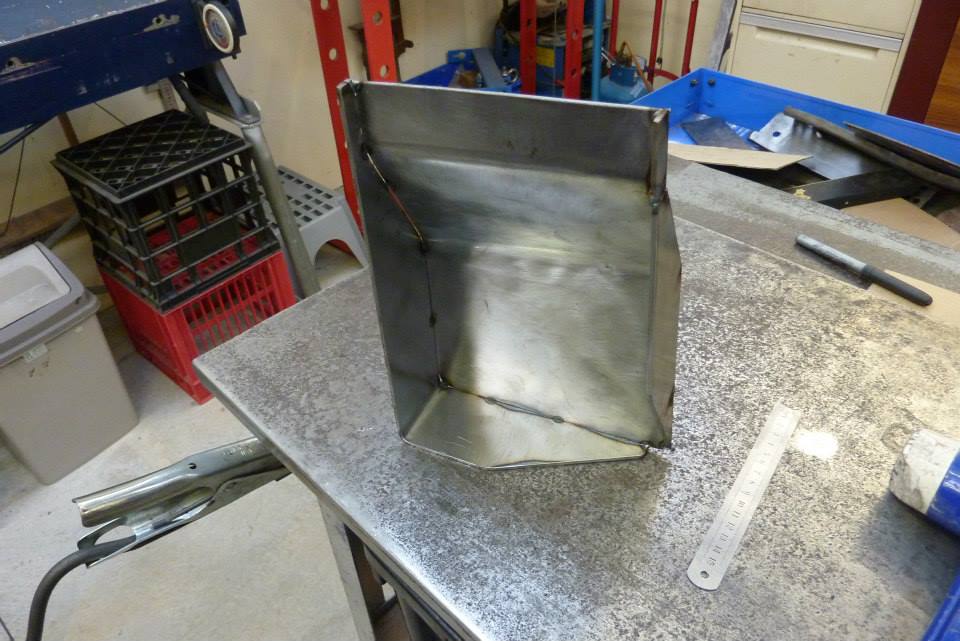
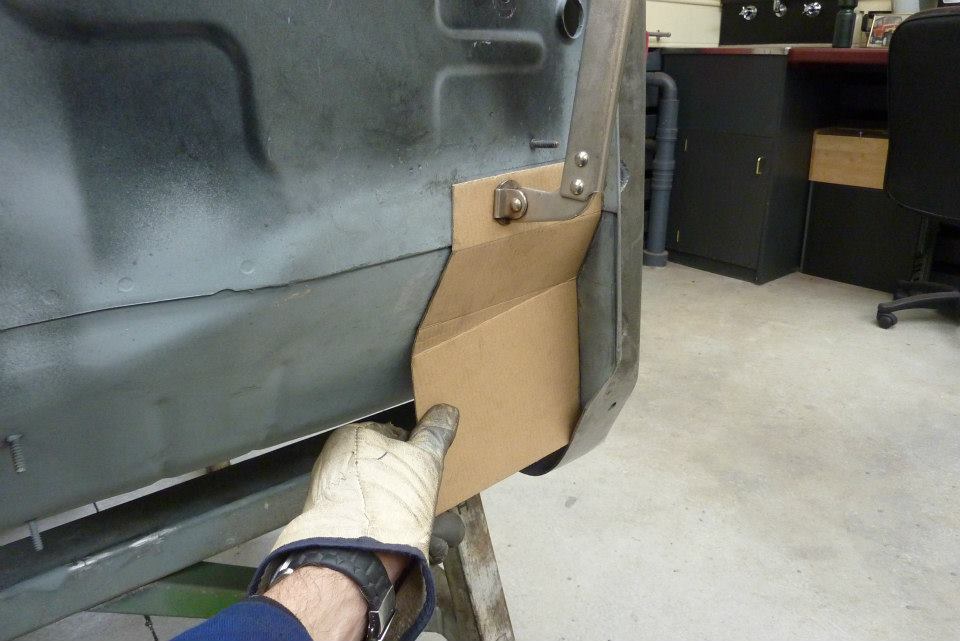
Time to start converting cardboard into metal. I made it out of 3 mm instead of the original 2 mm so the extra stiffener on the outside edge could be left out.

The main stiffener which transfers the load to the stronger side of the cowl was still put in.

With the body mount sitting back it gives more room in the engine bay, but more importantly, centers the load under the firewall which is much stronger than in front of it.

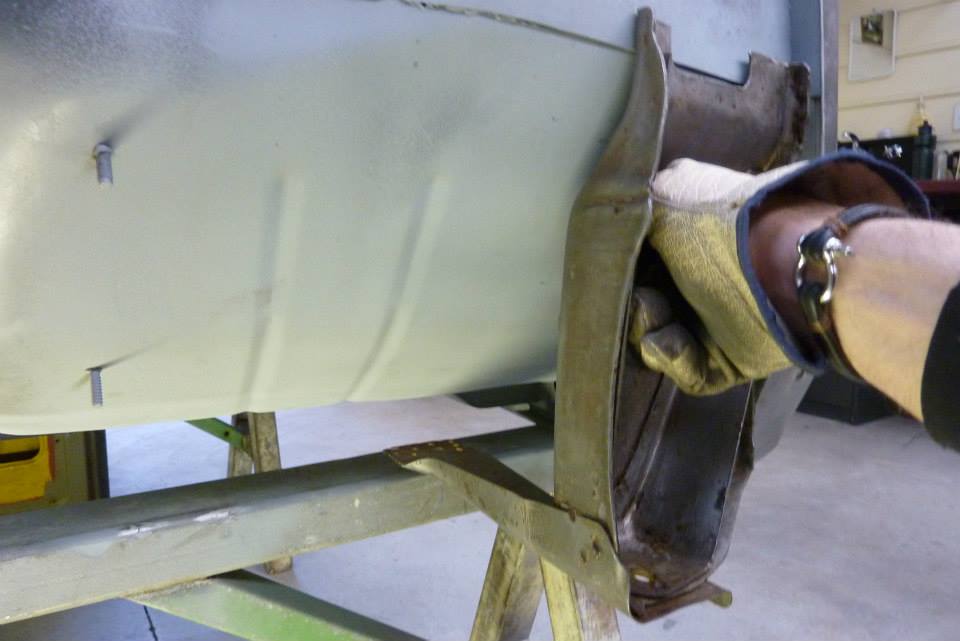
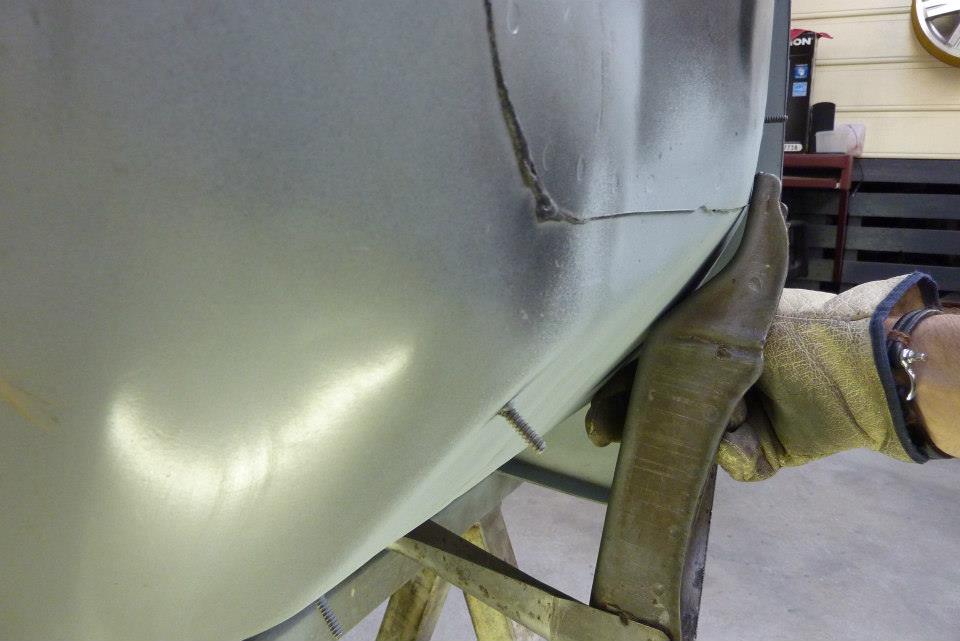
Had another set of original floor to mount braces and thought I might as well reuse those.
The radius just needs to be tightened up in the corner to match the new mount.
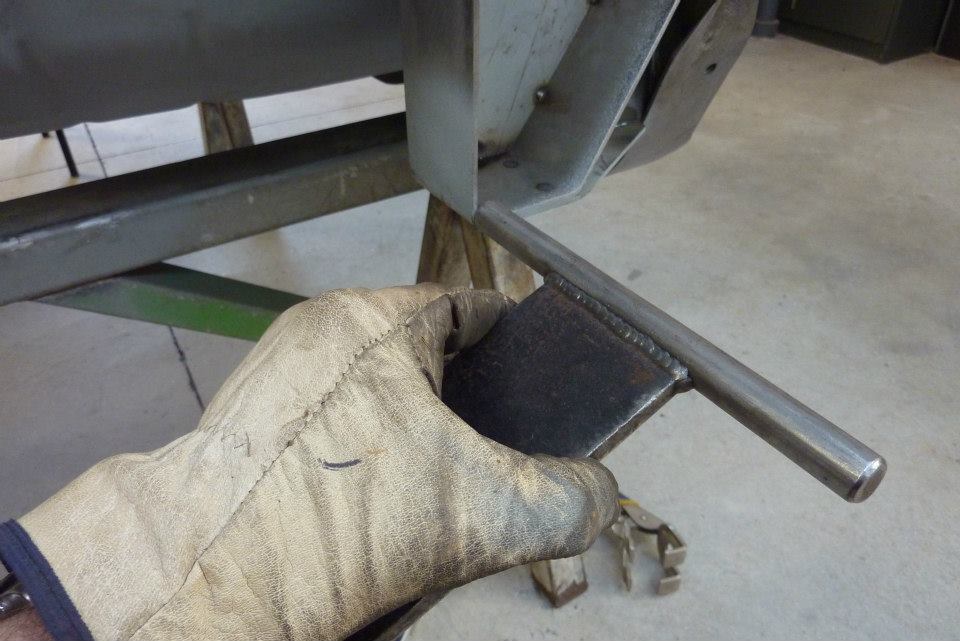
Used a T dolly that I had made a while ago that had the same radius.

Hammered the brace over it and now it is ready to be welded on.
Last edited by Gojeep; 03-08-2017 at 09:41 AM.
|
20-06-2015
|
|
LokRinger
|
|
Join Date: Jul 2002
Location: Victoria
Posts: 6,869
Likes: 788
Liked 1,754 Times in 556 Posts
|
|
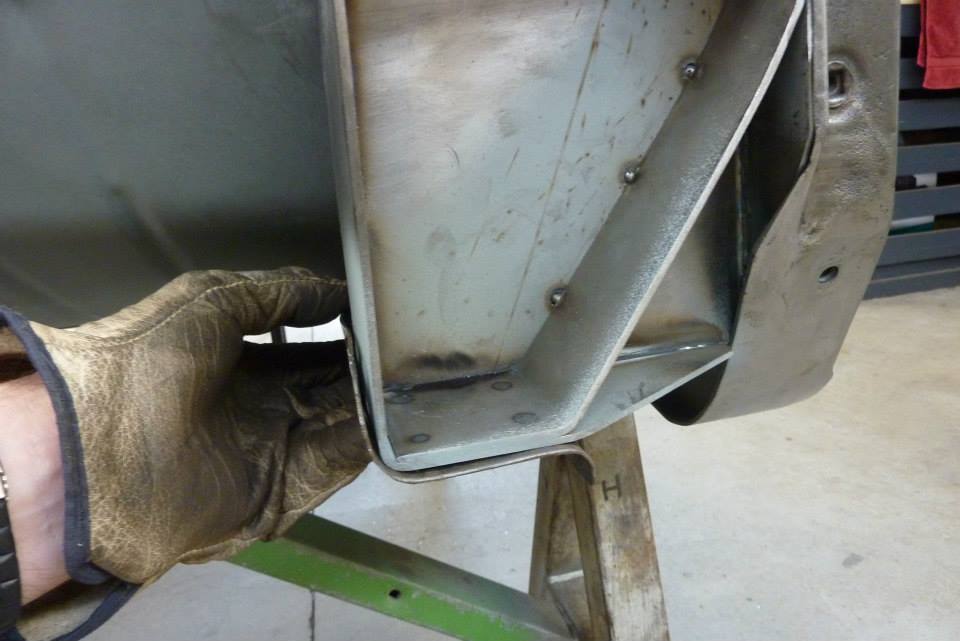
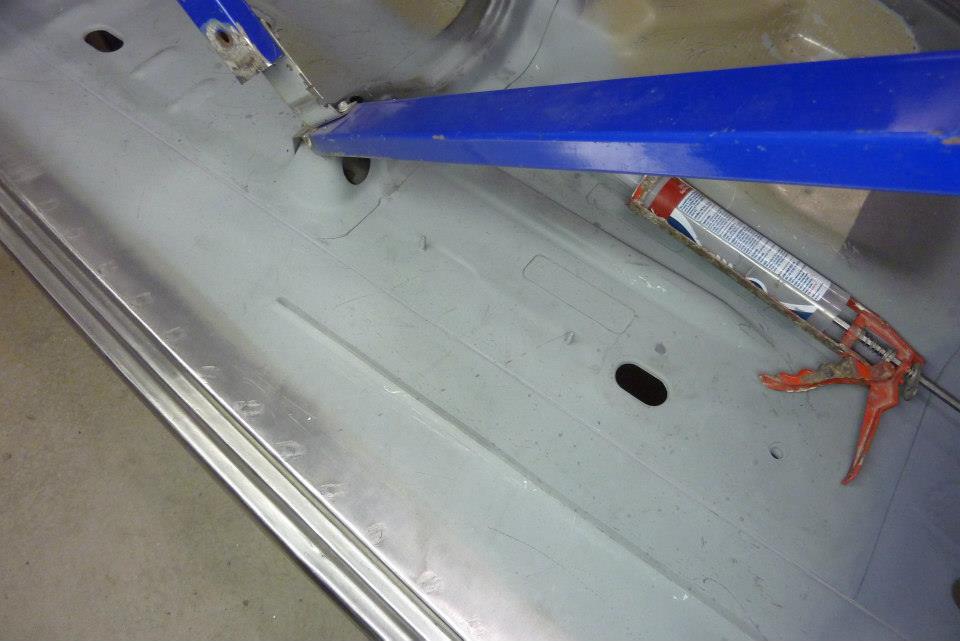
Made the mount for the other side before welding on the first one. This way I can make sure they are perfectly level as can adjust them in opposite directions a few millimeters each if needed. I did a total of 23 plug welds to attach each one to the floor, firewall and cowl sides. The cowl sides were already double thickness so increased the plug weld holes from 5.5 mm, (7/32), to 8 mm, (5/16), to get the needed penetration.
I have run sealant around all the joints to keep water out after coating with zinc. Will top coat this with edge primer and that should take care of it until the cab is finished.
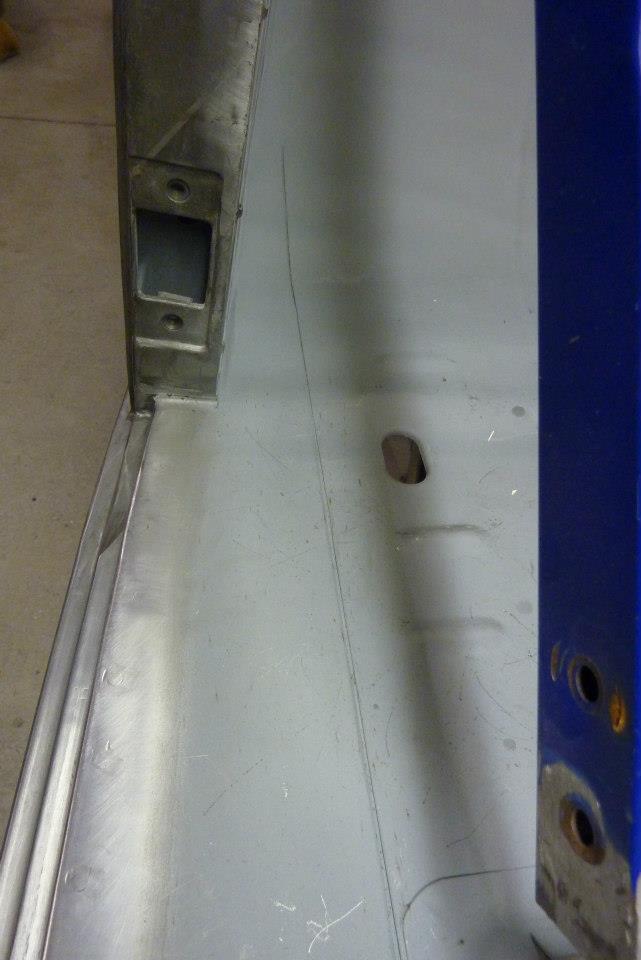
Just want to show a little trick to fill this join groove neatly with sealant.
I place masking tape on each side.
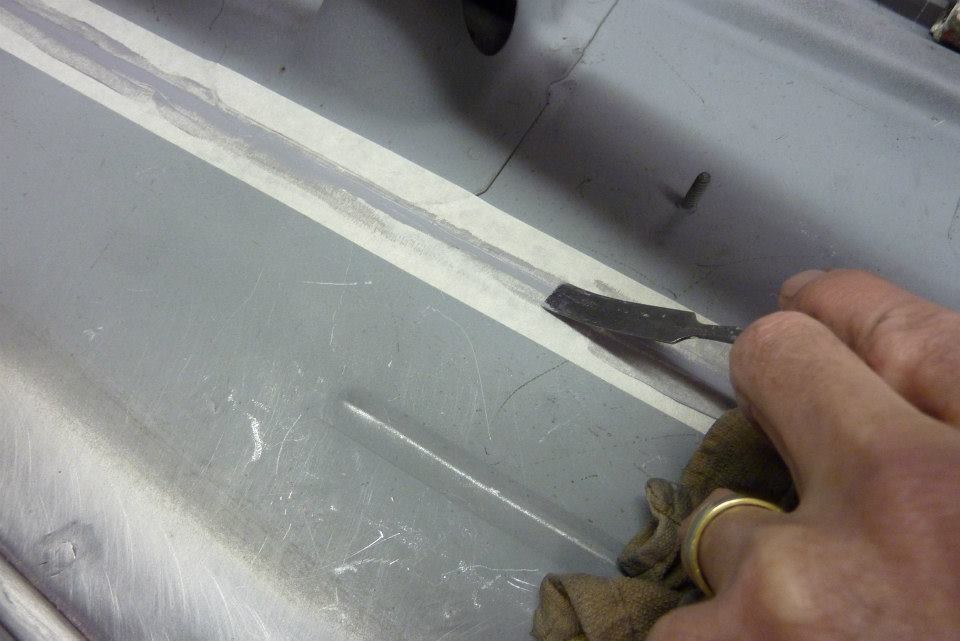
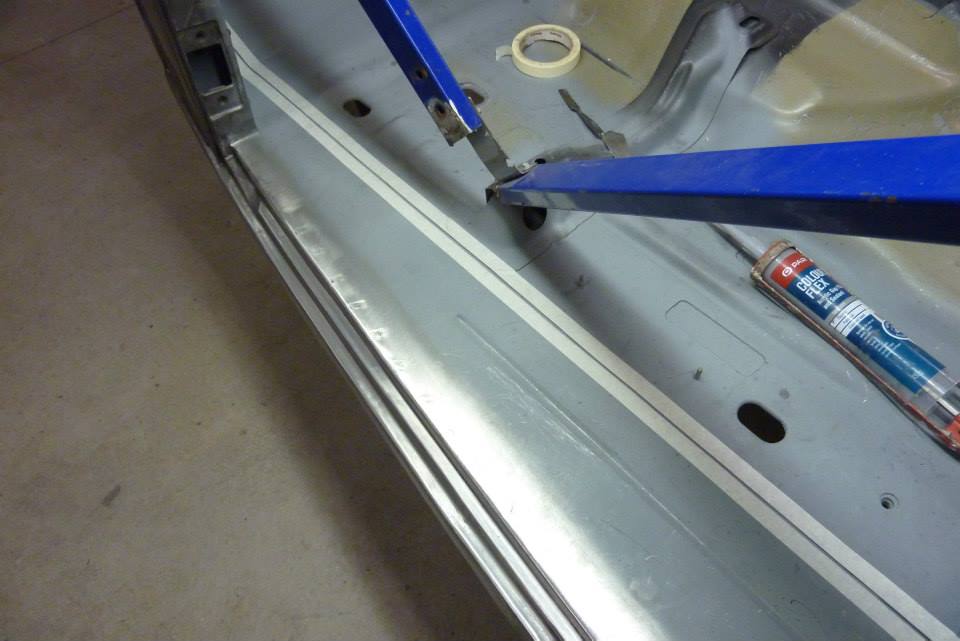
Run the sealant into the groove and then smooth it with a small spatula. I kept it moist with water as it is an acrylic, but silicons etc, I dip it in mineral turps or whatever they recommend for clean up. Try a scraping down until the tape edges show.
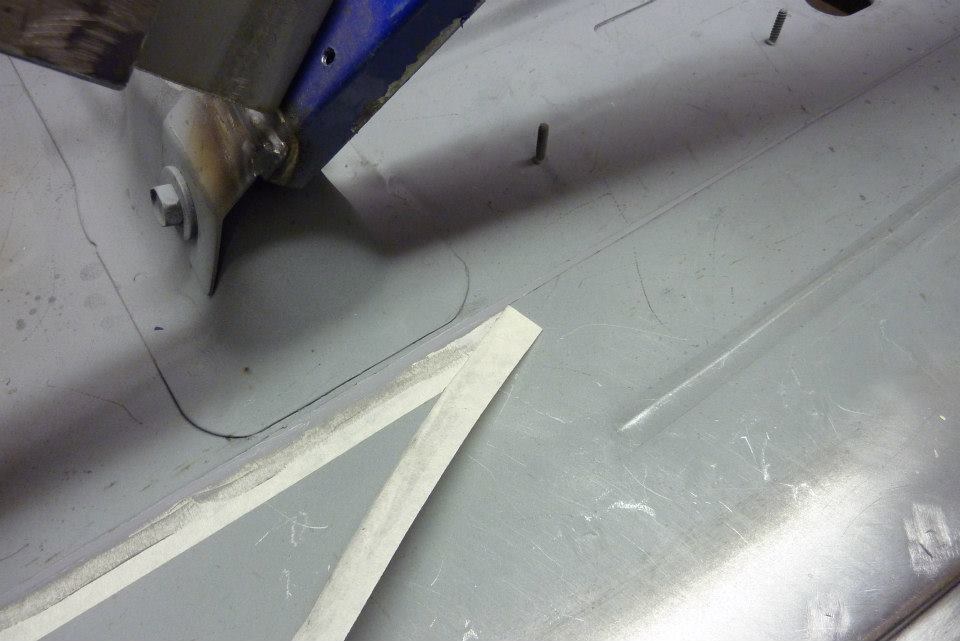
Quickly pull the tape before it dries. I get best results pulling back flat and away from the sealant.
Actually quicker this way as no clean up and looks better. Not that it really matter in this case, but no harm in practicing a good technique.

So that is the lower half done for now. I have shortened my trestle at the front so that it could be tack welded directly to the mounts. The rear is also on the mounts and is not supported anywhere else. I feel this gives me the best chance of simulating its position once it is bolted to the chassis and so door gaps etc stay the same. Will also allow me to bolt on the front guards too when the time comes.
Last edited by Gojeep; 03-08-2017 at 09:53 AM.
|
26-06-2015
|
|
LokRinger
|
|
Join Date: Jul 2002
Location: Victoria
Posts: 6,869
Likes: 788
Liked 1,754 Times in 556 Posts
|
|
Just a quick round down on the cab so far.
Last edited by Gojeep; 26-06-2015 at 07:20 PM.
|
26-06-2015
|
 |
DetroitDemon
|
|
Join Date: Jun 2009
Location: Casino
Posts: 4,801 What Jeep do I drive?: XJ
Likes: 5,510
Liked 1,325 Times in 717 Posts
|
|
|
Lookin mighty fine, Marcus.
Thanks for the video up-date....
I'm looking forwards to seeing the upper section done.
cheers
__________________

|
27-06-2015
|
 |
Lowranger Shocker
|
|
Join Date: Oct 2003
Location: Hobart TAS
Age: 62
Posts: 1,679 What Jeep do I drive?: CJ
Likes: 41
Liked 133 Times in 100 Posts
|
|
Nice work Gojeep, looking forward to following the upper cab work, always look forward to updates!
__________________
Not another V8!
|
| Thread Tools |
Search this Thread |
|
|
|
 Posting Rules
|
You may not post new threads
You may not post replies
You may not post attachments
You may not edit your posts
HTML code is On
|
|
|
|
All times are GMT +10. The time now is 02:01 PM.
|
|
|
|
 Advertisements
|
|
|
AJOR does not vouch for or warrant the accuracy, completeness
or usefulness of any message, and are not responsible for the contents of any
message. The messages express the views of the author of the message, not necessarily
the views of AJOR or any entity associated with AJOR, nor should any advice
be substituted as technical advice replacing that of a mechanic. You agree,
through your use of this service, that you will not use AJOR to post any material
which is knowingly false and/or defamatory, inaccurate, abusive, vulgar, hateful,
harassing, obscene, profane, sexually oriented, threatening, invasive of a person's
privacy, religious, political or otherwise violative of any law. You agree not to post any copyrighted
material unless the copyright is owned by you or by AJOR. The owner, administrators
and moderators of AJOR reserve the right to delete any message or members for
any or no reason whatsoever. You remain solely responsible for the content of
your messages, and you agree to indemnify and hold harmless AJOR, the administrators,
moderators, and their agents with respect to any claim based upon transmission
of your message(s). The use of profile signatures to intentionally mislead or misdirect any member on this forum is not acceptable and may result in your account being suspended. Any trip that is organised through the AJOR forum is participated
at your own risk. If you or your vehicle is damaged it is your responsibility,
not that of the person that posted the thread, message or topic initiating the
trip, nor the organisers of AJOR or moderators of any specific forum. This forum
and associated website is the property of AJOR. No user data is harvested and no information supplied in your registration will be sold for profit.
|


