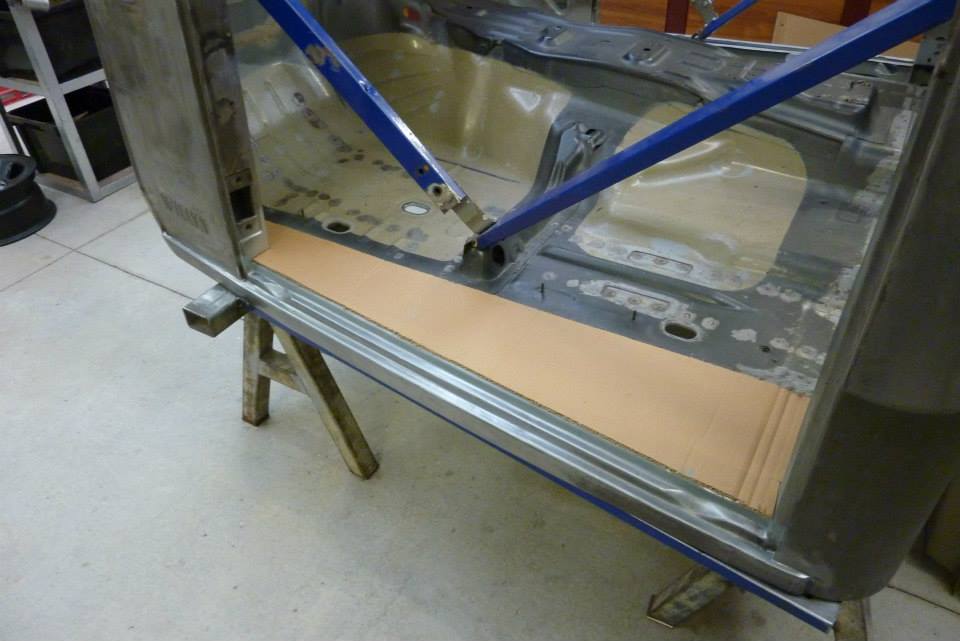
Time to finally fill in the floor. Just cut a quick cardboard template.

Added extra for the folds and a stepped flange to go under the donor floor.
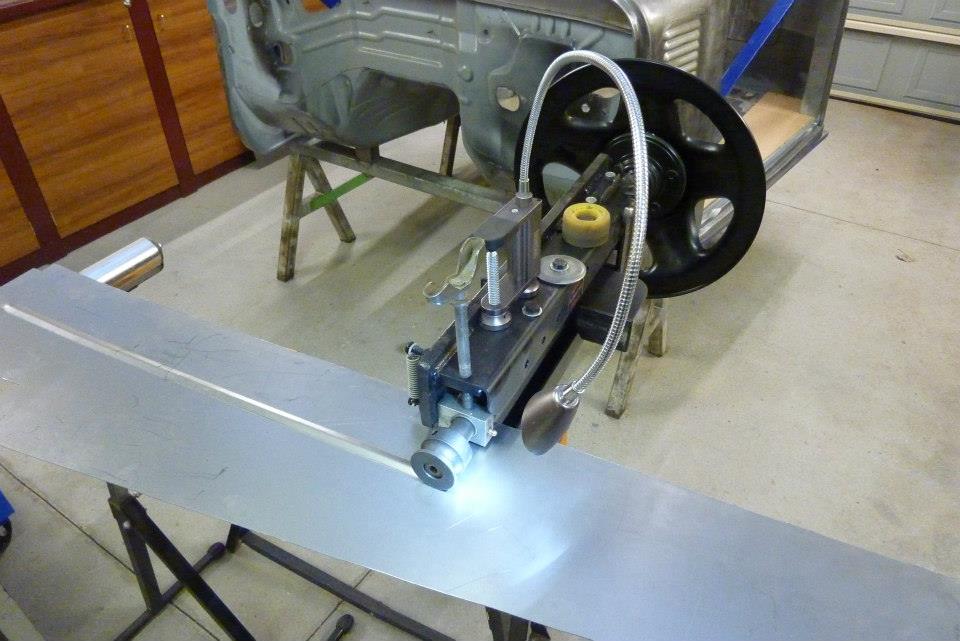
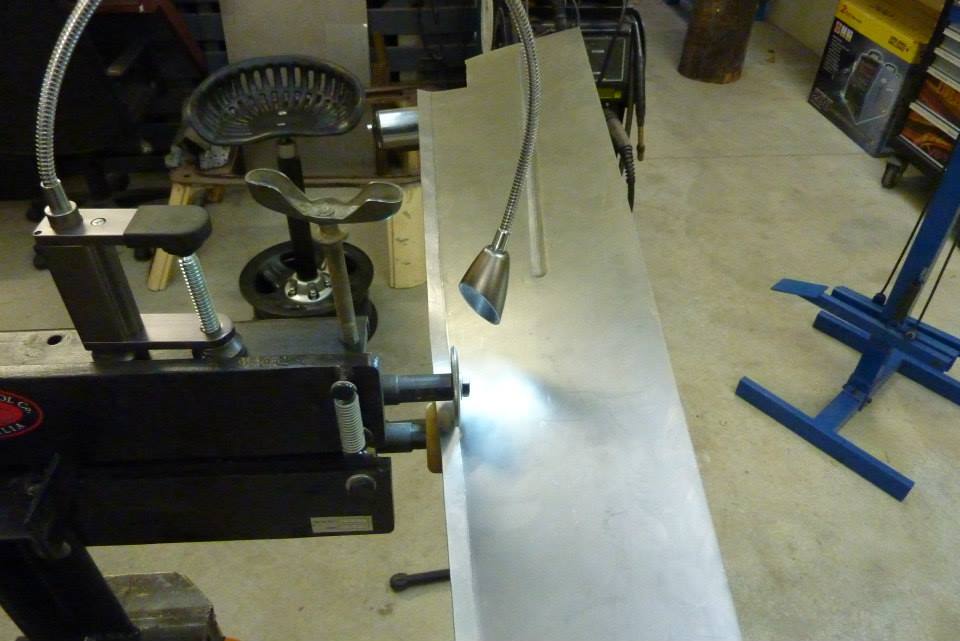
Found this LED light handy for following the line. Just sold in Bunnings as a barbeque light! They have a strong magnetic base or you can use the clamp.
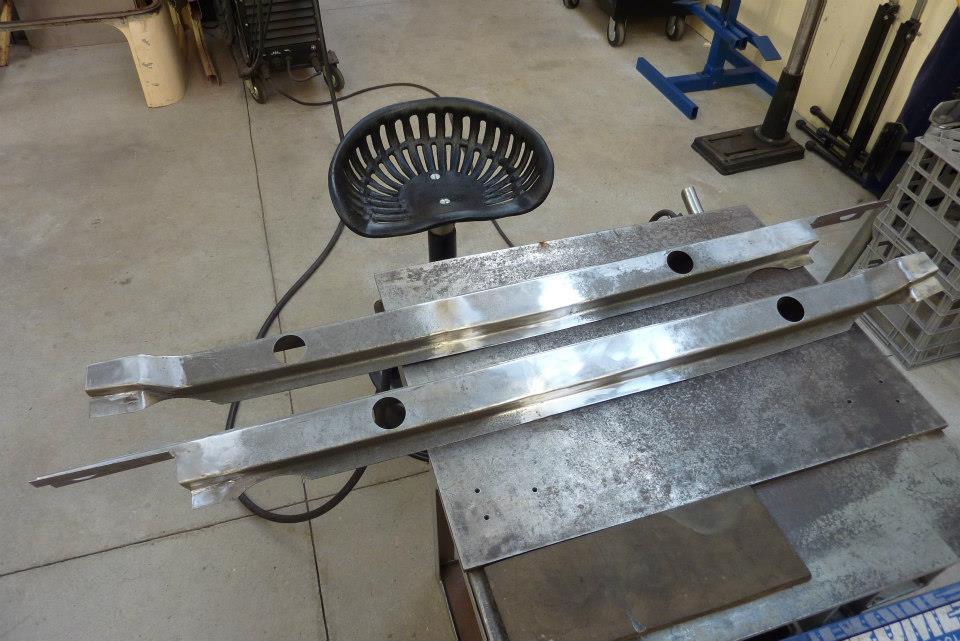
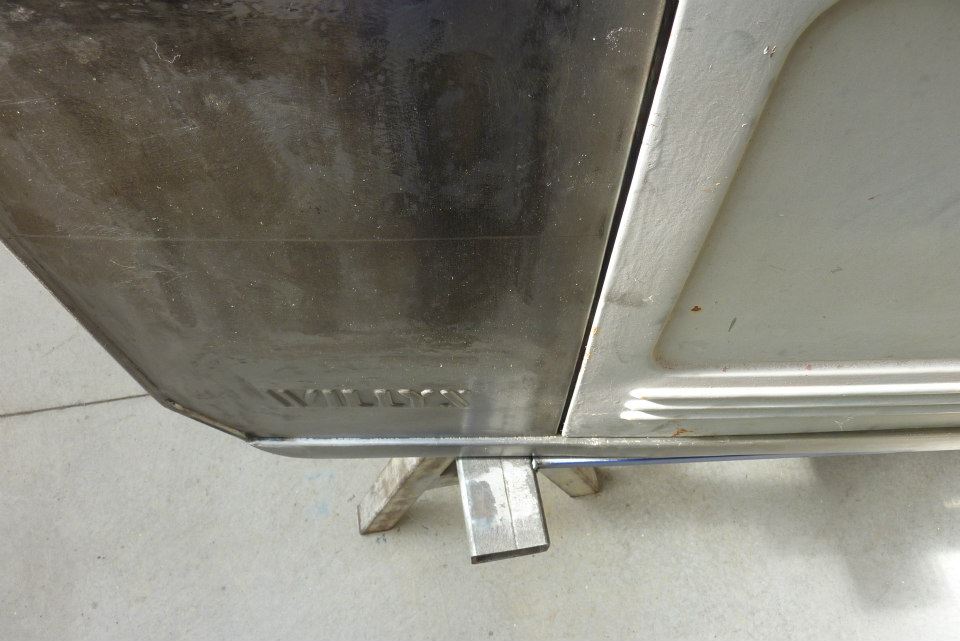
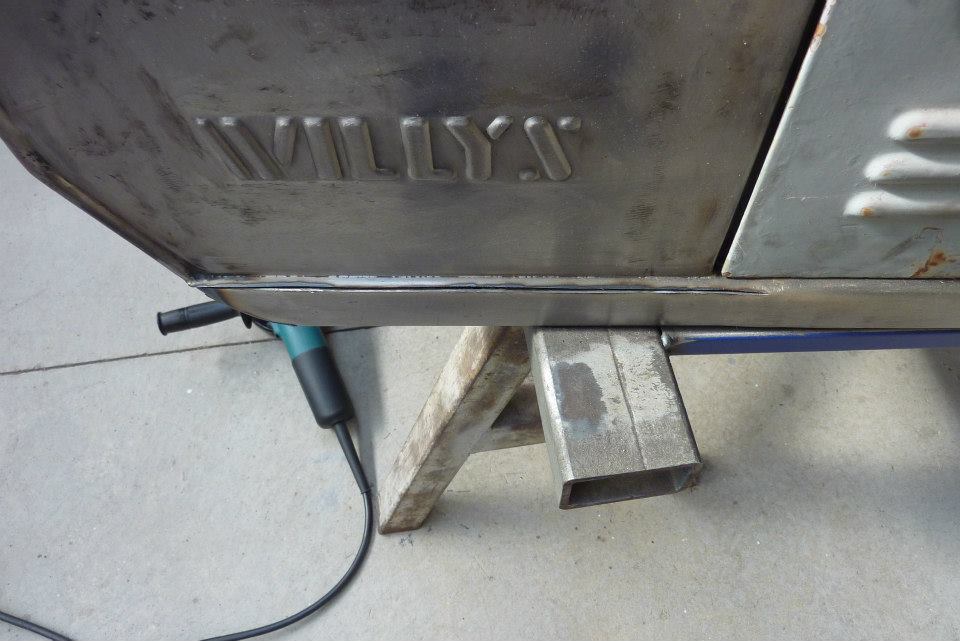
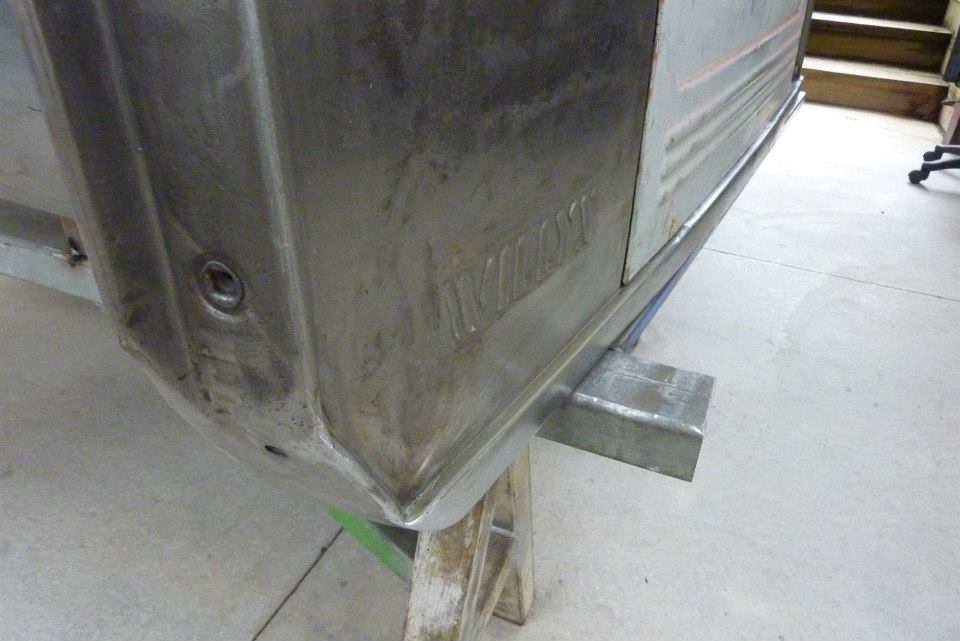
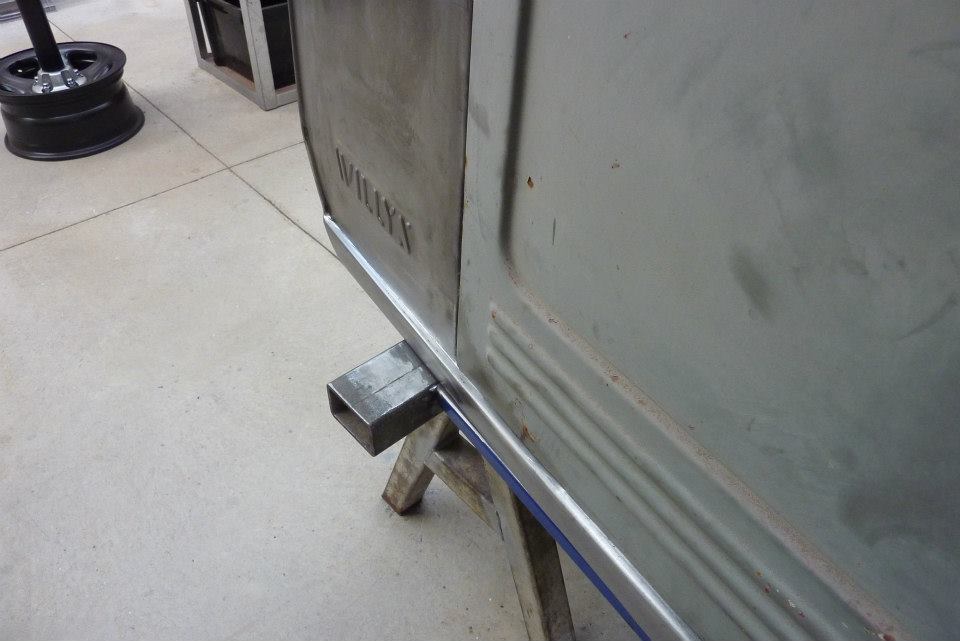
I will roll in a step flange along the edge where it tucks under the donor floor. There was already the same setup on this edge as this was where the donor door sill attached. Shows just how wide the Willys cabin has become.
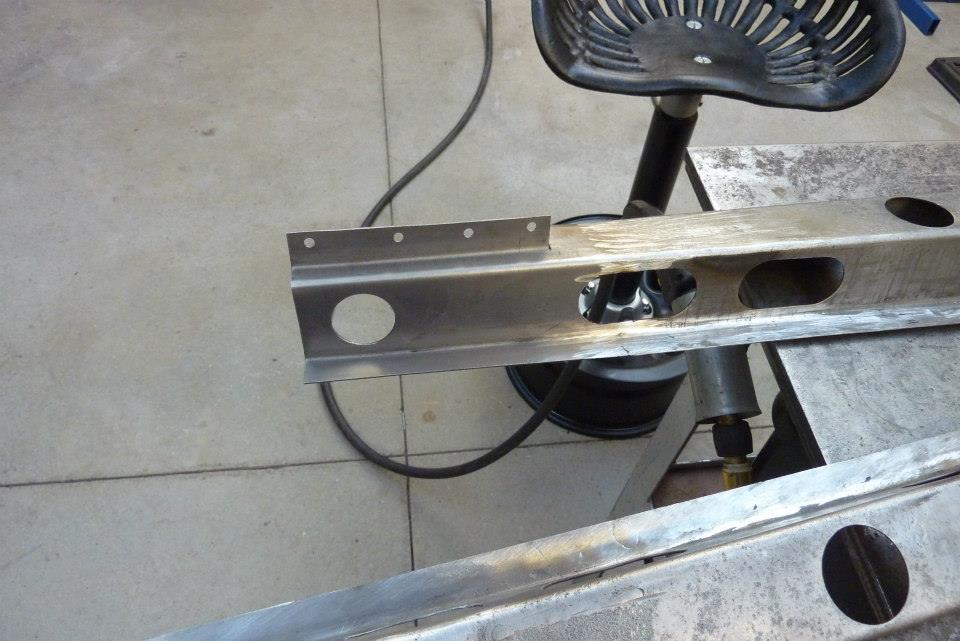
Using the bead roller I tipped the edge so it can be plug welded to the cowl stiffener. Used a shrinker to make the bends in the flange.
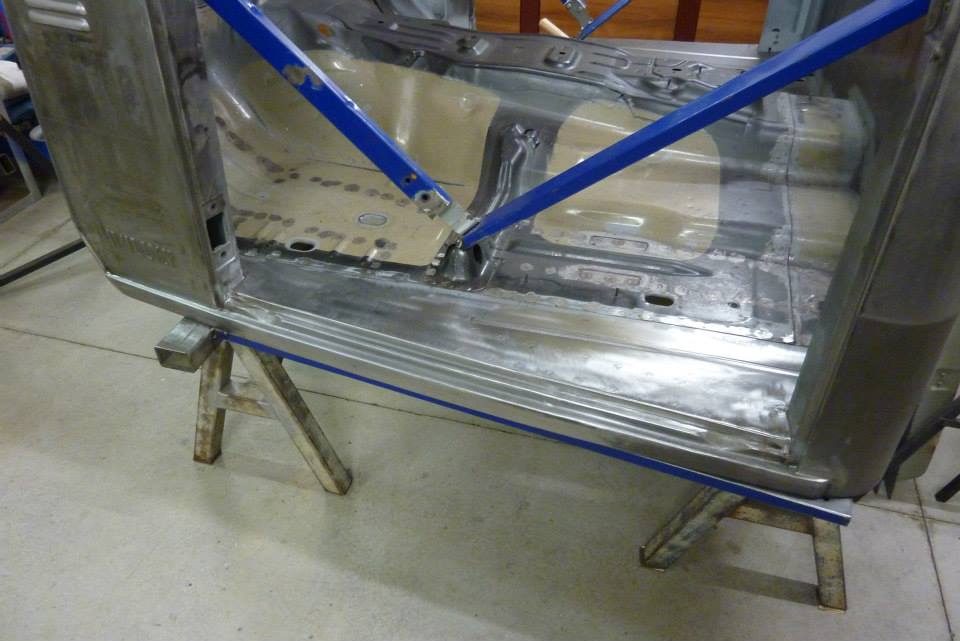
Tipping the edge of the floor over the door sill to give it extra strength. It has a slight curve all the way along so could not use a folder.
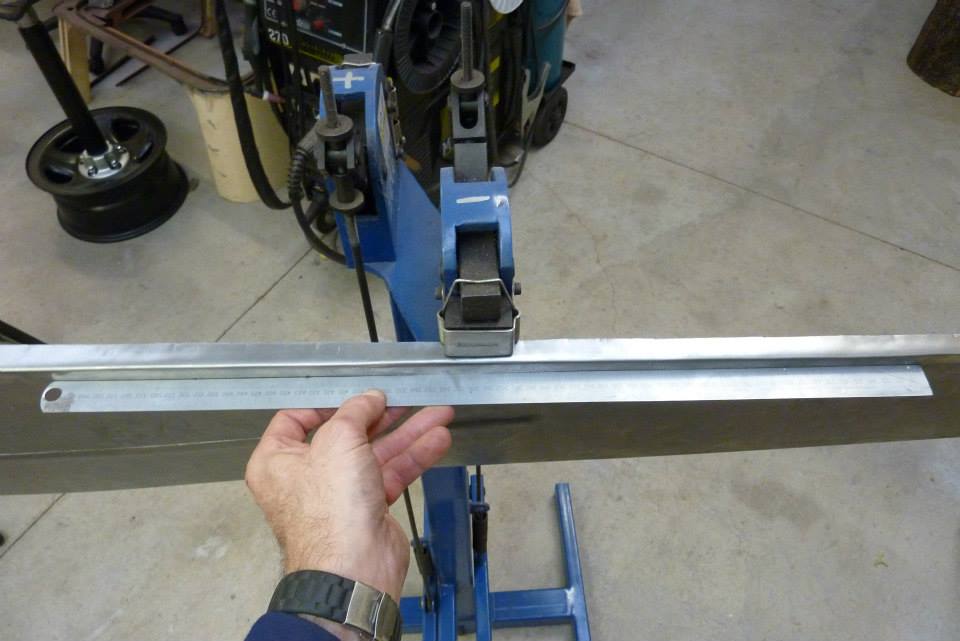
Had to straighten out the floor after tipping the edge due to the curve. I find it easier to hold a ruler along it while using the shrinker/stretcher so I know precisely where and how much to move it. The shrinker will bring it towards to the ruler and vice versa.
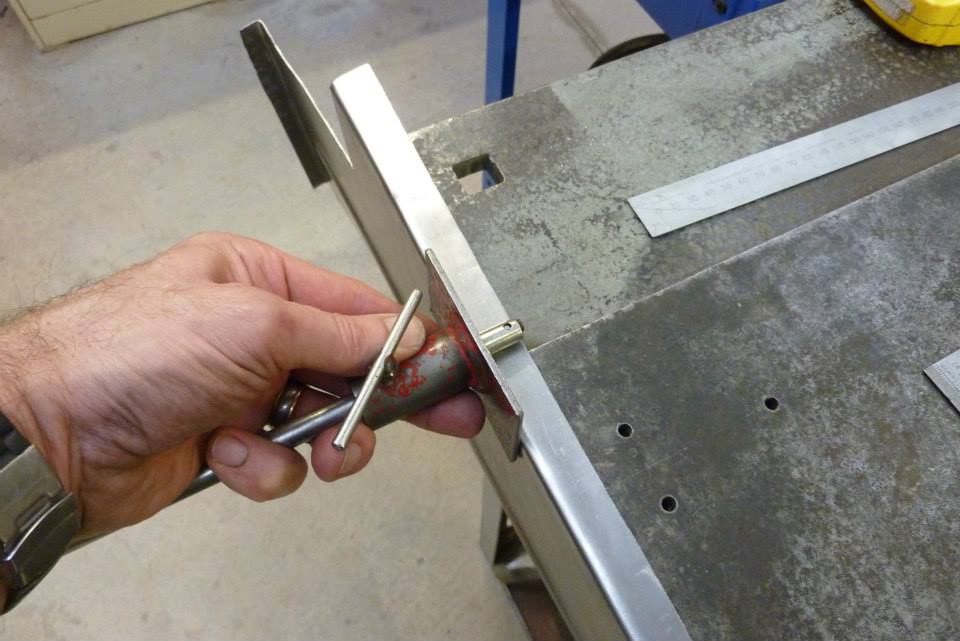
Used my old home made back gauge to mark where to trim off the excess.

And it didn't fit! It is out by the material thickness so wont sit down over the top of the sill. I had marked it with the panel sitting on the sill, but the pencil was on a bit of an angle and I didn't allow quite enough for that.

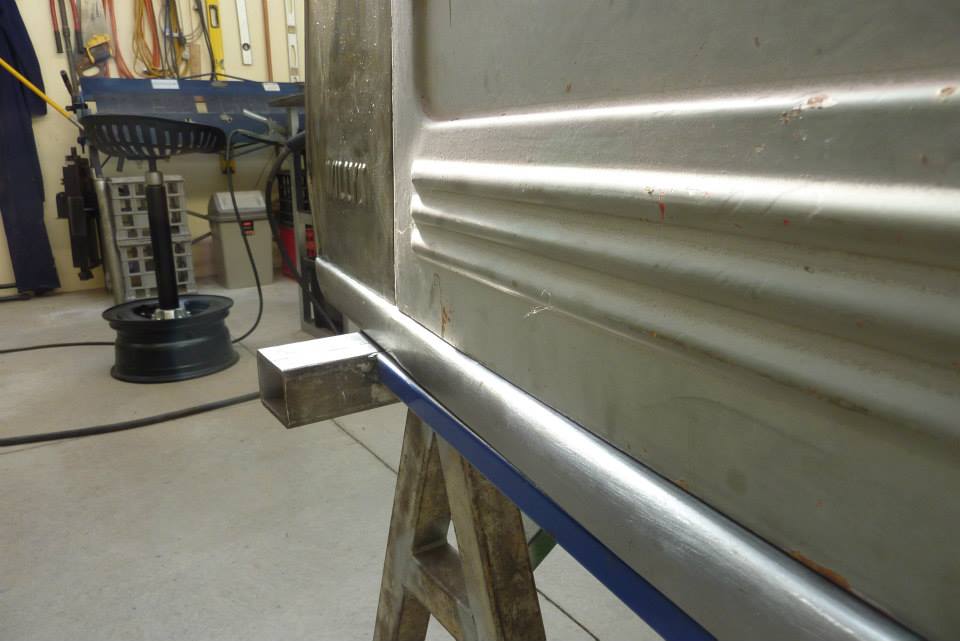
To move the fold I placed it on the edge of my table that I have radiused the edge of. As the radius was a bit bigger than that of the fold, I could hit down with glancing blows with a nylon headed hammer to move the fold. I use the nylon head so it does not thin and stretch the metal while doing it or leave many marks.
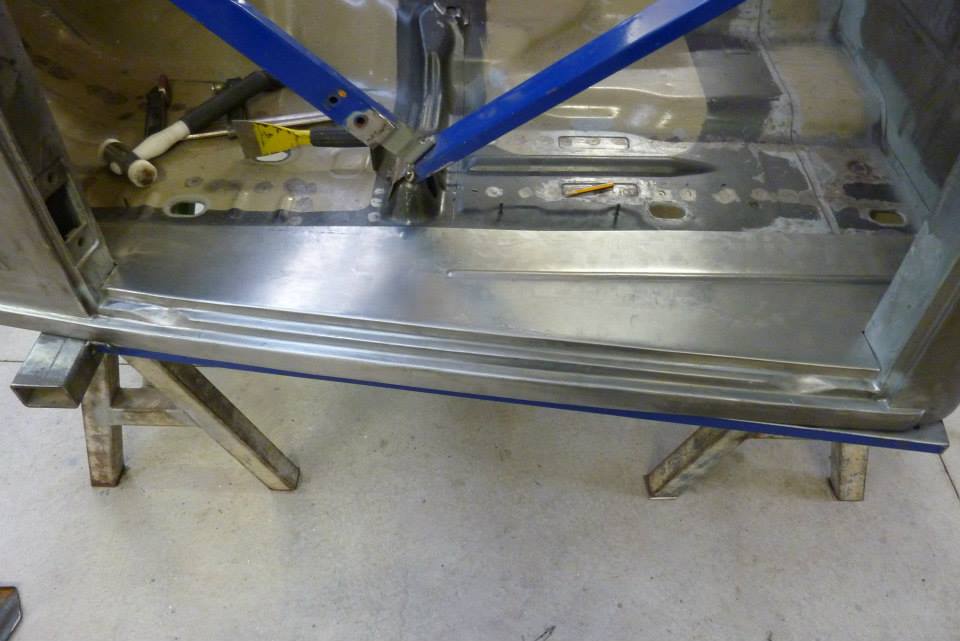
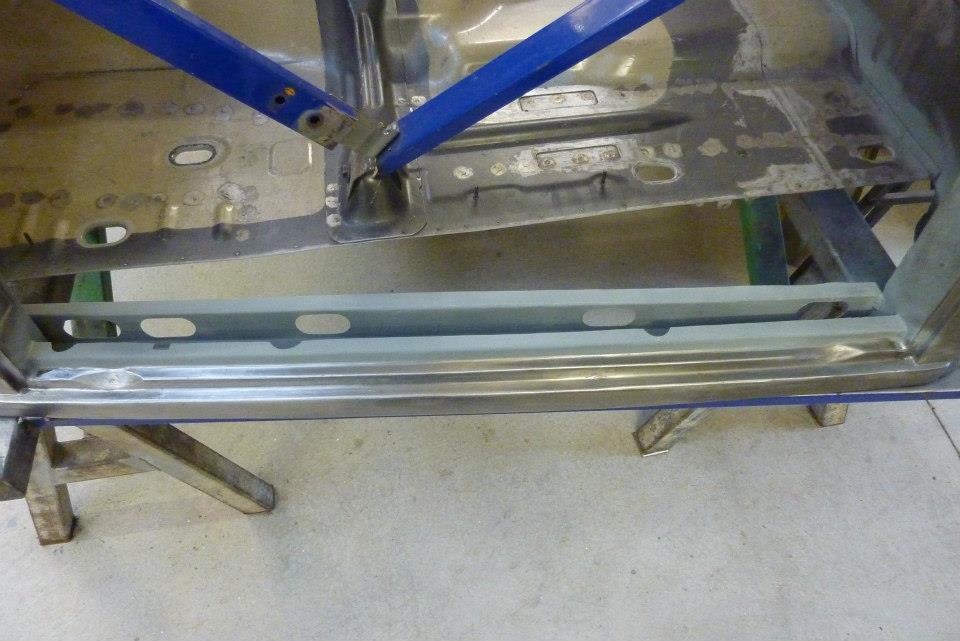
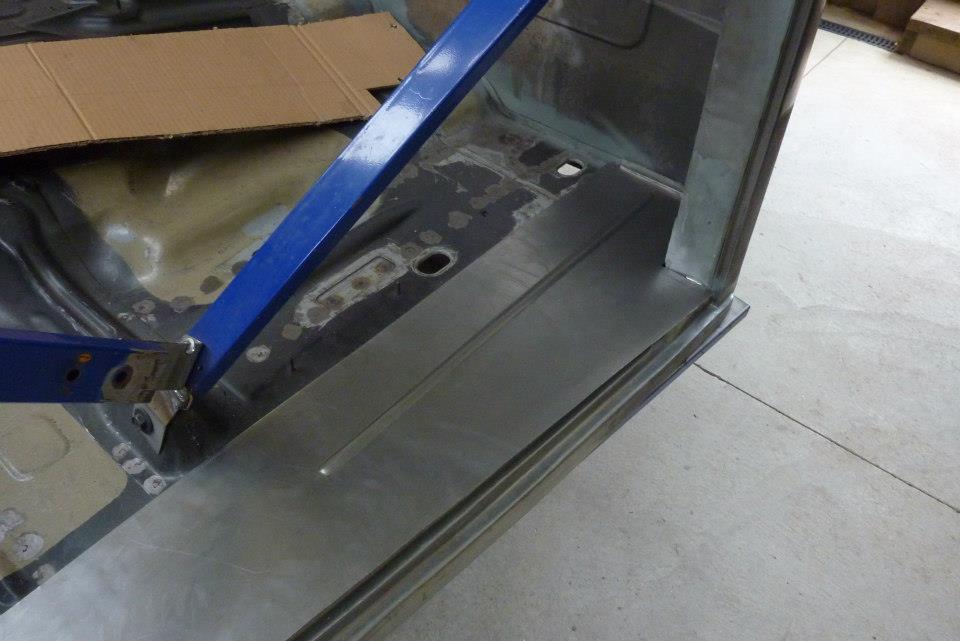
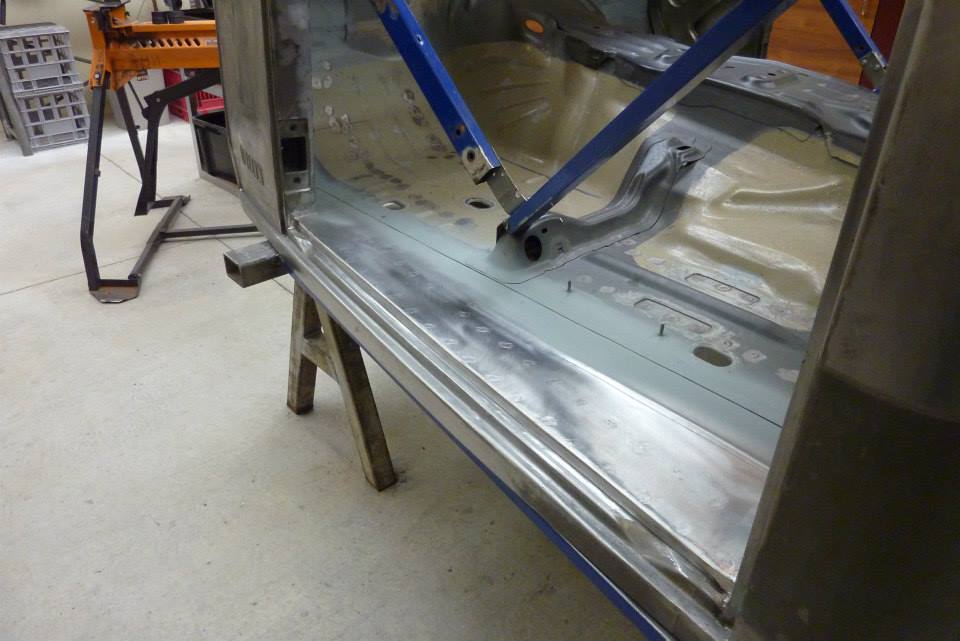
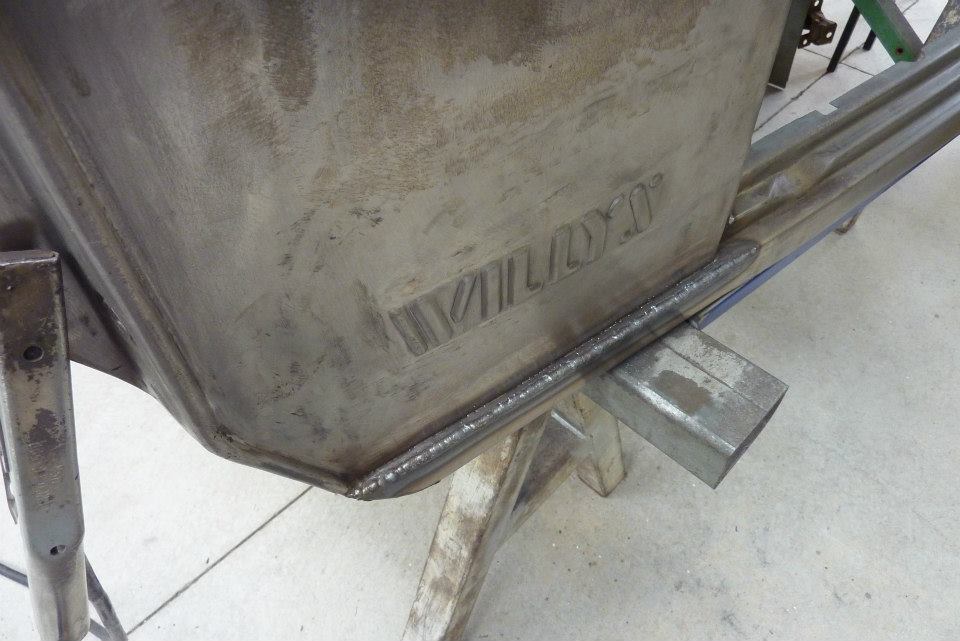
Now it fits perfectly. Next the panel will be coated in zinc primer where it tucks under the donor floor and also right along the underside.
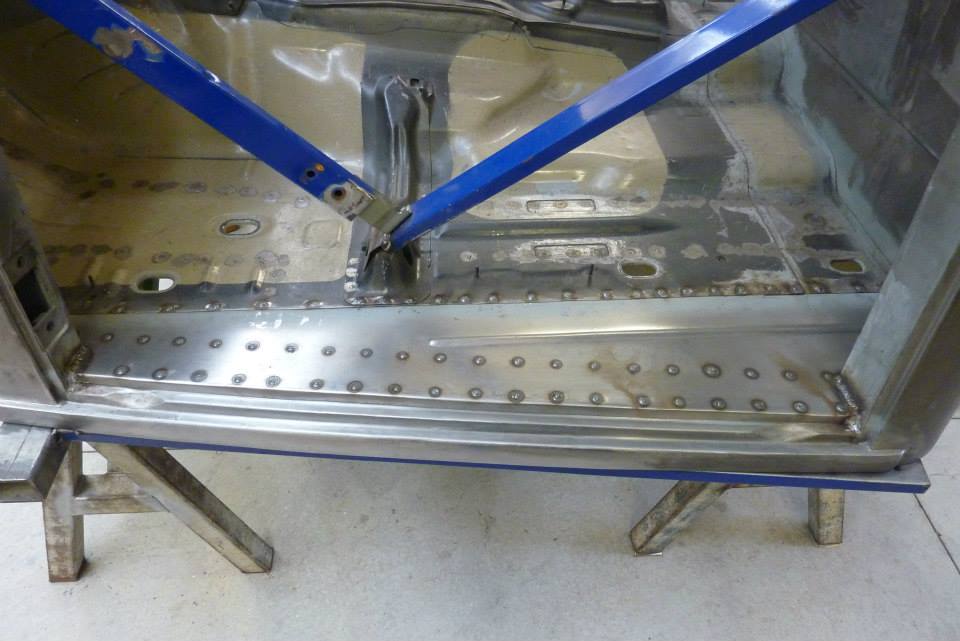
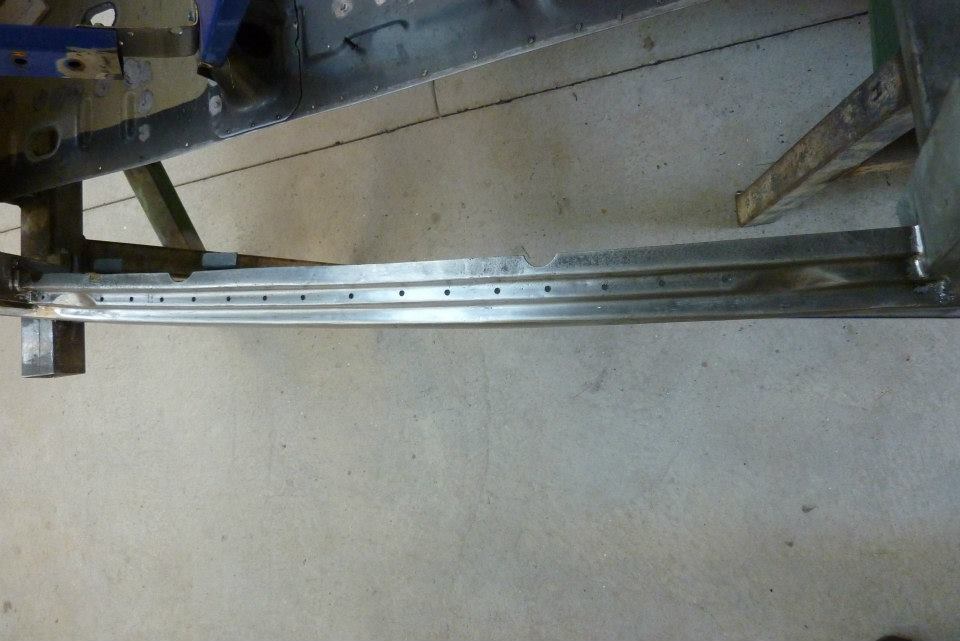
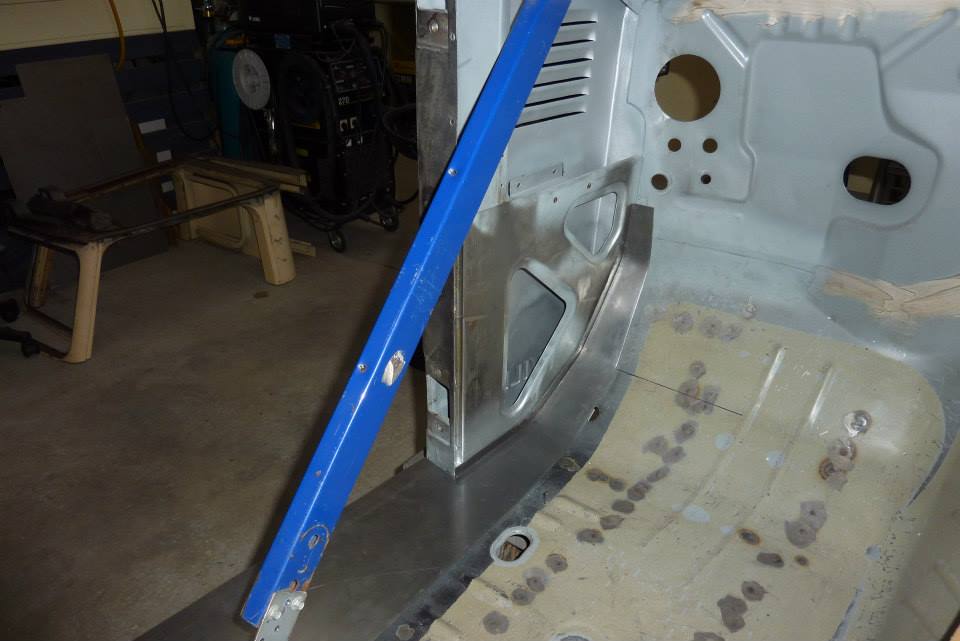
Plenty of plug welds are needed. The two rows at the front connect the sill support to the sill itself. This turns the sill channel into a boxed member adding much strength to it all. The plug welds along the donor floor were done where the holes already were from drilling out the original spot welds. Fully welded the floor to the A an B pillars as well just like the factory did for extra support.
I could have only sanded the front row of plug welds as the rest will end up under the carpet, but you know what I am like.

More zinc primer down and later will fully seam seal the joint top and bottom.


") Hope everything worked out OK
Hope everything worked out OK