Grand Willys Project - Page 205 - AUSJEEPOFFROAD.COM Jeep News Australia and New Zealand

Go Back   AUSJEEPOFFROAD.COM Jeep News Australia and New Zealand > JEEP GARAGE > Jeep build up
Register Forums Trading Your Jeep My Garage Mark All Read

Post New Thread  Reply
 
Thread Tools Search this Thread
  #1429  
Old 20-02-2019
Gojeep's Avatar
Gojeep  Gojeep is offline
LokRinger
 
Join Date: Jul 2002
Location: Victoria
Posts: 6,869
Likes: 788
Liked 1,754 Times in 556 Posts
Default

Just a small update but at least it is an update.


Won't go into much detail on this side stretching the guard length as it just the same as the other side. I did form the centre rib differently using this combination of dies.


Also will extend the cutout over further past the rib using the whole patch as much easier to planish the weld. Also notice the fatigue crack at the tip where it had thinned from rust over time.


I have shrunk the edge before tipping the flange in the bead roller so it keeps the contour.


Will finish the tipping just using a rounded cold chisel as a stake.


A bit of planishing over a shoe last.


Putting in a matching bead on the inner guard to match the stock one that was only on the opposite side. It extended above where my new panel was going so I quickly hammered in the rounded end by hitting up into the piece of water pipe using a small ball peen hammer.


Bead matched in well and the extended front guard is all done for the moment.


New tip piece was all TIG welded into place.


I have always noticed that it looked like the guards splayed outwards towards the front. As in the outside of the guards are not parallel to each other.


Marking the same distance in from the edge front and rear showed I had to push them inwards at the front an inch each side to get them parallel.


When you look along the side now it looks much better. But I don't want to just make the new grille 2" narrower and loose engine bay width. Also the front of the bonnet pieces wont line up if I do it that way. So will narrow the guards along the inner edge instead. I am reworking them later anyway.
__________________
Cheers, Marcus.

My web site:
http://willyshotrod.com Over 5'000 Club
Likes: (5)
  #1430  
Old 23-02-2019
CJ6np435's Avatar
CJ6np435  CJ6np435 is offline
Lowranger Shocker
 
Join Date: Oct 2003
Location: Hobart TAS
Age: 62
Posts: 1,679
What Jeep do I drive?: CJ
Likes: 41
Liked 133 Times in 100 Posts
Default

whooo hoo back in business, balance has been restored....
__________________
Not another V8!
Likes: (1)
  #1431  
Old 23-02-2019
Gojeep's Avatar
Gojeep  Gojeep is offline
LokRinger
 
Join Date: Jul 2002
Location: Victoria
Posts: 6,869
Likes: 788
Liked 1,754 Times in 556 Posts
Default


So this grille I had already added two extra grille slots too making it 130mm/5" wider than stock. But the firewall is 230mm/9" wider so adding the rest between the headlights and the grille.


Tacked on the 50mm/2" wider strip for a look, but looks rather 'tacked' on rather than a factory look and a bit unbalanced between the headlight and the grille.


Then I thought maybe adding a bead the same width as the ones in the doors might help. It will end up in the middle between the edge of the headlight trim and the side of the grille.


The ends of the beads were quite distorted so the rusty bit of 3/4" water pipe fixed it. Lined up the ends of the pipe up with the mark where I stopped the beads and gave it a good hard whack while it was clamped down to the bench.


Think that works for me at least.


Planished the weld out to stretch the shrinkage from the weld over one of my home made stakes.


This time I removed the weld through coating this strip of steel had before wheeling it and then running the bead. Looks polished!


Just using a tiny bit of 0.9mm/.035 mig wire while fuse welding so the weld will disappear afterwards without thinning the metal. Very little to grind and even less after the first planishing straight after welding and before grinding.


Back together again 230mm/9" wider than stock.


First time I have seen the grille bolted to the guards in 10 years!


Bit of an idea what it will look like once the bonnet is made for it.


I did wonder what it would look like tilted back like the JK's have, but not a fan of the look on this.
__________________
Cheers, Marcus.

My web site:
http://willyshotrod.com Over 5'000 Club
Likes: (5)
  #1432  
Old 24-02-2019
CJ6np435's Avatar
CJ6np435  CJ6np435 is offline
Lowranger Shocker
 
Join Date: Oct 2003
Location: Hobart TAS
Age: 62
Posts: 1,679
What Jeep do I drive?: CJ
Likes: 41
Liked 133 Times in 100 Posts
Default

GoJeep have you thought of moving the head light holes in and down a bit?
__________________
Not another V8!
  #1433  
Old 24-02-2019
Gojeep's Avatar
Gojeep  Gojeep is offline
LokRinger
 
Join Date: Jul 2002
Location: Victoria
Posts: 6,869
Likes: 788
Liked 1,754 Times in 556 Posts
Default

Quote:
Originally Posted by CJ6np435 View Post
GoJeep have you thought of moving the head light holes in and down a bit?
I did and what my wife suggested too, but need the clearance to the side of radiator tanks. One of the reasons I went full width with the grille too.
__________________
Cheers, Marcus.

My web site:
http://willyshotrod.com Over 5'000 Club
Likes: (2)
  #1434  
Old 25-02-2019
bodgie's Avatar
bodgie  bodgie is offline
Rock Munki
 
Join Date: Aug 2009
Location: Castle Hill, NSW
Posts: 2,136
What Jeep do I drive?: WG
Likes: 11
Liked 300 Times in 245 Posts
Default

It would possibly look a little better with the headlights moved down a little, but I think the compromise of space/practicality is way more important.

The bead you added offsets the need to do this IMHO, I think it'll look pretty good when it's painted and fitted with the headlights etc.

To me, it looks like you need to lengthen the bonnet a little bit to make it all work if so that should be fun.
Likes: (1)
  #1435  
Old 02-03-2019
Gojeep's Avatar
Gojeep  Gojeep is offline
LokRinger
 
Join Date: Jul 2002
Location: Victoria
Posts: 6,869
Likes: 788
Liked 1,754 Times in 556 Posts
Default


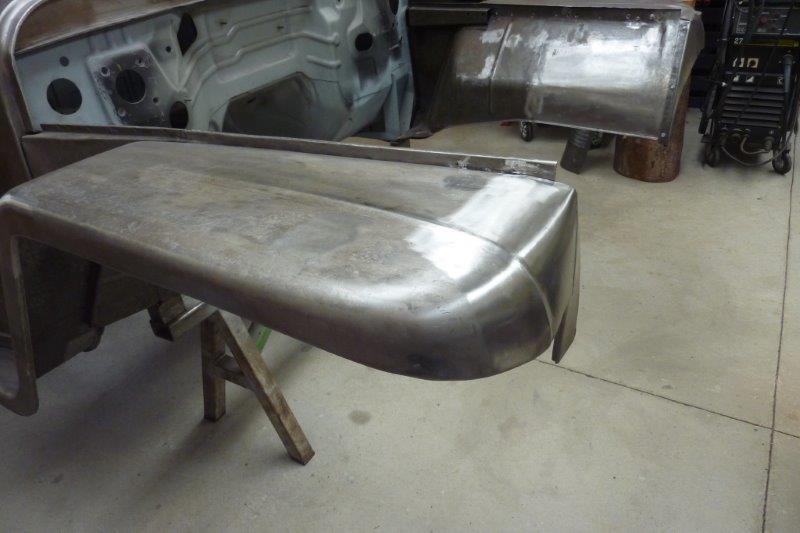
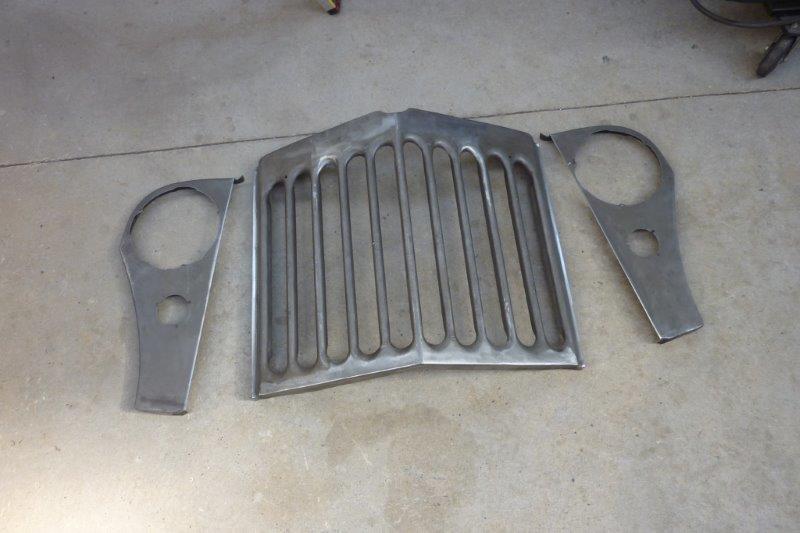
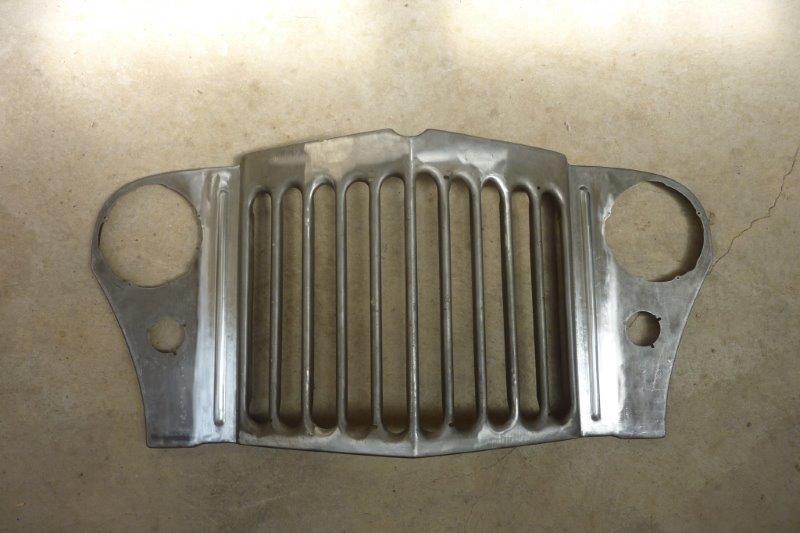
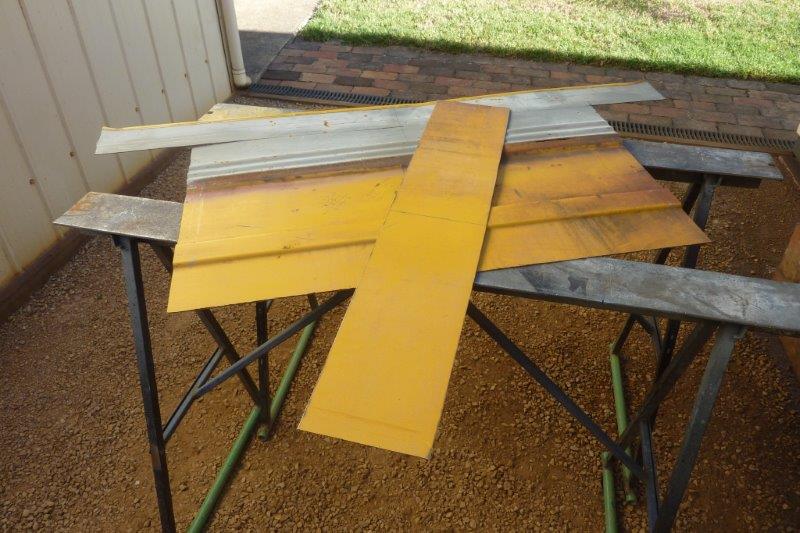
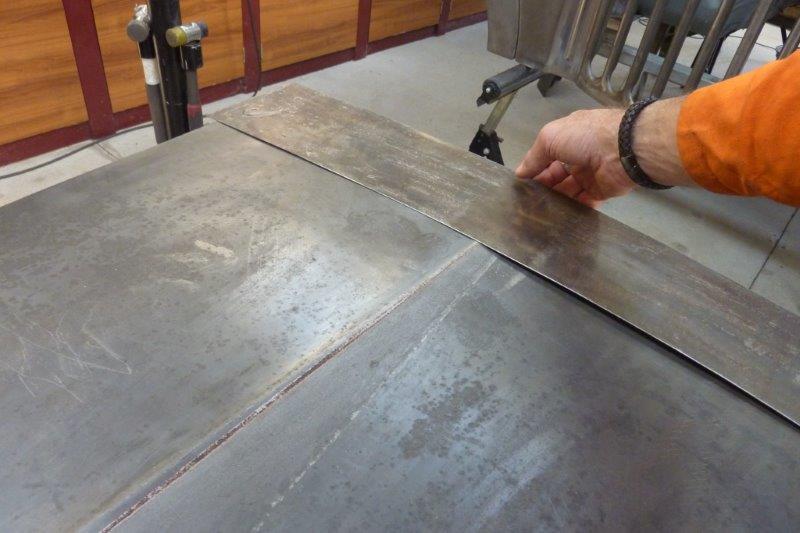
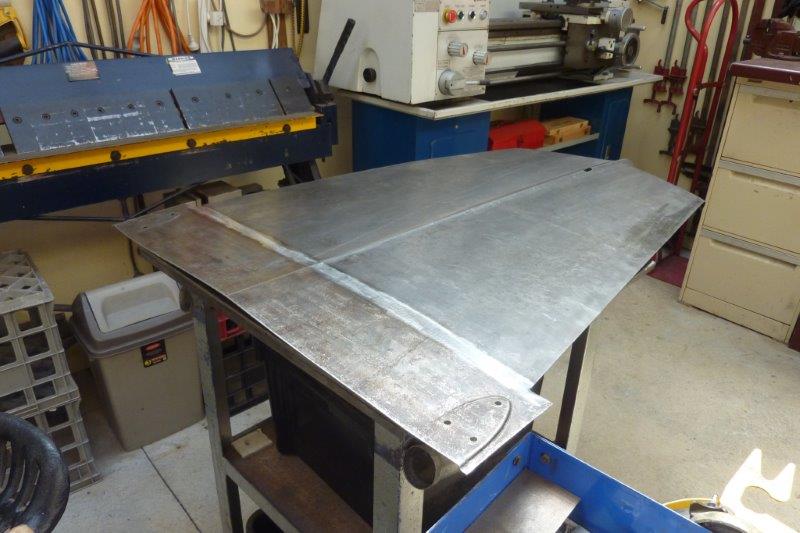
Need to lengthen the bonnet due to the guard stretch and the wider V of the grille centre. I cut some from the old rear wall left over from the 58 cab.


I cut it with some arc and then ran dividers between the cowl and the piece and cut along that line to get the right edge shape.


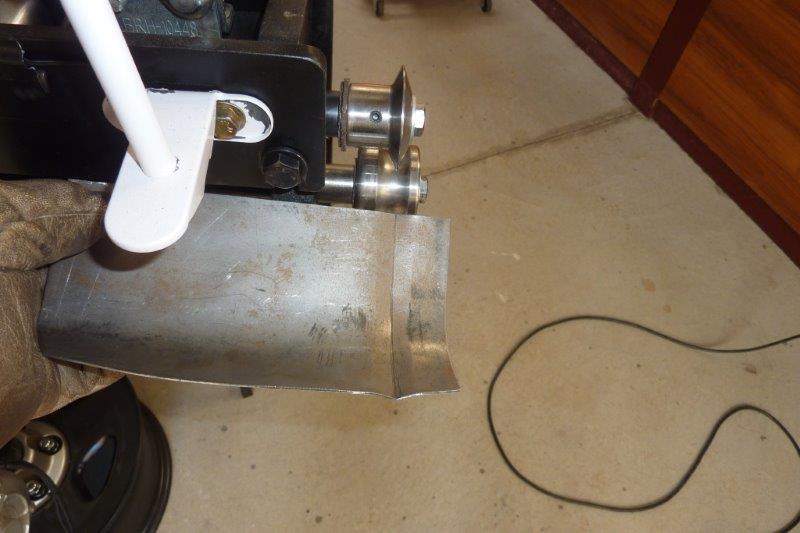
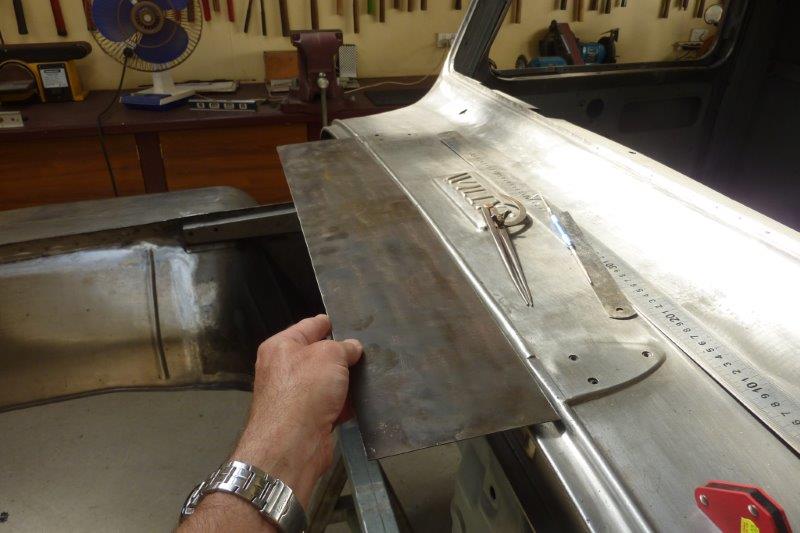
The factory edge was folded back over on itself. This is as far as I can tip it on the bead roller. I have also shrunk the edge a little knowing that it will need that once it is flattened due to the direction of the slight arc of the edge.


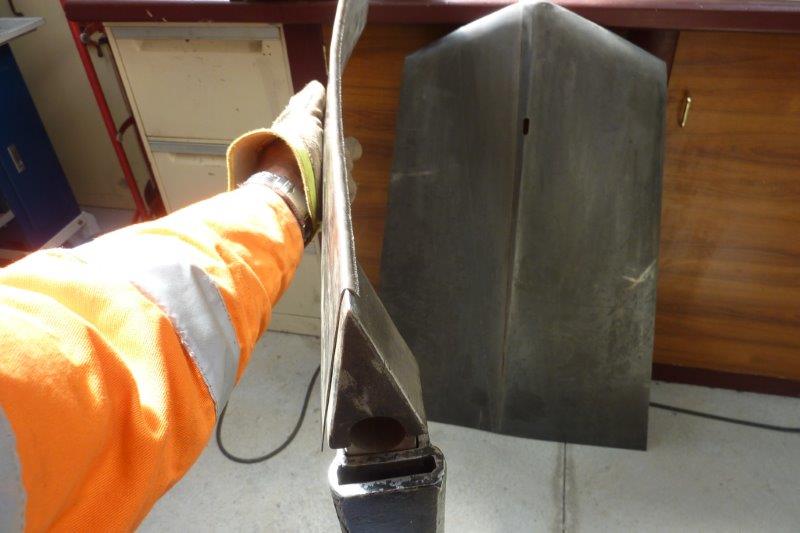
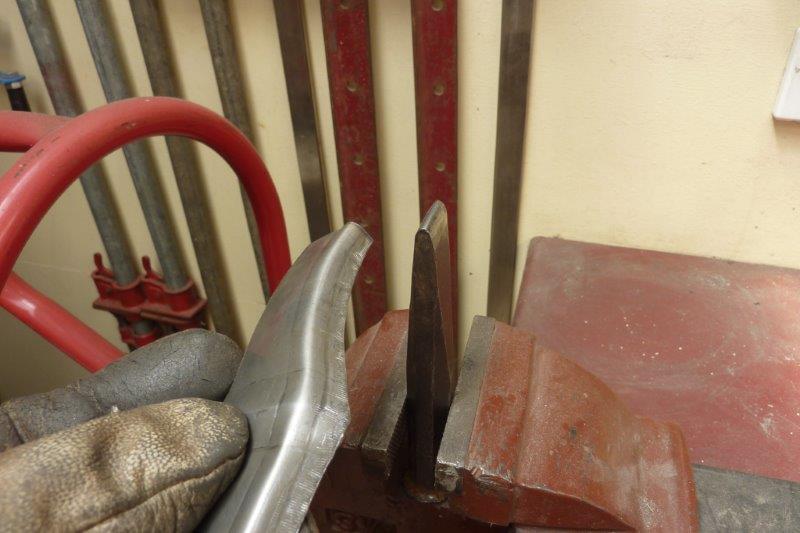
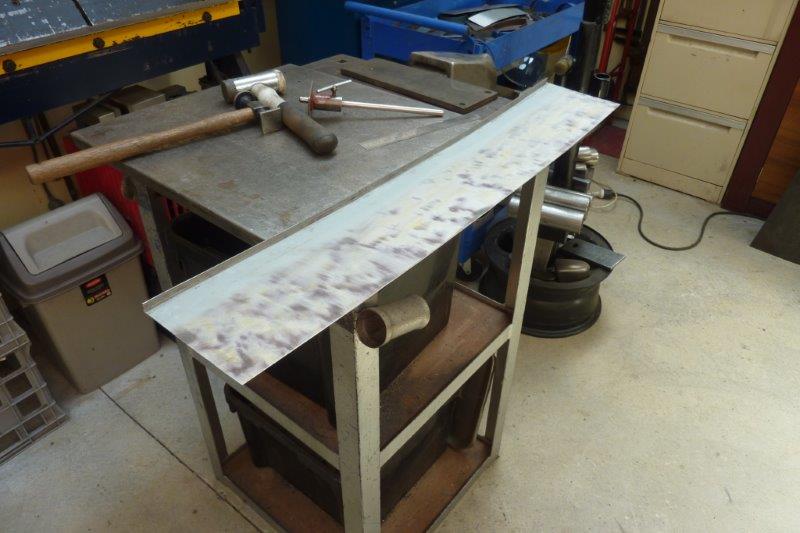
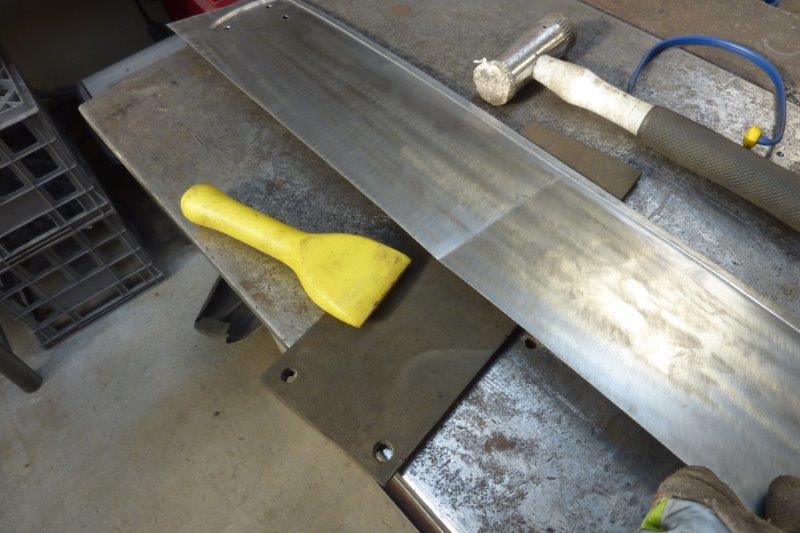
To take the fold further, I hammered it over my modified wood splitter head. It was then given a fresh coat of galvanised paint under the fold.


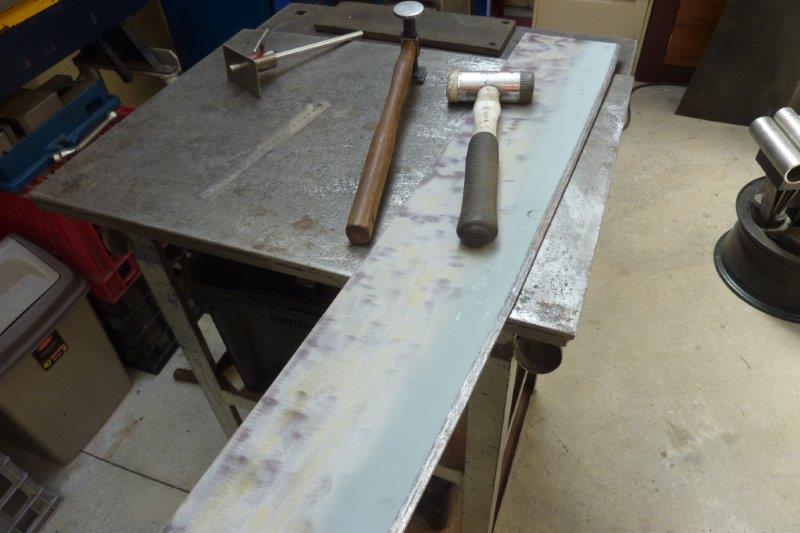
Just hammered over the bench first with the mallet and then the body hammer. Also a few passes through the english wheel to get it dead even quickly.


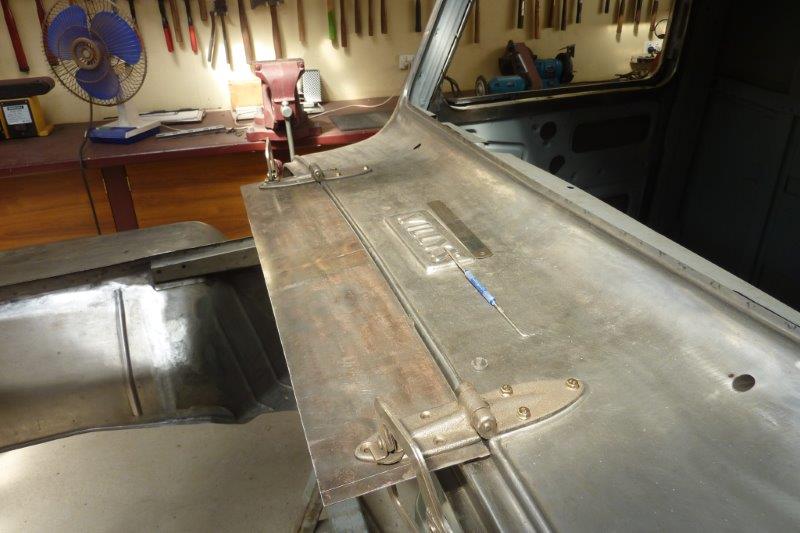
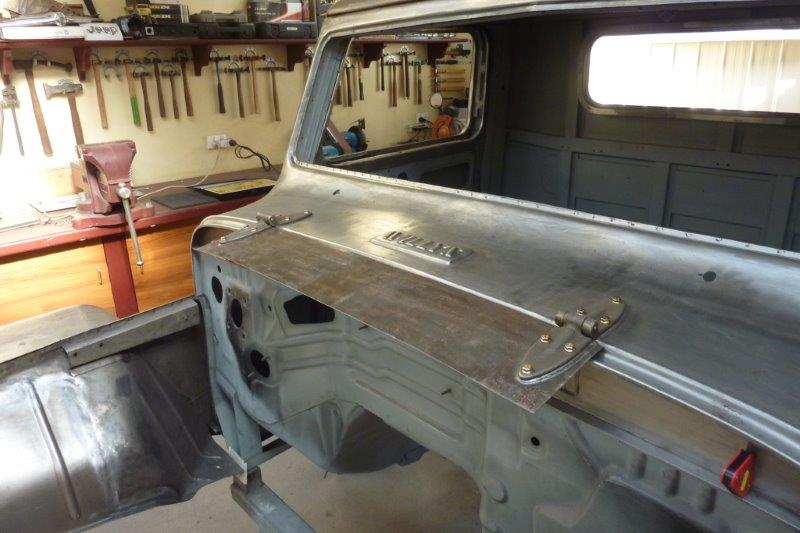
Next the cast FJ Land Cruiser hinges were bolted back on and the piece was clamped on with the right gap and centred. Holes and hinge positions scribed.


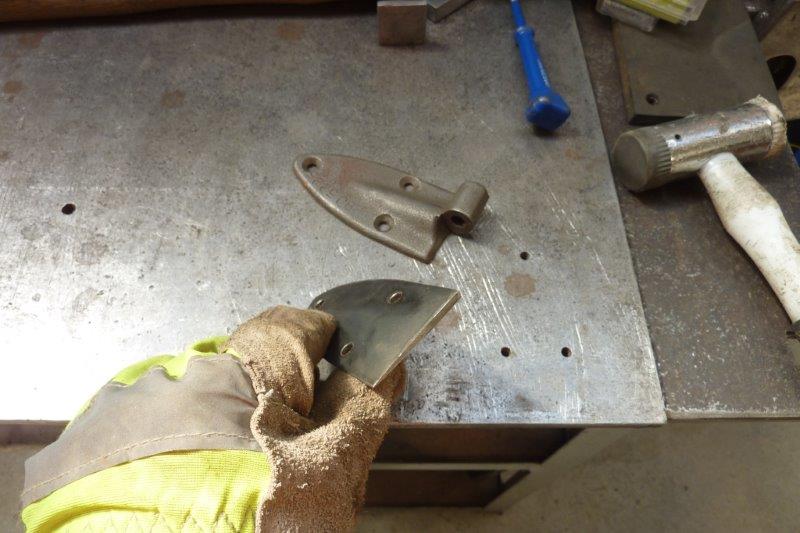
This is the same wedge I made for the cowl to make the hinge bases level on the rounded cowl. The same needs to be done for the bonnet to stop binding.


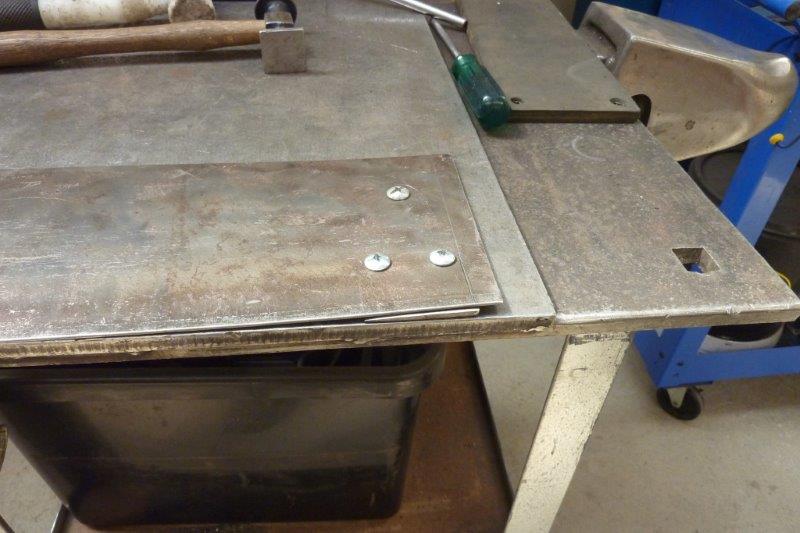
The wedge was bolted down to the table along with the extension piece.


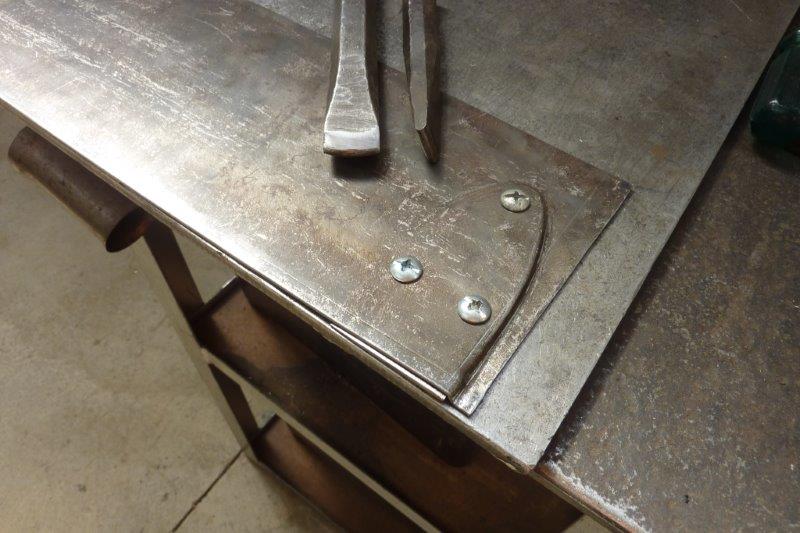
Just quickly chased around the wedge with rounded cold chisels.


Bolted in and the hinges stay level even though the bonnet curves.


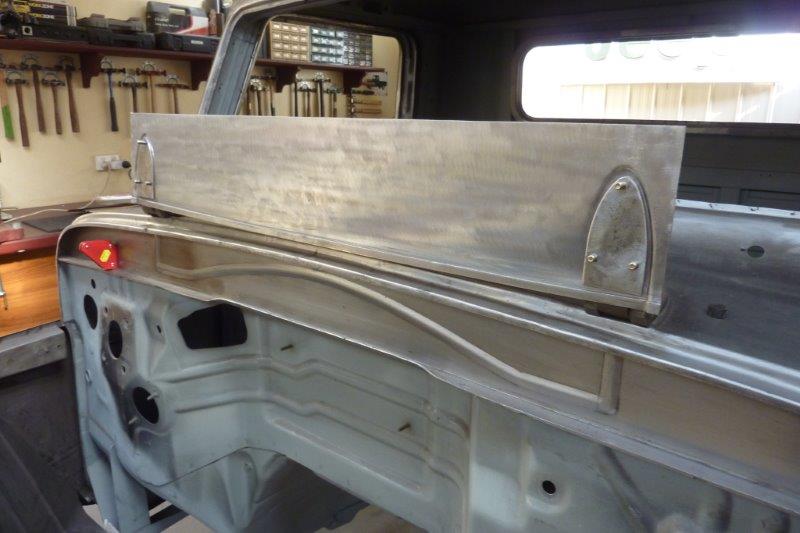
Made some nut plates for underneath, the same as I did under the cowl. These will do for now as not sure if I will run them as normally bolted through the bonnet support.


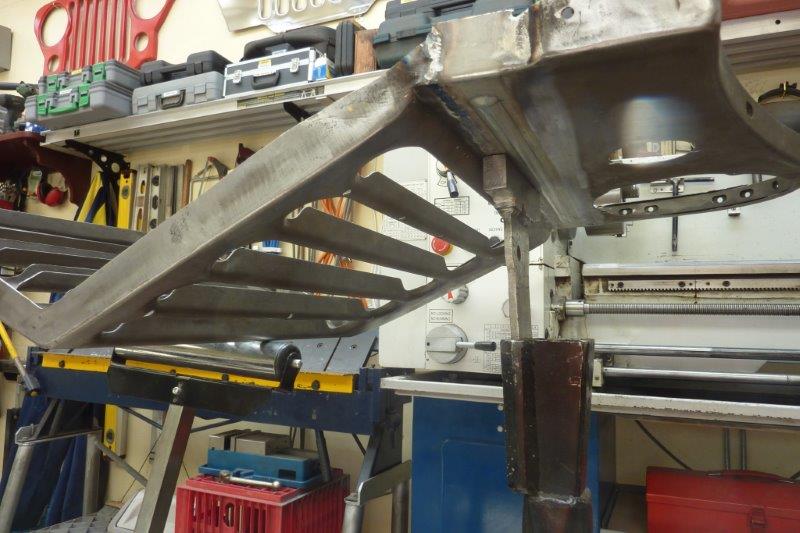
Need to match the centre rib of the bonnet.


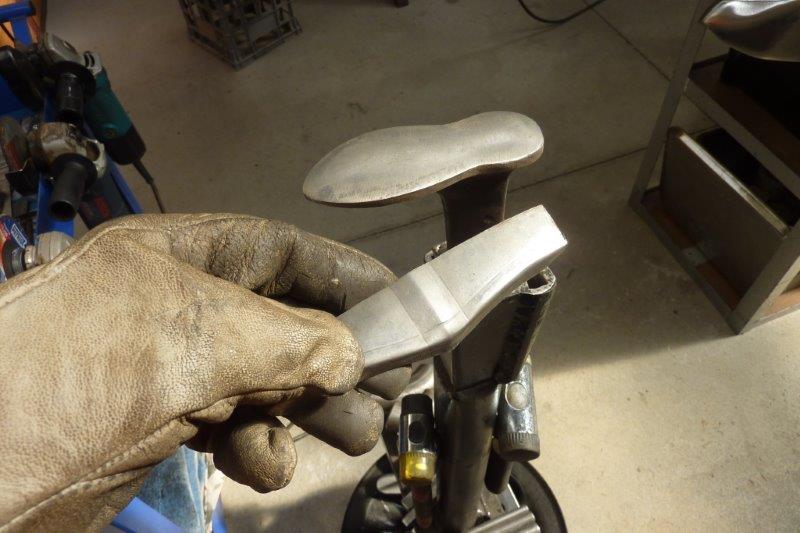
I started the rib by hammering into the rubber with the nylon bolster to get the softer shape. Then finished stretching the rib with a steel bolster.


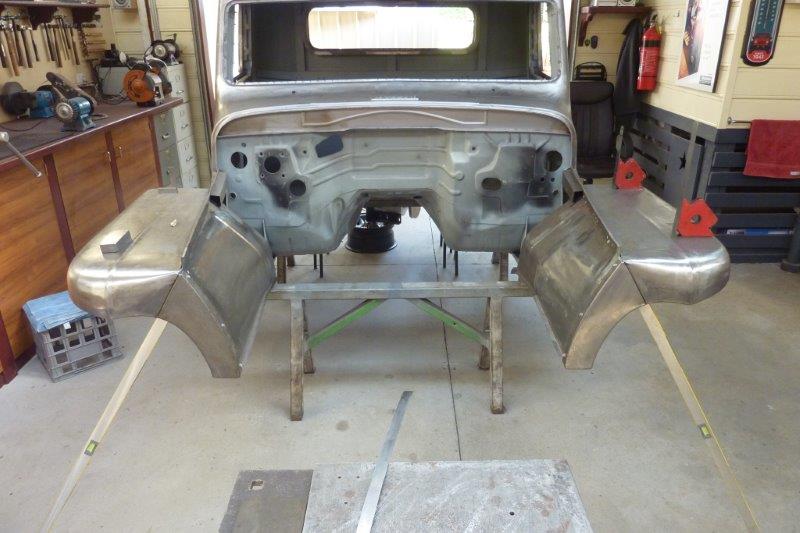
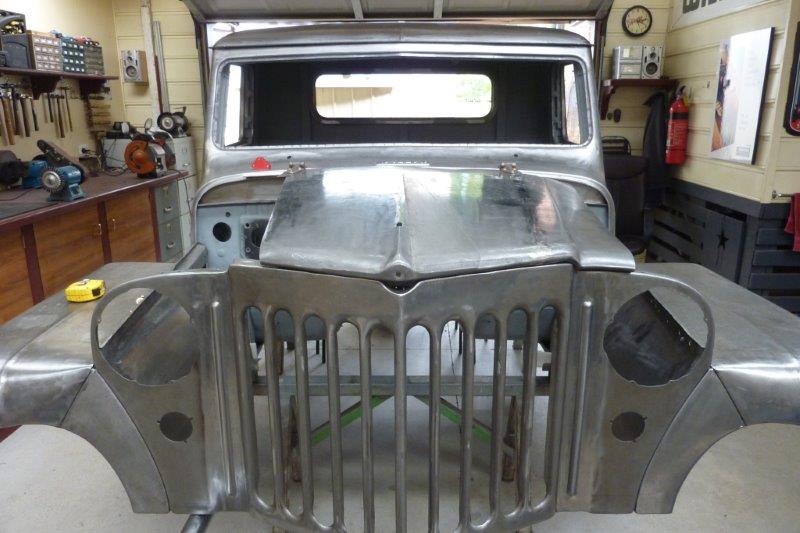
Double checked with cross measuring that the grille was perfectly centred and then adjusted the bonnet until the centre rib lined up with the middle of the grille and the cowl. Also that it had the correct overhang on the grille and then scribed where to cut.


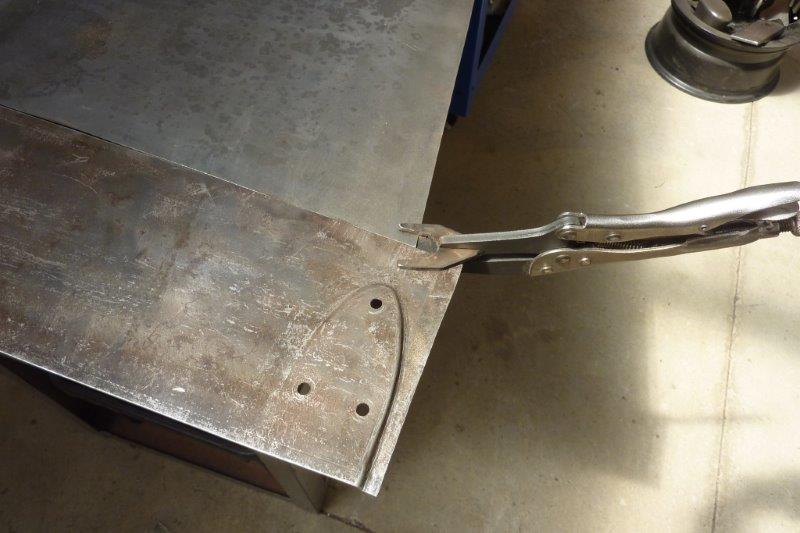
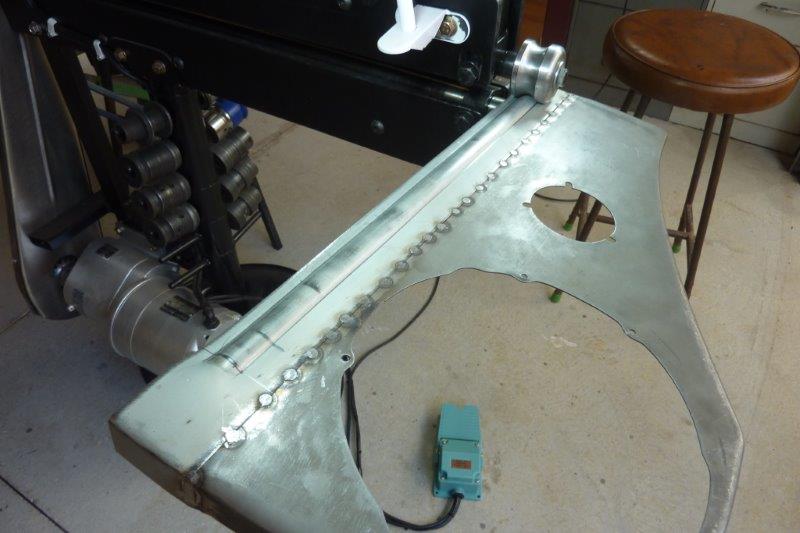
To start tacking on an edge I like to clamp some spot welding pliers to it so the copper pad helps stop the edge from burning away. I then tack with the mig quickly from one end to the other lifting or dropping the piece to line up the edge perfectly. The reason to go quickly is that while the tack is red hot, it expands the gap. As it cools it pulls it in too far and you have to hammer the tack each time to get it right again. But if you put the next tack it just as the last one starts to shrink, you can tack and move on. If the gap starts to open too far, I just wait for it to cool to pull itself closed again. A few close together tacks, allowing cooling inbetween, will pull it closed more if needed.


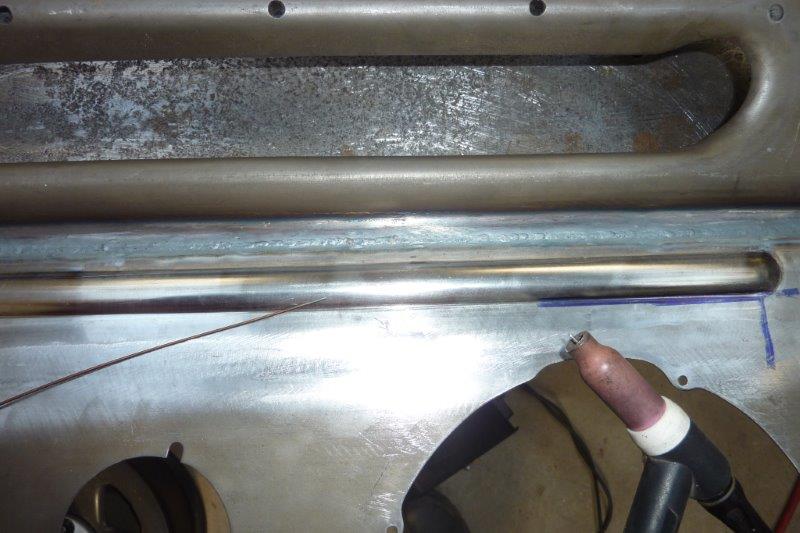
This is the back of the tig weld and only stopped once to reposition myself and get more filler wire. It has pulled more than normal as I only had 1.2mm/0.45 mig wire left ready to go as a filler, and that takes more heat to melt than using 0.9mm/0.35 or even 0.6/0.23 that I usually use on 0.9mm/20 gauge thick sheet.


Some planishing to stretch only the weld and it is looking much better.


I have got most of the shape right as there was already some damage to this bonnet from being walked on some time in its prior life. Once more bonnet pieces are added, giving it some frame, I can do more.


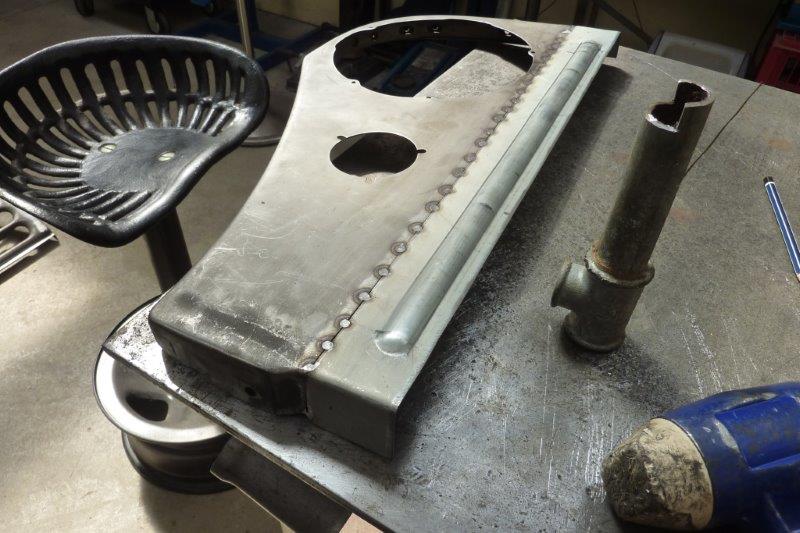
Now the next piece needs to be added making sure that the joggle lines up with the edge of the grille centre. Also the the front edge is inline with the centerpiece. I will cut it slightly larger and then trim to fit.


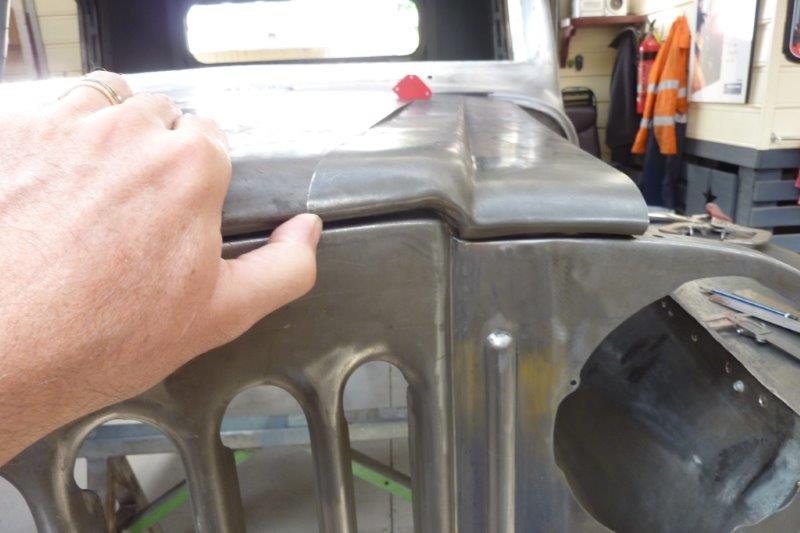
I have to leave enough room in the joggle area for the rubber strip that goes along the top of the grille. Another 2mm off and it will be good to go.


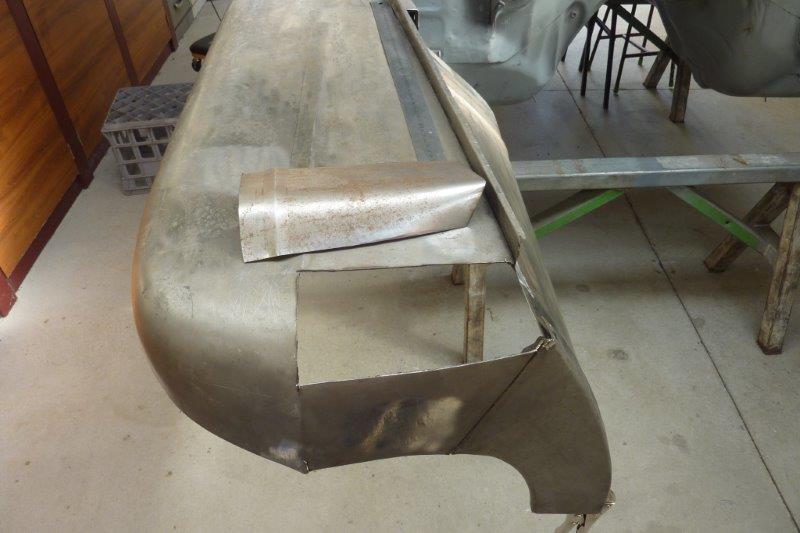
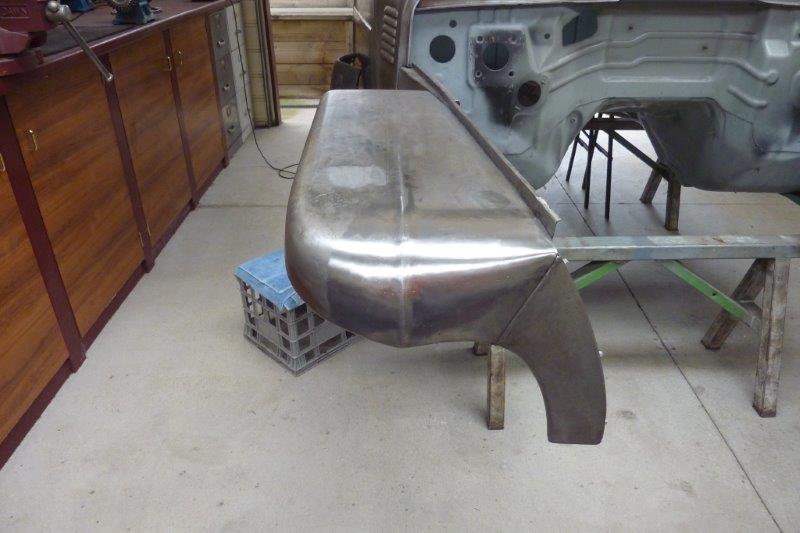
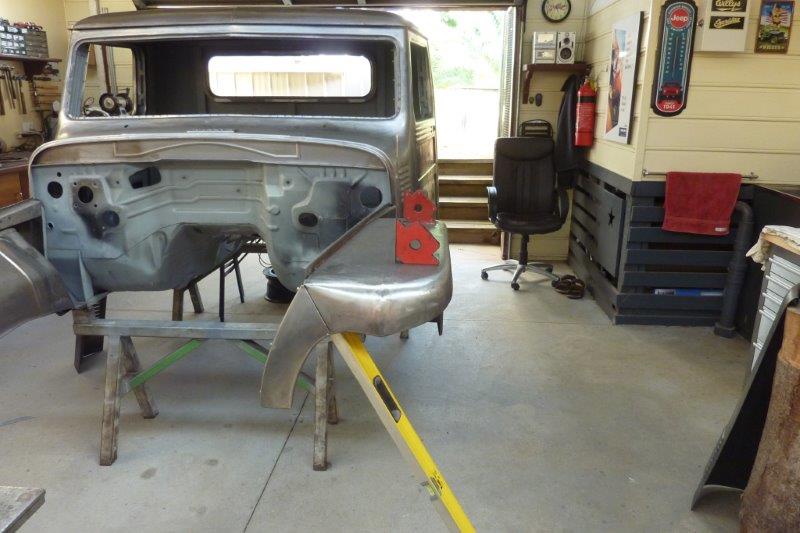
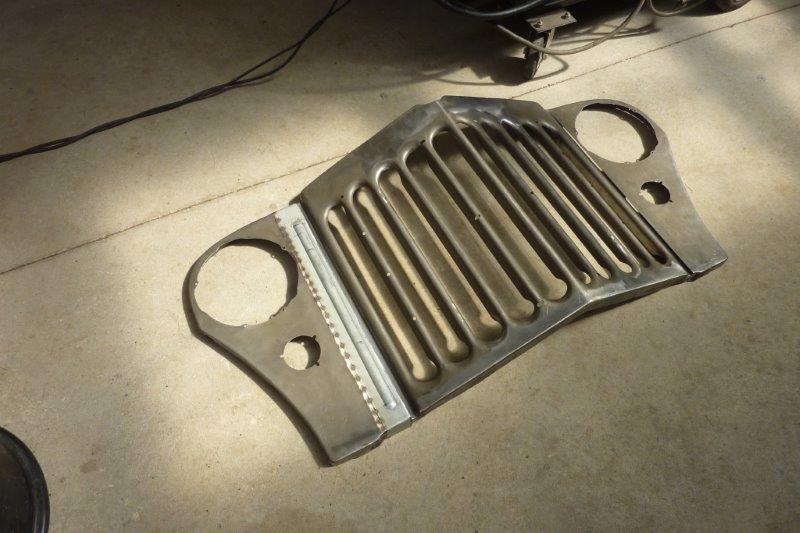
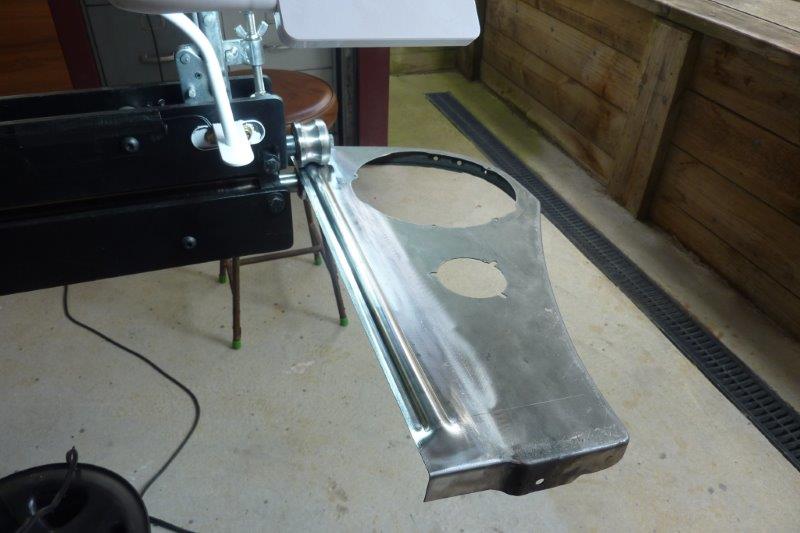
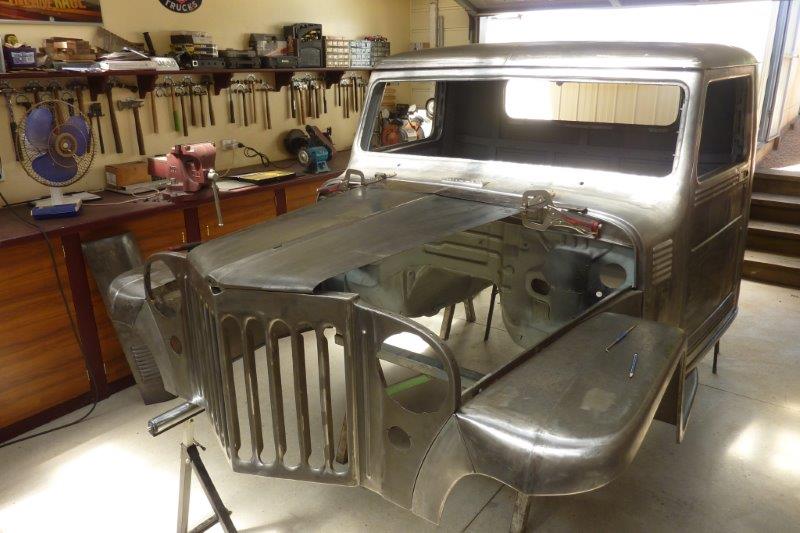
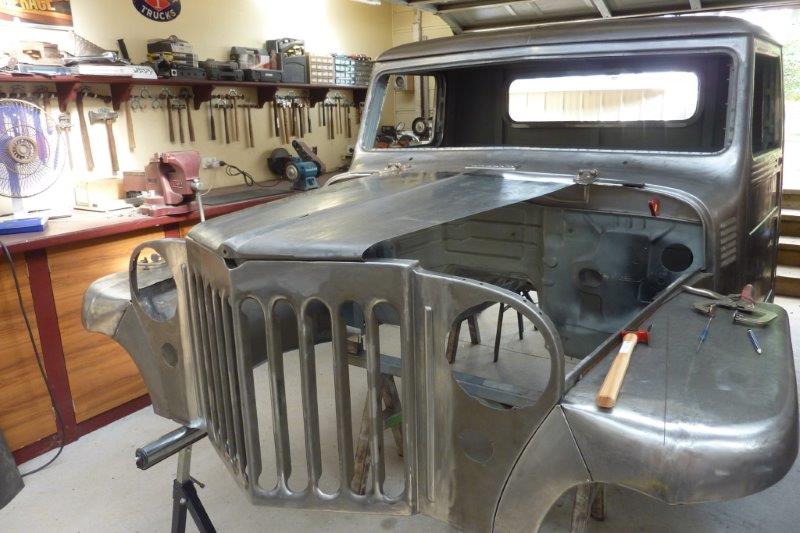
Starting to look like a bonnet again! The end near the cowl still needs more shape change as normally this part of the bonnet was closer to the rounded side.


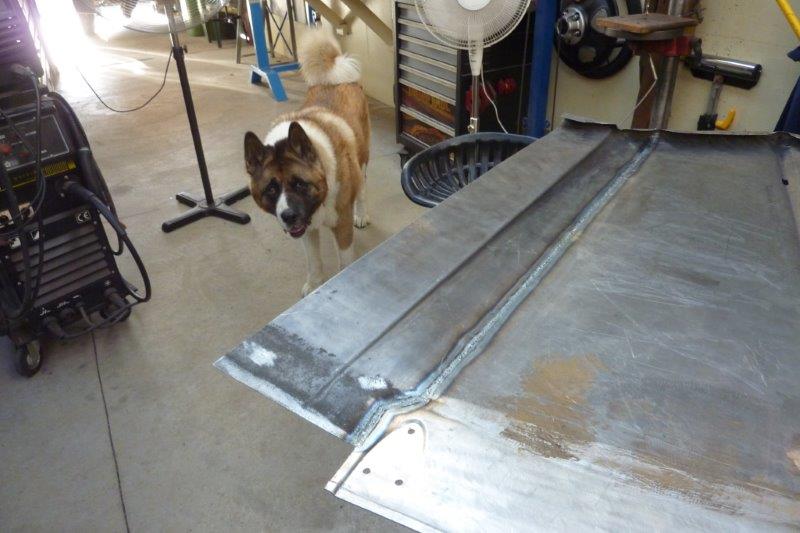
Kuma has come to check the backside of my weld!
__________________
Cheers, Marcus.

My web site:
http://willyshotrod.com Over 5'000 Club
Likes: (7)
Post New Thread  Reply


Posting Rules
You may not post new threads
You may not post replies
You may not post attachments
You may not edit your posts

BB code is On
Smilies are On
[IMG] code is On
HTML code is On


All times are GMT +10. The time now is 02:42 PM.


Advertisements


AJOR does not vouch for or warrant the accuracy, completeness or usefulness of any message, and are not responsible for the contents of any message. The messages express the views of the author of the message, not necessarily the views of AJOR or any entity associated with AJOR, nor should any advice be substituted as technical advice replacing that of a mechanic. You agree, through your use of this service, that you will not use AJOR to post any material which is knowingly false and/or defamatory, inaccurate, abusive, vulgar, hateful, harassing, obscene, profane, sexually oriented, threatening, invasive of a person's privacy, religious, political or otherwise violative of any law. You agree not to post any copyrighted material unless the copyright is owned by you or by AJOR. The owner, administrators and moderators of AJOR reserve the right to delete any message or members for any or no reason whatsoever. You remain solely responsible for the content of your messages, and you agree to indemnify and hold harmless AJOR, the administrators, moderators, and their agents with respect to any claim based upon transmission of your message(s). The use of profile signatures to intentionally mislead or misdirect any member on this forum is not acceptable and may result in your account being suspended. Any trip that is organised through the AJOR forum is participated at your own risk. If you or your vehicle is damaged it is your responsibility, not that of the person that posted the thread, message or topic initiating the trip, nor the organisers of AJOR or moderators of any specific forum. This forum and associated website is the property of AJOR. No user data is harvested and no information supplied in your registration will be sold for profit.


Powered by vBulletin® Version 3.8.7
Copyright ©2000 - 2024, vBulletin Solutions, Inc.

AJOR © 2002 - 2024 AUSJEEPOFFROAD.COM. All corporate trademarked names and logos are property of their respective owners. Ausjeepoffroad is in no way associated with DaimlerChrysler Corporation or Fiat Jeep.
www.ausjeep.com www.ausjeep.com.au www.midlifemate.com ausjeepforum.com www.r9kustoms.com
vB Ad Management by =RedTyger=