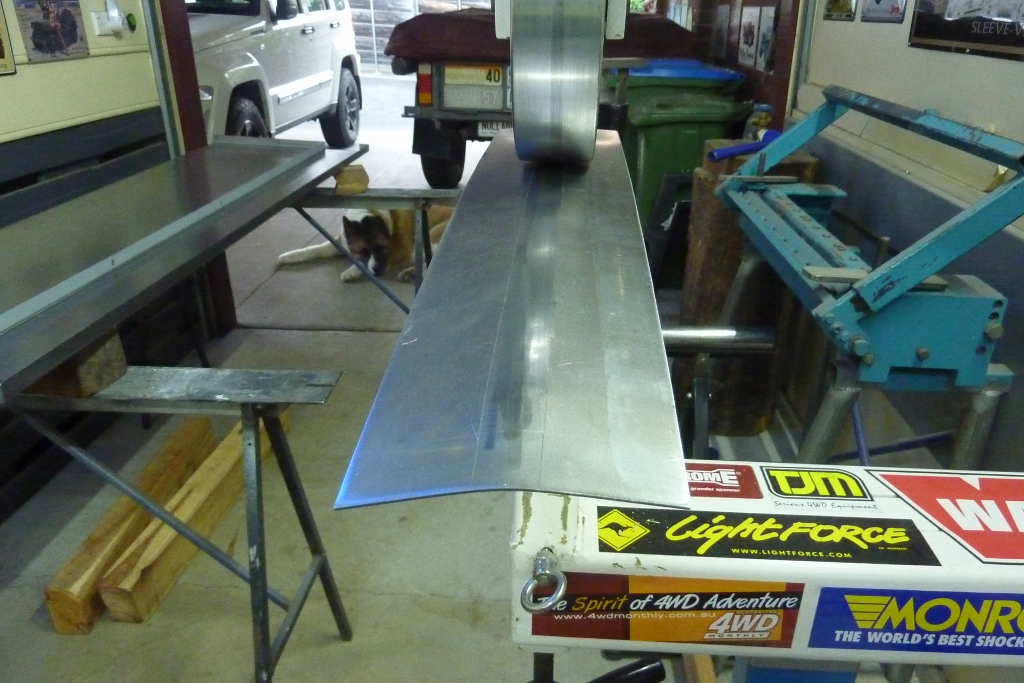
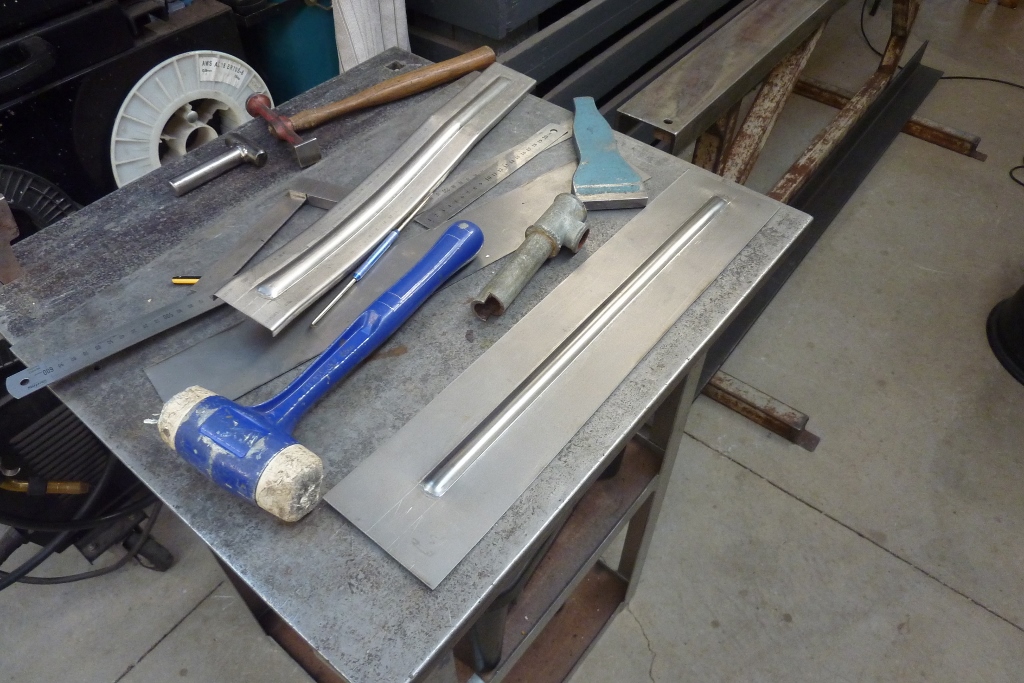
Starting on the stake pockets. I am doing a pre-stretch for the 19 mm-3/4" bead roll that goes up the centre. Using a high crown anvil on the bottom and only running where the bead will be. To determine exactly how much I need to do I simply measured my test piece, which I hadn't pre-stretched, and saw that it had pulled the sides in 2 mm compared to the ends where there was no bead. So just kept wheeling until it increased the width by 2 mm.
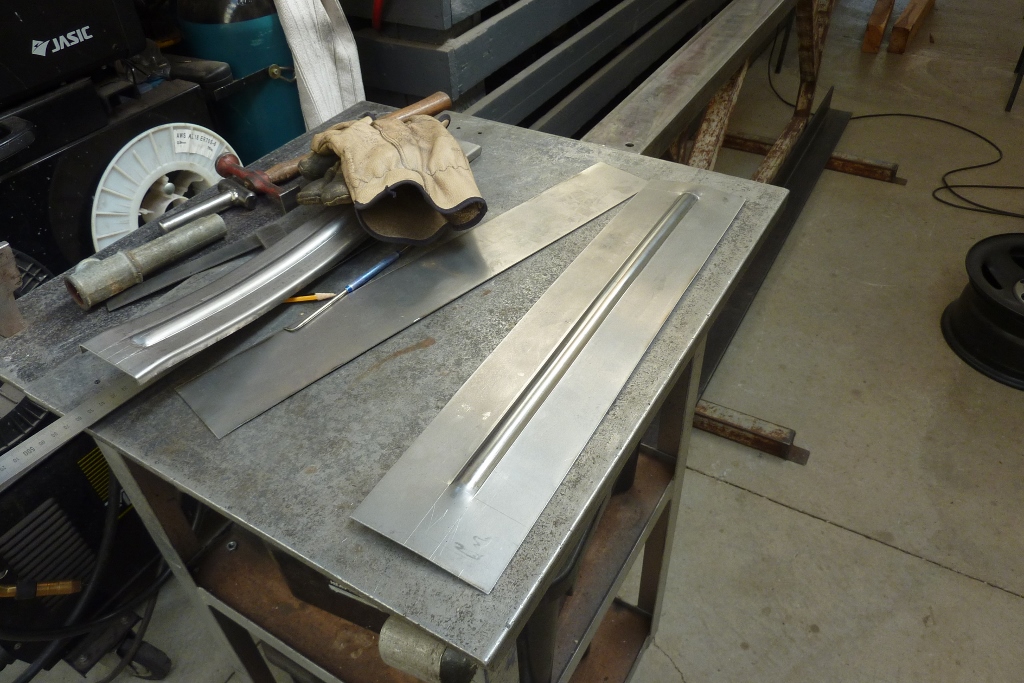
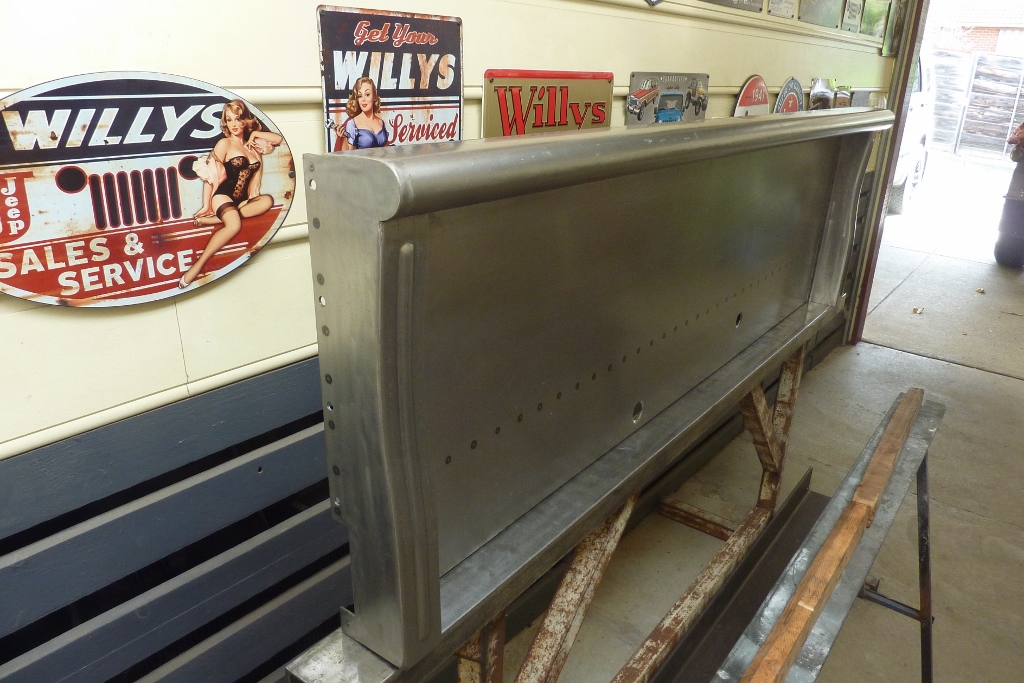
Here is what is looks like after the bead was rolled. The bead ends still need to be rounded and the fold each side of it increased slightly.
Just using a piece of old water pipe to round the ends of the bead. The sides of the bead were just run along with the chaser. If the bead runs right to the ends of the piece you wouldn't need to pre-stretch. Just would have to take the shrinkage into account beforehand for you final measurements.
Folded the flanges over which straightened them out completely.
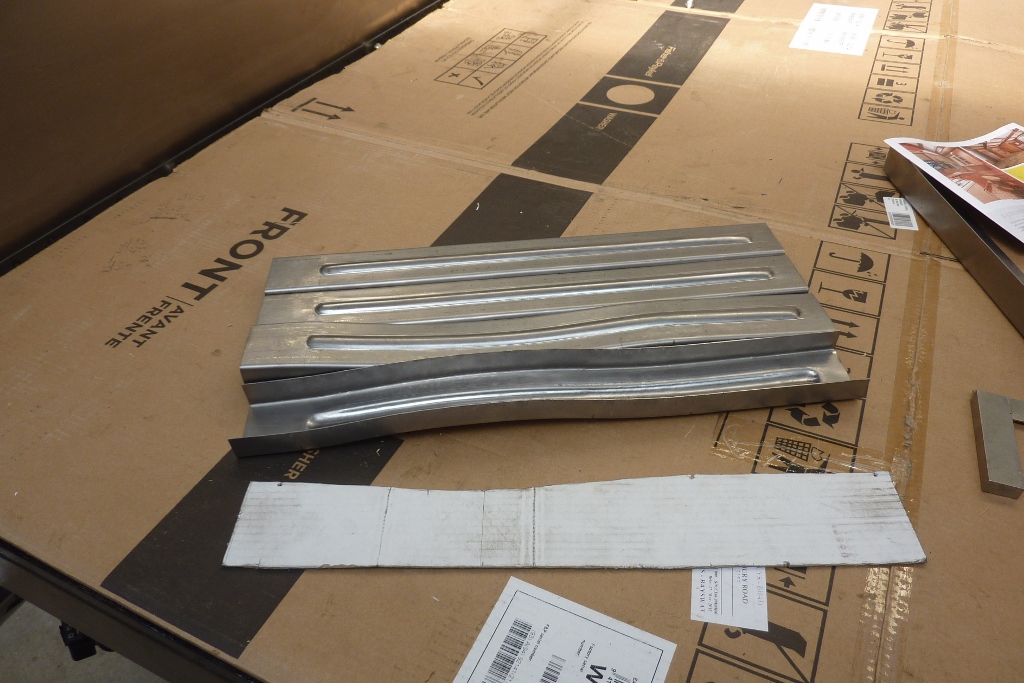
Using the shrinker and the stretcher on the flangers I was able to follow the pattern exactly.

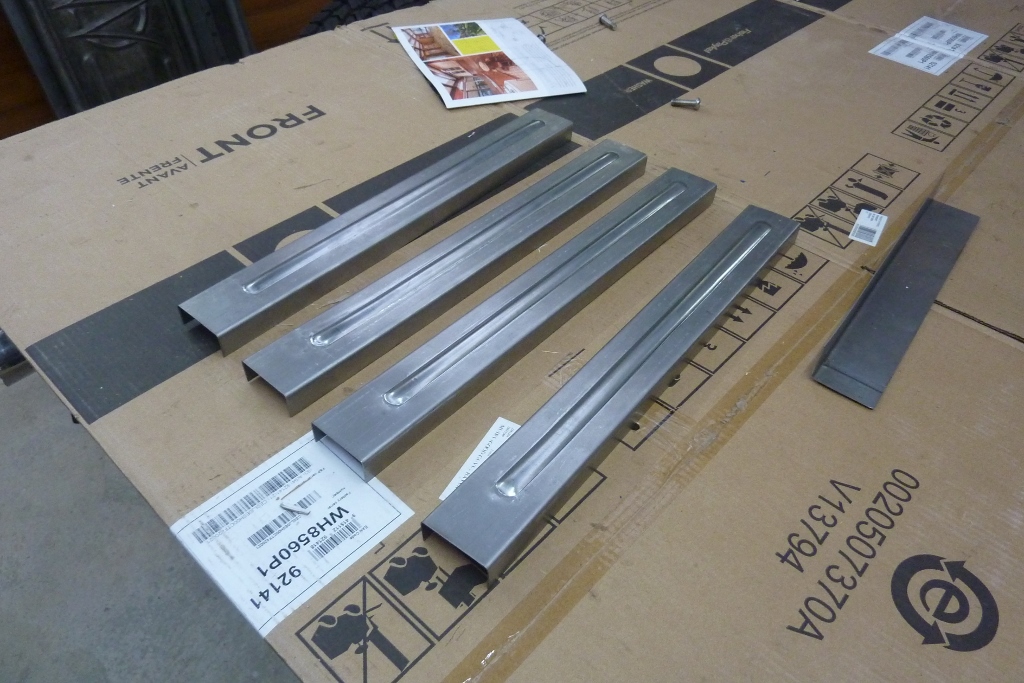
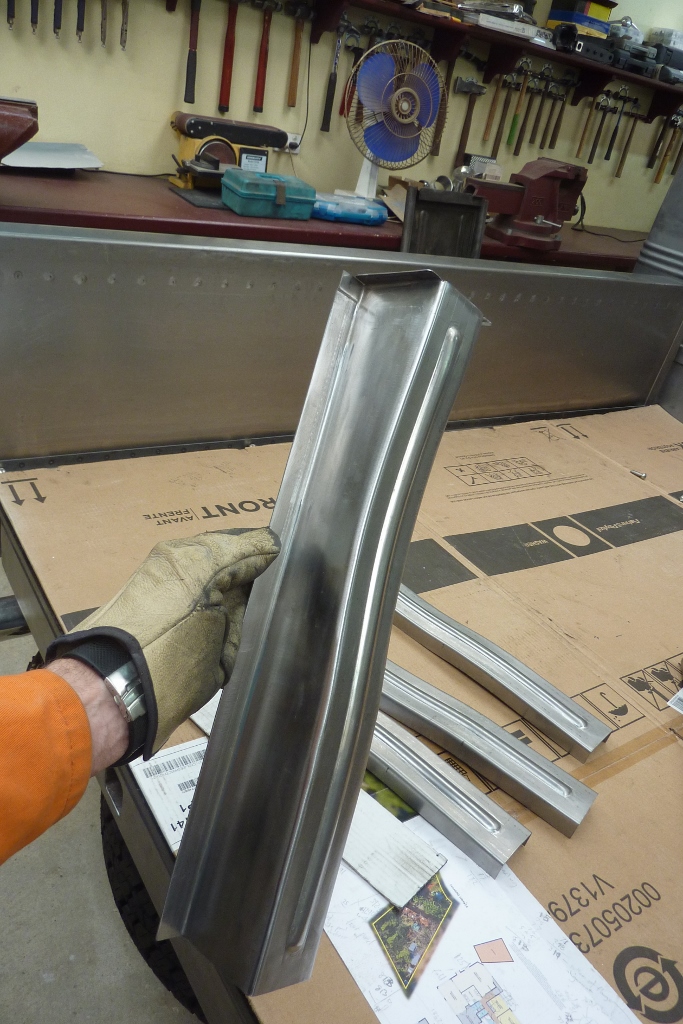
All four done and look like they match well enough, especially since they will be six feet apart once mounted. You can also see where I marked where to switch from stretching to shrinking to make it curve one way then the other.
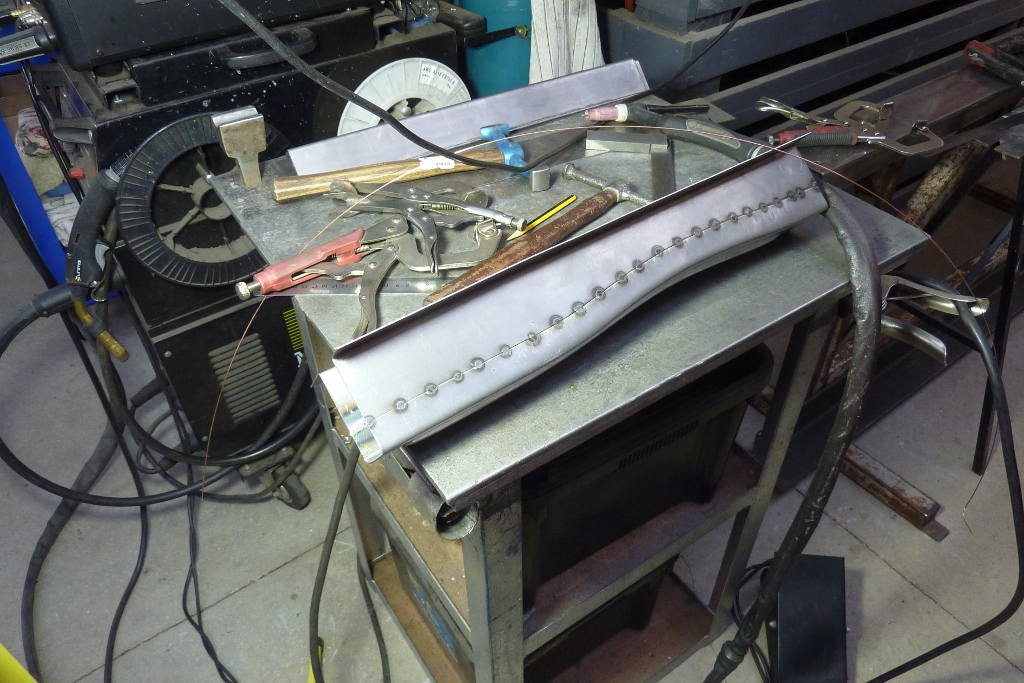
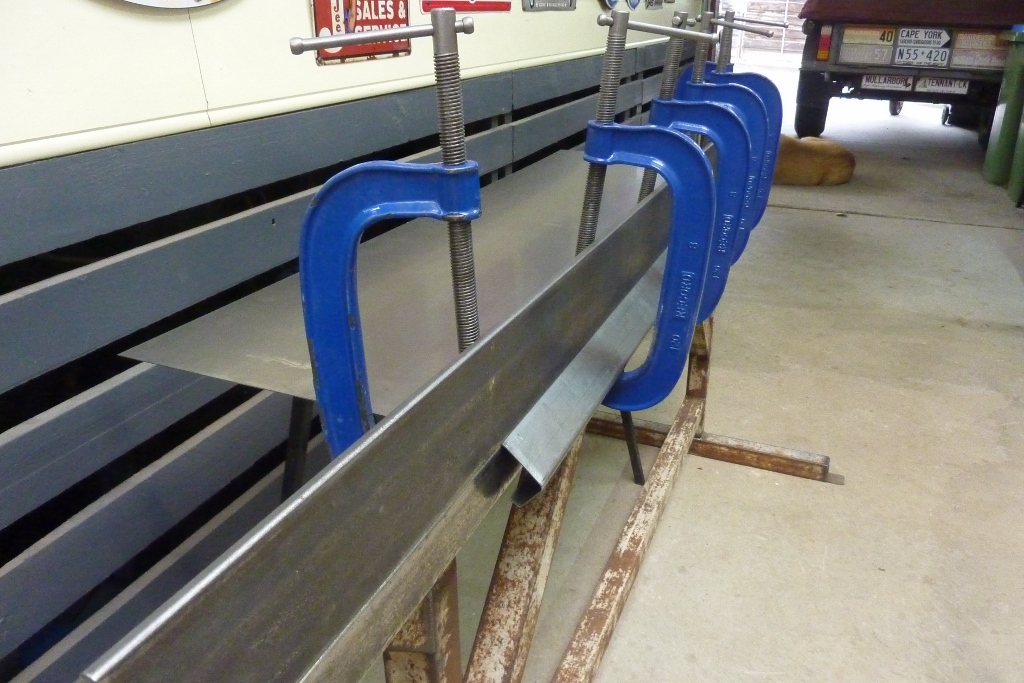
I folded up the rest to the sides and then laid the front piece over it. Scribed along the edge and cut the sides to match the curves. I tacked on both sides before the final welding to keep one side moving more than the other. I time my tacks to exactly between the initial heat expansion from the last tack and tack the next one before it tries to shrink past where it started. No stopping to hammer the tacks this way.
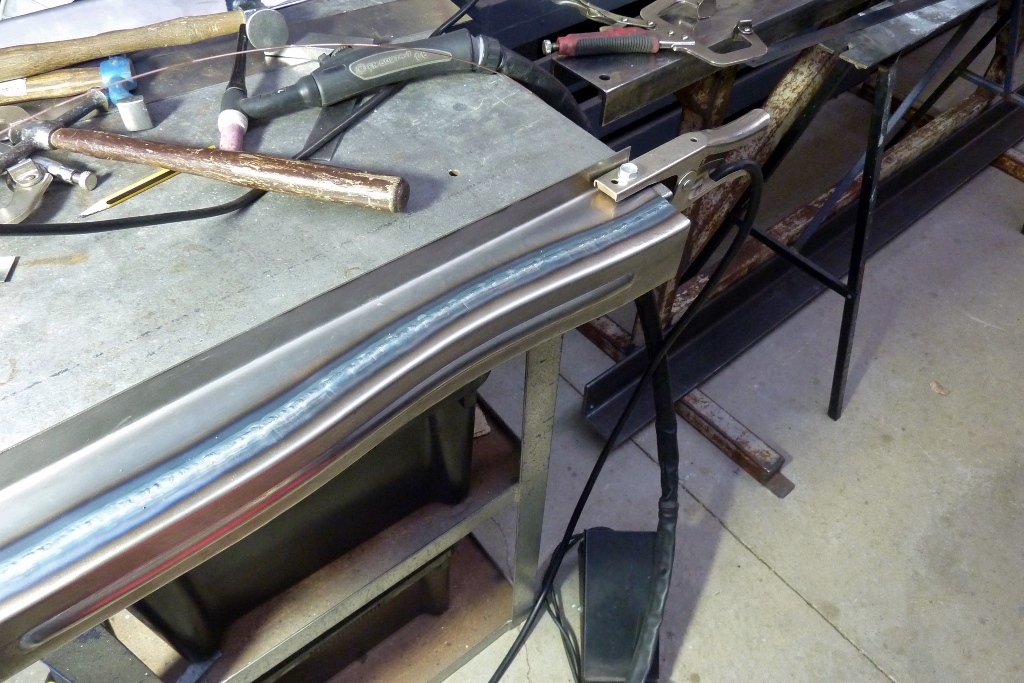
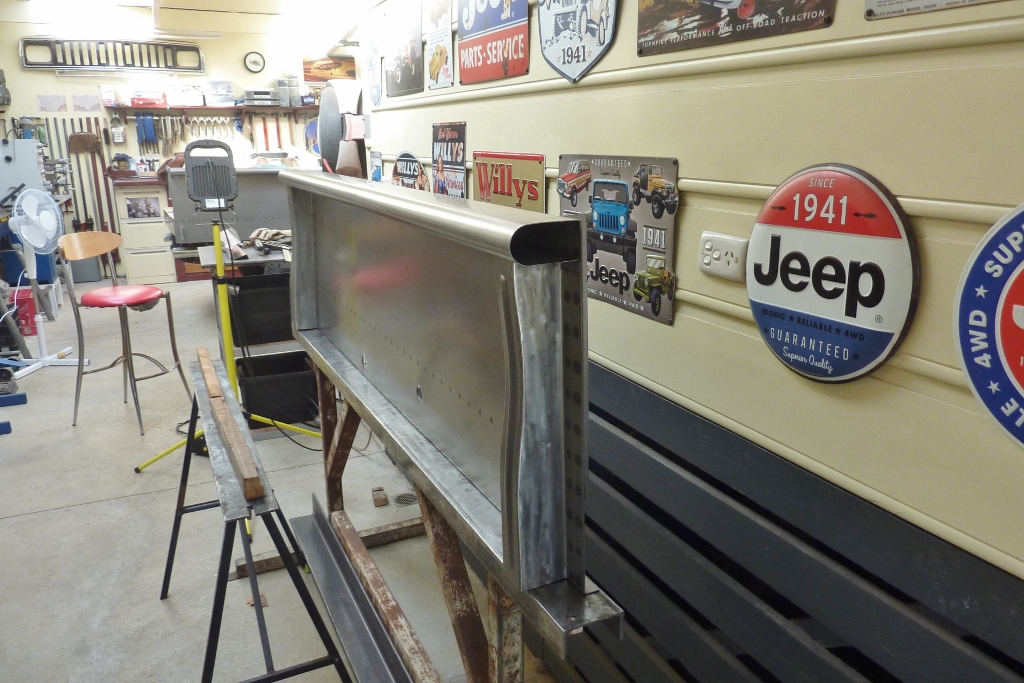
TIG welded in a quick single pass. Using 1.2mm lanthanated tungsten with 1.2mm mig wire for a filler rod to weld this 1.2mm steel.
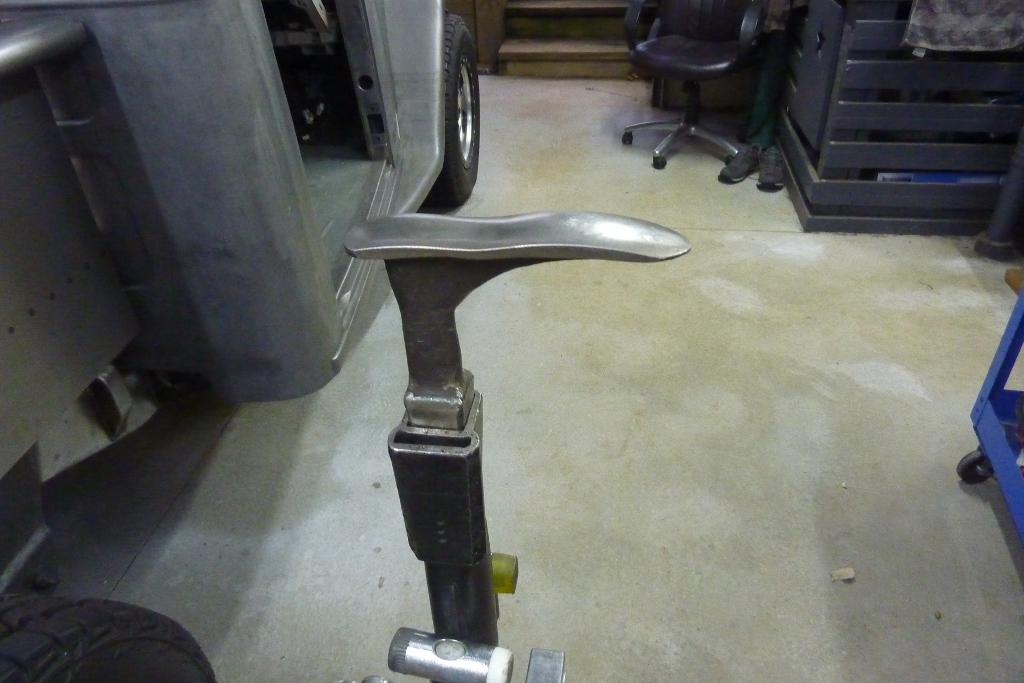
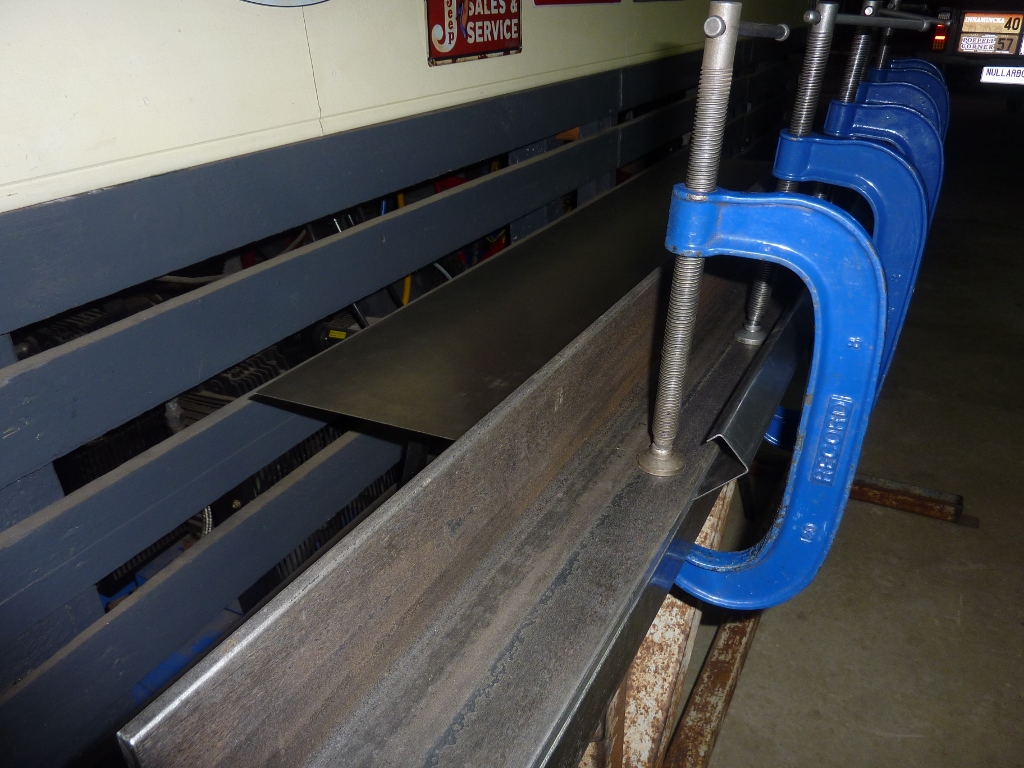
To stretch the weld afterwards I used either a flat stake, or this shoe last inside the stake pocket. It depended if it was high or low along the weld line. Any low spots I jammed one end of the stake pocket into my chest while pulling down hard at the other end. This creates a upward force that needs to be greater than the hitting down of the hammer or flipper to raise the low area.
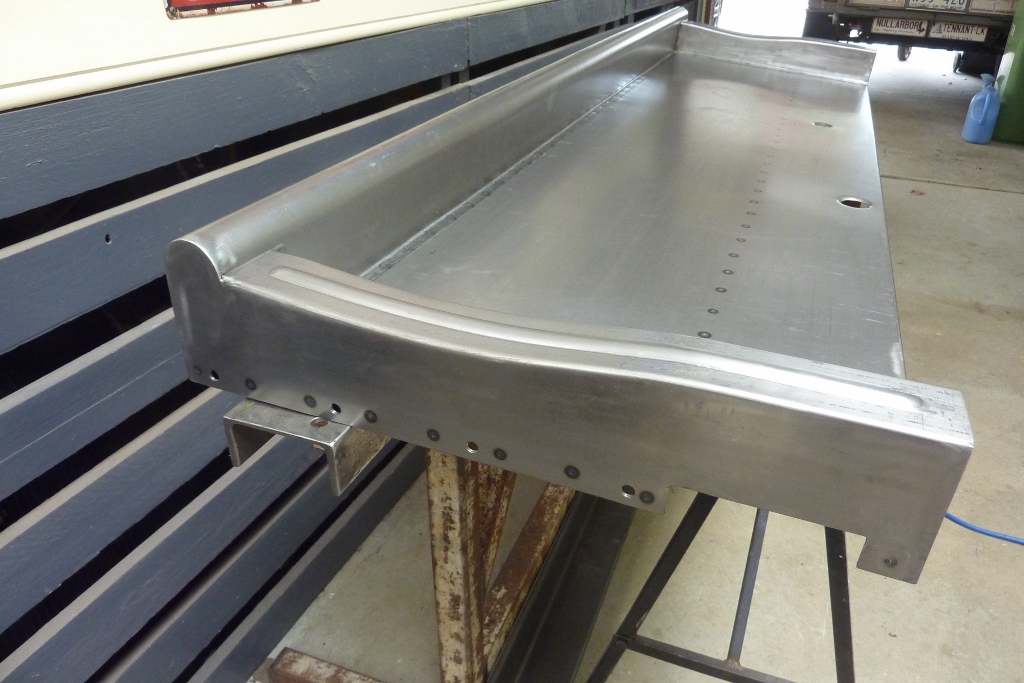
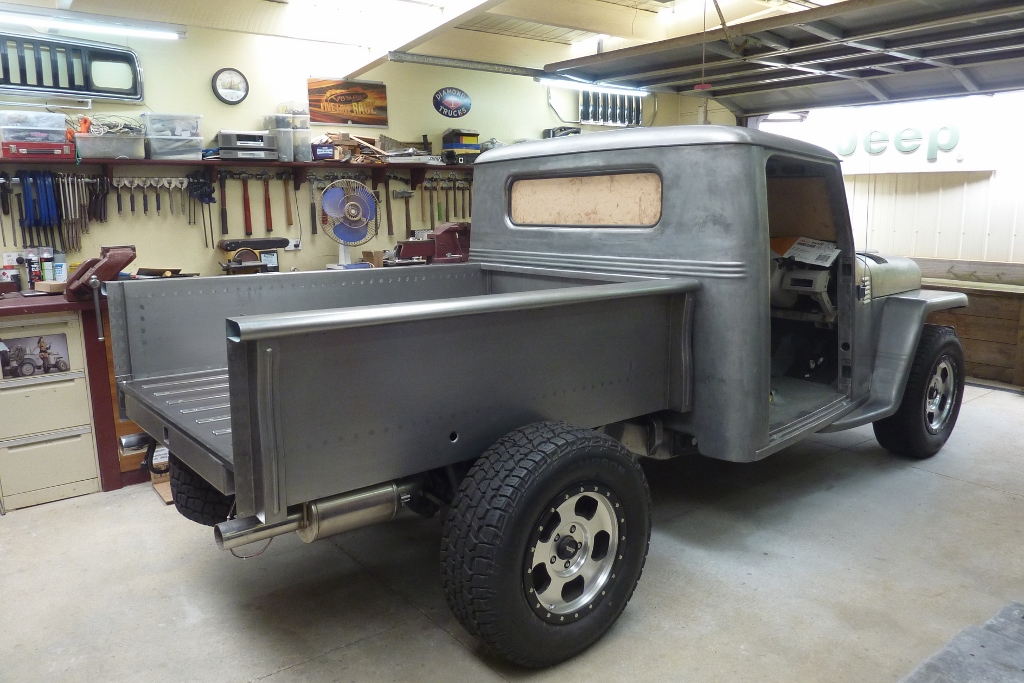
Came up pretty well I think. I have also now folded the extra I had at one end to make flanges to plug weld the stake pocket to the underside of the bed roll.
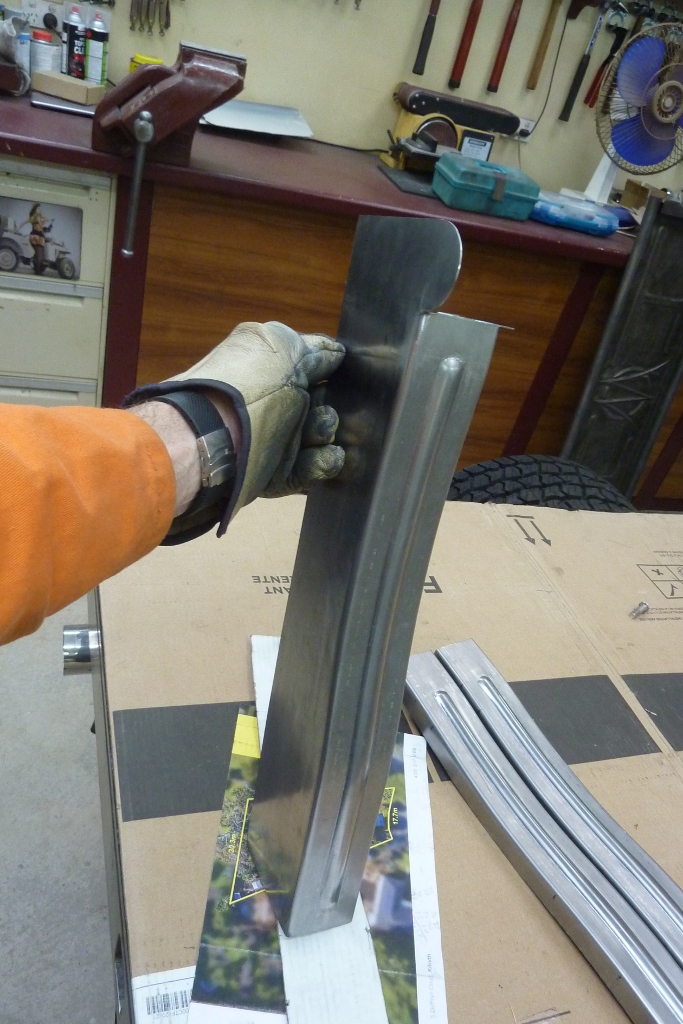
The stake pocket for the cab end I have integrated a end cap for the bed roll. The side is also wider as will be spot weld to the flange I turned at the end of the bed sides to make it double thickness. The end panel will then bolt through this flange.