Grand Willys Project - Page 259 - AUSJEEPOFFROAD.COM Jeep News Australia and New Zealand

Go Back   AUSJEEPOFFROAD.COM Jeep News Australia and New Zealand > JEEP GARAGE > Jeep build up
Register Forums Trading Your Jeep My Garage Mark All Read

Post New Thread  Reply
 
Thread Tools Search this Thread
  #1807  
Old 30-06-2021
Mace1's Avatar
Mace1  Mace1 is offline
AJOR Bronze
 
Join Date: May 2015
Location: Margate, Tasmania.
Posts: 323
What Jeep do I drive?: WH
Likes: 311
Liked 138 Times in 89 Posts
Default

Shmick.....
  #1808  
Old 01-07-2021
CJ6np435's Avatar
CJ6np435  CJ6np435 is offline
Lowranger Shocker
 
Join Date: Oct 2003
Location: Hobart TAS
Age: 62
Posts: 1,679
What Jeep do I drive?: CJ
Likes: 41
Liked 133 Times in 100 Posts
Default

Looks Great Gojeep well done!
__________________
Not another V8!
  #1809  
Old 02-07-2021
Gojeep's Avatar
Gojeep  Gojeep is offline
LokRinger
 
Join Date: Jul 2002
Location: Victoria
Posts: 6,870
Likes: 789
Liked 1,754 Times in 556 Posts
Default

Quote:
Originally Posted by bodgie View Post
The lights didn't look too bad before but this looks way better. When you go back to the original concept they look a lot like pimples on a bum.

Is there going to be a lower valence to cover the spare wheel or are you going to leave it like this?
A roll pan to go under the valance to hide most of the spare as well as a place to mount the number plate.

Quote:
Originally Posted by Mace1 View Post
Shmick.....
Thanks.

Quote:
Originally Posted by CJ6np435 View Post
Looks Great Gojeep well done!
Thank you.
__________________
Cheers, Marcus.

My web site:
http://willyshotrod.com Over 5'000 Club
  #1810  
Old 09-07-2021
Gojeep's Avatar
Gojeep  Gojeep is offline
LokRinger
 
Join Date: Jul 2002
Location: Victoria
Posts: 6,870
Likes: 789
Liked 1,754 Times in 556 Posts
Default


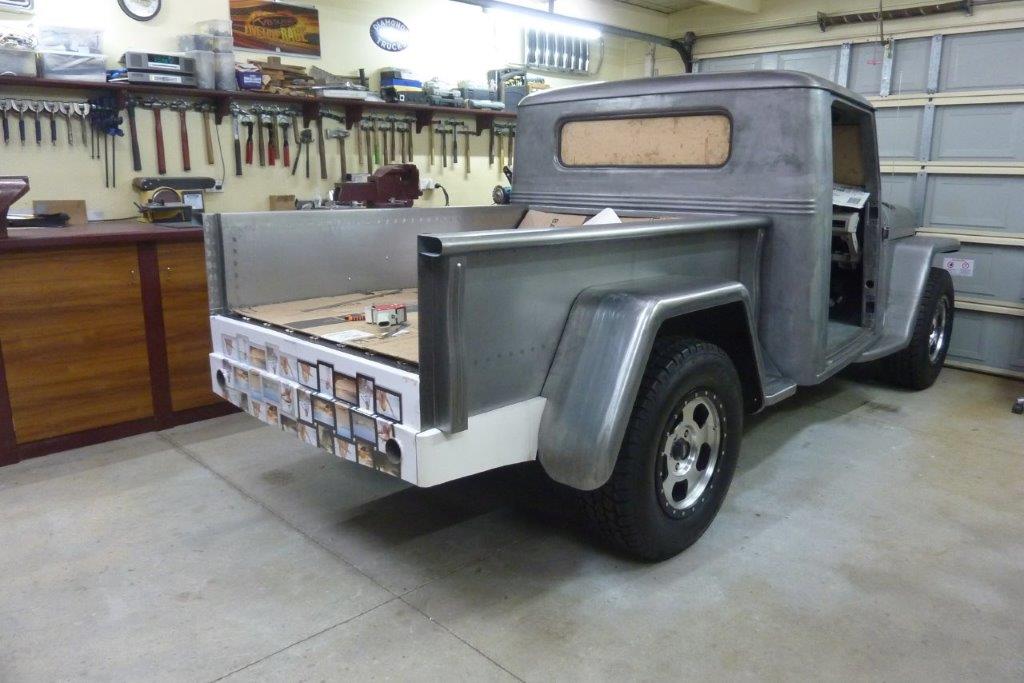
Just showing some of the CAD, Cardboard Aided Design, I went through to come up with a shape for the rear bed panels. I thought this was too boxy and low.


This was too much the other way and the spare shows more than I like.


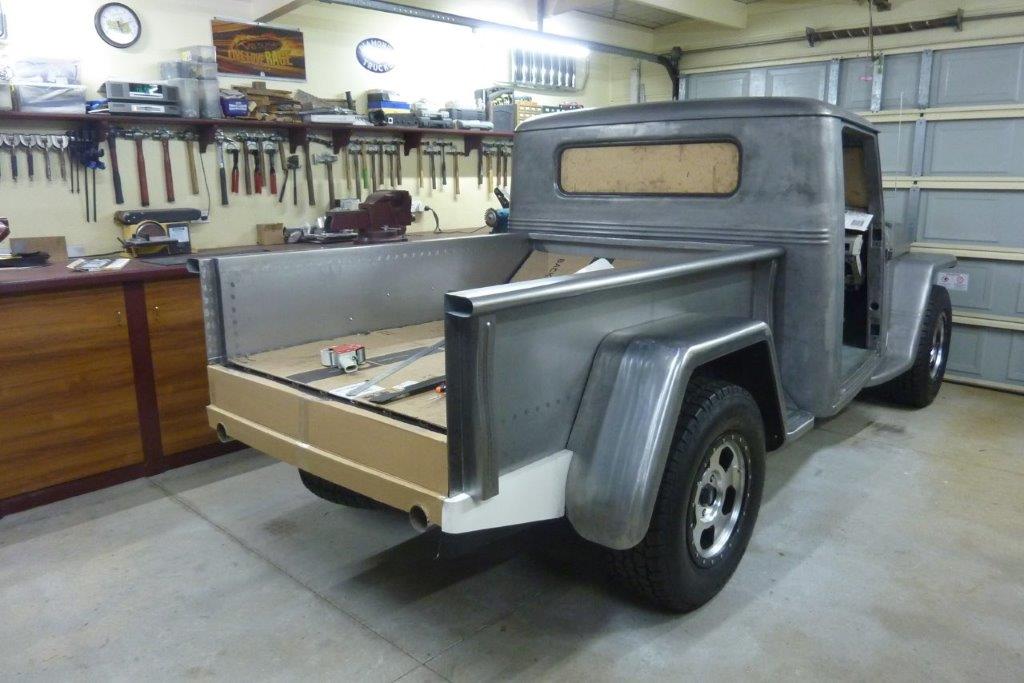
This was the depth I liked for the skirts but the licence plate hanging off the end looked like an after thought.


The plate held in by the hitch pin was my original plan, but looks too crowded with everything in a row.


Just dropping the centre down hid more of the spare tyre, but had a bit of a soiled nappy/diaper look to it.


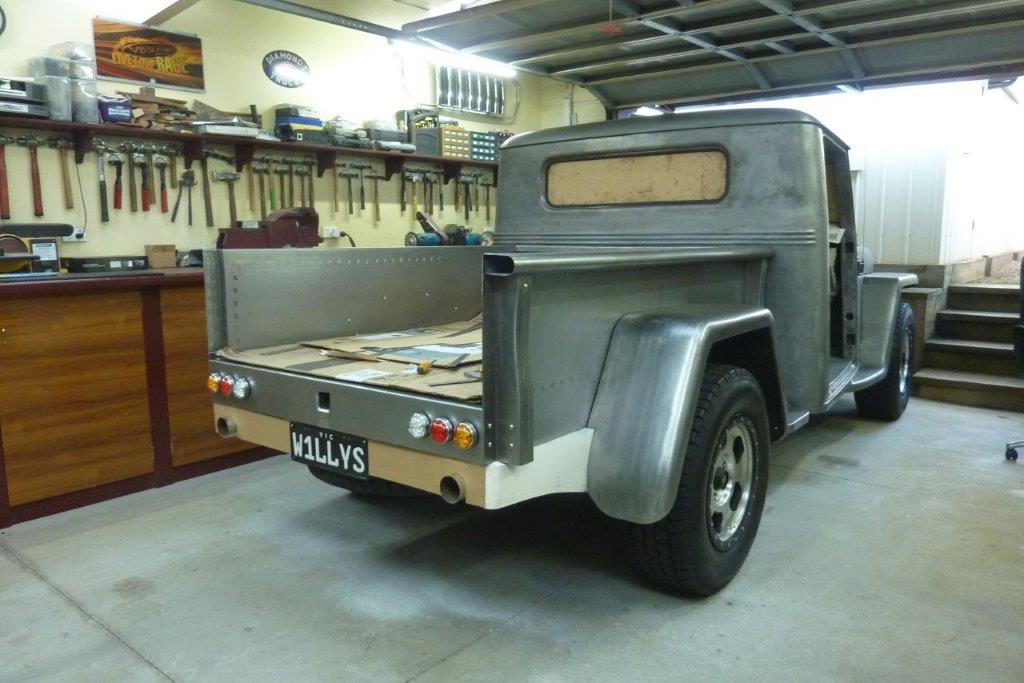
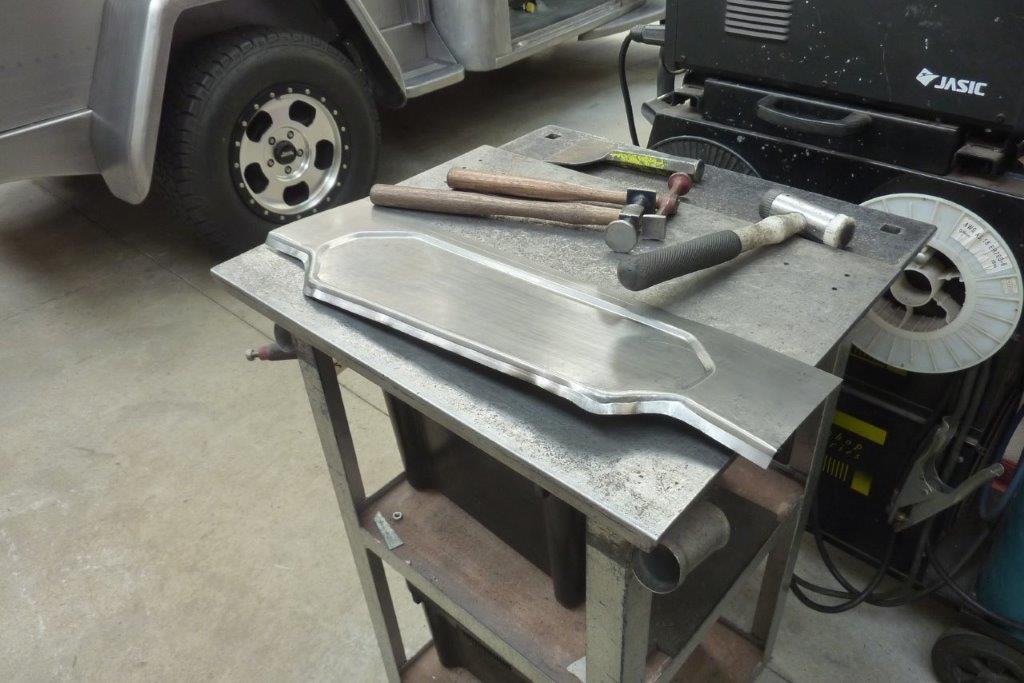
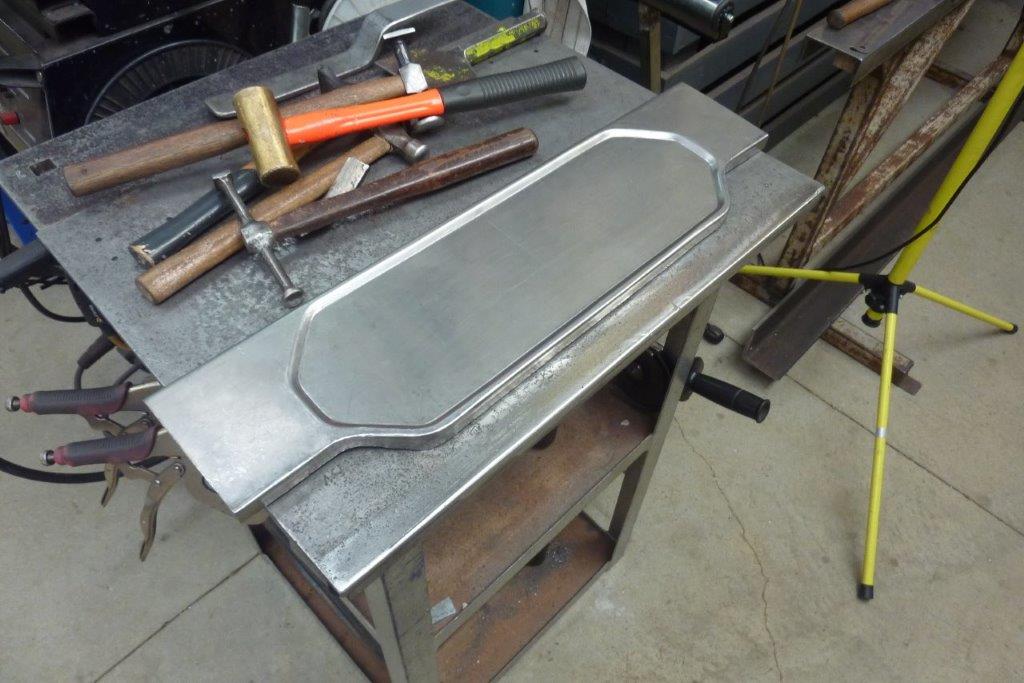
So decided on the lowest drop in the centre while still doing a step around the plate and lights. This step is 5mm-3/16", the same as around the taillights and the factory put in the doors and back of the cab.


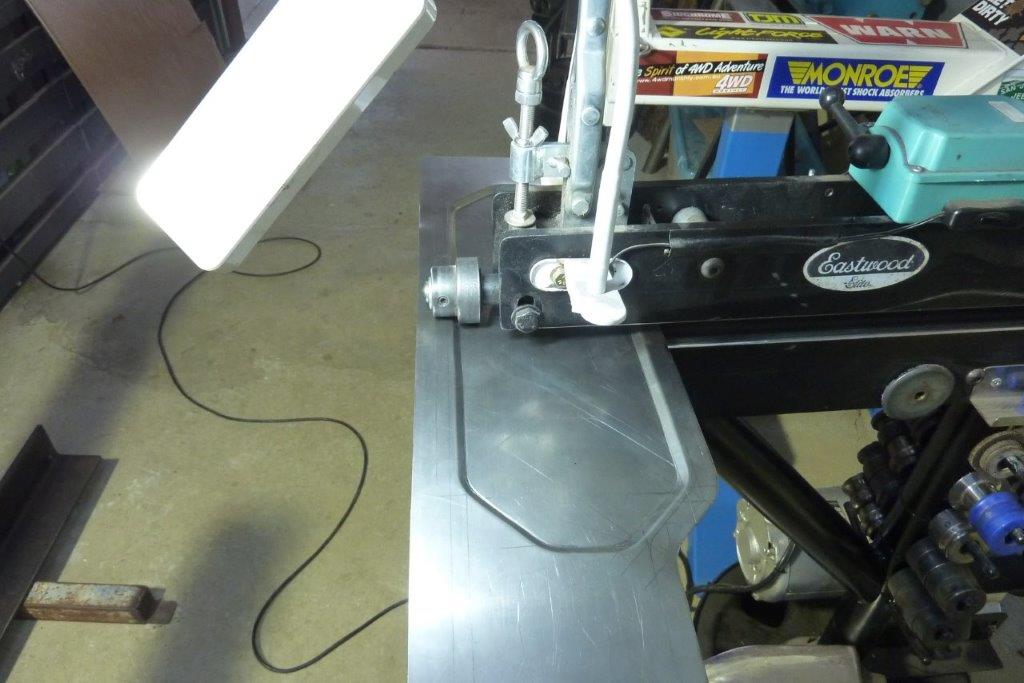
I tipped the flange in the bead roller using the metal bottom V groove die, but have never liked how it leaves a crease, so rarely use it. Can see I have a lot of flattening out to do yet even though I stretched the inside corners and shrunk the outside corners before tipping.


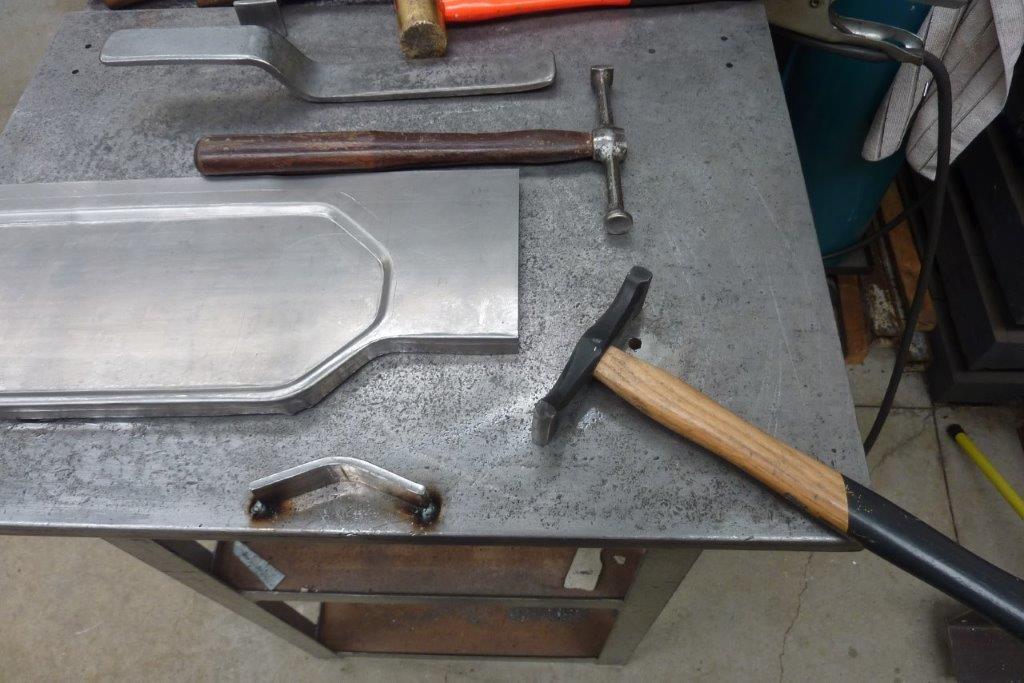
I bent up a piece of flat bar the same width as the space between the step and the flange. It is upside down here and been hammered into the back of the outside corners. This flattens it and the stretching there means I will have less shrinking to do on the edge of the flange.


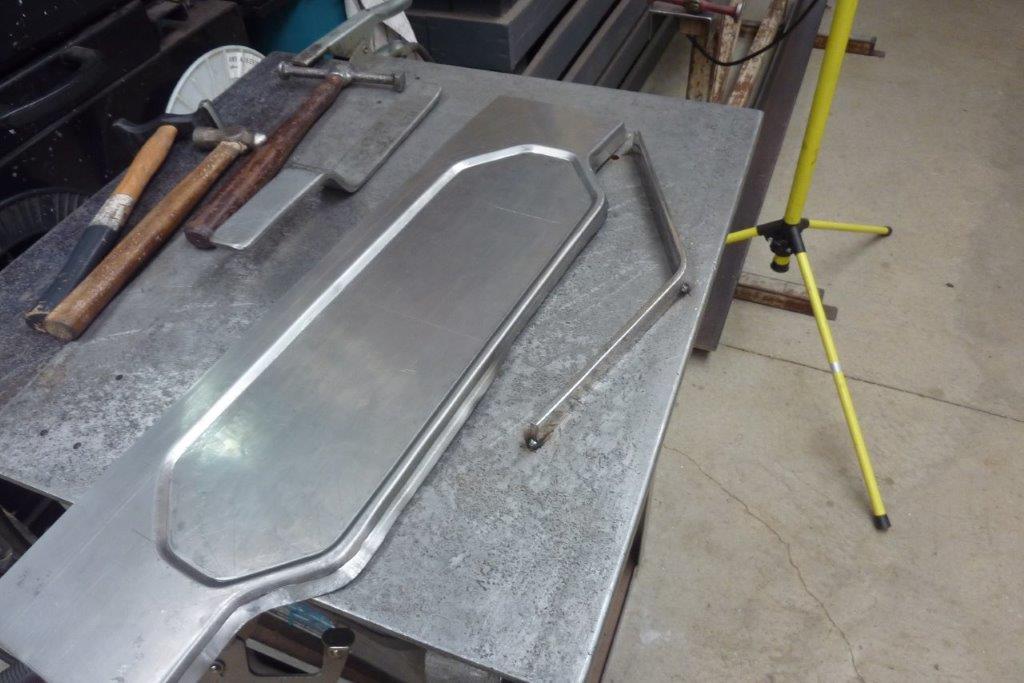
Tacked the bar to the table so I could slowly work the flange over it. Can see one end is most of the way there.


There was still two small tuck shrinks being slowly worked down the flange. Cut the bar short so I could do the inside corner. The edge of the flange there needed to be stretched for it to sit down flat. Used the rounded ends of the bottom hammer for that area and the top hammer was used for the rest of the flange.


Got it sitting nice a flat now so can move onto the next step.


I made the rest of the roll pan from pieces from the valance I first made. The radius around the exhaust outlets were also done with the same step roller dies and then the centre cut out. Keeps it all nice and uniform.


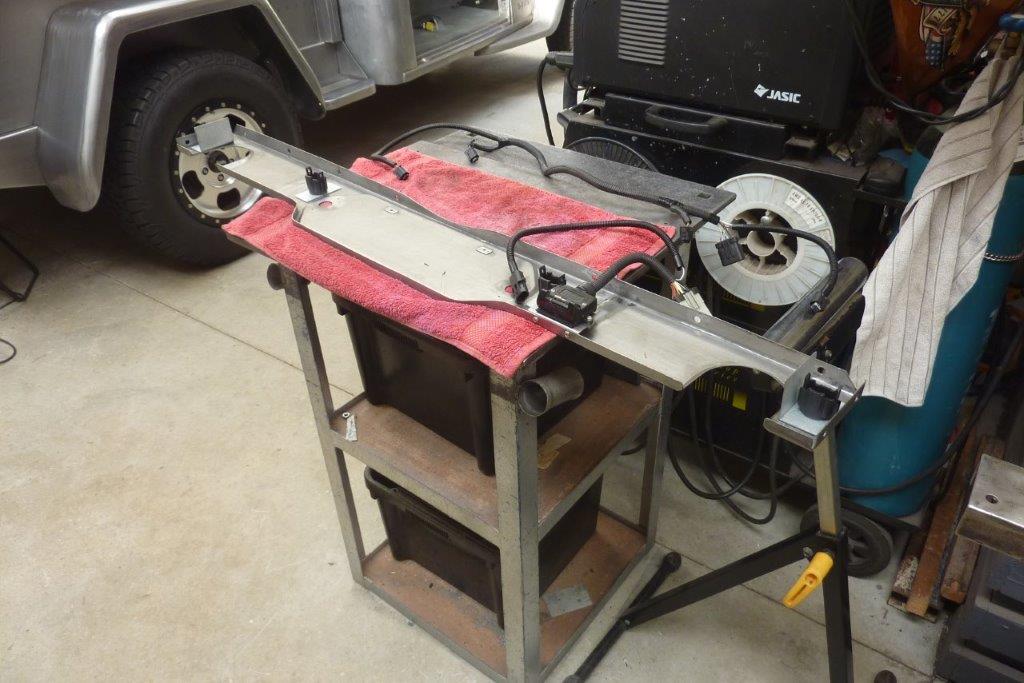
Once welded together I made new mounts for the parking sensors, outside ones with built in heat shielding. They will end up flush on the outside. Also a bracket for the factory Mopar trailer plug from the donor. It is easily accessible but not seen once in place.


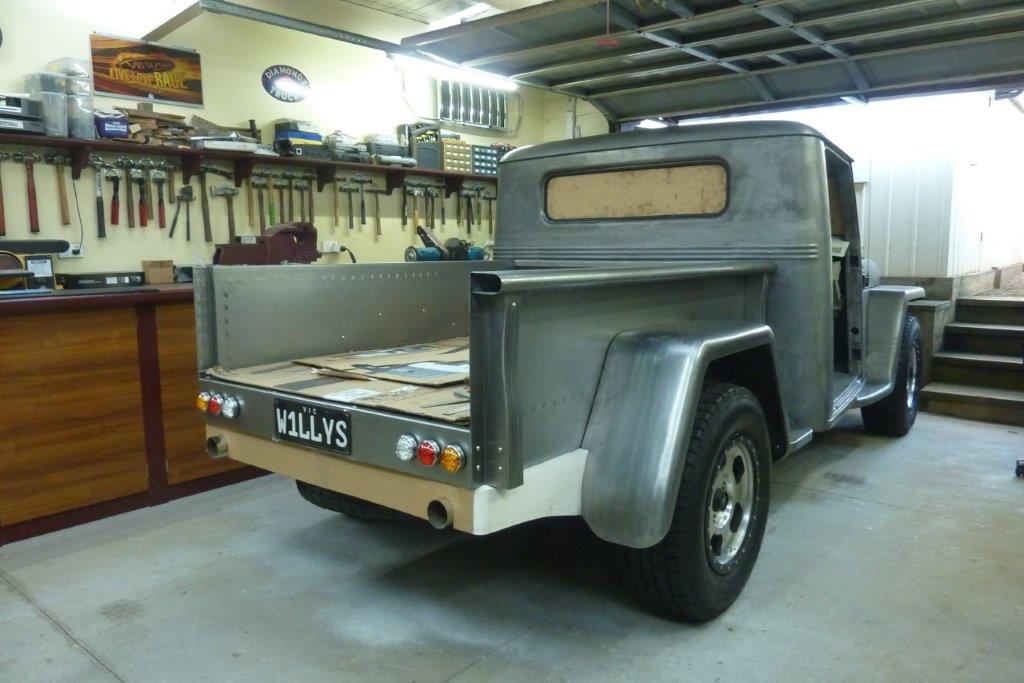
Thought this was the best compromise with covering enough of the spare tyre and spreading out everything for some balance. It is all wired and working which means the last of the chassis wiring is completed.
__________________
Cheers, Marcus.

My web site:
http://willyshotrod.com Over 5'000 Club
Likes: (4)
  #1811  
Old 09-07-2021
bodgie's Avatar
bodgie  bodgie is offline
Rock Munki
 
Join Date: Aug 2009
Location: Castle Hill, NSW
Posts: 2,136
What Jeep do I drive?: WG
Likes: 11
Liked 300 Times in 245 Posts
Default

I like it, looks way better now.
Likes: (1)
  #1812  
Old 10-07-2021
BENAMON  BENAMON is offline
Established Member
 
Join Date: Aug 2008
Location: Gold Coast
Posts: 190
What Jeep do I drive?: JK
Likes: 23
Liked 29 Times in 26 Posts
Default

That came up a treat!

As I was looking through your CAD iterations my mind was looking at the "nappy" version thinking "almost there - but maybe move the plate lights to either side and make the drop less".

I kept scrolling and that's exactly what you had done.

Great work as always. She's really coming along now

Just an afterthought of mine - how high is the tow hitch going to be off the ground? It looks fairly high in that image, but could just be the angle of the photo?
Likes: (1)
  #1813  
Old 10-07-2021
Gojeep's Avatar
Gojeep  Gojeep is offline
LokRinger
 
Join Date: Jul 2002
Location: Victoria
Posts: 6,870
Likes: 789
Liked 1,754 Times in 556 Posts
Default

Thanks for the comments.

Quote:
Originally Posted by BENAMON View Post
That came up a treat!

As I was looking through your CAD iterations my mind was looking at the "nappy" version thinking "almost there - but maybe move the plate lights to either side and make the drop less".

I kept scrolling and that's exactly what you had done.

Great work as always. She's really coming along now

Just an afterthought of mine - how high is the tow hitch going to be off the ground? It looks fairly high in that image, but could just be the angle of the photo?
I literally got down to the last 10mm in difference to see what worked the best! Glad it is what you would have done as well.

Bottom of the hitch hole is 700mm from the ground and my offroad trailer hitch is 580mm. So will only need a 120mm drop to keep it level.
__________________
Cheers, Marcus.

My web site:
http://willyshotrod.com Over 5'000 Club
Likes: (1)
Post New Thread  Reply


Posting Rules
You may not post new threads
You may not post replies
You may not post attachments
You may not edit your posts

BB code is On
Smilies are On
[IMG] code is On
HTML code is On


All times are GMT +10. The time now is 10:05 PM.


Advertisements


AJOR does not vouch for or warrant the accuracy, completeness or usefulness of any message, and are not responsible for the contents of any message. The messages express the views of the author of the message, not necessarily the views of AJOR or any entity associated with AJOR, nor should any advice be substituted as technical advice replacing that of a mechanic. You agree, through your use of this service, that you will not use AJOR to post any material which is knowingly false and/or defamatory, inaccurate, abusive, vulgar, hateful, harassing, obscene, profane, sexually oriented, threatening, invasive of a person's privacy, religious, political or otherwise violative of any law. You agree not to post any copyrighted material unless the copyright is owned by you or by AJOR. The owner, administrators and moderators of AJOR reserve the right to delete any message or members for any or no reason whatsoever. You remain solely responsible for the content of your messages, and you agree to indemnify and hold harmless AJOR, the administrators, moderators, and their agents with respect to any claim based upon transmission of your message(s). The use of profile signatures to intentionally mislead or misdirect any member on this forum is not acceptable and may result in your account being suspended. Any trip that is organised through the AJOR forum is participated at your own risk. If you or your vehicle is damaged it is your responsibility, not that of the person that posted the thread, message or topic initiating the trip, nor the organisers of AJOR or moderators of any specific forum. This forum and associated website is the property of AJOR. No user data is harvested and no information supplied in your registration will be sold for profit.


Powered by vBulletin® Version 3.8.7
Copyright ©2000 - 2024, vBulletin Solutions, Inc.

AJOR © 2002 - 2024 AUSJEEPOFFROAD.COM. All corporate trademarked names and logos are property of their respective owners. Ausjeepoffroad is in no way associated with DaimlerChrysler Corporation or Fiat Jeep.
www.ausjeep.com www.ausjeep.com.au www.midlifemate.com ausjeepforum.com www.r9kustoms.com
vB Ad Management by =RedTyger=