Grand Willys Project - Page 209 - AUSJEEPOFFROAD.COM Jeep News Australia and New Zealand

Go Back   AUSJEEPOFFROAD.COM Jeep News Australia and New Zealand > JEEP GARAGE > Jeep build up
Register Forums Trading Your Jeep My Garage Mark All Read

Post New Thread  Reply
 
Thread Tools Search this Thread
  #1457  
Old 02-04-2019
Gojeep's Avatar
Gojeep  Gojeep is offline
LokRinger
 
Join Date: Jul 2002
Location: Victoria
Posts: 6,869
Likes: 788
Liked 1,754 Times in 556 Posts
Default

Thanks mate. Slow and tedious at the moment but getting there.
__________________
Cheers, Marcus.

My web site:
http://willyshotrod.com Over 5'000 Club
  #1458  
Old 06-04-2019
Gojeep's Avatar
Gojeep  Gojeep is offline
LokRinger
 
Join Date: Jul 2002
Location: Victoria
Posts: 6,869
Likes: 788
Liked 1,754 Times in 556 Posts
Default


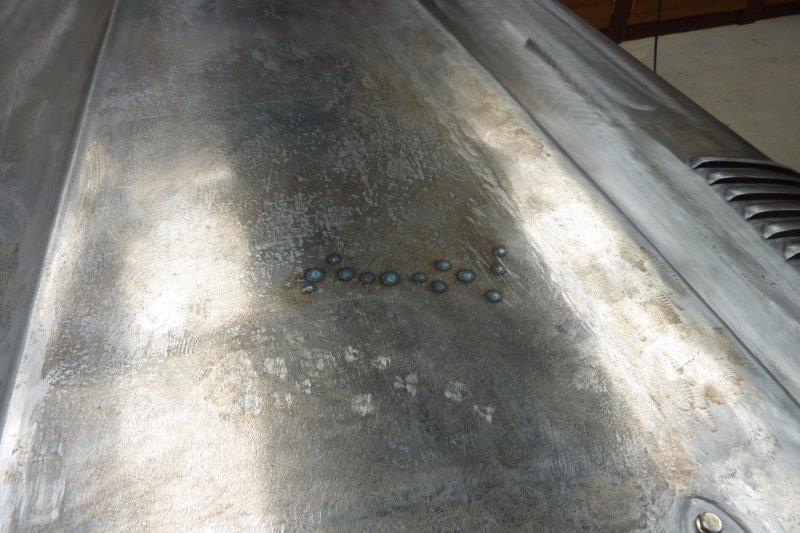
Rather than tacking with the mig like shown before, this time I thought I would try using the tig. I had the pedal adjusted to 50 amp max and mashed the pedal until it just got a gloss to it. Then moved to the next one. Worked even better as didn't have a tack to grind down afterwards.


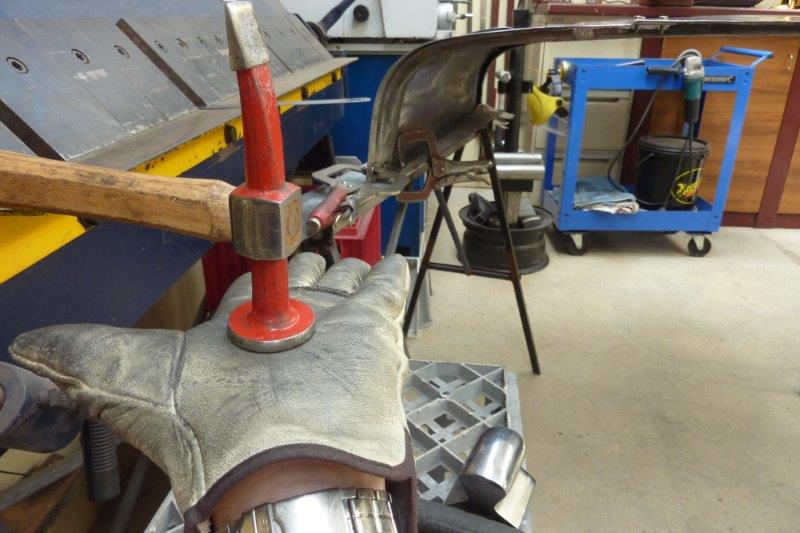
Once it had naturally cooled I hit it with a hammer directly over the heated spot into the flat palm of my hand. The panel actually looks worse straight after heating as it has gathered up metal from around it. So you hit the spots with a sweeping strike in different directions away from it.


The high spot over the support was also worked the same way and is now gone. The reason this bonnet needed so much shrinking over the whole panel is I actually need less crown than before due to the wider bonnet that rises to the same overall height as before, but over a longer distance.


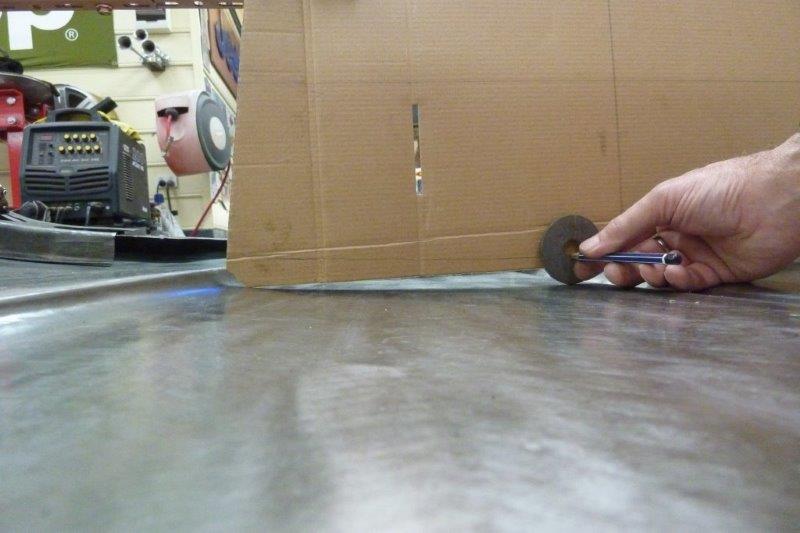
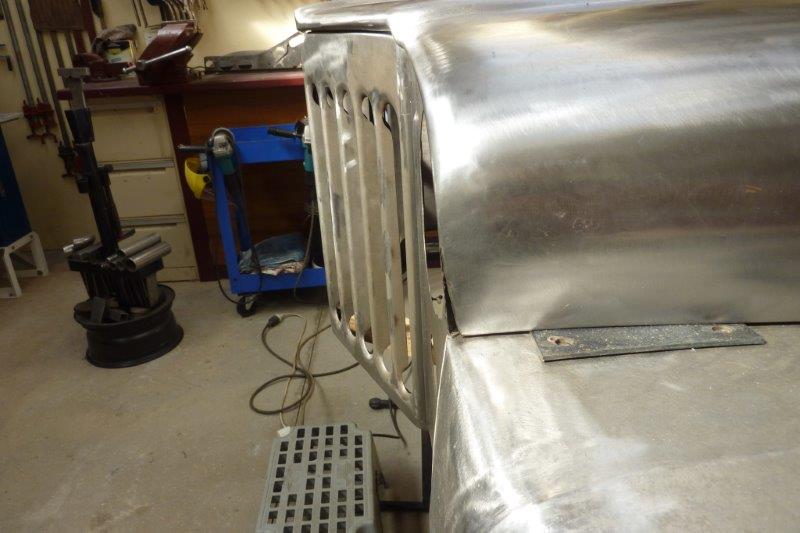
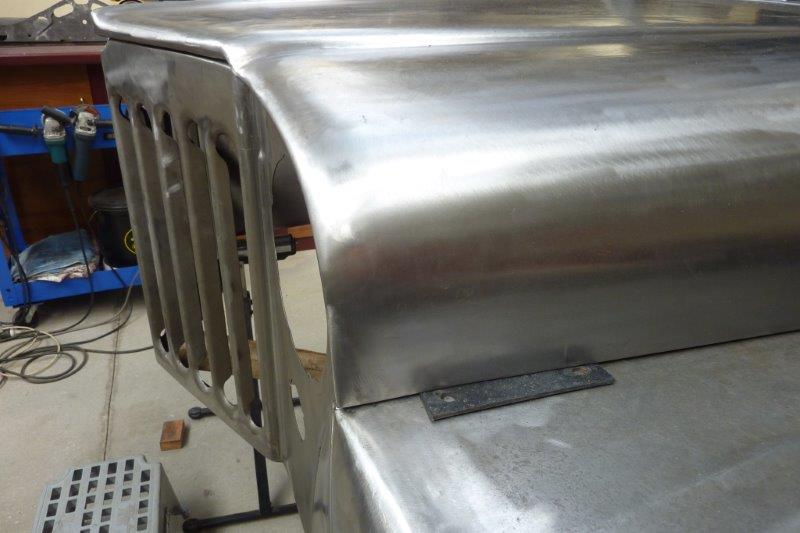
Thought I would add I little more high tech look under the bonnet as will have a modern engine. So going to use dimple die pressings. I tested the 3/4" size which was the largest I could fit inside the support, but didn't like the look. The 1" size shown was too big however.


So turned down the outside diameter on my lathe until it fitted. The flat area left around the dimple was still enough to do it's job of removing any distortion.


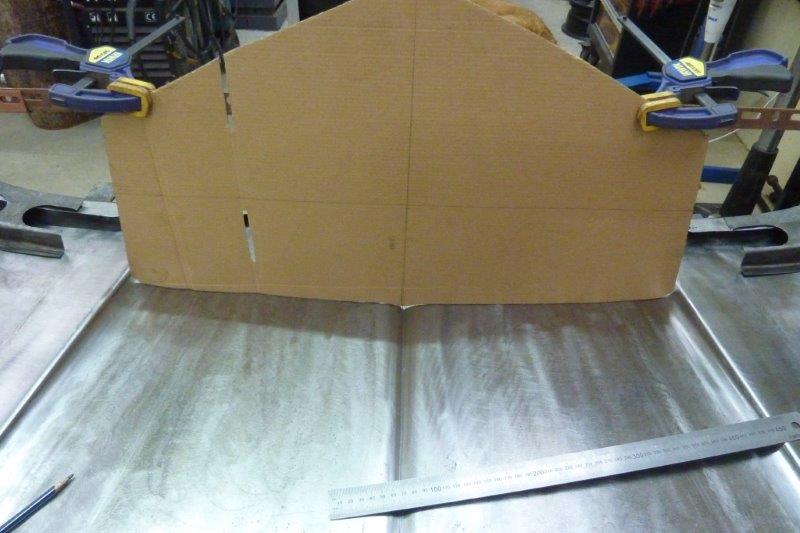
Can see the 3/4" and 1" pressing, (1.5" to the outside of the dimple), next to each other in the test piece. Just thought the bigger size had better proportions.


Halfway through drilling all the holes I want just using a step drill.


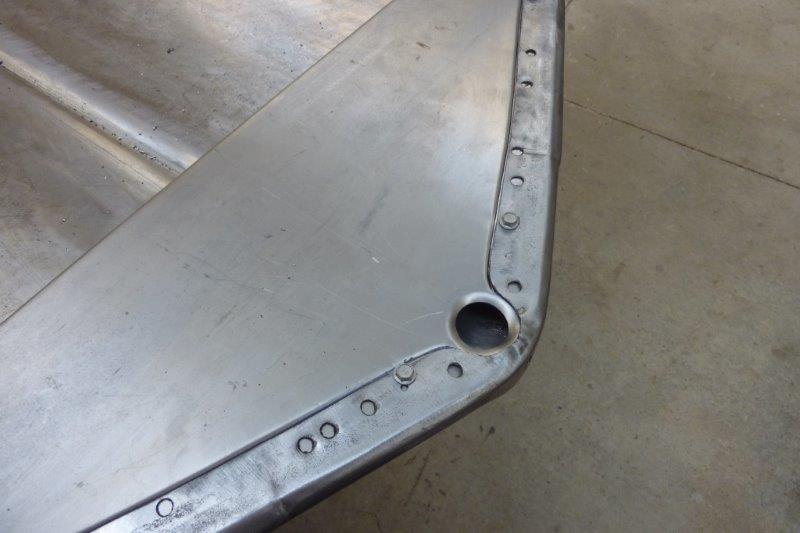
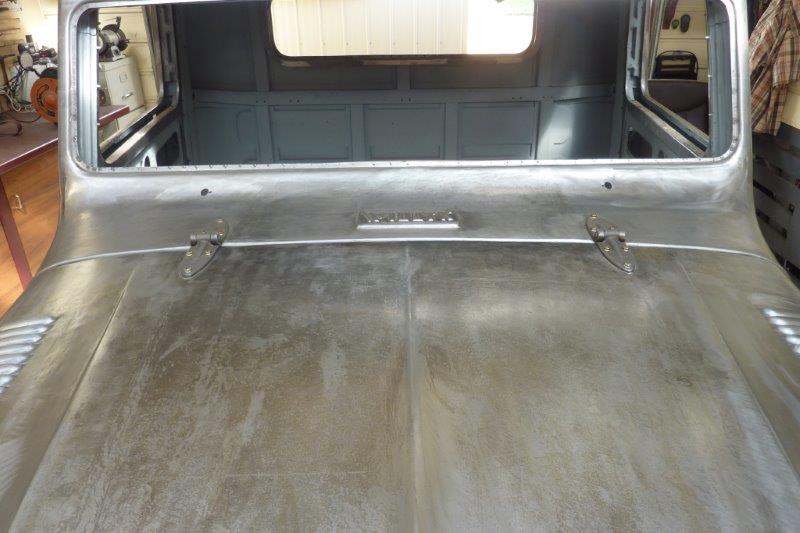
All drilled and pressed. I left the corners so it didn't flattened them out and they get distorted as well. Left the areas above the hinges and centre rib as think it looks better and what you find on aircraft as well where this technique comes from.


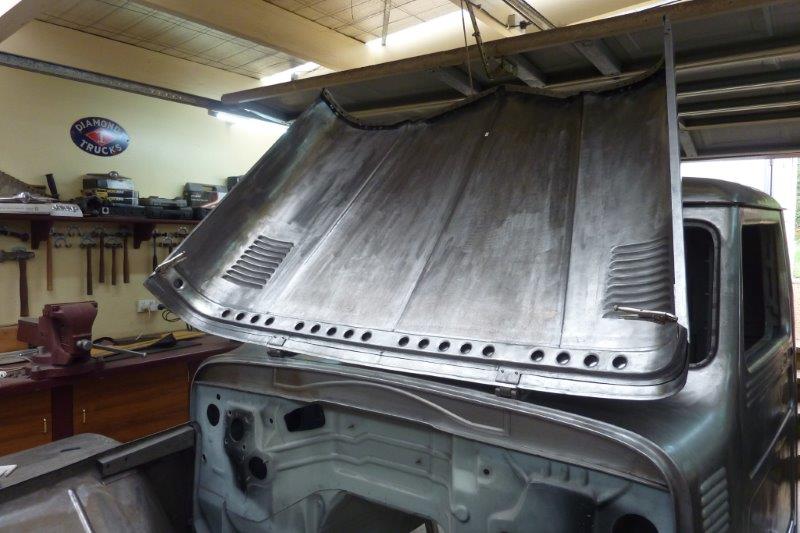
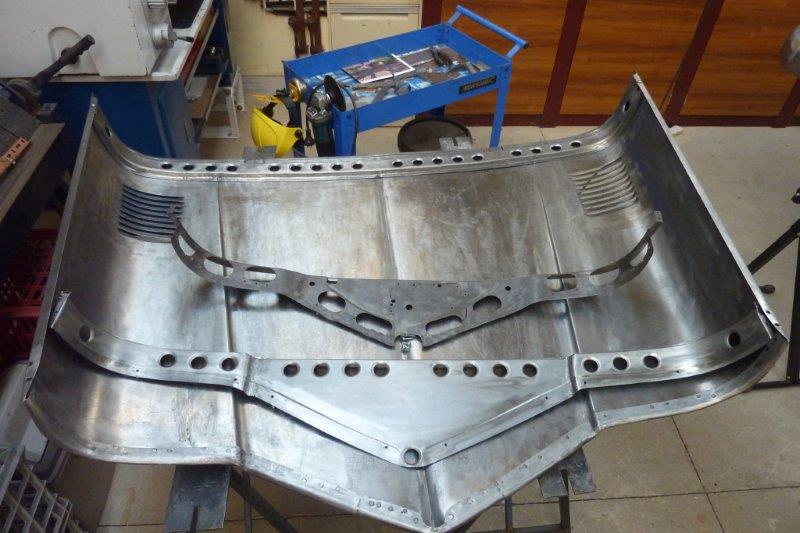
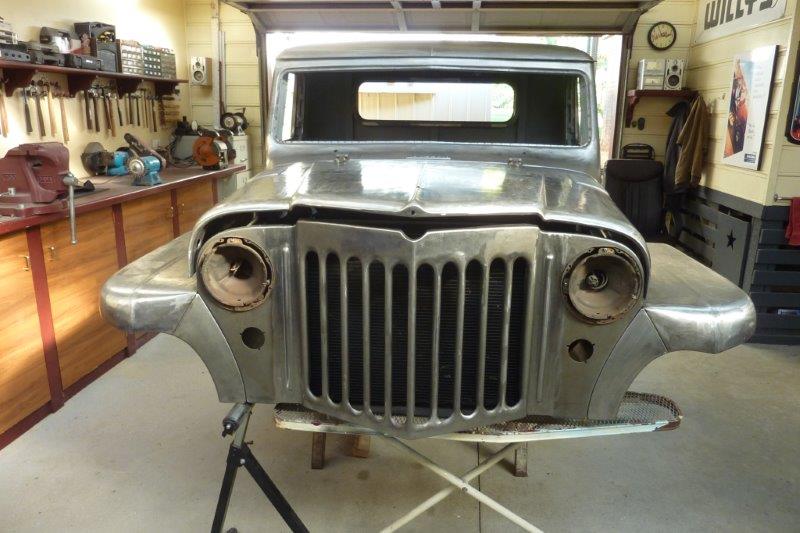
In place and bolted together on the Willys for the first time to see how it will all line up.


It sat a few millimeters low in the middle as the pressings would have flattened it slightly. So cut a piece of timber a bit long and carefully closed the bonnet over it to bend it upwards.


Now have a nice even height all the way along.


The gap isn't too bad either with only a slight bit of work needed towards the middle.


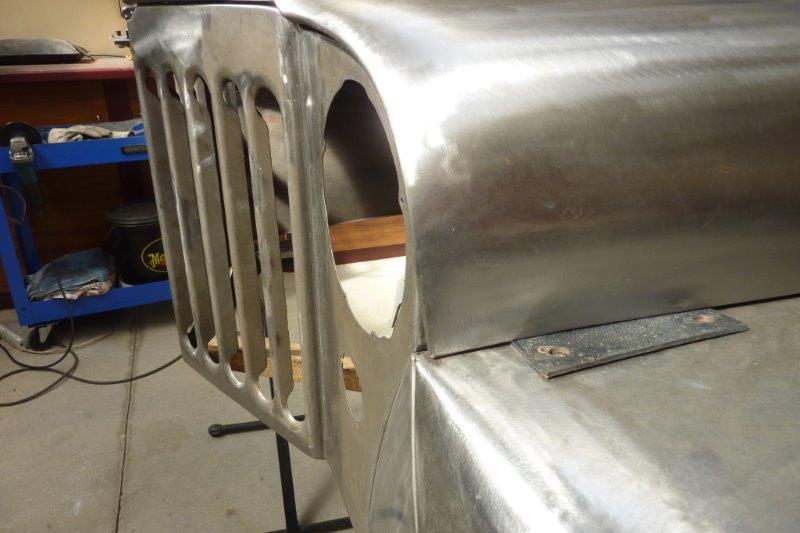
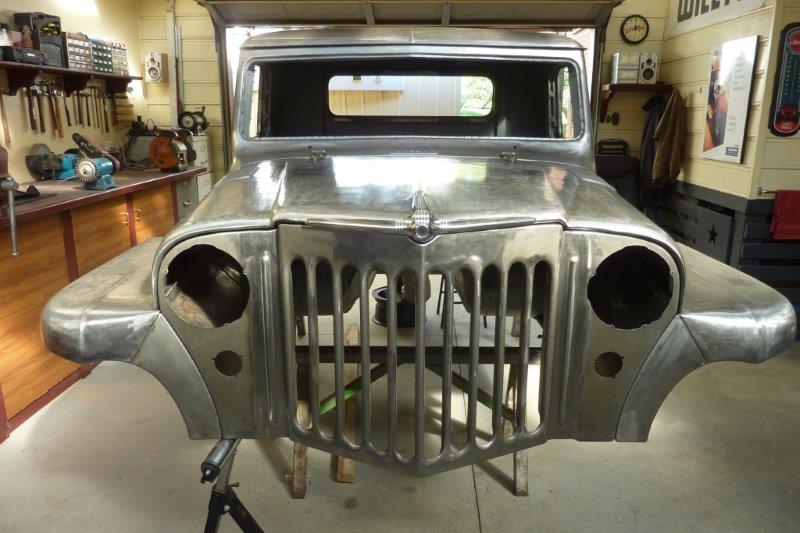
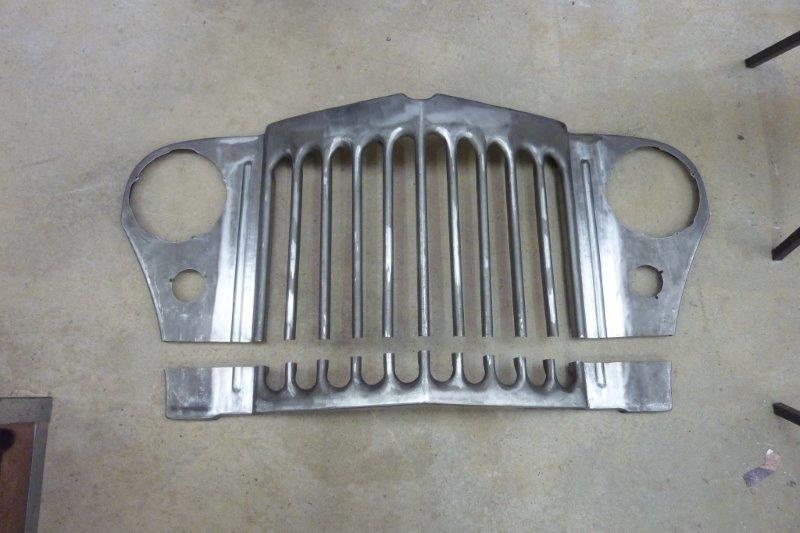
Something I need to address before moving on is I don't like how the lower bonnet edge comes up a bit short. In stock form it actually goes past the end of the guard but I wanted the rest of the bonnet to line up above the grille where the taper finishes.


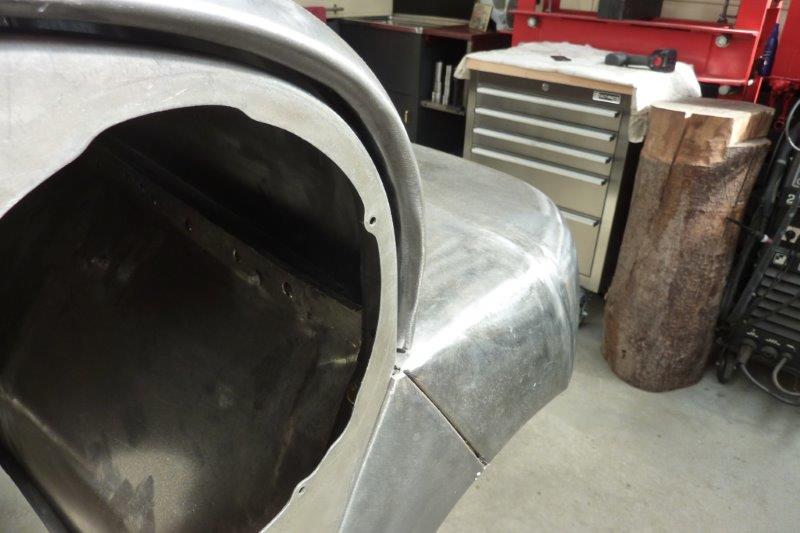
View from the other side doesn't look good either.


So cut it and pulled the inner flange forward to line up with the end.


Placed some copper behind it and welded it up.


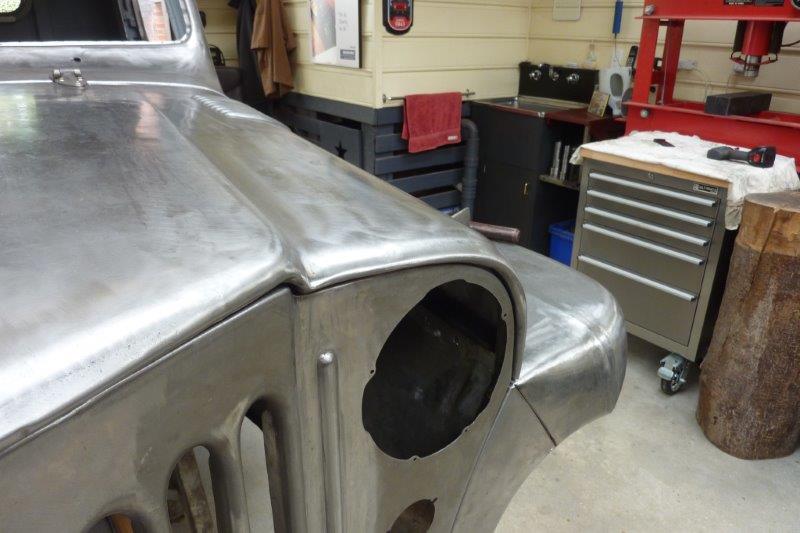
I like how it tapers towards the end now.


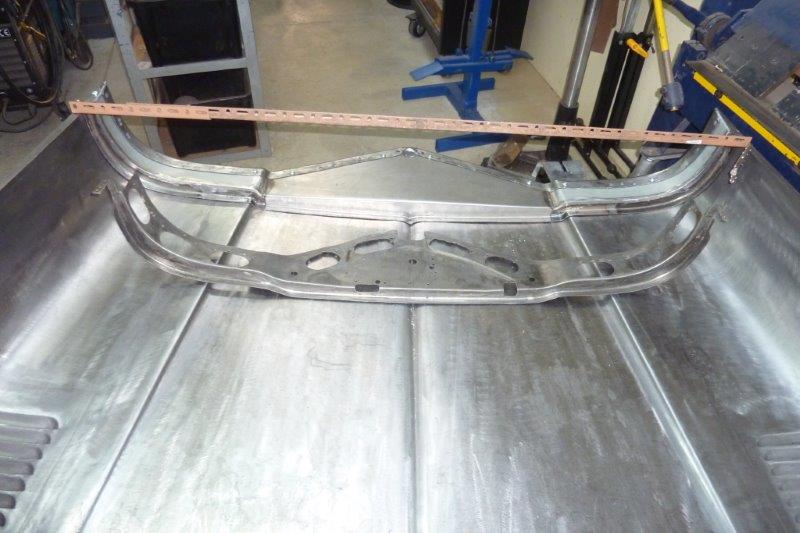
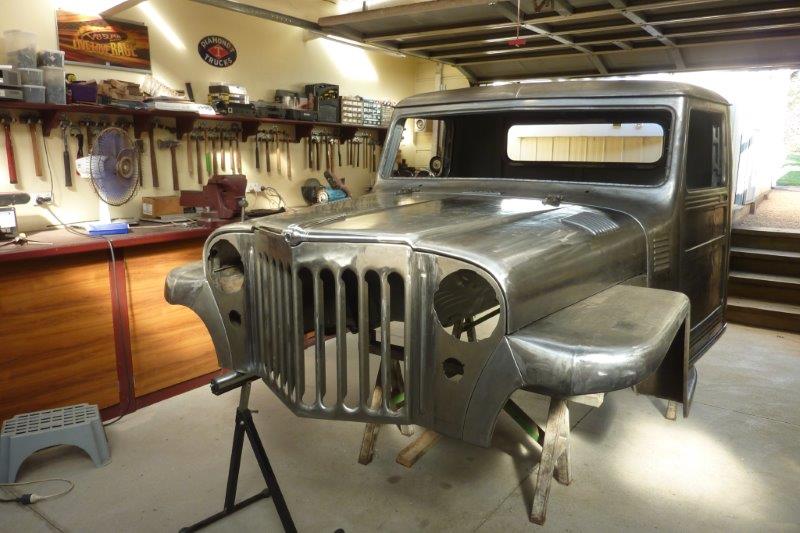
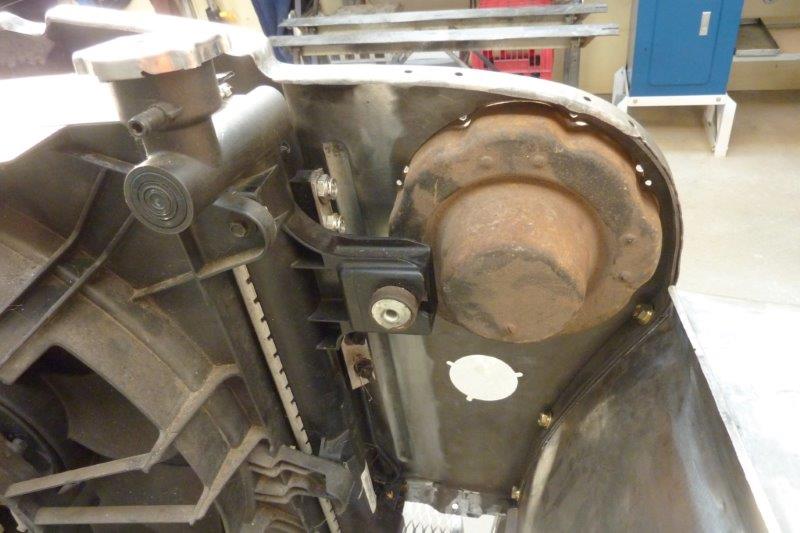
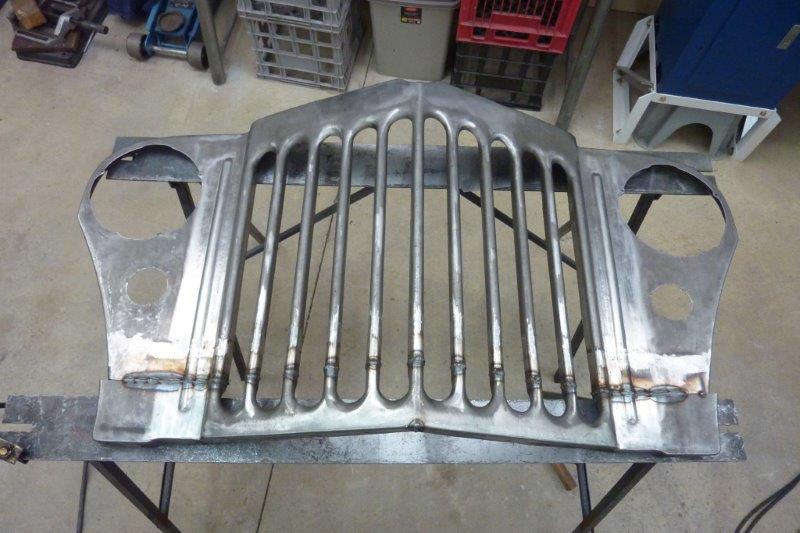
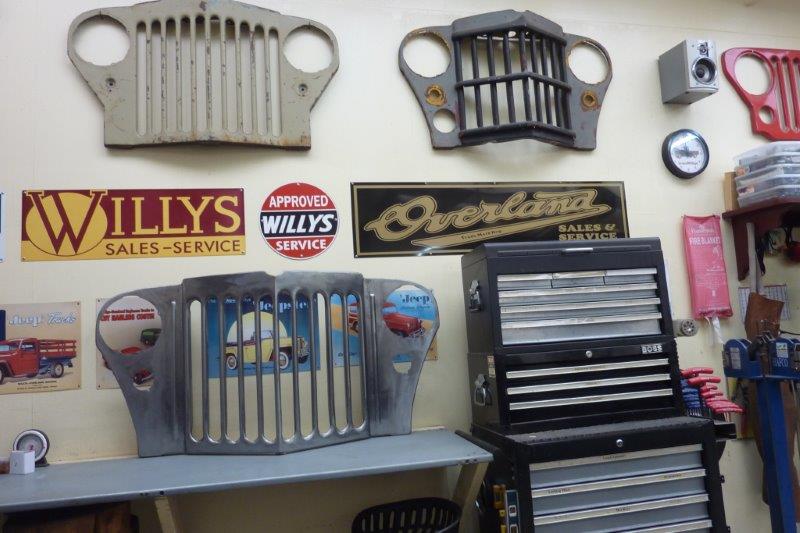
Next up is the front support. Won't be much I can use from the stock one!
__________________
Cheers, Marcus.

My web site:
http://willyshotrod.com Over 5'000 Club
  #1459  
Old 20-04-2019
Gojeep's Avatar
Gojeep  Gojeep is offline
LokRinger
 
Join Date: Jul 2002
Location: Victoria
Posts: 6,869
Likes: 788
Liked 1,754 Times in 556 Posts
Default


Needed to make a template of the bonnet profile where the back flange on the front support sits. I used a trick where you choose a washer that is slightly more that the biggest gap from its edge to the bottom of the hole . Then run the washer along with the pencil inside it to get your line.


As I had to start with a large washer, you can see it is not accurate on the tighter radius in the middle. So I just ran a much smaller washer after this right along the bottom edge to get it right.


I went hunting at the wreckers and found this neat latch and safety catch in one off a 240 Volvo. I cut out the support pieces as well in case I need them. They are very similar to universal ones you can get, but found the quality higher on these. Not sure if it is worth the cost of replating though.


Started with the centre section and decided to put a joggle in so it sits flat with the bonnet skin flange. I also put a dimpled hole in so I can access the stud for the bonnet ornament.


The factory support was not very stiff and the cause of the flutter these bonnets get at speed. That is why I believe you see so many with side latches added later. So I made it flat right across the centre to give greater depth in the flange. Also followed the profile of the bonnet to give more depth in the corners of the steps, rather than just cutting through at a 45 degree angle as the factory did. Also welded in pieces into the bonnet flange to make them the same width in the steps as they were cut right back to aid the pressing of the bonnet. But this also made it weaker in the corners.


I added the same sized dimpled holes as the rear support to tie in the theme. They are much smaller and stronger than the large cut outs of the original support as I don't need access for a spot welder. I will be doing plug welds instead in the holes left from drilling out the spot welds.


The latch will mount in the section in front of the dimpled holes.


The centre section came from a 1952 Willys Wagon that I got along with my 1958 Willys. The 58 and Wagon pieces were actually parts left from building another Willys Truck! I bought all the leftovers. The Wagon has a different hood ornament that is bigger and goes down the centre rib. I designed the front support so that the rear flange ended up right under the mounting hole to further strengthen the skin to the support structure.


This is with the Wagon ornament in place. It used to cover the whole front of the centre section to the edge of the dog leg on each side.


This is one of the original Truck ornaments I have which are shorter and only have two points.


I like the Wagon one better as it helps the proportions as it finishes short about what the original Truck ones did.
__________________
Cheers, Marcus.

My web site:
http://willyshotrod.com Over 5'000 Club
  #1460  
Old 27-04-2019
bodgie's Avatar
bodgie  bodgie is offline
Rock Munki
 
Join Date: Aug 2009
Location: Castle Hill, NSW
Posts: 2,136
What Jeep do I drive?: WG
Likes: 11
Liked 300 Times in 245 Posts
Default

I like the wagon emblem too.

Plating is pretty cheap by all accounts, have a look at this YouTube Channel:

https://www.youtube.com/channel/UC-F...3jUz6PANryzwYg

He's taken buckets of stuff to his plater and it's cost $65.

Plating looks so much better long term than painting or old crappy plating.

Jason
  #1461  
Old 27-04-2019
Gojeep's Avatar
Gojeep  Gojeep is offline
LokRinger
 
Join Date: Jul 2002
Location: Victoria
Posts: 6,869
Likes: 788
Liked 1,754 Times in 556 Posts
Default

Quote:
Originally Posted by bodgie View Post
I like the wagon emblem too.

Plating is pretty cheap by all accounts, have a look at this YouTube Channel:

https://www.youtube.com/channel/UC-F...3jUz6PANryzwYg

He's taken buckets of stuff to his plater and it's cost $65.

Plating looks so much better long term than painting or old crappy plating.

Jason
Does he ever mention who he uses as sounds like he is not far from me?
__________________
Cheers, Marcus.

My web site:
http://willyshotrod.com Over 5'000 Club
  #1462  
Old 28-04-2019
bodgie's Avatar
bodgie  bodgie is offline
Rock Munki
 
Join Date: Aug 2009
Location: Castle Hill, NSW
Posts: 2,136
What Jeep do I drive?: WG
Likes: 11
Liked 300 Times in 245 Posts
Default

Quote:
Originally Posted by Gojeep View Post
Does he ever mention who he uses as sounds like he is not far from me?
There are 2 or three he mentions but one is preferred over the others. I'd drop him a line to find out.

Jason
  #1463  
Old 28-04-2019
Gojeep's Avatar
Gojeep  Gojeep is offline
LokRinger
 
Join Date: Jul 2002
Location: Victoria
Posts: 6,869
Likes: 788
Liked 1,754 Times in 556 Posts
Default


Thought I would check for the first time how I am for clearance with the headlight buckets and radiator.


Looks like I knew what I was doing! This is why I didn't want to move the headlight across when I widened that area.


Just enough room between them to run a support through.


This shows how much I miss shutting the bonnet though as it hits the radiator filler neck and the power steering reservoir.


So why not improve function and form together! Always my goal.


So I have added in 50mm/2" to the height of the grille. This helps as I can lower the radiator and still keep it within the frame or flange that runs along the bottom so the core sits up against the back of the grille. Also the top part of the grille wasn't letting any airflow through anyway and need that area for the lower part of the bonnet latch support. Win win!


Can really see the size difference, but think it disguises the extra 9" of width and the 2" of extra height only helps the proportions.
__________________
Cheers, Marcus.

My web site:
http://willyshotrod.com Over 5'000 Club
Post New Thread  Reply


Posting Rules
You may not post new threads
You may not post replies
You may not post attachments
You may not edit your posts

BB code is On
Smilies are On
[IMG] code is On
HTML code is On


All times are GMT +10. The time now is 01:01 PM.


Advertisements


AJOR does not vouch for or warrant the accuracy, completeness or usefulness of any message, and are not responsible for the contents of any message. The messages express the views of the author of the message, not necessarily the views of AJOR or any entity associated with AJOR, nor should any advice be substituted as technical advice replacing that of a mechanic. You agree, through your use of this service, that you will not use AJOR to post any material which is knowingly false and/or defamatory, inaccurate, abusive, vulgar, hateful, harassing, obscene, profane, sexually oriented, threatening, invasive of a person's privacy, religious, political or otherwise violative of any law. You agree not to post any copyrighted material unless the copyright is owned by you or by AJOR. The owner, administrators and moderators of AJOR reserve the right to delete any message or members for any or no reason whatsoever. You remain solely responsible for the content of your messages, and you agree to indemnify and hold harmless AJOR, the administrators, moderators, and their agents with respect to any claim based upon transmission of your message(s). The use of profile signatures to intentionally mislead or misdirect any member on this forum is not acceptable and may result in your account being suspended. Any trip that is organised through the AJOR forum is participated at your own risk. If you or your vehicle is damaged it is your responsibility, not that of the person that posted the thread, message or topic initiating the trip, nor the organisers of AJOR or moderators of any specific forum. This forum and associated website is the property of AJOR. No user data is harvested and no information supplied in your registration will be sold for profit.


Powered by vBulletin® Version 3.8.7
Copyright ©2000 - 2024, vBulletin Solutions, Inc.

AJOR © 2002 - 2024 AUSJEEPOFFROAD.COM. All corporate trademarked names and logos are property of their respective owners. Ausjeepoffroad is in no way associated with DaimlerChrysler Corporation or Fiat Jeep.
www.ausjeep.com www.ausjeep.com.au www.midlifemate.com ausjeepforum.com www.r9kustoms.com
vB Ad Management by =RedTyger=