Willys Truck Ratrod - Page 2 - AUSJEEPOFFROAD.COM Jeep News Australia and New Zealand

Go Back   AUSJEEPOFFROAD.COM Jeep News Australia and New Zealand > JEEP GARAGE > Jeep build up
Register Forums Trading Your Jeep My Garage Mark All Read

Post New Thread  Reply
 
Thread Tools Search this Thread
  #8  
Old 15-11-2017
scruff  scruff is offline
Established Member
 
Join Date: Jan 2012
Posts: 166
Likes: 4
Liked 14 Times in 8 Posts
Default

Amazing to watch


Sent from my iPhone using Tapatalk
Likes: (1)
  #9  
Old 16-11-2017
Gojeep's Avatar
Gojeep  Gojeep is offline
LokRinger
 
Join Date: Jul 2002
Location: Victoria
Posts: 6,869
Likes: 788
Liked 1,754 Times in 556 Posts
Default

Thanks mate.

Many thanks for the support.

Another little update from yesterdays work.


Hockey sticks! Like the rear wall, had to attach parts of the curved sections of the inner window frame left from not cutting the rear wall through the vertical section.


Joins in the middle of a curve are always harder to dress later than if done in the middle of the vertical part.


Cut our where the old seat belt mount was so I could get to the rest of the joins around the B pillar. The outer panel covers the rear face, and it is too hard to weld around the corner of the other seam. I also used a flat blade screw driver and hammered out the edge of the hole left that had caved in from the seat belt bolt passing through from the outside.


Once flat again I could tack in a patch to be fully welded in. Still able to hammer out any distortion through the B pillar from the other side.


Hole now gone.


I was now able to align the pillar and weld across the back of it and side. Also added weld to both sides to better join the lip left from the face of the pillar as the seat belt mount plate will attach there.


Regulations call for a minimum of a 50x75x3mm, ( 2"x3"x1/8") plate for the seat belt mounting bolts. I have gone taller and slightly thicker in this case. A 7/16" UNF nut is mounted behind the plate, the same used on all belt mounting points.


Sometimes you have to be a bit creative to align things before tacking!


So both upper seat belt mounts done and the inner window frame extended and welded into place.
__________________
Cheers, Marcus.

My web site:
http://willyshotrod.com Over 5'000 Club
  #10  
Old 18-11-2017
Gojeep's Avatar
Gojeep  Gojeep is offline
LokRinger
 
Join Date: Jul 2002
Location: Victoria
Posts: 6,869
Likes: 788
Liked 1,754 Times in 556 Posts
Default

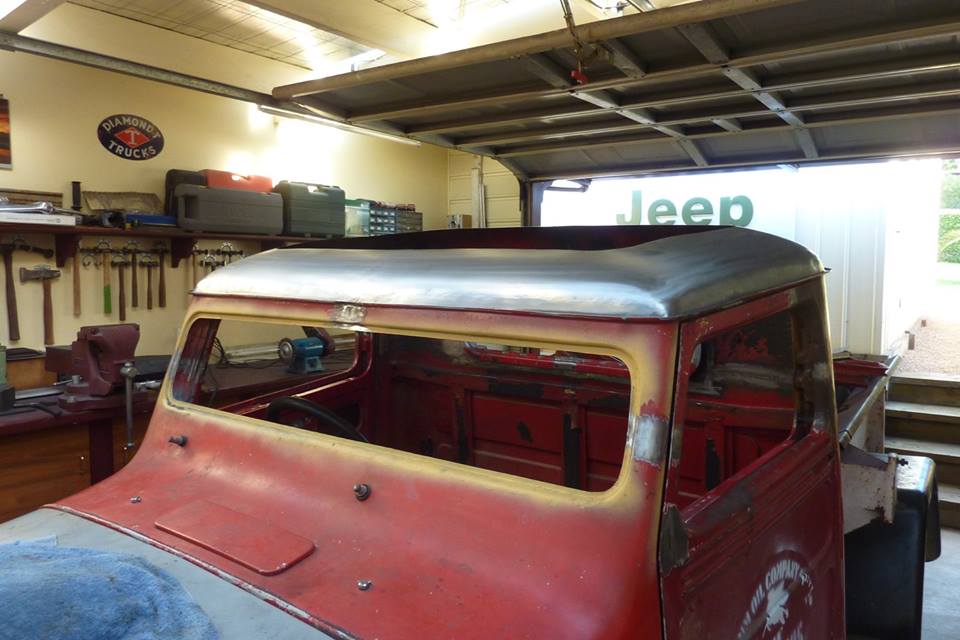
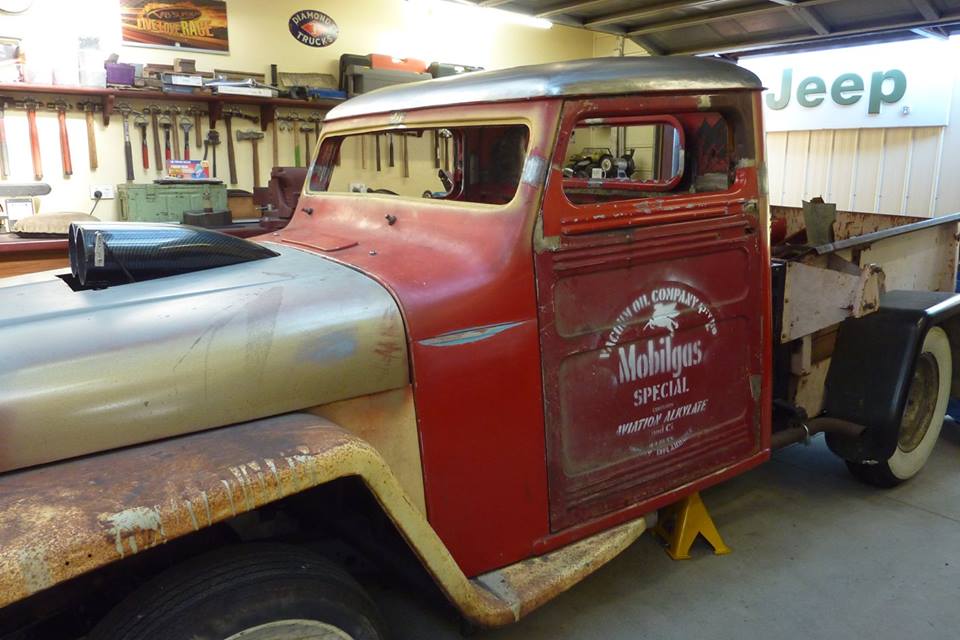
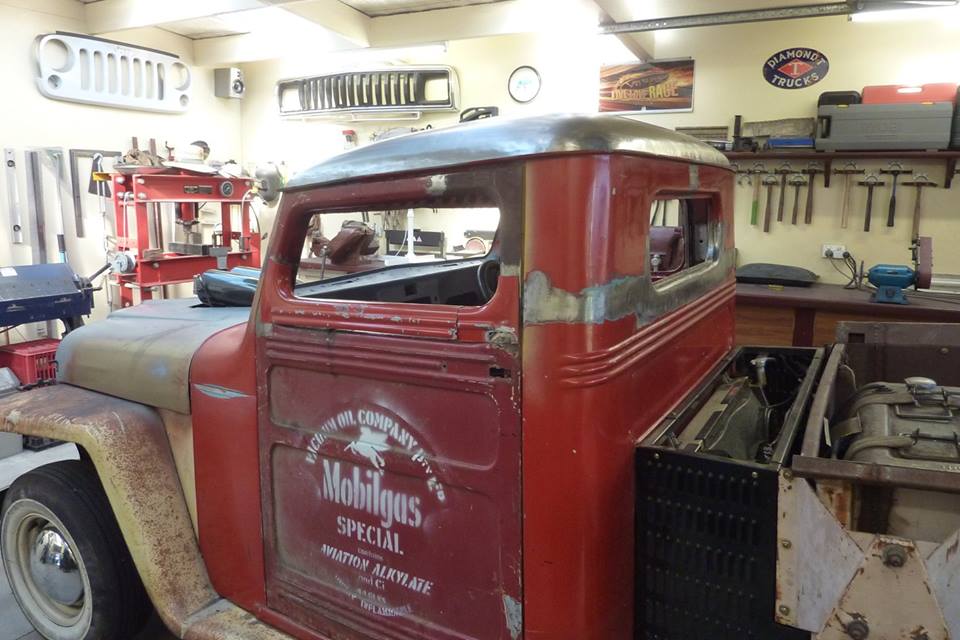
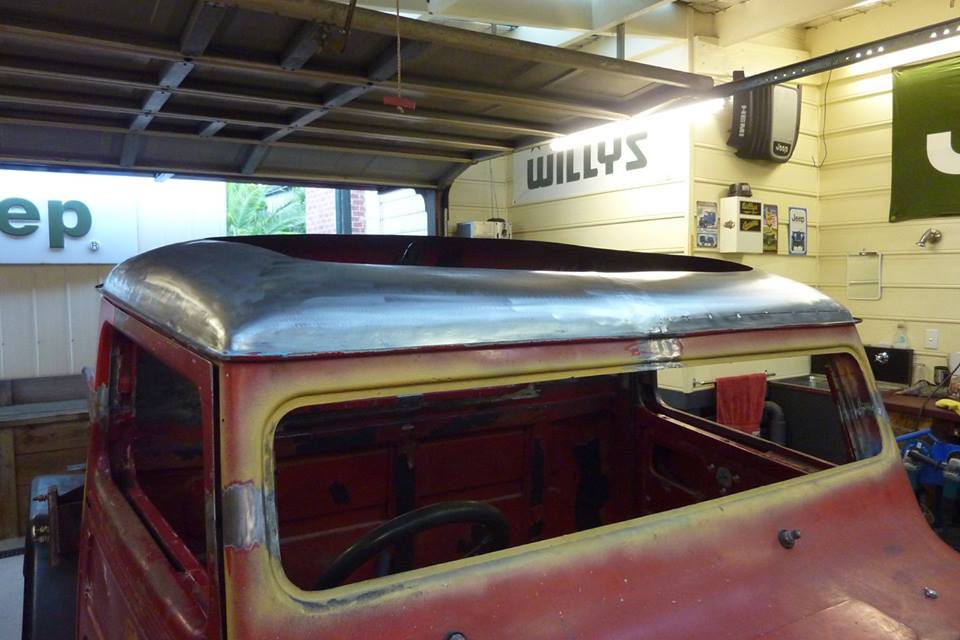
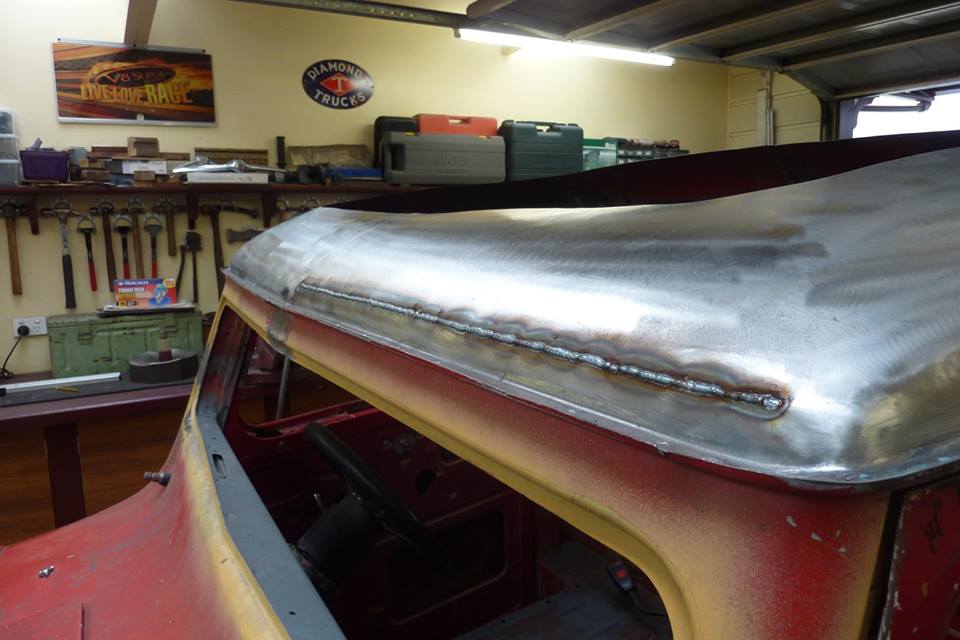
Sorry but not a lot to show for the last few days as just a lot of shape correcting that should have been done even before tacking, let alone fully welded! Taking longer this way and the job doesn't finish to the same standard in the end unless I spend an extra few days metal finishing it. Owner dropped around last night and is very pleased with leaving it with corrected shape that will only need a smear of filler or heavy build primer before paint.


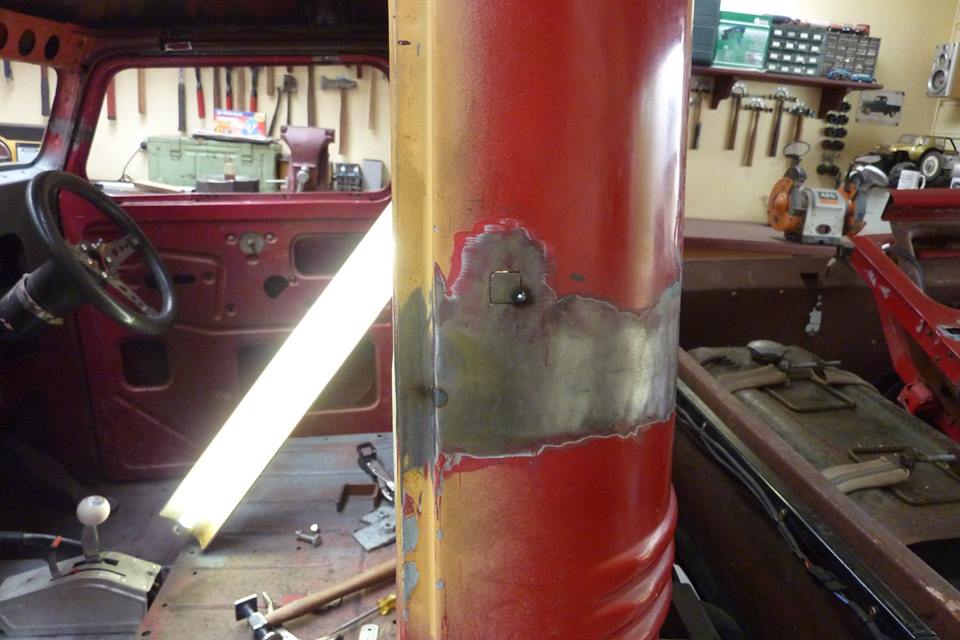
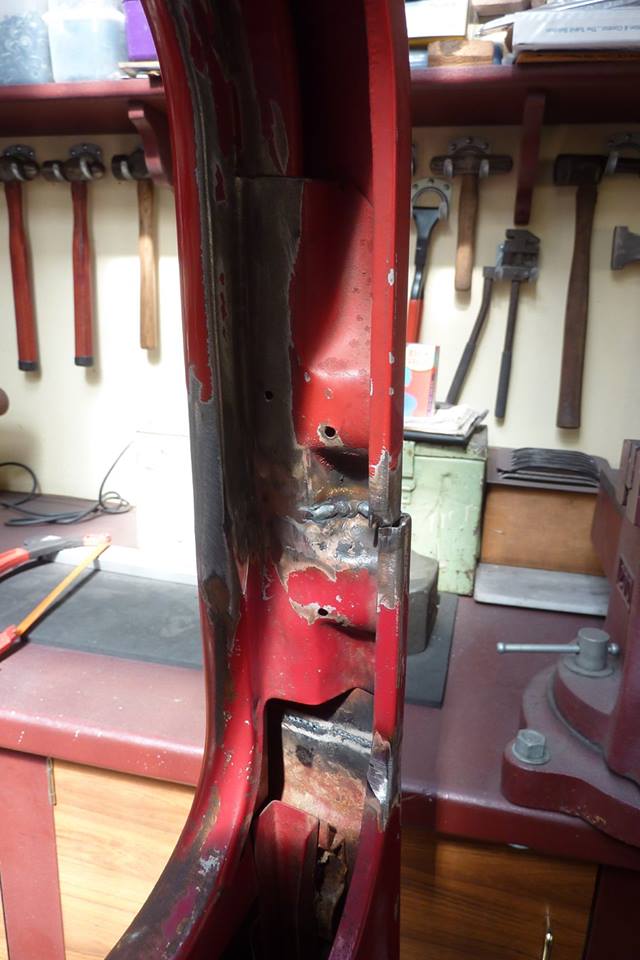
Before any grinding is done on these welds, I look for any obvious low spots like this.


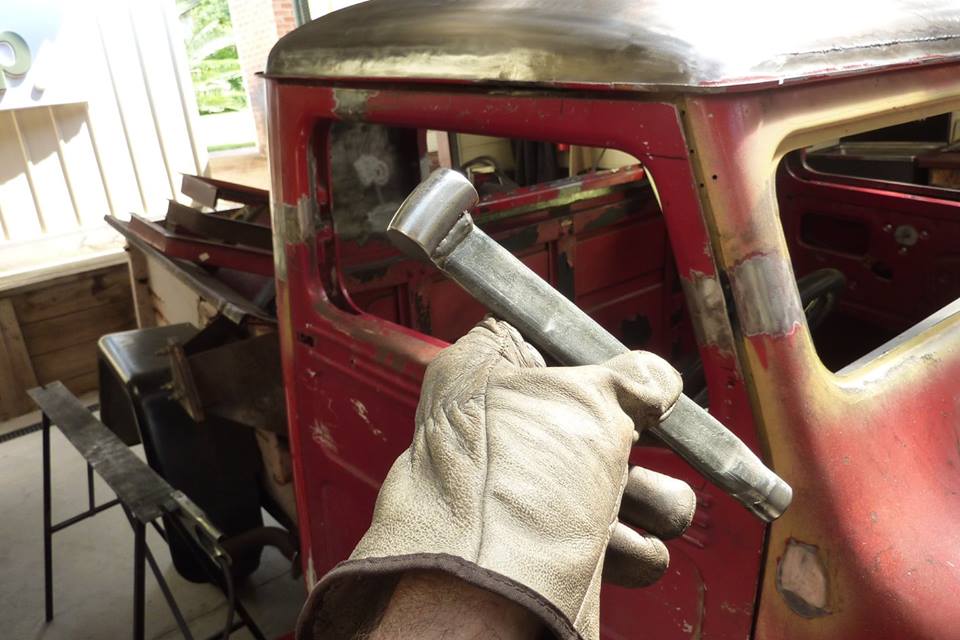
A rounded chisel is hammered on to knock the low spot level.


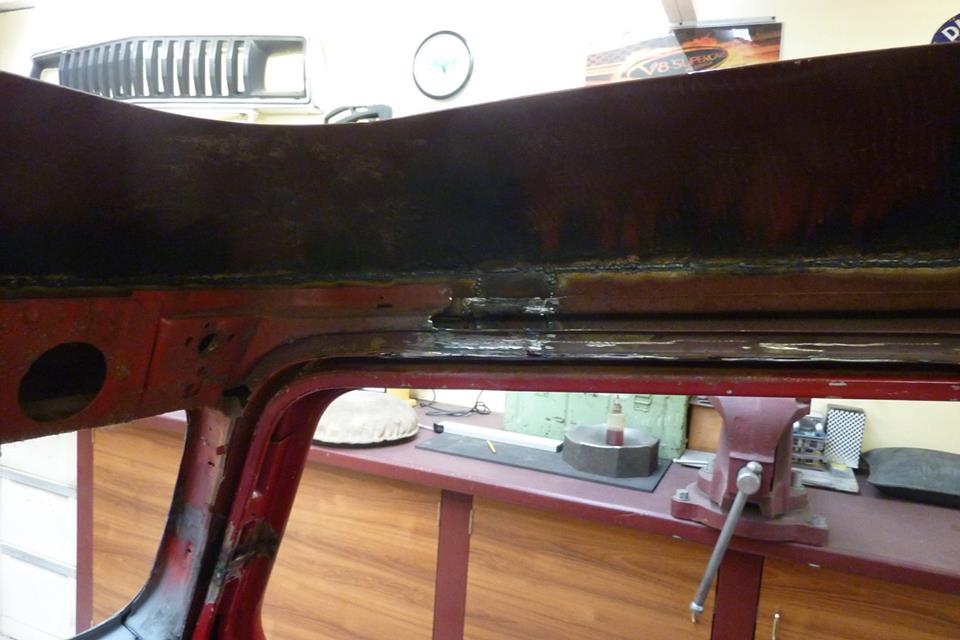
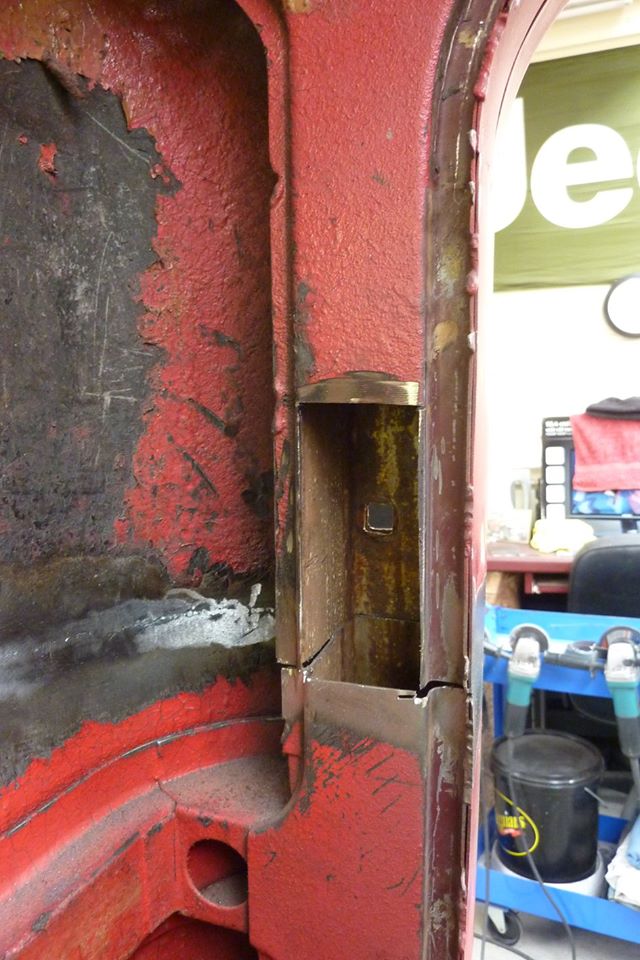
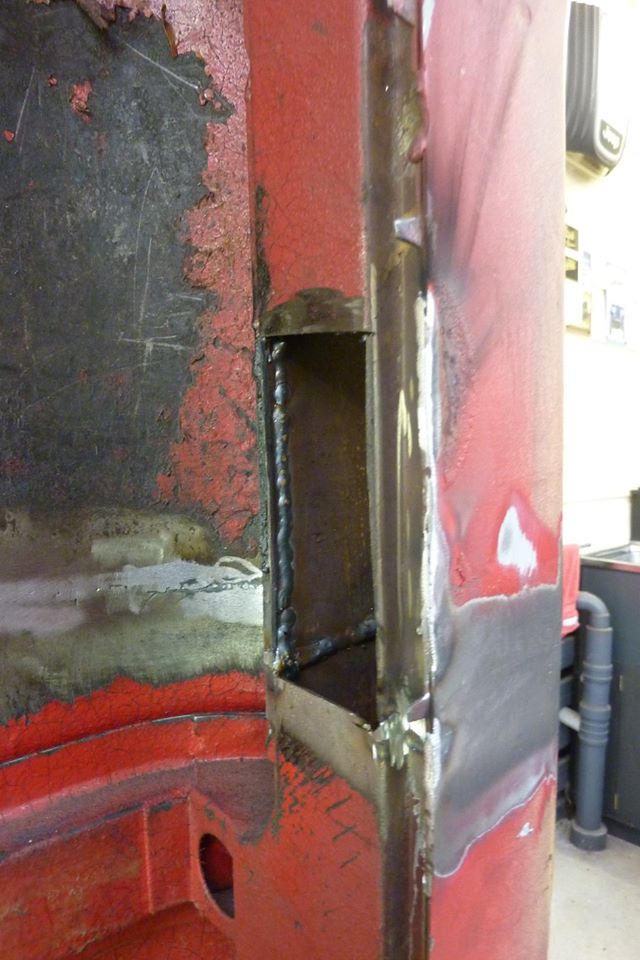
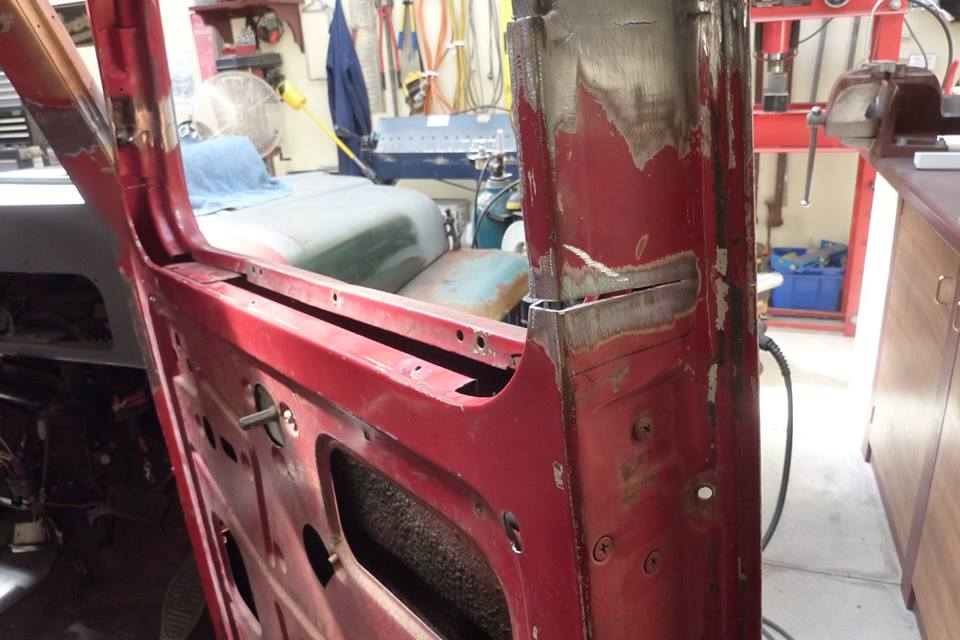
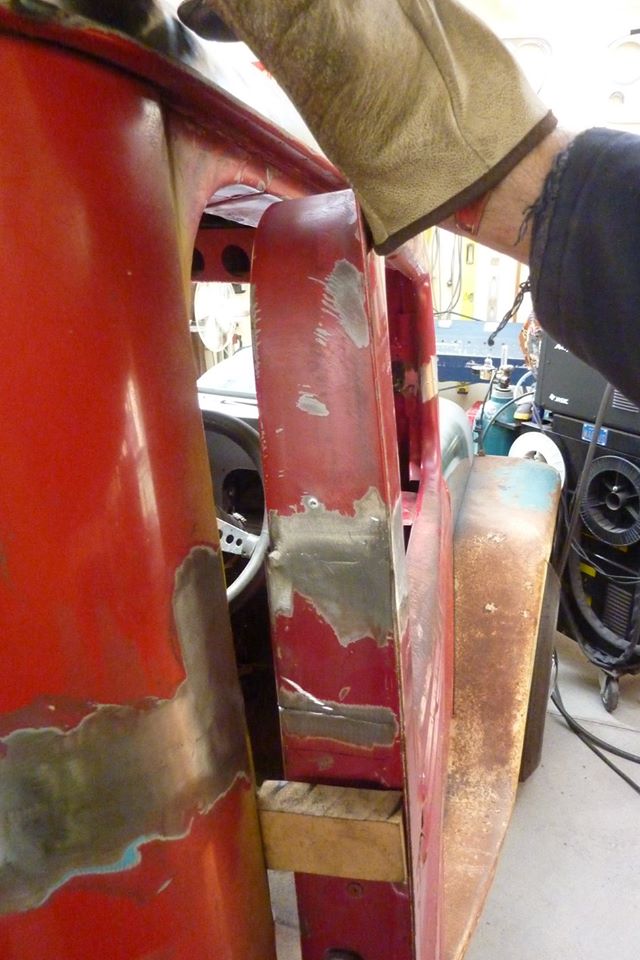
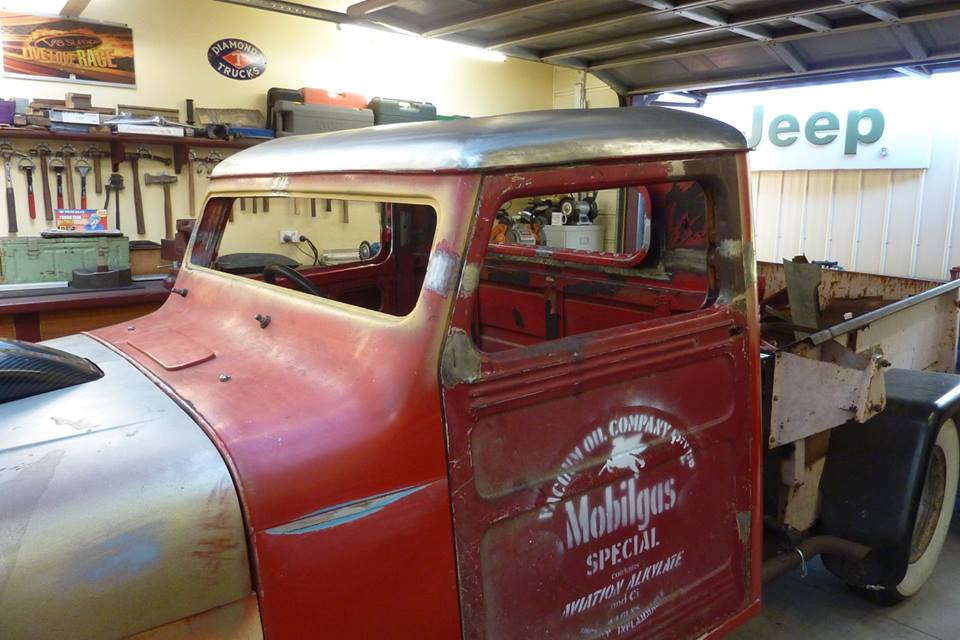
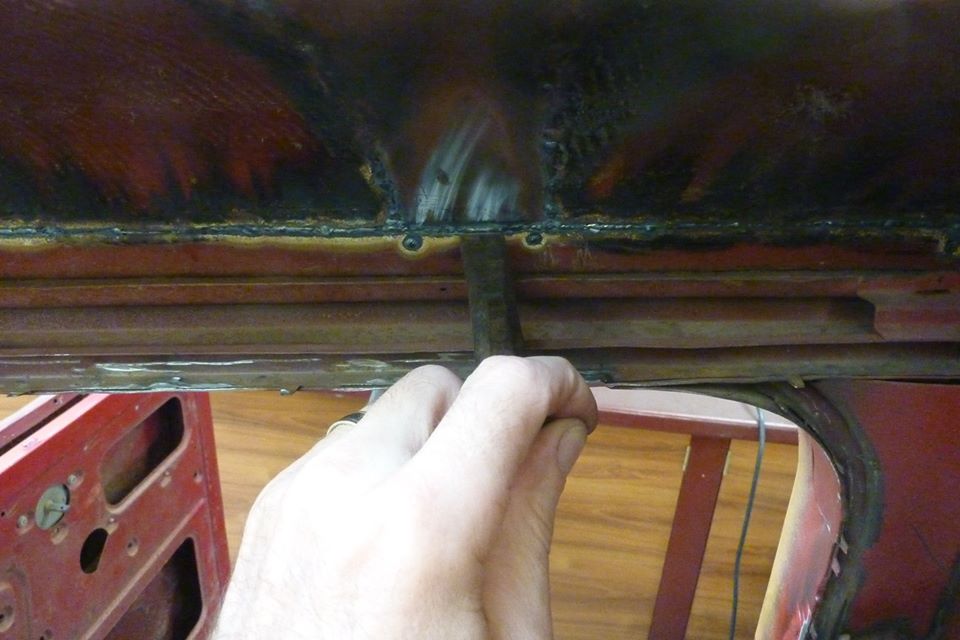
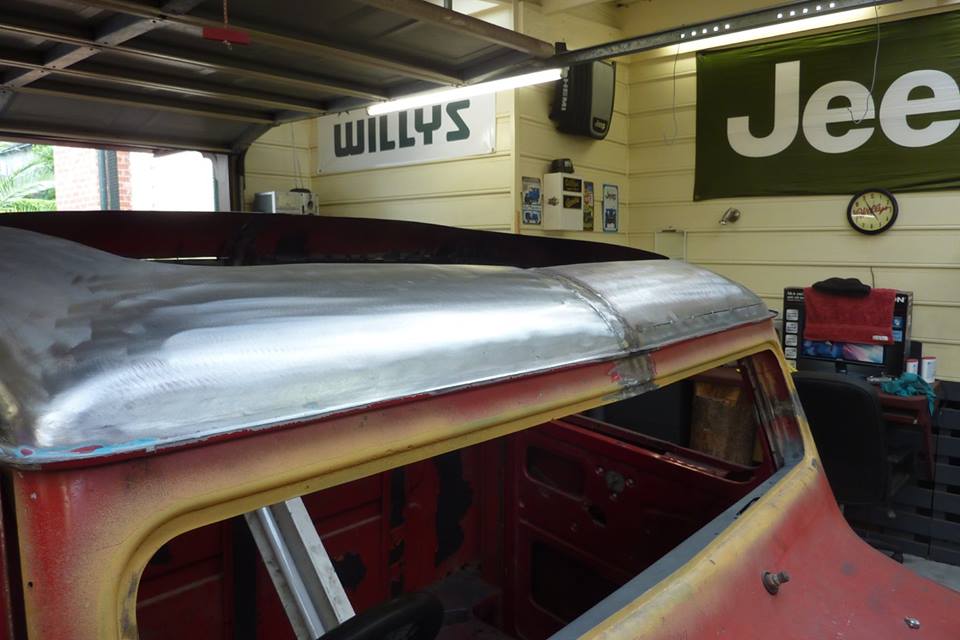
I showed earlier the unsound joint here on both sides. Ended up removing the tack channel from the fill in piece that was too short, and then welding up the rest of the joint. Then fitting a longer tack channel back in its place to meet up with the one that goes down the A pillar.


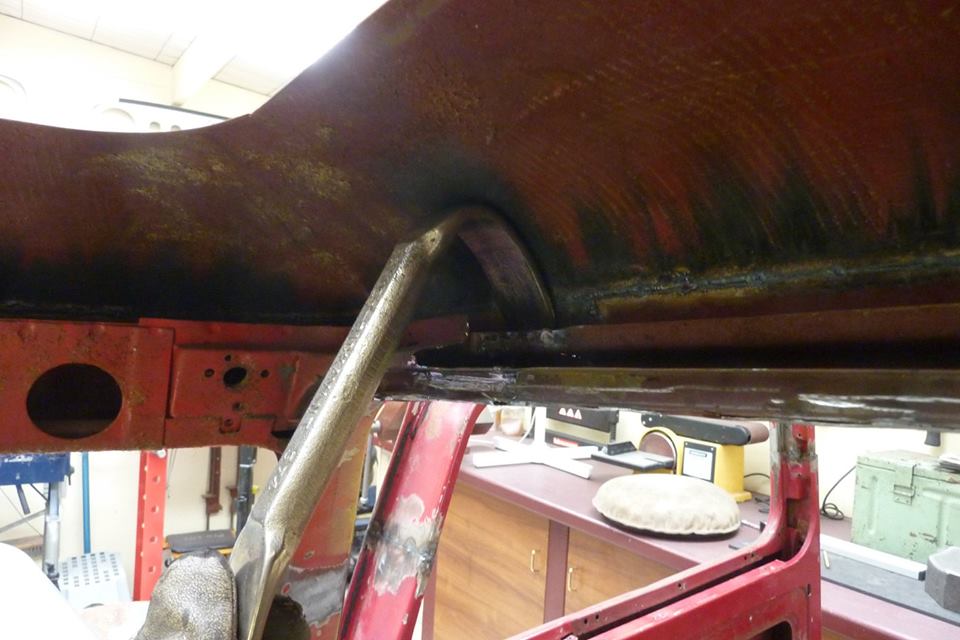
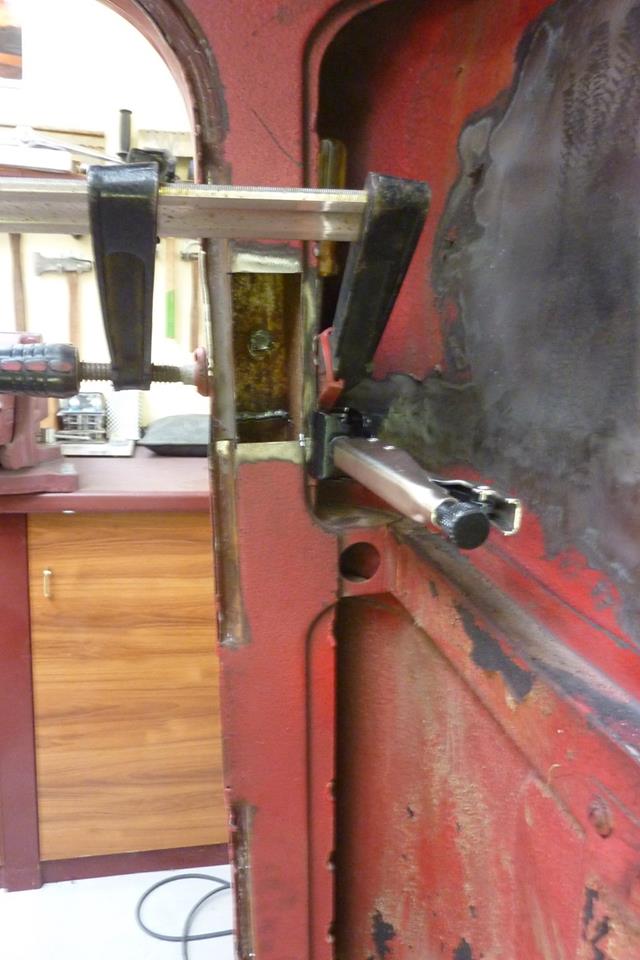
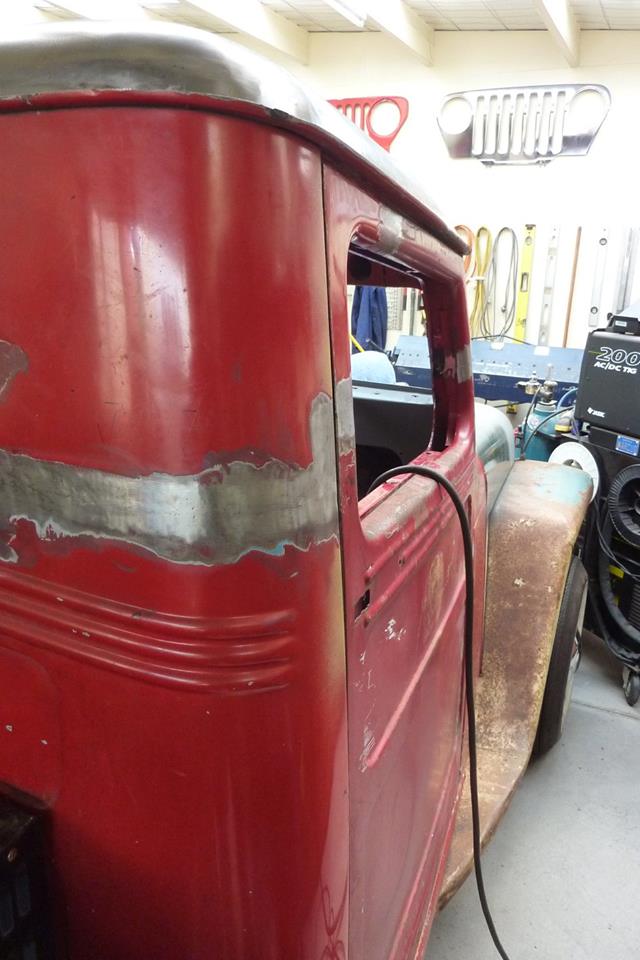
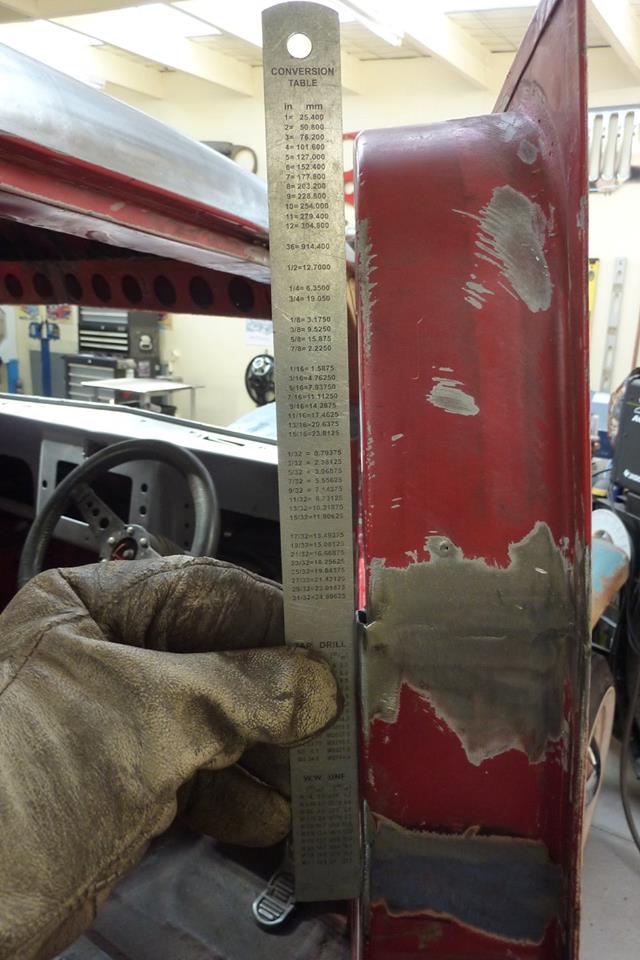
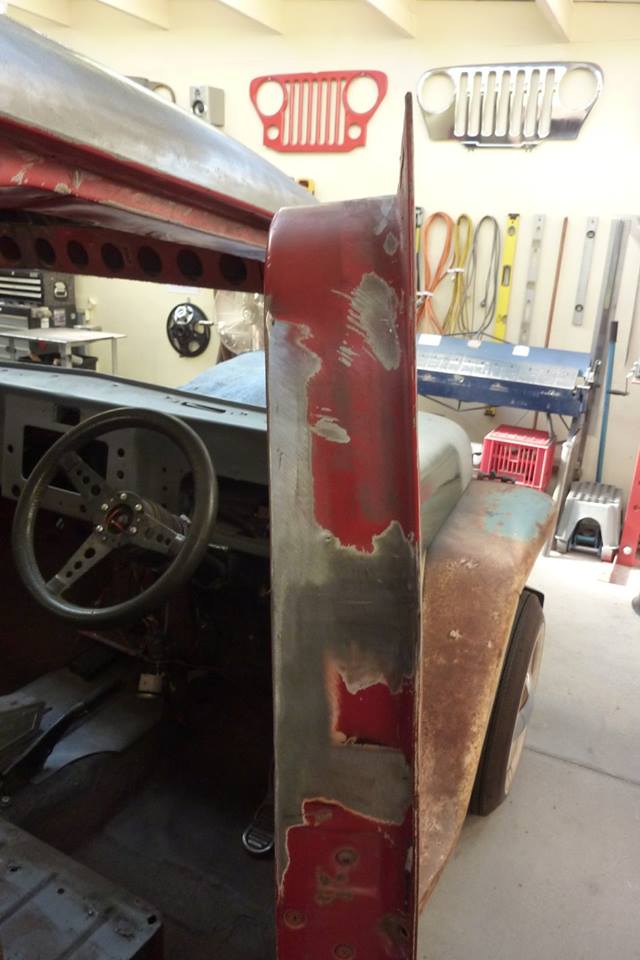
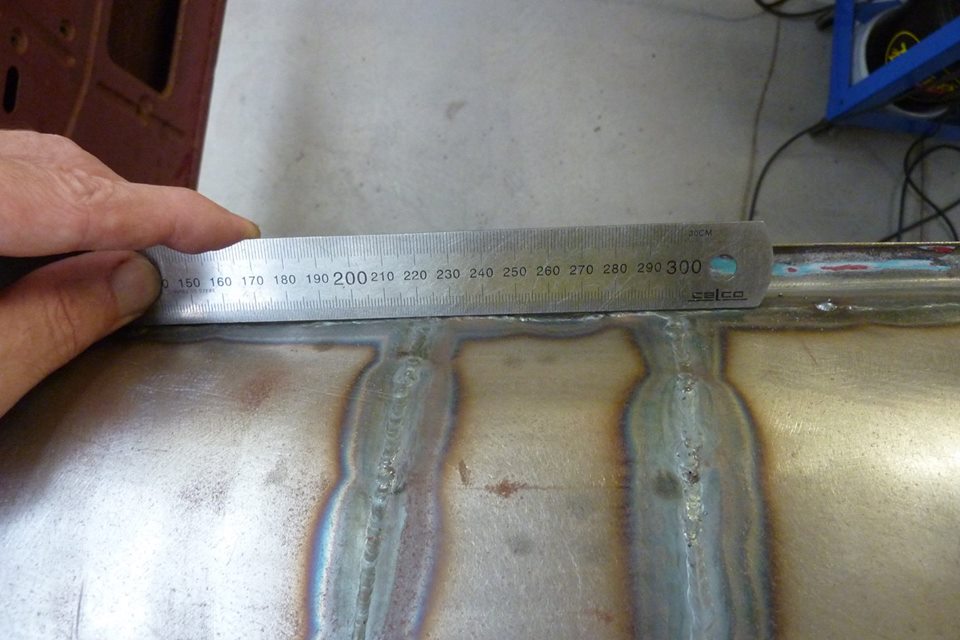
The welds along the side peaked outwards as it had not been probably shaped beforehand. I held this spoon behind the seam and hammer the weld outside until it just touched the spoon. You can feel and hear it when this happens. I didn't want to stretch this weld at all due to the outwards peak it had.


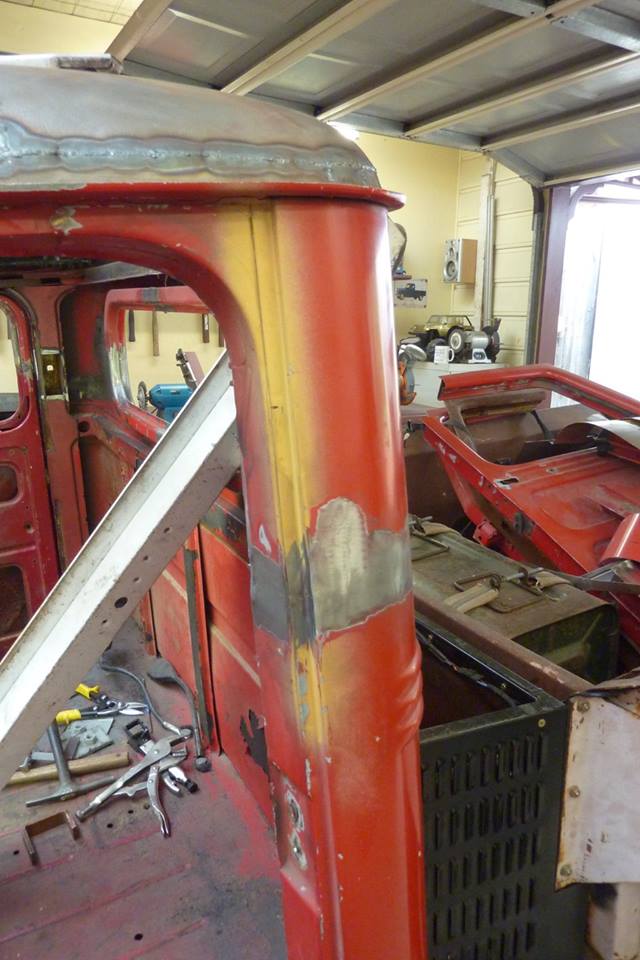
After grinding, some low spots were hammered out from behind using this that I had made for the corners. Just concentrating on getting a good shape without spending a lot of time getting a metal finish on this project.


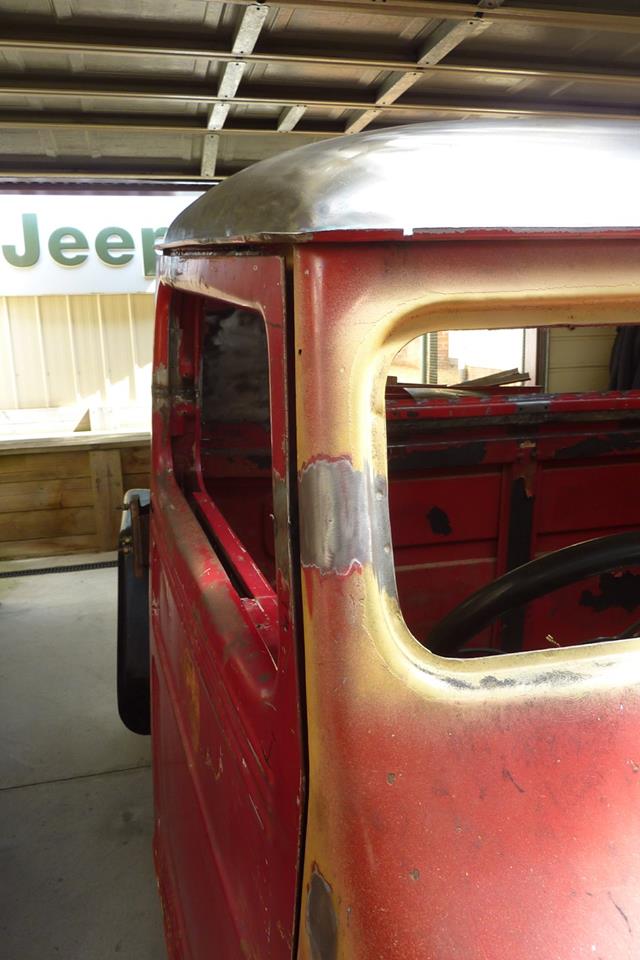
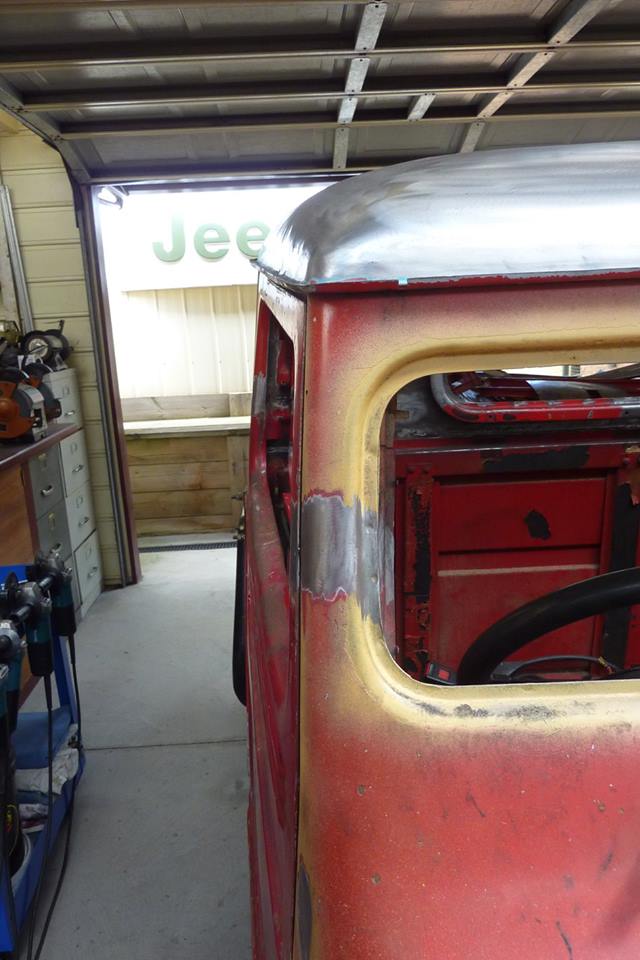
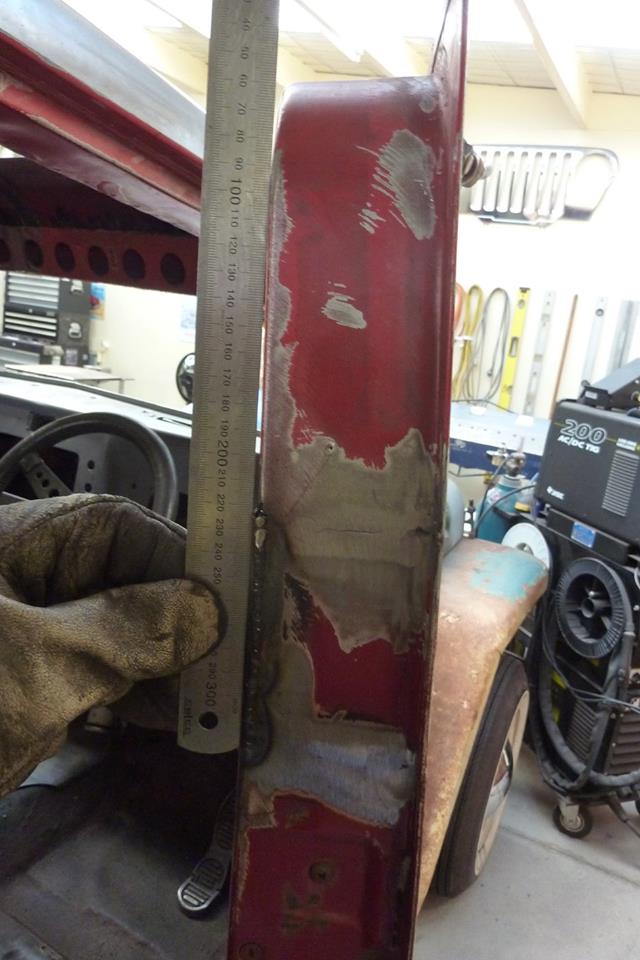
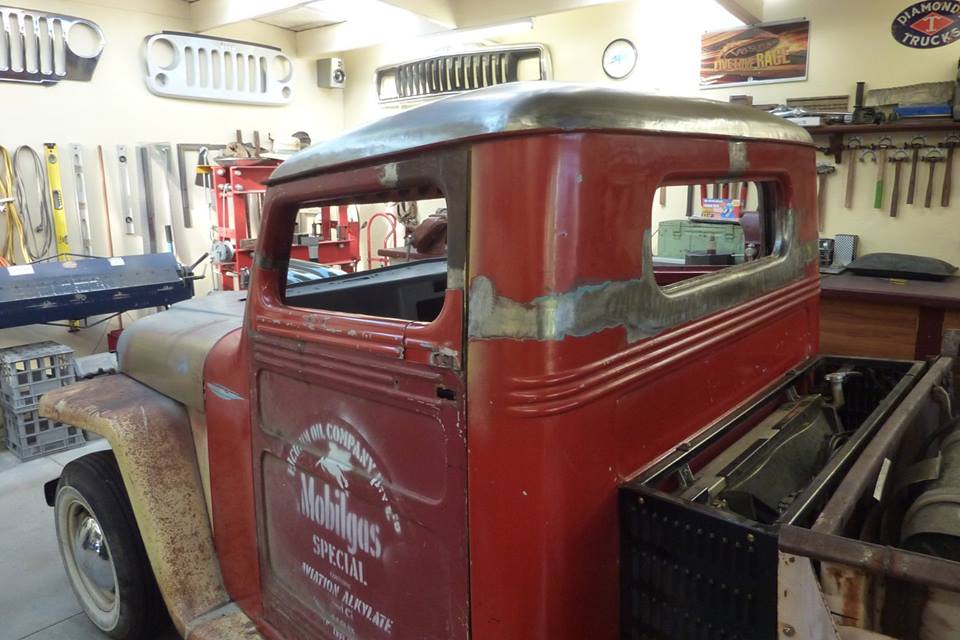
Corner joint looked like a baseball cap where it meets the visor part where the two sections met after the 1.5" strip was cutout. Was able to re-shape it to flow better though.


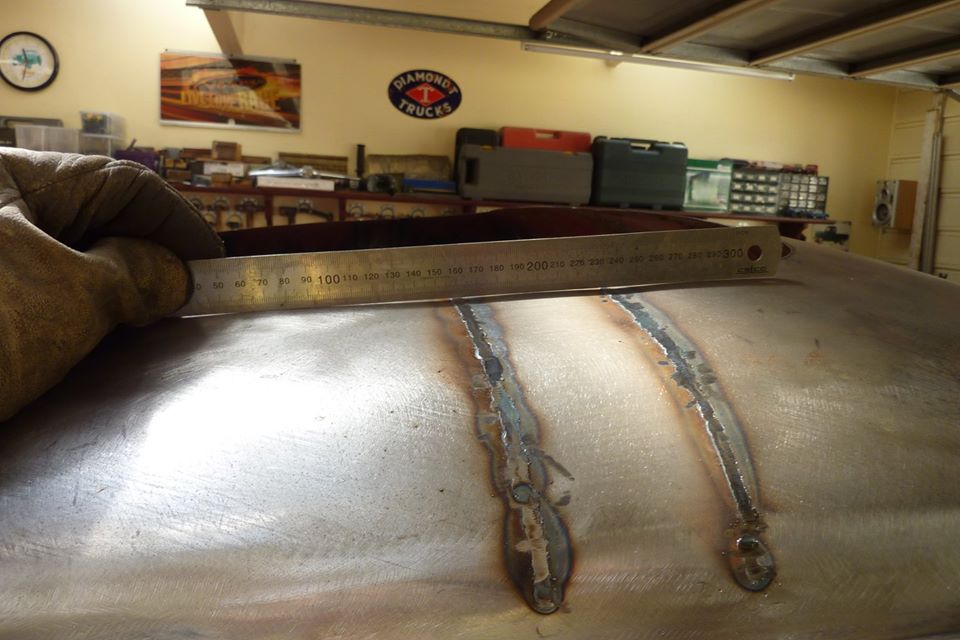
The left on these two joints had about a 3mm-1/8" gap that needed to be welded up. It pulled a bit more on that side but both seams need to hammer on dolly to stretch the weld and raise it up.


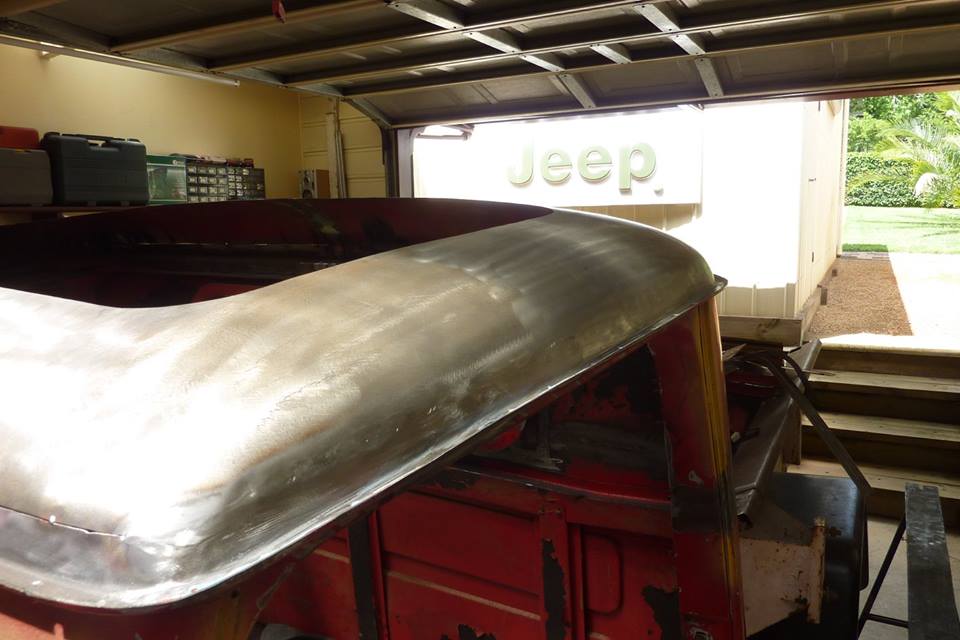
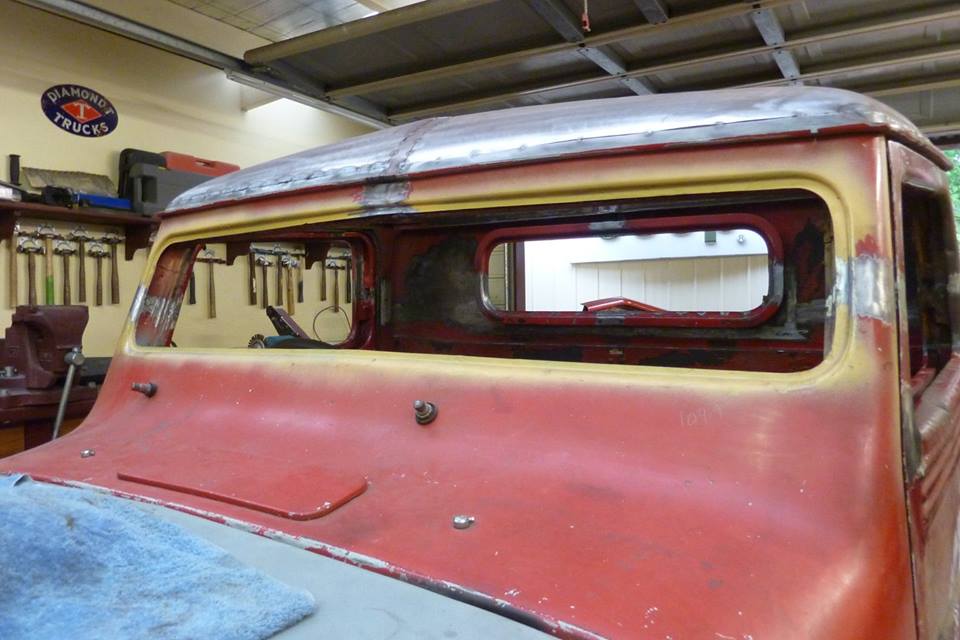
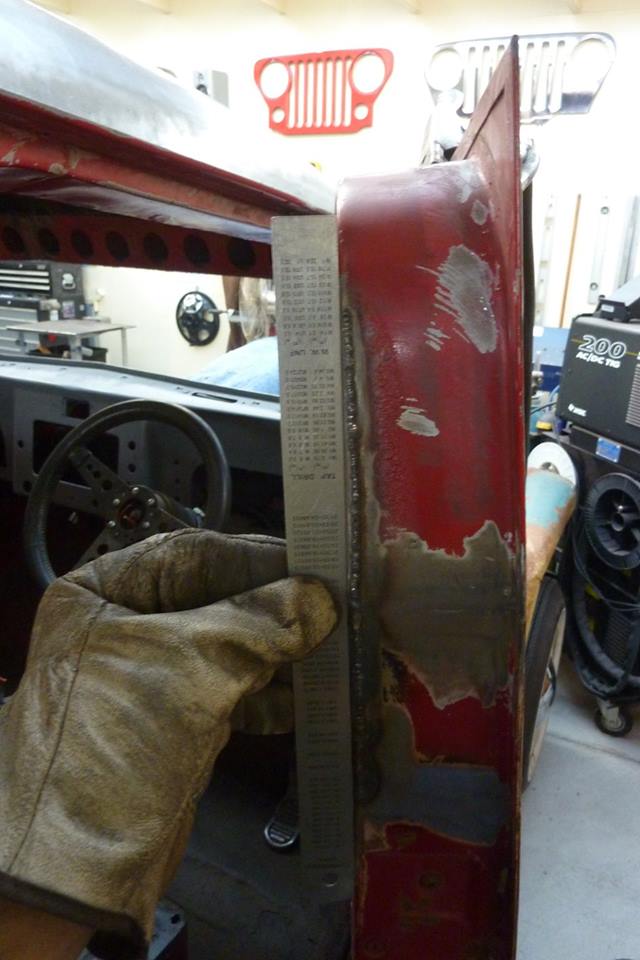
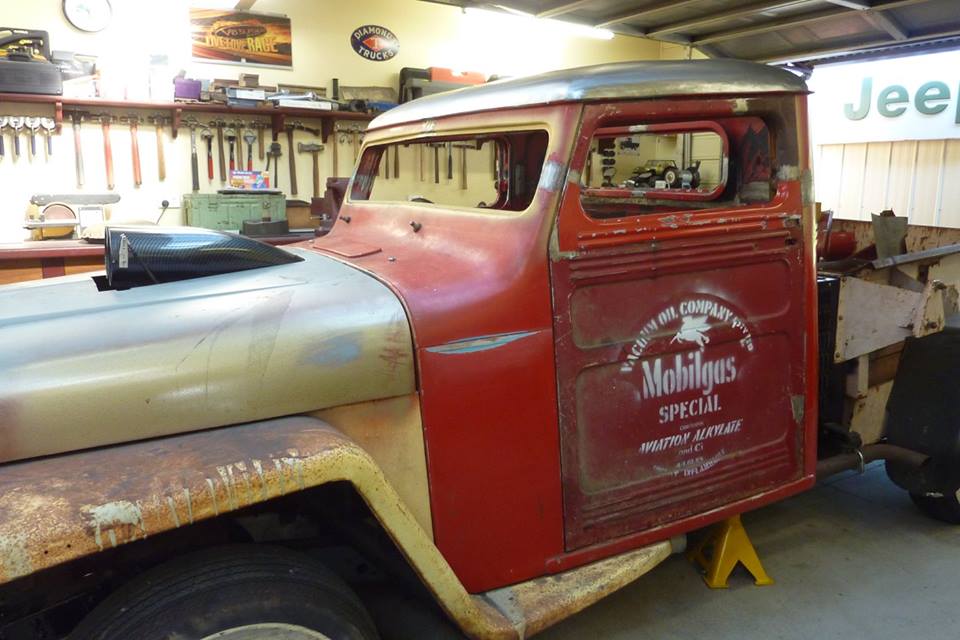
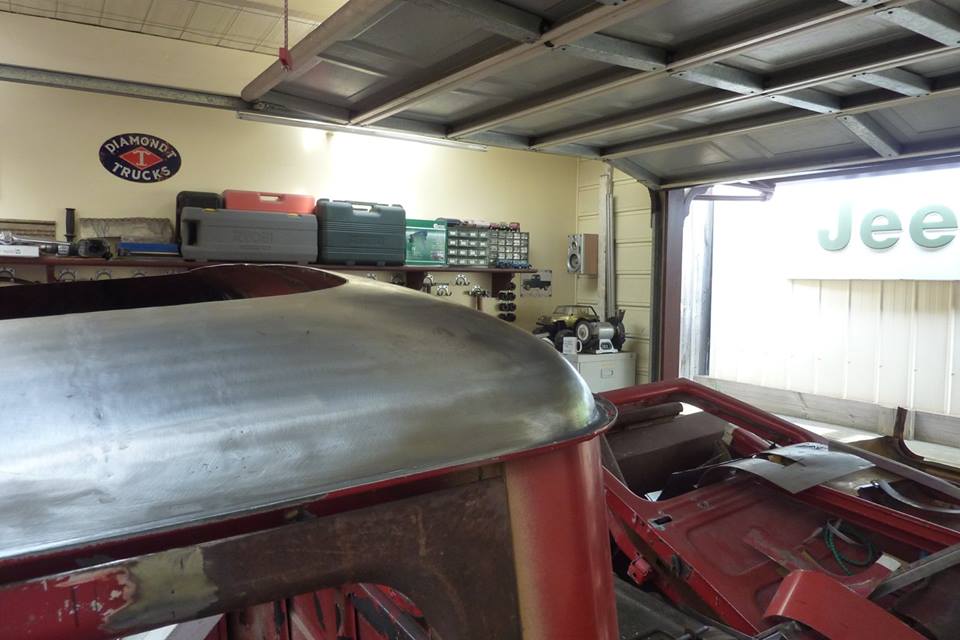
Flows much better now and no dips in it.
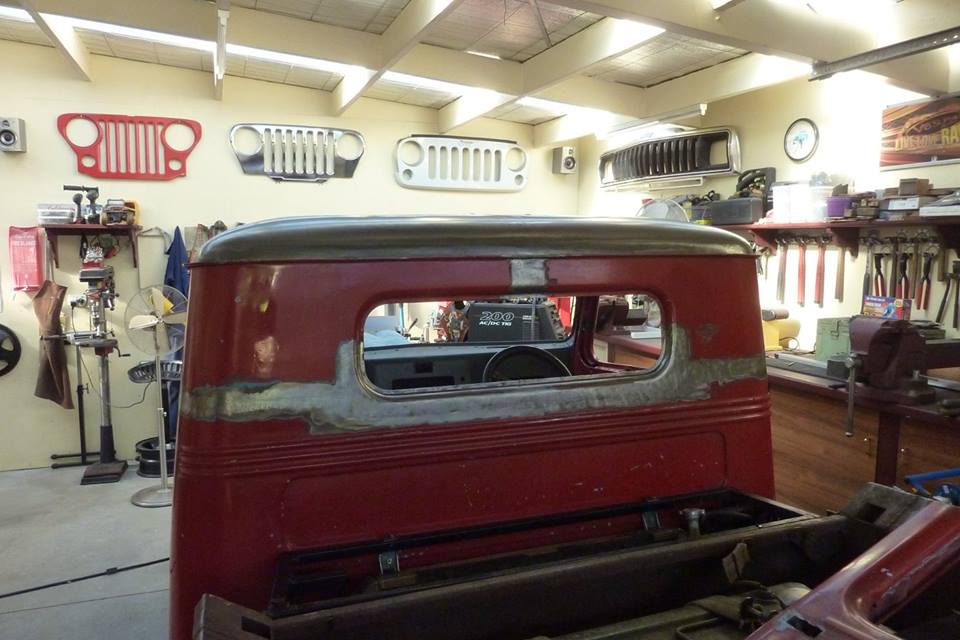
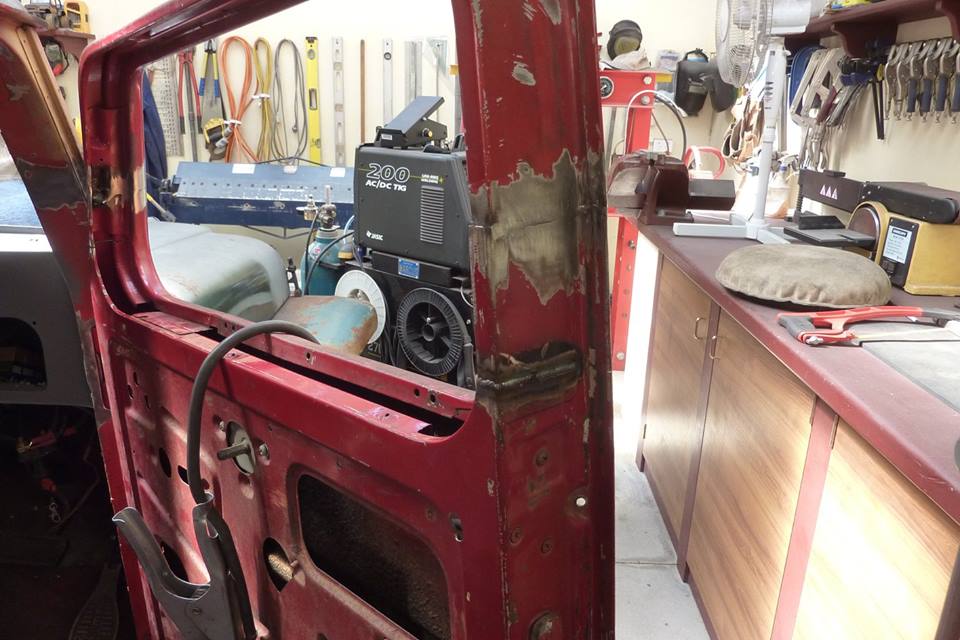
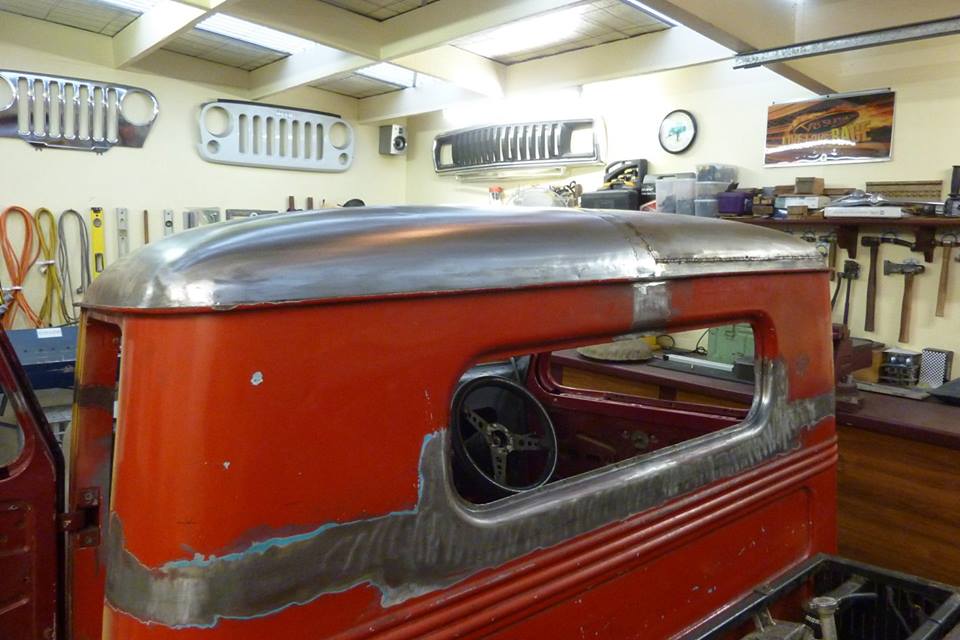

View from the rear.


Dressed up the front weld and got some shape correction back into it. The centre fill in piece is pulled way down.


Starting to sit up a bit more now but will go on first welding the other half before going any further.


Front section has all been welded now. This half went a lot quicker as I was able to correct the shape before welding, but had to cut some of their tacks and redo them to get the shape right. This was because the metal was forced to meet up and then tacked under pressure by the panel shop. So much harder to correct the shape when done this way and I could see the strain on the metal. They were forming little 'puckers'.


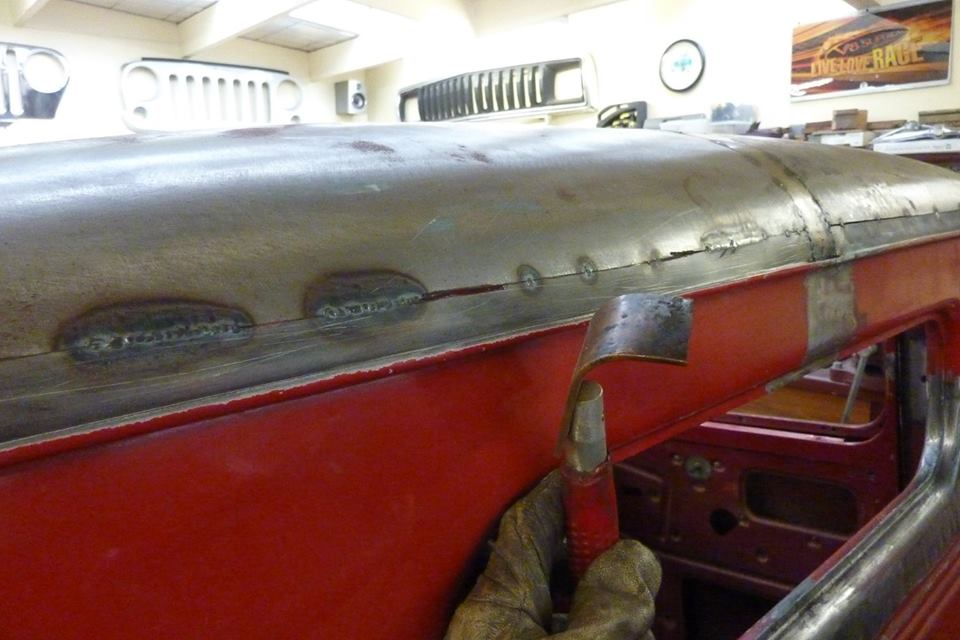
Big gaps like this I hold a copper spoon behind it as I weld it up. The weld wont stick to the copper and helps stop the gas blowing through the gap and causing porosity.


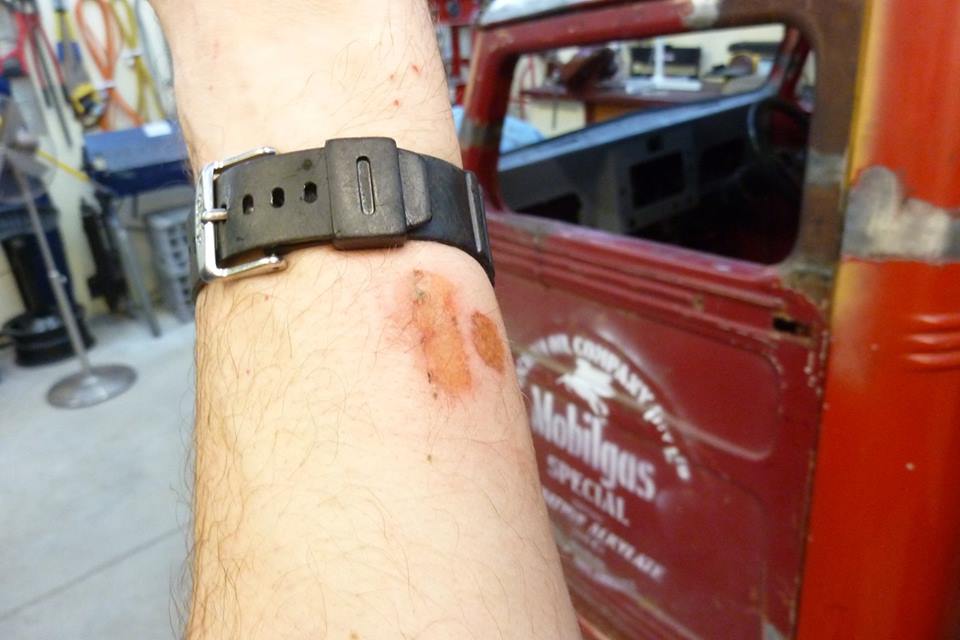
Just watch out though as the copper gets damn hot and will burn you if you accidentally lean on it! Got me right between the gloves and the overalls.


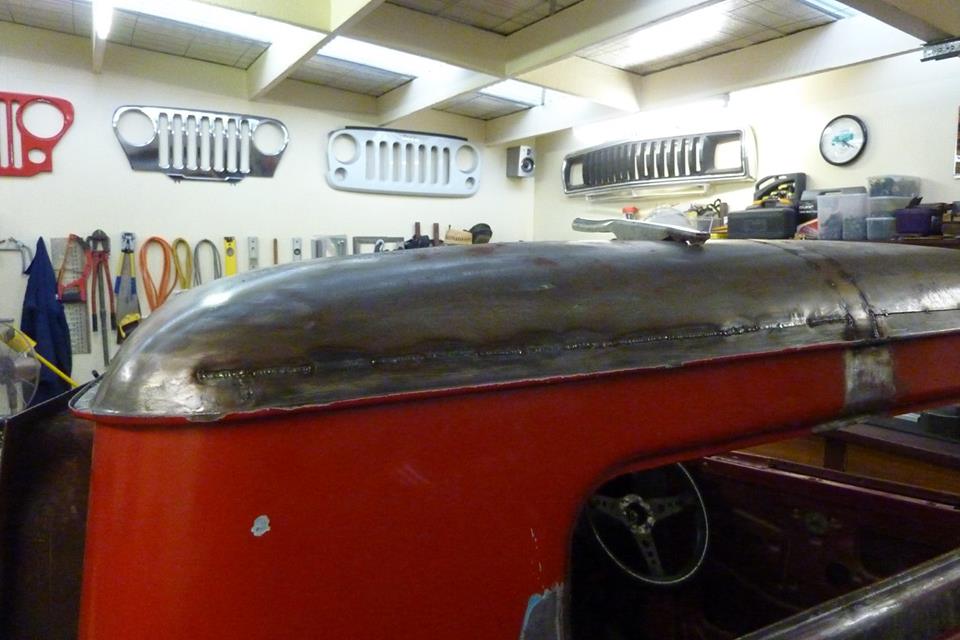
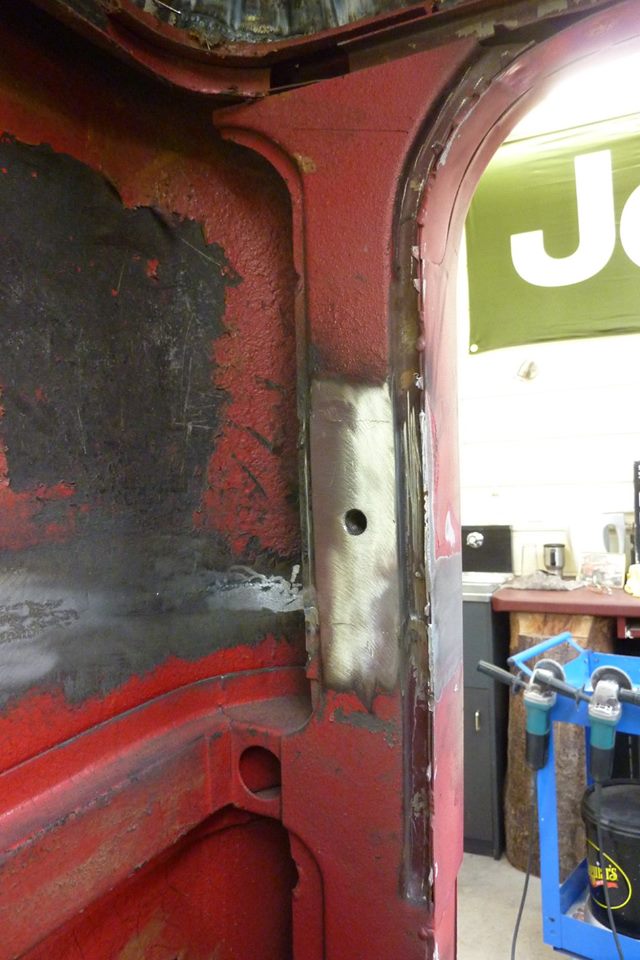
Hard to tell where the big gaps were.


Cleaned up alright too.
__________________
Cheers, Marcus.

My web site:
http://willyshotrod.com Over 5'000 Club
Likes: (4)
  #11  
Old 19-11-2017
Gojeep's Avatar
Gojeep  Gojeep is offline
LokRinger
 
Join Date: Jul 2002
Location: Victoria
Posts: 6,869
Likes: 788
Liked 1,754 Times in 556 Posts
Default


Got some more shaping done now the the welding is all finished up. Front is not sitting too badly considering the gaping hole gives no support at all right now!


Finished the rear as well and took out some of the high crown it had to better suit an insert later.
__________________
Cheers, Marcus.

My web site:
http://willyshotrod.com Over 5'000 Club
  #12  
Old 19-11-2017
CJ6np435's Avatar
CJ6np435  CJ6np435 is offline
Lowranger Shocker
 
Join Date: Oct 2003
Location: Hobart TAS
Age: 62
Posts: 1,679
What Jeep do I drive?: CJ
Likes: 41
Liked 133 Times in 100 Posts
Default

looking good Gojeep, much better, than when you started, but are you taking the rat out!?
__________________
Not another V8!
Likes: (1)
  #13  
Old 19-11-2017
Hellcat  Hellcat is offline
Senior Newbie
 
Join Date: Apr 2008
Posts: 84
What Jeep do I drive?: FSJ
Likes: 8
Liked 11 Times in 7 Posts
Default

This is amazing work!

I've been cutting a little bit of rust out of the old fsj and I wish I had the same skills for getting it back together.

What are you using to weld?
Likes: (1)
  #14  
Old 21-11-2017
Gojeep's Avatar
Gojeep  Gojeep is offline
LokRinger
 
Join Date: Jul 2002
Location: Victoria
Posts: 6,869
Likes: 788
Liked 1,754 Times in 556 Posts
Default

Losing a bit more 'Rat' every day.

Everything so far has been welded with a mig using 0.6 wire which is much better to use than 0.8 or 0.9 due to the lower melting point. Using mig more due to the poor gapping and the speed of getting the job done.


After doing all the adjusting I could on the hinges and forcing the top of the frame over, it was still hanging outwards at the top if the rest of the door was in line.


The front was the same although not as bad.


A wedge was cut into the frame where the bend was needed.


Pushed over and tacked. Then checked to see if it was enough. Remember it will pull a few millimetres more with the weld shrinkage, so allow for that to save stretching the weld afterwards


Welded up.


Looks a lot better now.


Front was also done.


Now this difference in width of the window frame needs to be dealt with. The frame had a slight taper to it so it shows up once the 5.5" was chopped out.


Can see it better from this angle.


Bottom was cut and then pulled in only to the point where it lined up with the top of the frame. Pulling it to meet the bottom of the upper half would leave a dip which will show up once the straight window surround is against it.


Top half cut and pulled out to meet the lower piece.


All finished up.


Now in my opinion the height difference between the windscreen and the door window is out of proportion to each other. It is why I sectioned the cab under the windscreen and chopped only the door window 2" to match it up. Unfortunately this only gets worse the bigger the chop if both windscreen and window is cut only such as here.


Same from the back view.


Now I had this idea to solve the problem another way many years ago before I sectioned mine the way I did. That is to raise the window sill instead. This mock up it is raised 50mm or 2" to match the height of the windscreen not including the flanges.


Rear view with 50mm-2" raised window sill.


This is 65mm-2.5" which matches the opening of the windscreen including the flanges.


65mm-2.5" raised window sill. The inside frame would have to be raised as well to match of course and would not have the extra ribs. Just a thought anyway.
__________________
Cheers, Marcus.

My web site:
http://willyshotrod.com Over 5'000 Club
Likes: (3)
Post New Thread  Reply


Posting Rules
You may not post new threads
You may not post replies
You may not post attachments
You may not edit your posts

BB code is On
Smilies are On
[IMG] code is On
HTML code is On


All times are GMT +10. The time now is 01:02 PM.


Advertisements


AJOR does not vouch for or warrant the accuracy, completeness or usefulness of any message, and are not responsible for the contents of any message. The messages express the views of the author of the message, not necessarily the views of AJOR or any entity associated with AJOR, nor should any advice be substituted as technical advice replacing that of a mechanic. You agree, through your use of this service, that you will not use AJOR to post any material which is knowingly false and/or defamatory, inaccurate, abusive, vulgar, hateful, harassing, obscene, profane, sexually oriented, threatening, invasive of a person's privacy, religious, political or otherwise violative of any law. You agree not to post any copyrighted material unless the copyright is owned by you or by AJOR. The owner, administrators and moderators of AJOR reserve the right to delete any message or members for any or no reason whatsoever. You remain solely responsible for the content of your messages, and you agree to indemnify and hold harmless AJOR, the administrators, moderators, and their agents with respect to any claim based upon transmission of your message(s). The use of profile signatures to intentionally mislead or misdirect any member on this forum is not acceptable and may result in your account being suspended. Any trip that is organised through the AJOR forum is participated at your own risk. If you or your vehicle is damaged it is your responsibility, not that of the person that posted the thread, message or topic initiating the trip, nor the organisers of AJOR or moderators of any specific forum. This forum and associated website is the property of AJOR. No user data is harvested and no information supplied in your registration will be sold for profit.


Powered by vBulletin® Version 3.8.7
Copyright ©2000 - 2024, vBulletin Solutions, Inc.

AJOR © 2002 - 2024 AUSJEEPOFFROAD.COM. All corporate trademarked names and logos are property of their respective owners. Ausjeepoffroad is in no way associated with DaimlerChrysler Corporation or Fiat Jeep.
www.ausjeep.com www.ausjeep.com.au www.midlifemate.com ausjeepforum.com www.r9kustoms.com
vB Ad Management by =RedTyger=