Grand Willys Project - Page 271 - AUSJEEPOFFROAD.COM Jeep News Australia and New Zealand

Go Back   AUSJEEPOFFROAD.COM Jeep News Australia and New Zealand > JEEP GARAGE > Jeep build up
Register Forums Trading Your Jeep My Garage Mark All Read

Post New Thread  Reply
 
Thread Tools Search this Thread
  #1891  
Old 17-12-2021
bodgie's Avatar
bodgie  bodgie is offline
Rock Munki
 
Join Date: Aug 2009
Location: Castle Hill, NSW
Posts: 2,136
What Jeep do I drive?: WG
Likes: 11
Liked 300 Times in 245 Posts
Default

Another step closer. Looks good if you ask me.
Likes: (1)
  #1892  
Old 18-12-2021
Gojeep's Avatar
Gojeep  Gojeep is offline
LokRinger
 
Join Date: Jul 2002
Location: Victoria
Posts: 6,870
Likes: 789
Liked 1,754 Times in 556 Posts
Default

Thanks mate.

The non exciting, but necessary work continues.


I had planned to use the moulded carpet from the donor as I have used its floor.


But as you can see the wedge shape of the Willys cab means it is a lot wider at the rear, even though the carpet fits at the front.


Not the easiest floor to lay carpet over with the front seat support, foot rest and rear air-conditioning duct to go over.


I started by levelling the floor some by cutting around the duct etc using some heavy compressed felt with a tar like backing at the front and some new automotive felt carpet underlay as well.


Then put a whole one piece complete layer of the new felt over the whole lot. To get it to sit flat next to the end of the front seat support, I cut a wedge out and then pressed it down on some carpet joining tape.


The join disappears, not that anyone would see it! The double layers of underlay add up to nearly three times that of the donor. After paint I will also stick down directly to the floor a heat barrier as well.


Getting a cat scan done! Seem to have passed the comfort test at least.


Very little of the rear half will be seen at all as covered by the bucket seats and the centre console.


Looks good enough to be OEM and is functional, so will do nicely.
__________________
Cheers, Marcus.

My web site:
http://willyshotrod.com Over 5'000 Club
Likes: (6)
  #1893  
Old 31-12-2021
SeaComms's Avatar
SeaComms  SeaComms is offline
MonsterMoose
 
Join Date: Jun 2010
Location: Noosa QLD.
Age: 58
Posts: 7,940
What Jeep do I drive?: WK2
Likes: 1,432
Liked 809 Times in 466 Posts
Check out my Ride(s)
Default

Just saw this today and thought you might be interested! Features the Ute's about 4 min in

https://fb.watch/adTYndSG6d/

Sent from my SM-N975F using Tapatalk
__________________
Cheers, Dave :)

2010 JK, then a 2015 KL Trailhawk, now a 2017 GC Trailhawk!

Over 5000 Club
Likes: (1)
  #1894  
Old 31-12-2021
Gojeep's Avatar
Gojeep  Gojeep is offline
LokRinger
 
Join Date: Jul 2002
Location: Victoria
Posts: 6,870
Likes: 789
Liked 1,754 Times in 556 Posts
Default


Lisa and I roped in the windscreen together. Used PBR rubber grease in the seal slot along with the rope which came from some old curtain track. Also notice the front face of the seal has been heavily greased as well and makes a big difference in pulling the seal lip over.


To help Lisa have enough hands on the inside, I used some clamps to makes sure it couldn't fall back inside. Not a problem for other vehicles that don't have their screens put in from the inside.


What I did find useful this time is using a cotter pin removal tool to help the seal over in tight areas.


I'd tuck it in and with a seesaw action could lift the bottom of the seal lip up in front of the rope and up and over the pinch weld lip.


Got the templates size right, windscreen is stock height but 9" wider, as sits in very well. All up from setting up and fitting the seal to the glass, it took an hour including clean up.


Windscreen wipers fitted. New stainless steel ones for a Mini Minor.


The rear window is also now in place. Stock height but 10.5" wider than stock due to the extra cab width.
__________________
Cheers, Marcus.

My web site:
http://willyshotrod.com Over 5'000 Club
Likes: (2)
  #1895  
Old 31-12-2021
bodgie's Avatar
bodgie  bodgie is offline
Rock Munki
 
Join Date: Aug 2009
Location: Castle Hill, NSW
Posts: 2,136
What Jeep do I drive?: WG
Likes: 11
Liked 300 Times in 245 Posts
Default

How long will you drive it without paint? Did you end up deciding on a colour?
  #1896  
Old 31-12-2021
Gojeep's Avatar
Gojeep  Gojeep is offline
LokRinger
 
Join Date: Jul 2002
Location: Victoria
Posts: 6,870
Likes: 789
Liked 1,754 Times in 556 Posts
Default

Quote:
Originally Posted by bodgie View Post
How long will you drive it without paint? Did you end up deciding on a colour?
I thinking until May. Was hoping to go to a few shows on dry days with it, but they are all getting cancelled!
Maybe MotorEx?
https://www.motorex.com.au/
__________________
Cheers, Marcus.

My web site:
http://willyshotrod.com Over 5'000 Club
  #1897  
Old 14-01-2022
Gojeep's Avatar
Gojeep  Gojeep is offline
LokRinger
 
Join Date: Jul 2002
Location: Victoria
Posts: 6,870
Likes: 789
Liked 1,754 Times in 556 Posts
Default


Well back from holidays and thought I would tackle the headlining. Just thought to do a section at a time to see how it went using Permatex Headlining Adhesive.


Didn't go well as wrinkled in the corners more than I wanted.


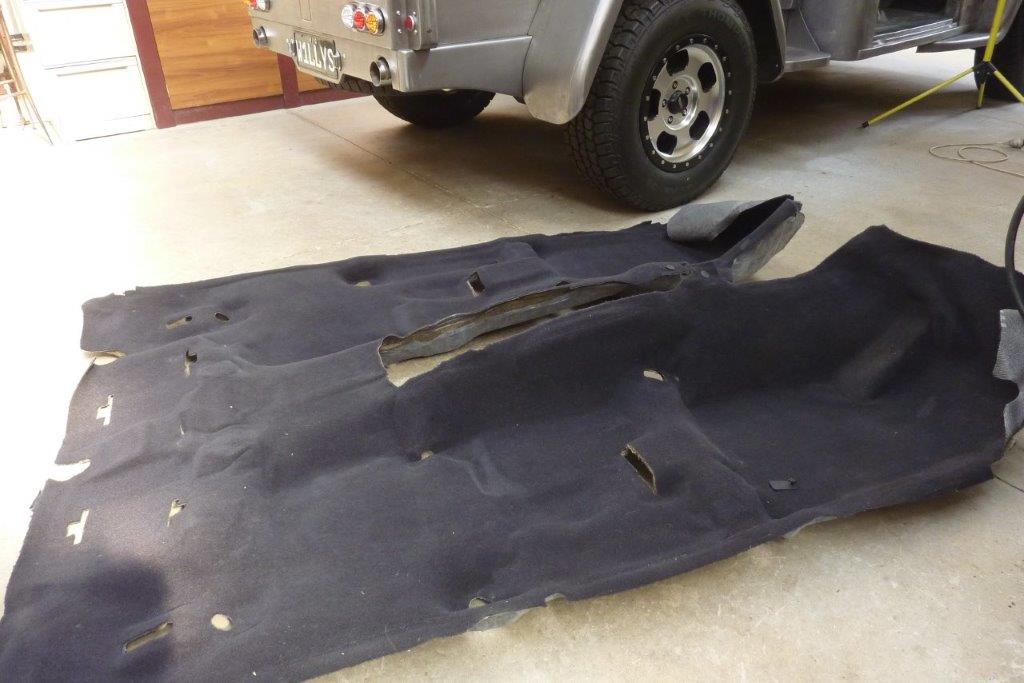
So cut each side off and see if I could rescue what we had already done.


Just slid the cut off section up to it to see if it would work this way. Looked bad so it was all stripped off. Made the hard decision to have it done for me and hope they can do better. The first time in the whole build!


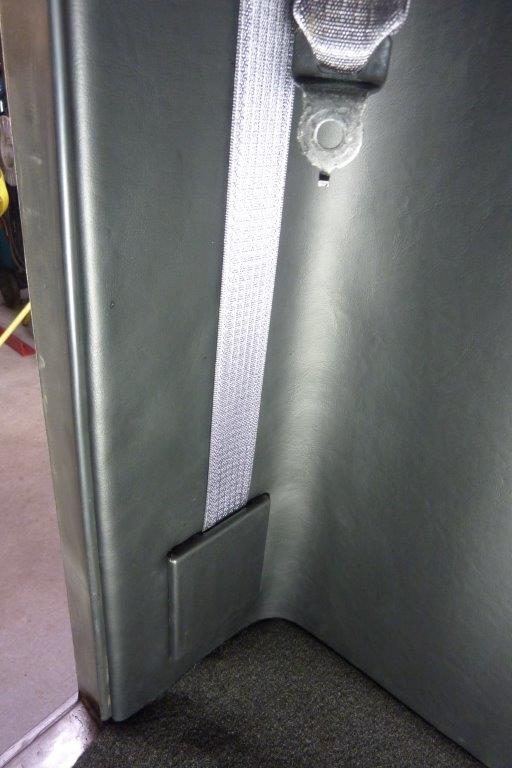
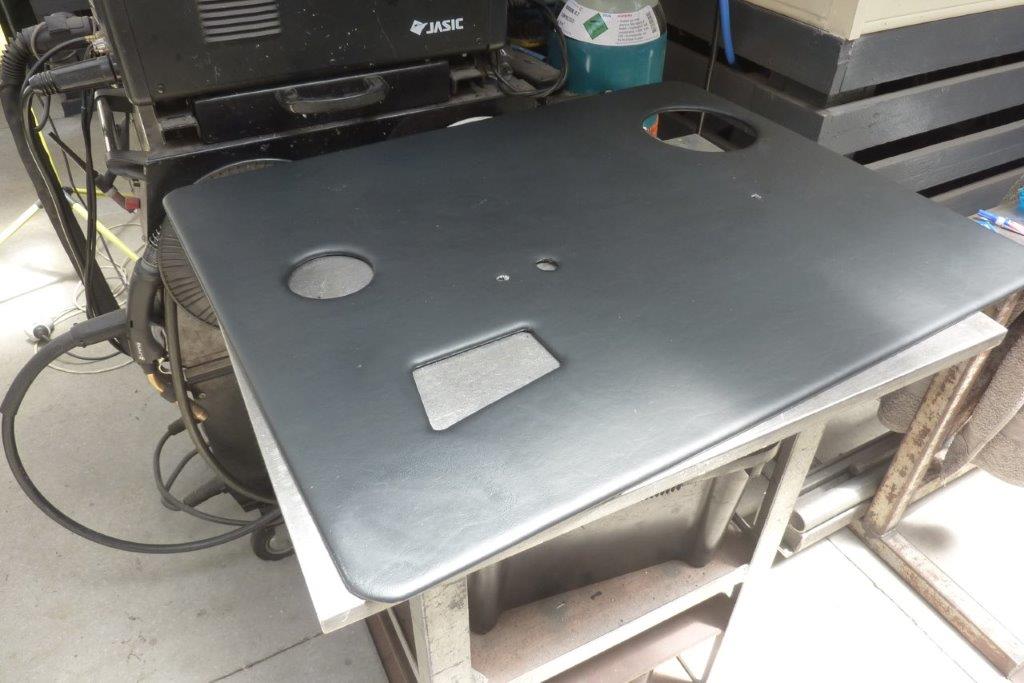
Made up some quick covers for the seat belt reels.


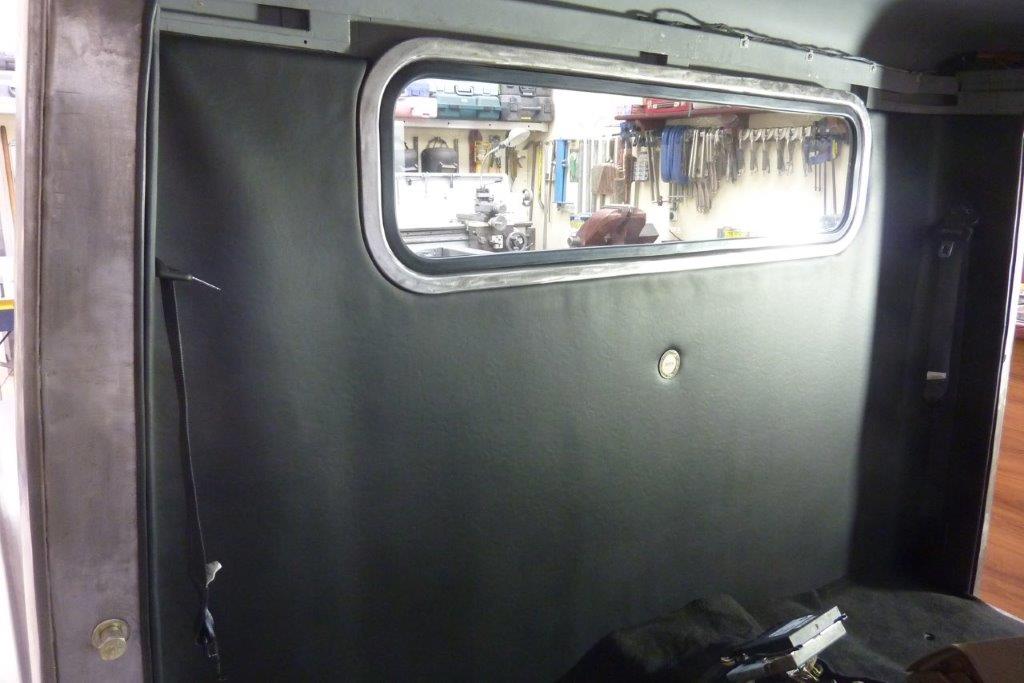
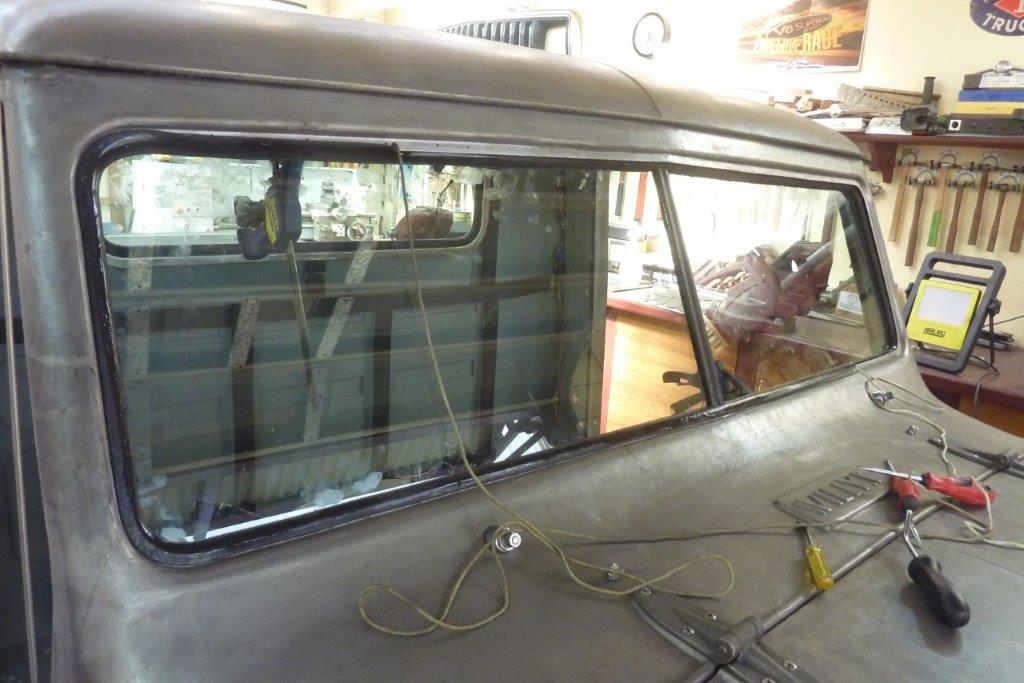
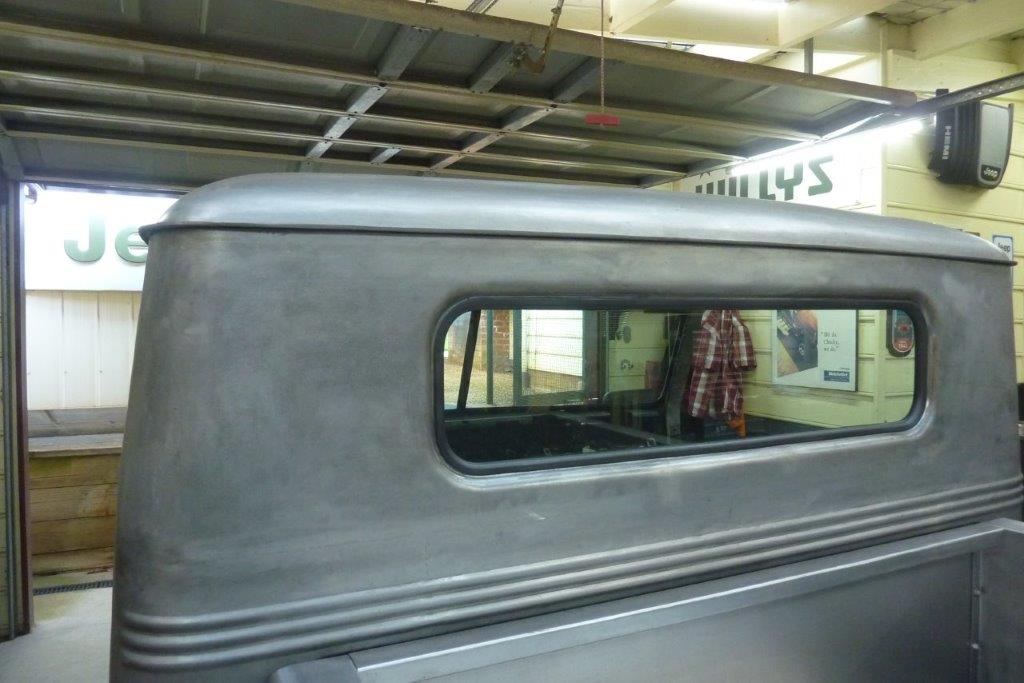
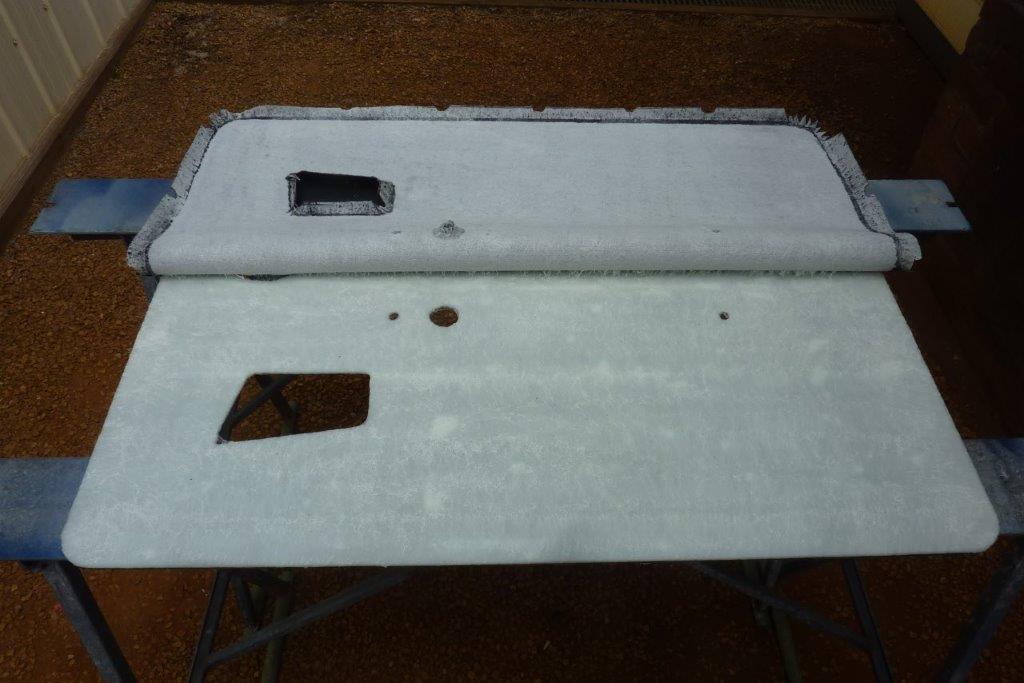
The hot summer days here left the rear wall baggy! It is because I was forced to use the wrong foam during lock down which I couldn't use glue on without it swelling up. Can even see a bit of over spray below the window how it reacted.


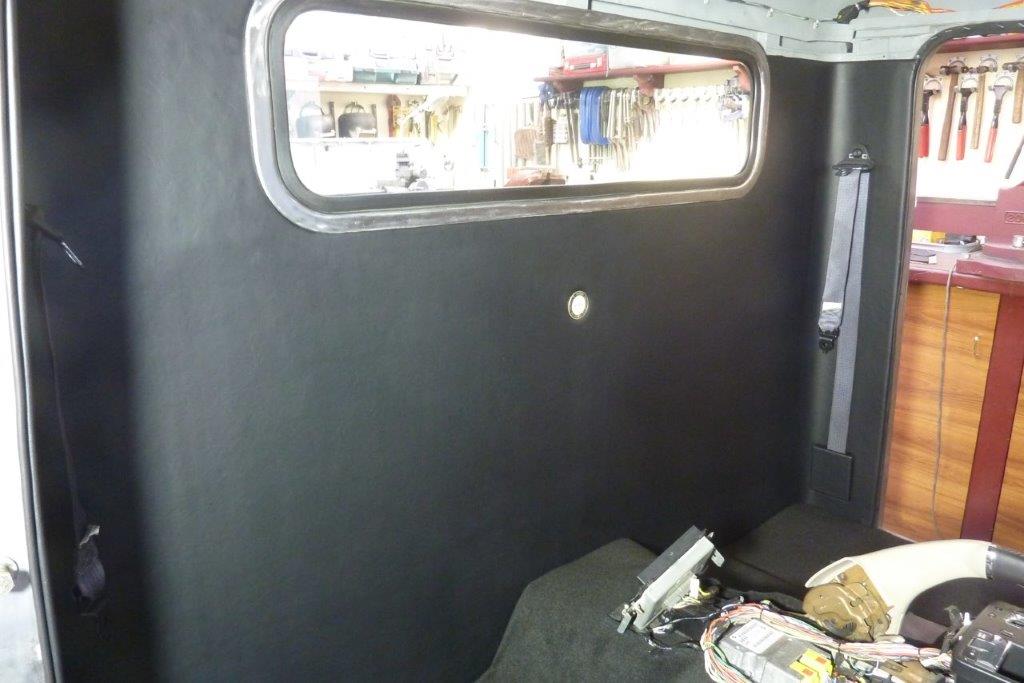
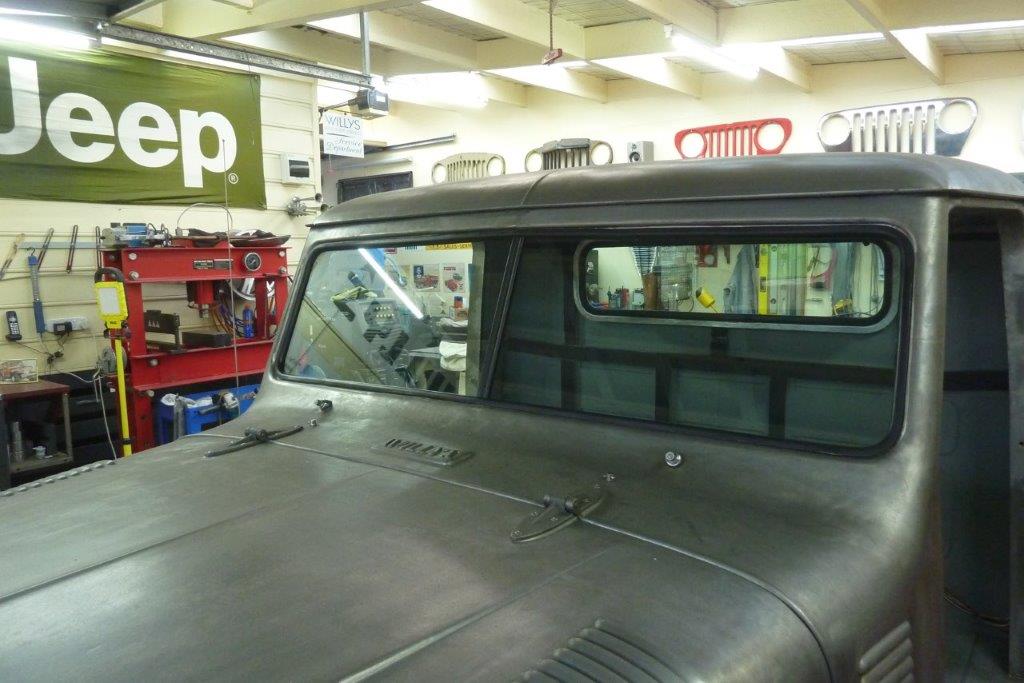
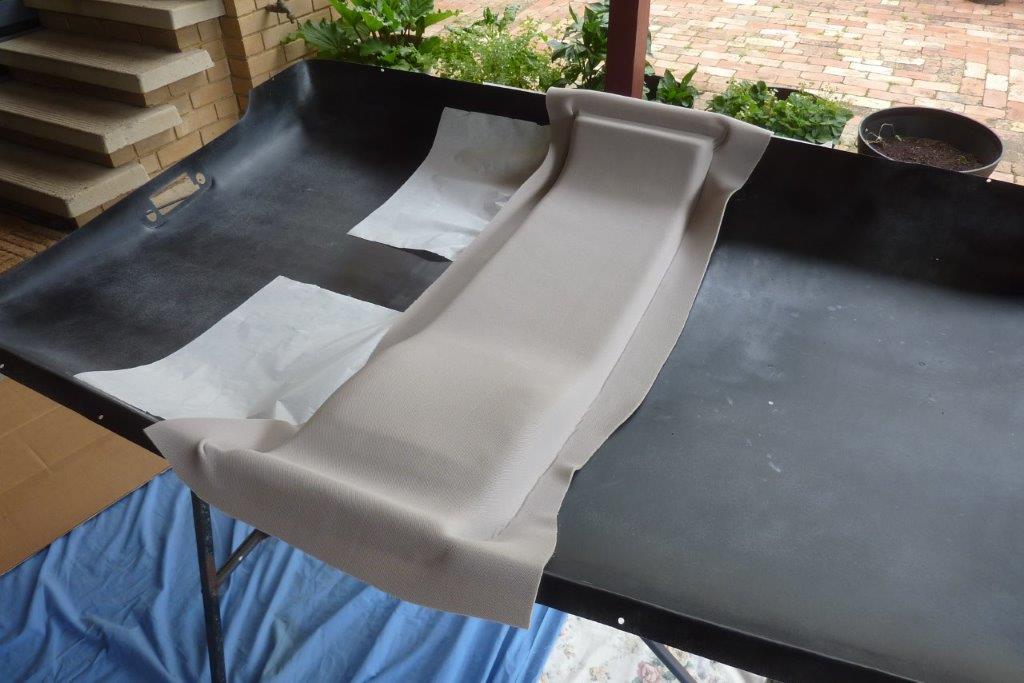
So stripped it all off and bought the right foam and glued the foam to the panel and the material directly to the foam. Looks like I wanted in the first place now!


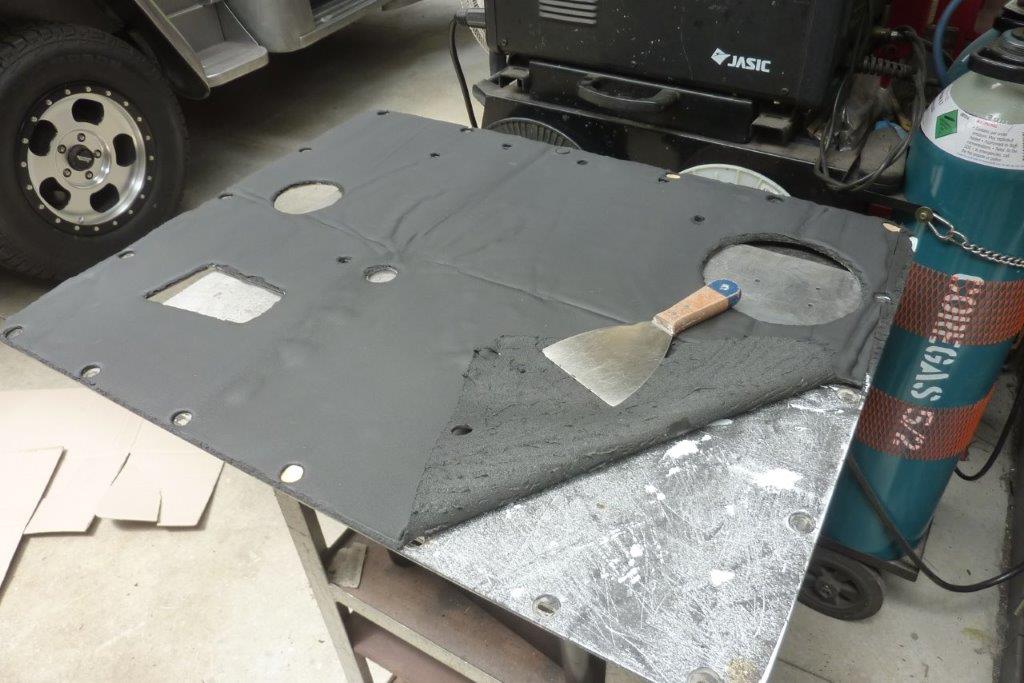
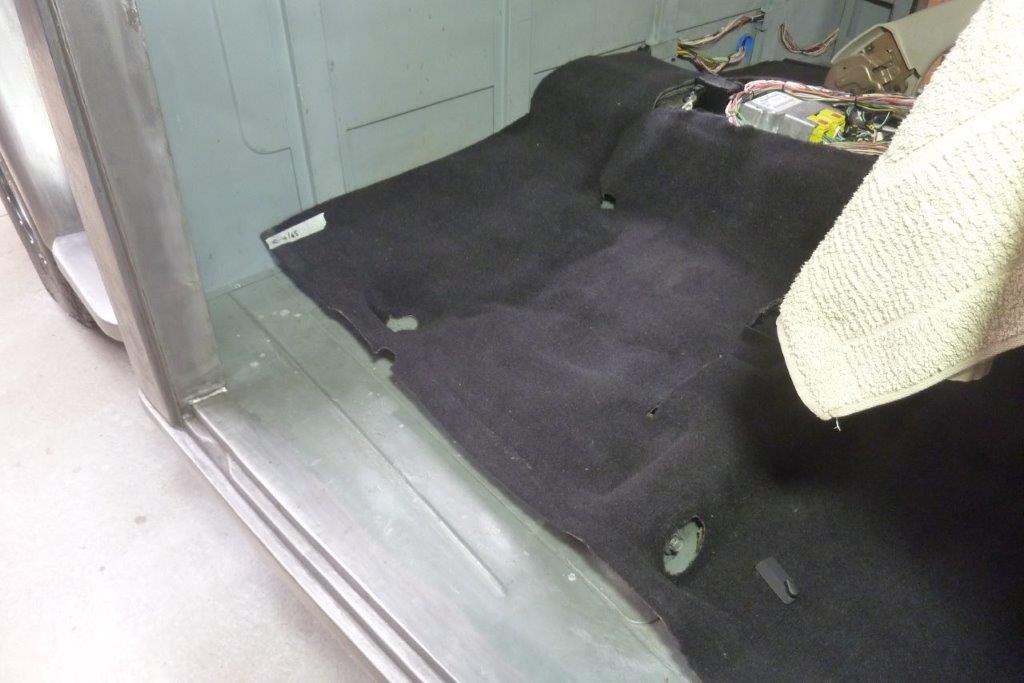
I knew the same thing would happen to all the other panels I had already done as well so stripped the material off and then scrapped off the foam. Wire brushed the self adhesive glue off that was left and hand sanded it.


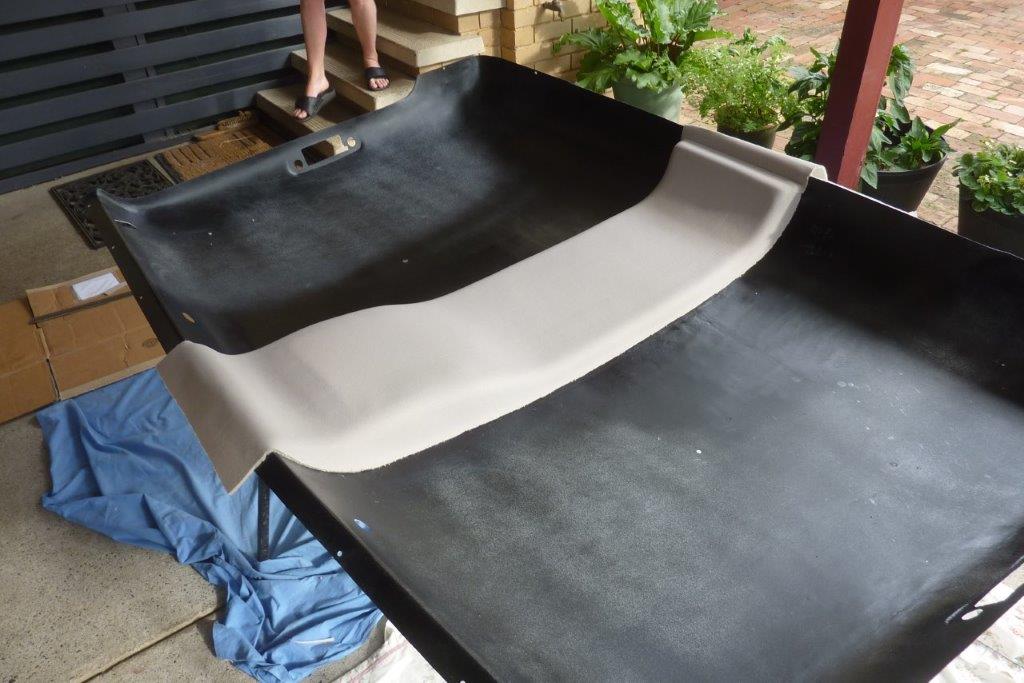
Glued down the new foam from the upholster and carefully lined up the material doing half at a time to line up all the holes etc.


Pulled the overlap through the holes and glued that down.


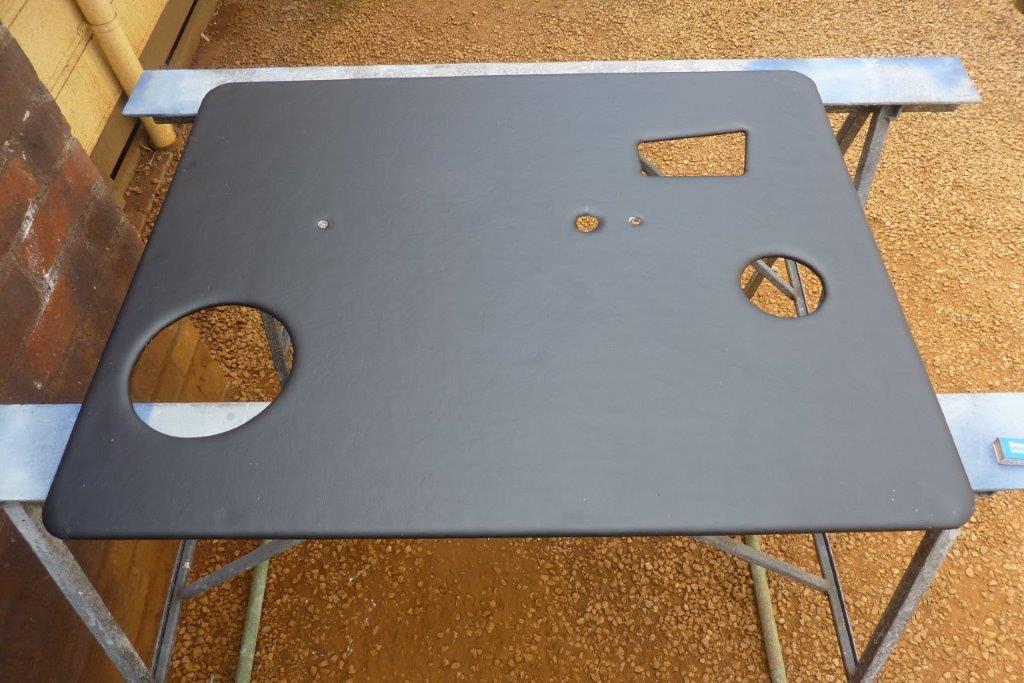
Ready to redo all the rest!


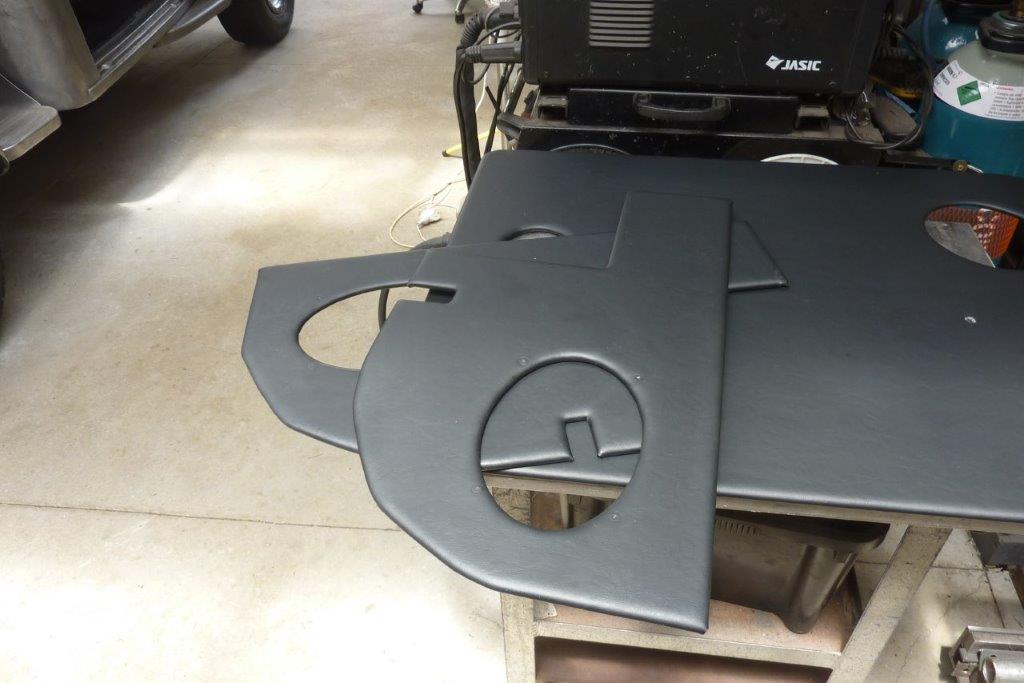
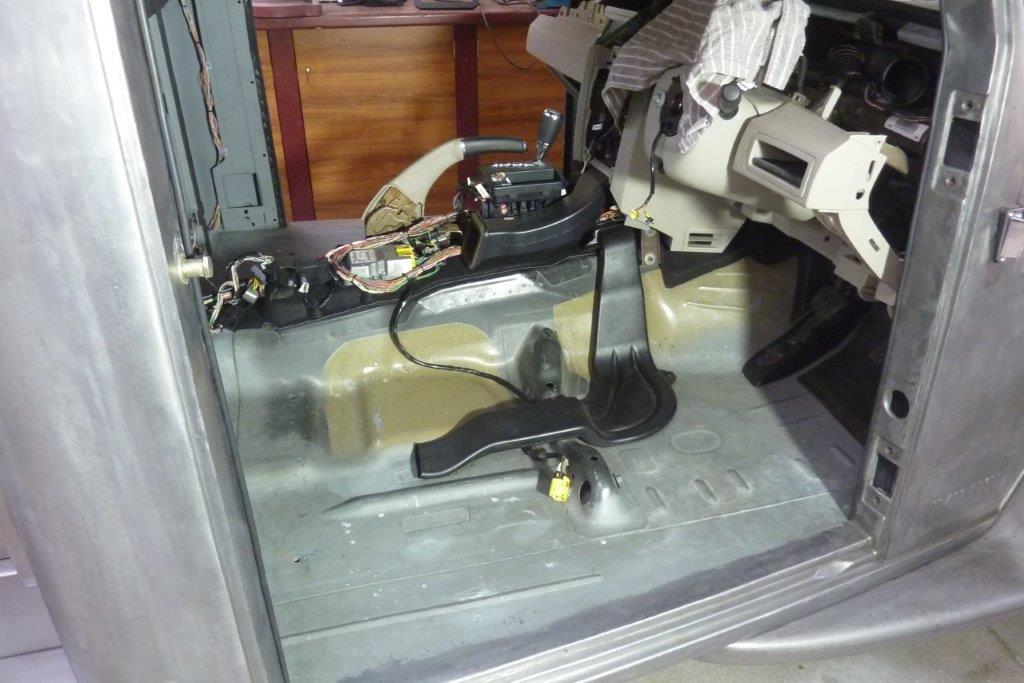
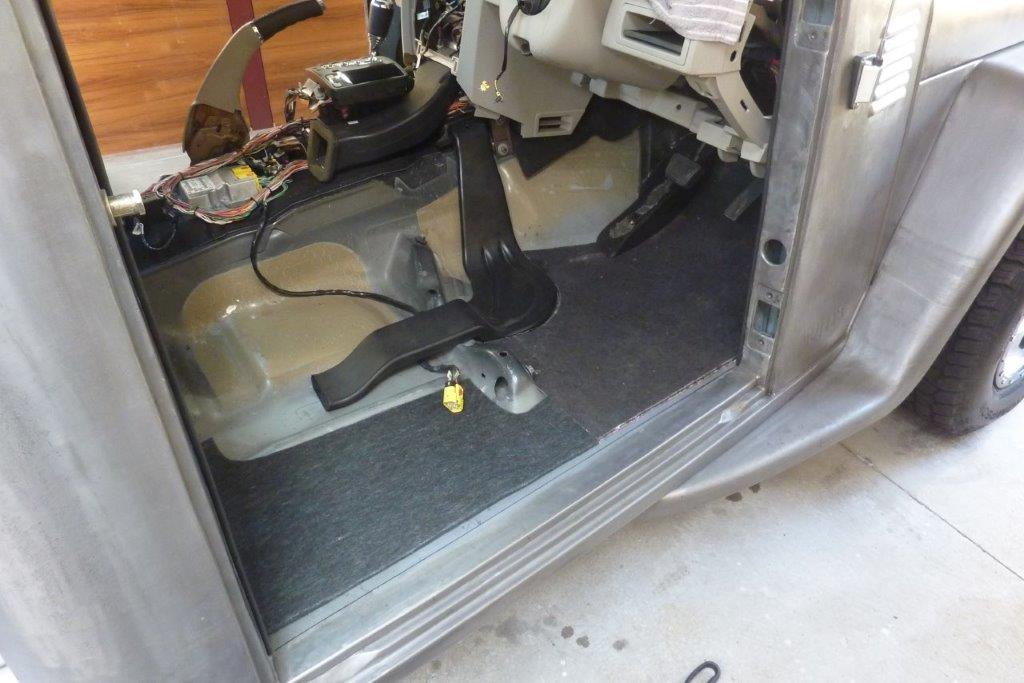
Re did the other door panel and kick panels as well.


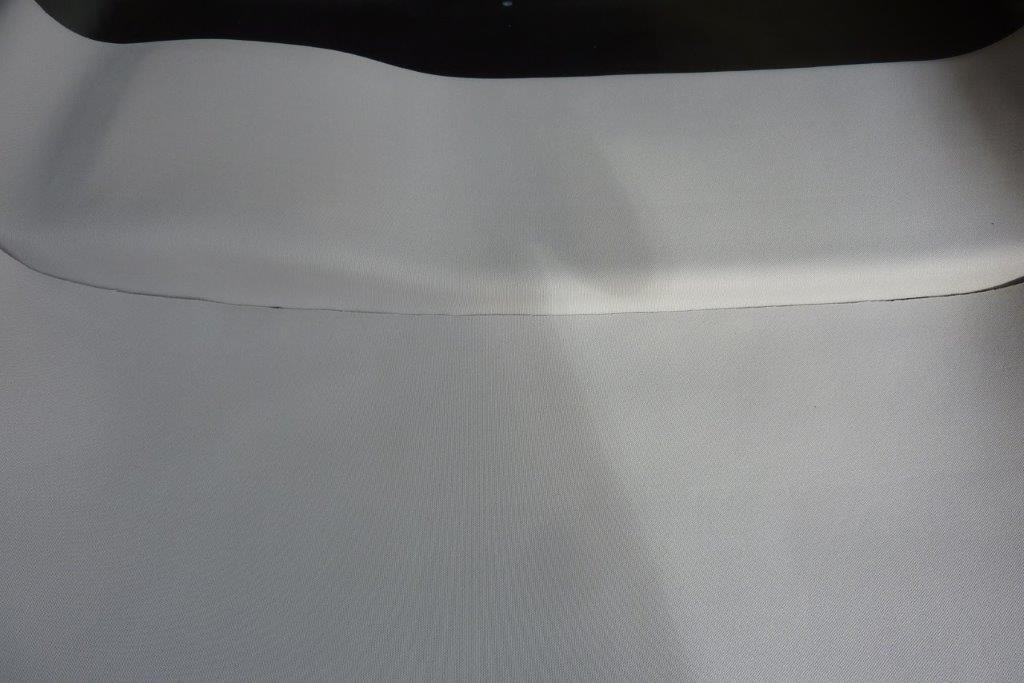
Another lesson learned is do not use acetone to get old glue off the material! Can see how it discoloured the bottom corner. So all this was had to be stripped down yet again and the foam and material replaced. One step forward and 2 steps back it seems this year! Found old glue comes off better with mineral turpentine or even using an eraser.
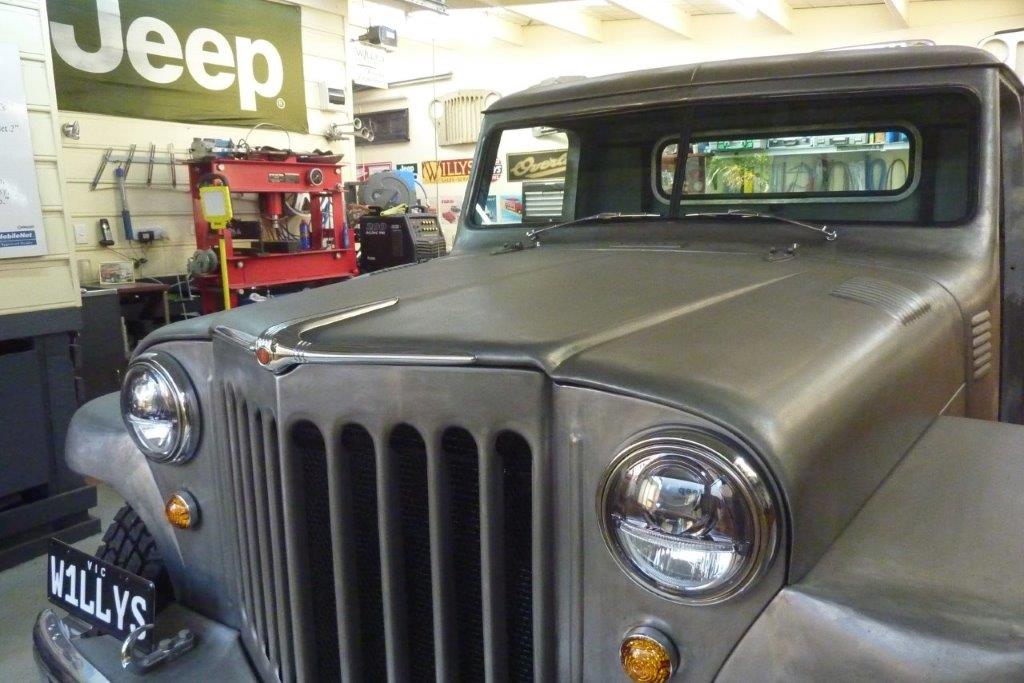
__________________
Cheers, Marcus.

My web site:
http://willyshotrod.com Over 5'000 Club
Likes: (2)
Post New Thread  Reply


Posting Rules
You may not post new threads
You may not post replies
You may not post attachments
You may not edit your posts

BB code is On
Smilies are On
[IMG] code is On
HTML code is On


All times are GMT +10. The time now is 11:32 PM.


Advertisements


AJOR does not vouch for or warrant the accuracy, completeness or usefulness of any message, and are not responsible for the contents of any message. The messages express the views of the author of the message, not necessarily the views of AJOR or any entity associated with AJOR, nor should any advice be substituted as technical advice replacing that of a mechanic. You agree, through your use of this service, that you will not use AJOR to post any material which is knowingly false and/or defamatory, inaccurate, abusive, vulgar, hateful, harassing, obscene, profane, sexually oriented, threatening, invasive of a person's privacy, religious, political or otherwise violative of any law. You agree not to post any copyrighted material unless the copyright is owned by you or by AJOR. The owner, administrators and moderators of AJOR reserve the right to delete any message or members for any or no reason whatsoever. You remain solely responsible for the content of your messages, and you agree to indemnify and hold harmless AJOR, the administrators, moderators, and their agents with respect to any claim based upon transmission of your message(s). The use of profile signatures to intentionally mislead or misdirect any member on this forum is not acceptable and may result in your account being suspended. Any trip that is organised through the AJOR forum is participated at your own risk. If you or your vehicle is damaged it is your responsibility, not that of the person that posted the thread, message or topic initiating the trip, nor the organisers of AJOR or moderators of any specific forum. This forum and associated website is the property of AJOR. No user data is harvested and no information supplied in your registration will be sold for profit.


Powered by vBulletin® Version 3.8.7
Copyright ©2000 - 2024, vBulletin Solutions, Inc.

AJOR © 2002 - 2024 AUSJEEPOFFROAD.COM. All corporate trademarked names and logos are property of their respective owners. Ausjeepoffroad is in no way associated with DaimlerChrysler Corporation or Fiat Jeep.
www.ausjeep.com www.ausjeep.com.au www.midlifemate.com ausjeepforum.com www.r9kustoms.com
vB Ad Management by =RedTyger=